
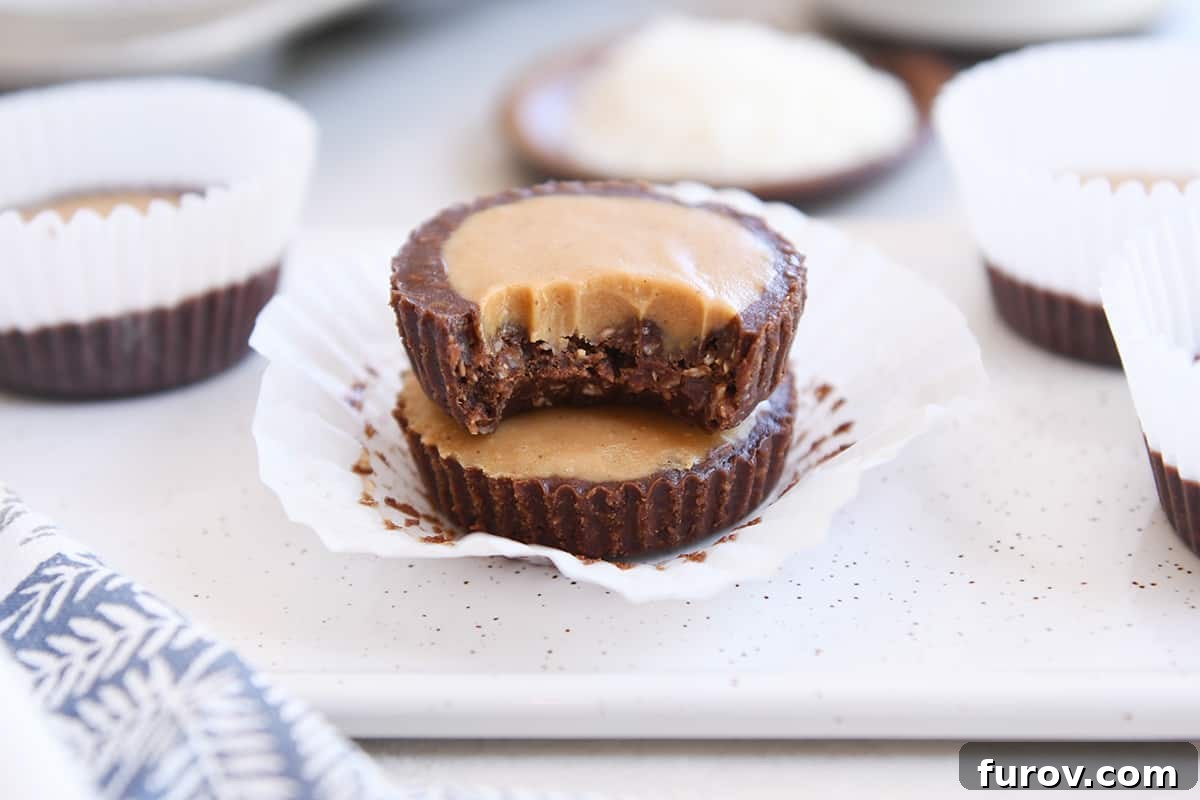
Irresistibly Easy No-Bake Peanut Butter Cups: Your New Favorite Guilt-Free Treat
Discover the magic of these no-bake peanut butter cups – a treat that’s not just amazing, but truly unforgettable. Crafted with a minimal list of wholesome ingredients, they promise a quick, delicious, and utterly satisfying experience. Plus, they cater to a variety of dietary needs, being completely vegan and gluten-free!
Prepare yourself for a new culinary obsession that’s about to sweep you off your feet: homemade no-bake peanut butter cups. These delightful confections have quickly become a staple in my kitchen, boasting an incredible simplicity that makes them hard to resist.
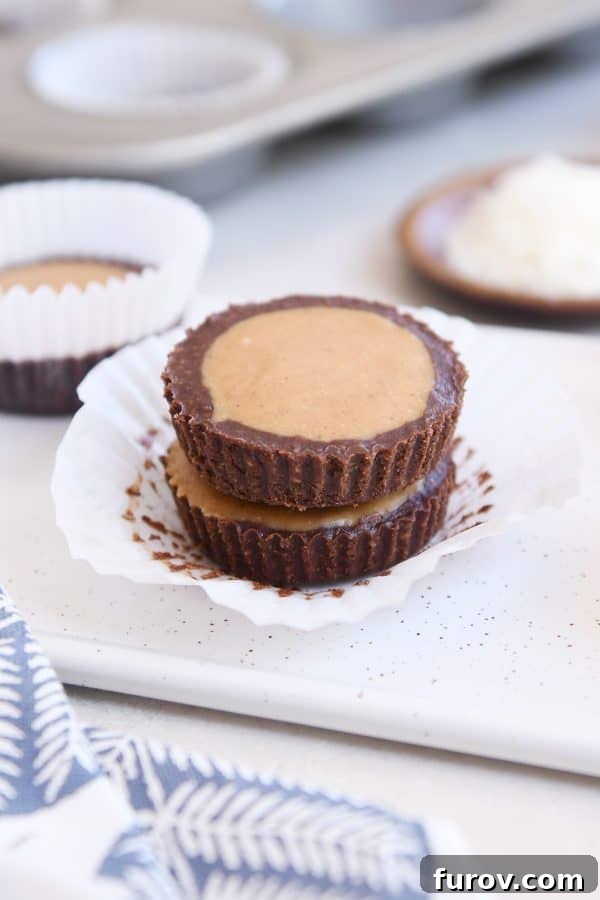
It’s no exaggeration when I say I’ve prepared these treats at least ten times in the past three weeks. The demand for the recipe has been overwhelming, with almost everyone who samples them asking for the secret. Even my wonderful dad, a true connoisseur of sweet treats, has become an avid fan, regularly texting me with his latest delightful variations.
What makes these no-bake peanut butter cups truly special is their universal appeal. They are thoughtfully crafted to be dairy-free, egg-free, gluten-free, and can even be made nut-free (by substituting peanut butter with a seed butter), ensuring almost everyone can enjoy a bite of their creamy, chocolatey goodness. And trust me, the taste is beyond incredible.
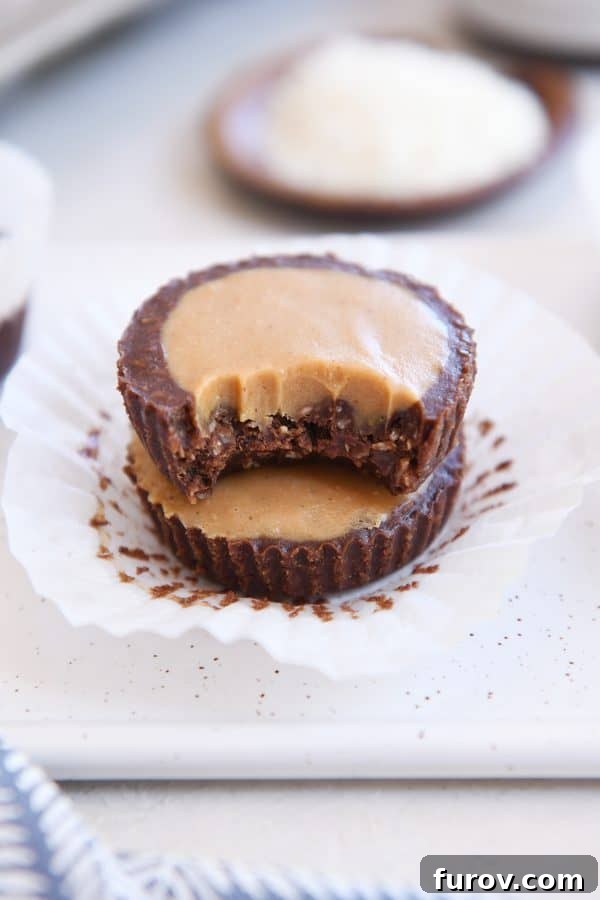
Effortless Deliciousness: Why No-Bake is Best
In a world where time is a precious commodity, these no-bake peanut butter cups stand out as the ultimate convenience dessert. The “no-bake” aspect means no preheating the oven, no waiting for things to bake, and minimal cleanup. They are perfect for those warm summer days when turning on the oven is the last thing you want to do, or for busy evenings when you crave a quick, satisfying treat without the fuss of traditional baking.
Beyond their speed, the beauty of no-bake recipes lies in their simplicity. They are incredibly forgiving, making them ideal for beginner cooks or for involving children in the kitchen. The process of melting, mixing, and chilling is straightforward, guaranteeing a successful batch every time. These delightful cups deliver maximum flavor with minimal effort, proving that sometimes, the best desserts don’t require an oven at all.
Crafting the Perfect Chocolate Base
The foundation of these sensational no-bake peanut butter cups begins with a rich, smooth chocolate base. This layer is surprisingly simple to assemble, requiring just a handful of staple ingredients that melt together into pure bliss:
- Coconut Oil: This is key for achieving the perfect set and adds a subtle richness to the chocolate. For a neutral flavor, opt for refined coconut oil, while virgin coconut oil will impart a faint tropical hint.
- Peanut Butter: Whether you prefer natural, drippy peanut butter or a more classic creamy variety, both work wonderfully here. Natural peanut butter will yield a slightly thinner mixture, resulting in a silkier texture once chilled, while regular creamy peanut butter will provide a denser, fudgier consistency. (For a truly nut-free version for allergy sufferers, sunflower seed butter or tahini can be excellent alternatives, though they will alter the flavor profile.)
- Pure Maple Syrup: Crucial for sweetness and binding, ensuring you use pure maple syrup, not pancake syrup, for the best flavor and texture. Agave nectar or even a liquid sugar-free alternative could be explored for different dietary needs, though results may vary.
- Cocoa Powder: This is where the chocolate magic happens! You have options here:
- Natural, unsweetened cocoa powder will give your cups a classic semi-sweet chocolate taste, bright and slightly fruity.
- For a deeper, darker, and less acidic chocolate flavor, reach for Dutch-process cocoa. Its processing neutralizes acidity, resulting in a smoother, richer chocolate experience.
- Dark cocoa powder offers an intensely rich, almost black chocolate hue and a robust flavor that chocolate enthusiasts will adore.
- Vanilla Extract: A splash of vanilla enhances the overall sweetness and complexity of the chocolate flavor.
- Pinch of Salt: Don’t skip the salt! It perfectly balances the sweetness and elevates the chocolate notes.
- Unsweetened Shredded Coconut or Quick Oats: These add a delightful textural element to the chocolate base.
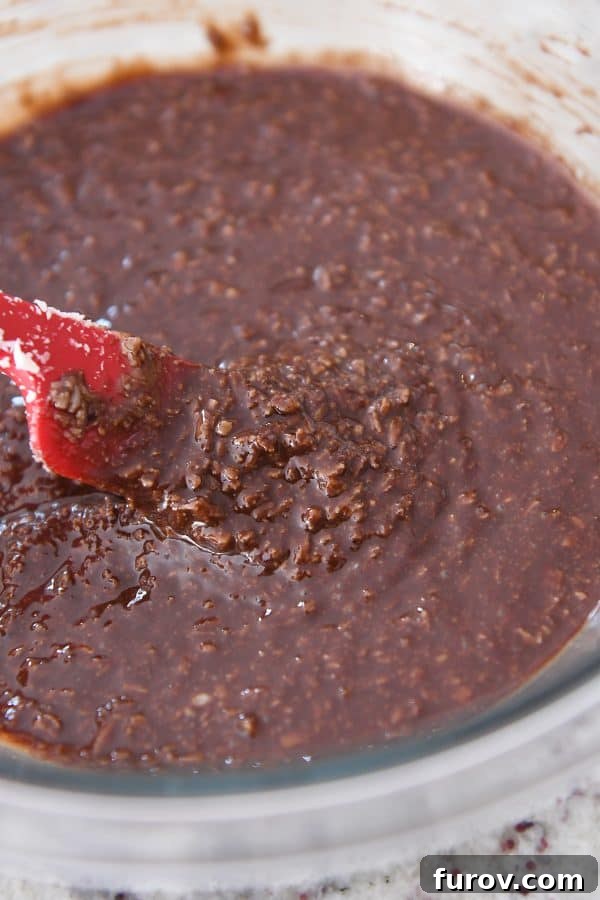
Simply melt the first four ingredients until smooth, then stir in the vanilla, salt, and your chosen texture enhancer. The mixture should be fluid, which is exactly what you want before it sets beautifully in the refrigerator.
Choosing Your Texture: Coconut vs. Oats
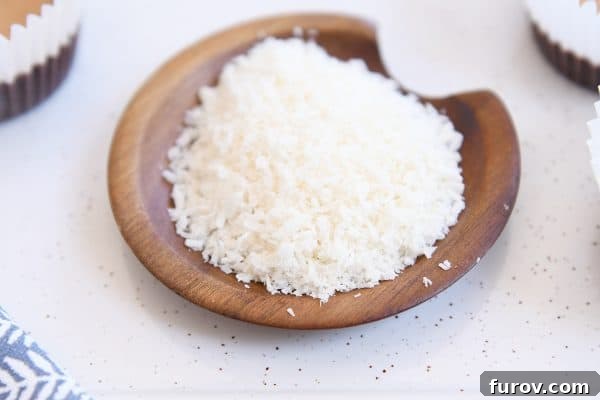
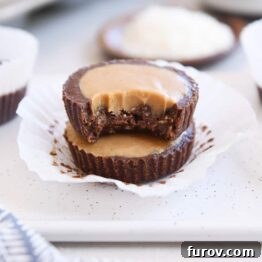
For me, the addition of finely chopped or shredded unsweetened coconut (like this specific type of coconut) is non-negotiable. I adore the subtle chewiness and tropical hint it brings to the chocolate layer. It creates an incredible chocolate + coconut + peanut butter harmony that is truly addictive.
However, if coconut isn’t your preference, or if you’re looking for a different kind of chew, quick oats are a fantastic alternative. My dad, for instance, often uses quick oats, yielding a texture reminiscent of healthier no-bake cookies. The result is equally delicious, just with a different mouthfeel. You can even experiment with a 50/50 blend of both for a unique combination!
Assembling Your Easy Peasy Peanut Butter Cups
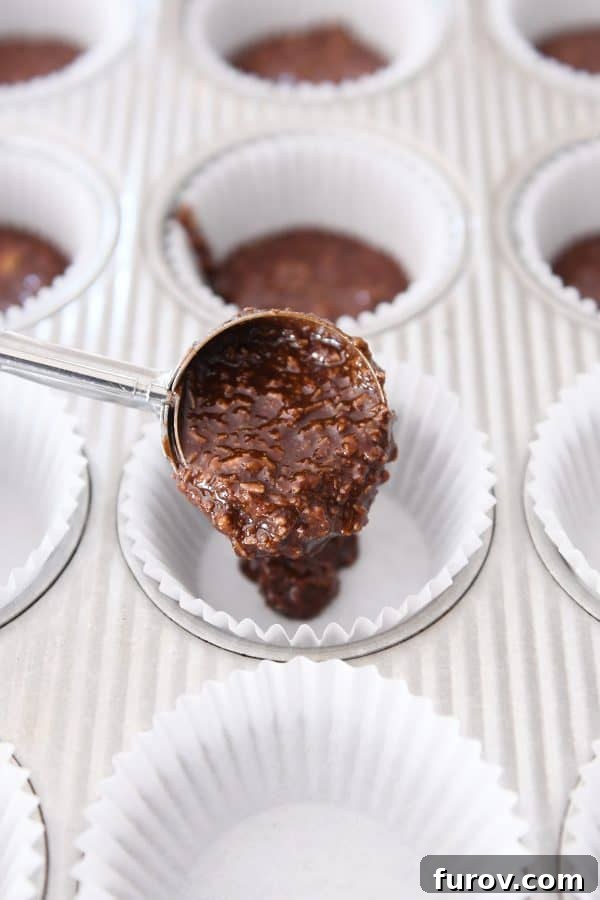
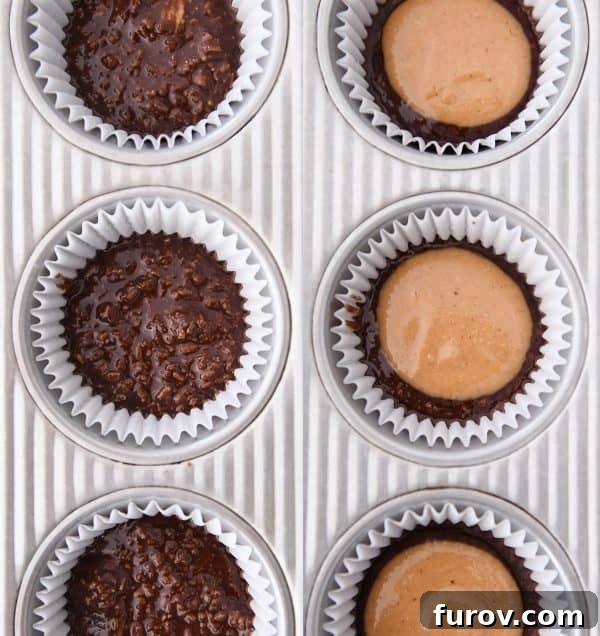
Once your chocolate mixture is prepared, it’s time for the simple assembly. Don’t be alarmed if the chocolate mixture appears a little runny – especially if you’re using natural peanut butter. This is perfectly normal! The magic happens during chilling, where it will firm up beautifully.
Carefully scoop the chocolate mixture into your prepared muffin liners. Standard 12-cup muffin tins lined with paper or silicone liners work best. Aim for an even layer at the bottom of each cup. A small cookie scoop can help with portioning and keeping things tidy. Once the chocolate base is distributed, pop the tray into the refrigerator while you prepare the glorious peanut butter topping.
The Creamy Peanut Butter Topping
Now for the star of the show – the luscious peanut butter topping! This layer is incredibly simple, requiring just three essential ingredients that combine to create that classic, irresistible peanut butter cup flavor:
- Peanut Butter: Again, your preference for natural or creamy works perfectly here. The natural variety will yield a slightly softer topping, while creamy will be a bit firmer once set.
- Pure Maple Syrup: Adds a touch of sweetness that complements the peanut butter without being overly sugary.
- Coconut Oil: Essential for giving the peanut butter topping that smooth, melt-in-your-mouth texture and helping it solidify when chilled. Adjusting the amount of coconut oil can fine-tune the topping’s firmness.
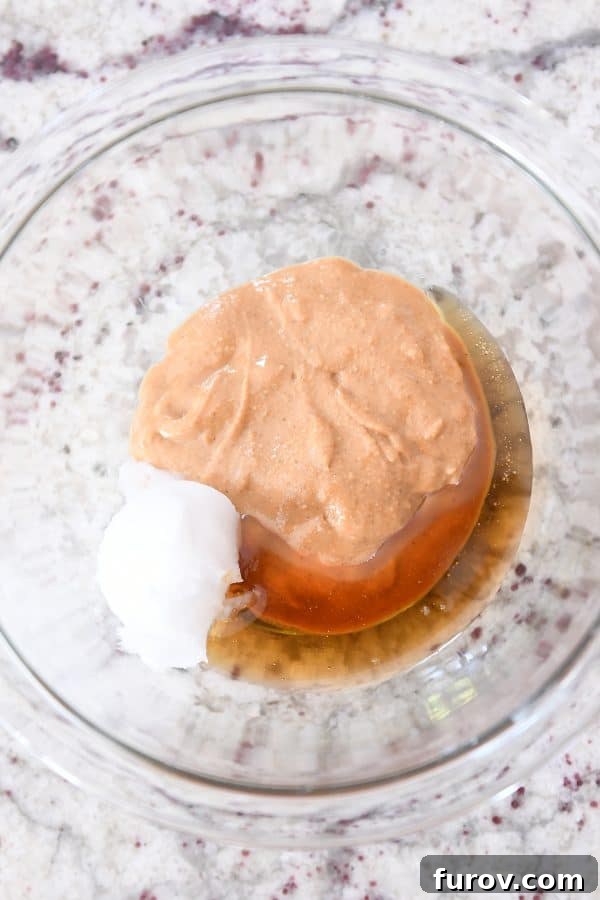
Combine these three ingredients in a microwave-safe bowl and heat gently until they are beautifully melted and smooth. Be careful not to overheat the mixture; you’re looking for a warm, pourable consistency, not bubbling lava.
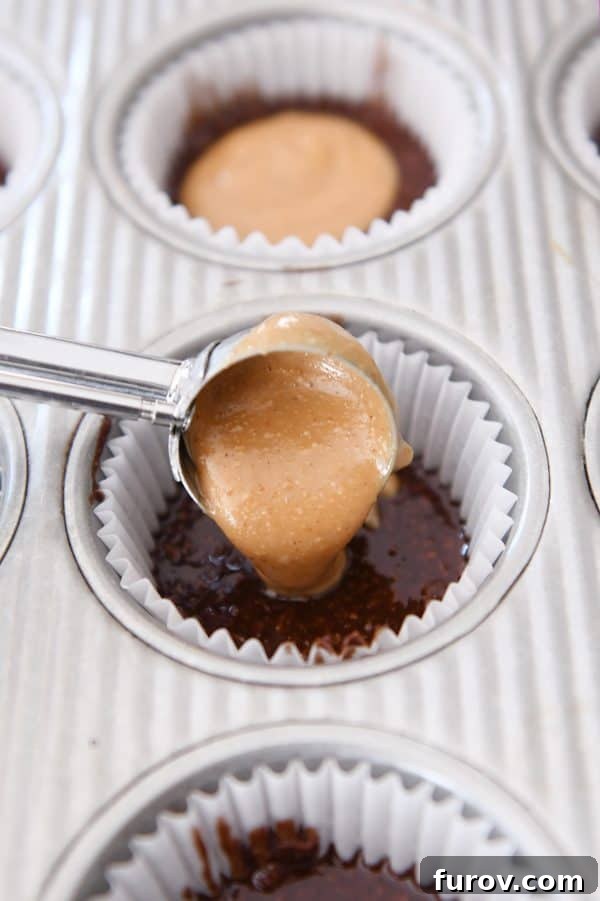
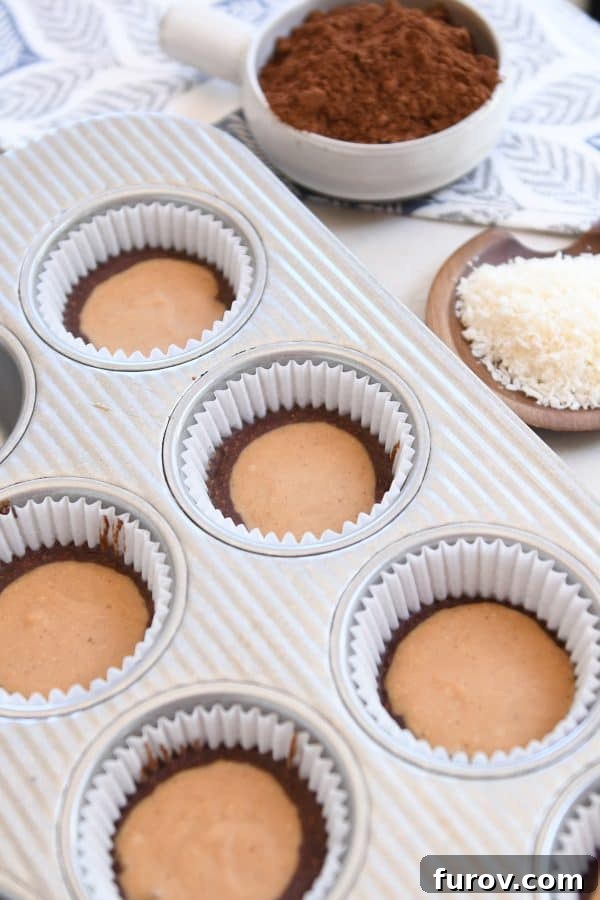
Once melted and smooth, dollop the sweet peanut butter topping directly onto the chilled chocolate layer. There’s no need to wait for the chocolate to fully set – the beauty of this recipe is its forgiving nature! Even if the chocolate is still a little soft, the peanut butter topping will meld beautifully and both layers will set together in the refrigerator.
This is where you realize how truly hard it is to mess up these no-bake peanut butter cups. Their straightforward process means less stress and more enjoyment in the kitchen.
Chilling, Storage, and Serving Your No-Bake Masterpieces
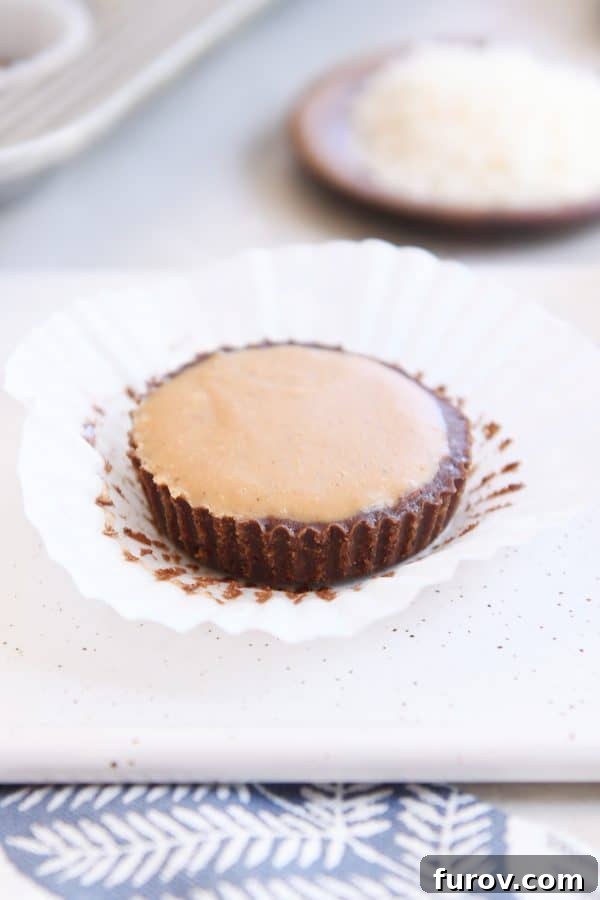
Once assembled, these delightful no-bake peanut butter cups need some time to chill and firm up. Refrigerate them for at least an hour, or until they are completely set. For a firmer treat, you can even pop them into the freezer for about 30 minutes. I personally prefer to keep them in the refrigerator at all times, as serving them chilled truly enhances their texture and flavor – the cool, firm layers are simply divine.
Storing your homemade peanut butter cups is easy! Keep them in an airtight container in the refrigerator for up to a week, or freeze them for longer storage (up to a month). If frozen, let them sit at room temperature for 5-10 minutes before enjoying for optimal texture. Be warned: they are so good, you might find yourself reaching for them more often than you intend!
Versatility and Customization: Endless Possibilities
These no-bake peanut butter cups are incredibly versatile, making them a fantastic base for all sorts of creative variations. While I’ve found myself making the classic version perhaps too often recently – they fulfill that sweet craving instantly and perfectly – their adaptability means you can easily tailor them to your taste or for specific occasions.
Flavor Enhancements & Toppings:
- A Sprinkle of Sea Salt: A flaky sea salt sprinkled on top before chilling enhances both the sweet and chocolatey notes, adding a gourmet touch.
- Chopped Nuts or Seeds: For added crunch and flavor (if not strictly nut-free), a sprinkle of chopped peanuts, almonds, or sunflower seeds can be delightful.
- Chocolate Drizzle: A simple drizzle of melted chocolate over the set cups adds an elegant finish.
- Extracts: A tiny drop of mint extract in the chocolate layer, or almond extract in the peanut butter, can introduce exciting new flavor dimensions.
- Dried Fruits: Following my dad’s lead, consider adding finely chopped dried cranberries or raisins to the chocolate base for a chewy, fruity twist.
Nut-Free and Allergy-Friendly Adaptations:
While the original recipe calls for peanut butter, it’s remarkably easy to make these truly “nut-free” for those with severe allergies. Simply substitute peanut butter with sunflower seed butter (like SunButter) or even a smooth, neutral tahini. Be aware that these substitutions may slightly alter the flavor profile and color, but the delicious no-bake concept remains intact.
Their quick assembly validates that peaceful feeling of knowing a sweet fix is always just a refrigerator door away. They make a terrific mid-afternoon pick-me-up and have been a huge hit with everyone from my strict vegan friends to dairy-free cousins and, of course, my treat-loving dad. These cups are fantastic enough to be present anytime, anywhere, and cater to a wide range of palates and dietary considerations. My only wish is that my kids hated them so I could have them all to myself!
I cannot wait to see what brilliant variations you come up with!
No-Bake Peanut Butter Cups
12
peanut butter cups
1 hour
20 minutes
1 hour
20 minutes
Pin
Ingredients
Chocolate Mixture:
-
⅓ cup
(75 g)
coconut oil -
⅓ cup
(85 g)
peanut butter (natural or creamy – see note) -
⅓ cup
pure maple syrup (see note) -
⅓ cup
(28 g)
cocoa powder, natural, dark or Dutch-process -
½ teaspoon
vanilla extract -
Pinch
salt -
¾ cup
(64 g)
unsweetened shredded coconut or quick oats (see note)
PB Mixture:
-
⅓ cup
(85 g)
peanut butter (natural or creamy – see note) -
1 tablespoon
pure maple syrup -
½ to 1 tablespoon
coconut oil
Instructions
-
Line a 12-cup muffin tin with muffin liners.
-
For the chocolate mixture, in a medium microwave-safe bowl, add the coconut oil, peanut butter, maple syrup, and cocoa powder. Microwave for 30-45 seconds, stir, and continue cooking in 20 second intervals until the mixture is melted and smooth.
-
Stir in the vanilla, salt and coconut (the mixture may be runny; that’s ok). Scoop the mixture evenly into the bottom of the muffin liners. Refrigerate while making the peanut butter topping.
-
For the peanut butter mixture, in a small microwave-safe bowl, add the peanut butter, maple syrup and coconut oil. Microwave until melted and smooth (don’t over heat).
-
Scoop the peanut butter mixture on the top of the chocolate mixture (it’s ok if the chocolate layer isn’t fully set up).
-
Refrigerate until set up, about an hour. Keep refrigerated and serve chilled.
Notes
Peanut Butter: I’ve made this recipe using natural peanut butter and also regular creamy peanut butter (like Jif). Both work great. Using natural peanut butter gives a nuttier flavor and a thinner consistency to both the chocolate and peanut butter layers (it’ll set up just fine in the refrigerator).
Maple Syrup: I have only used pure maple syrup in this recipe; you could probably experiment with honey or other sweeteners.
Coconut: my favorite coconut to use in this recipe is finely shredded unsweetened coconut (like this coconut). My dad has made several variations of this recipe using quick oats (or half coconut/half oats) with good results (he also adds chopped nuts and dried fruit).
Cocoa Powder: natural, unsweetened cocoa powder gives these PB cups a semisweet vibe; using Dutch-process or dark cocoa lends a rich, dark chocolate vibe.
Mel
Dessert
American
No-Bake
Nutrition Information (per serving)
Calories: 214kcal, Carbohydrates: 13g, Protein: 4g, Fat: 18g, Saturated Fat: 11g, Sodium: 69mg, Fiber: 3g, Sugar: 8g
Recommended Products
Recipe Source: Adapted from Mel’s Kitchen Cafe (originally inspired by this recipe at A Couple Cooks)