
Your Ultimate Guide to Home Canning: Essential Resources, Recipes, and Expert Tutorials for Food Preservation.
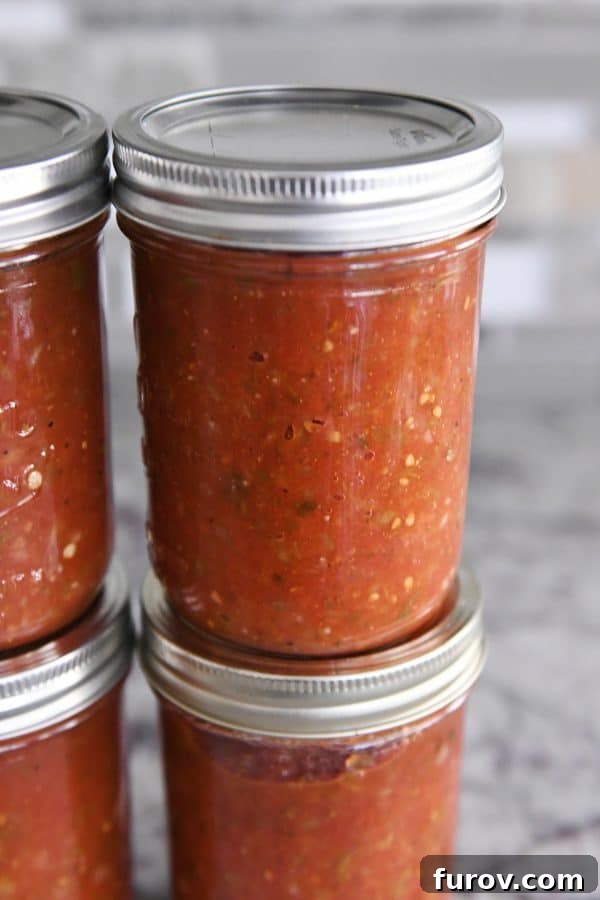
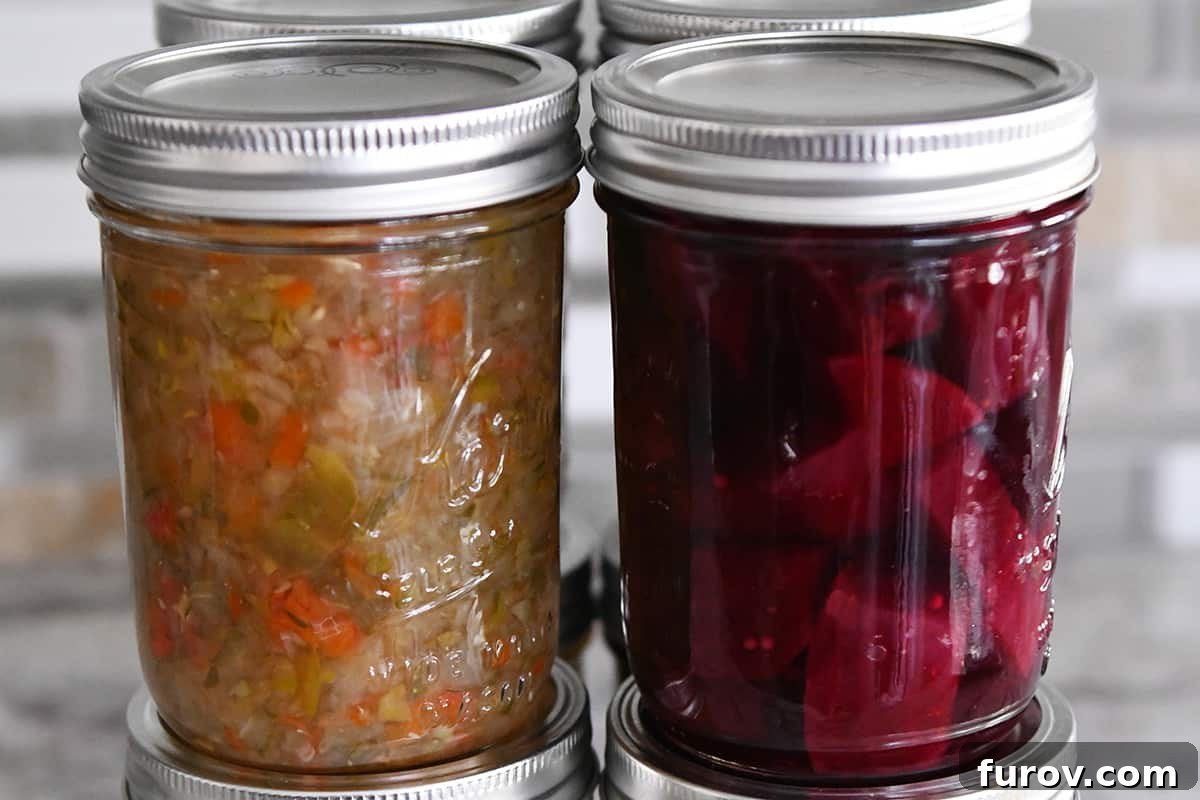
As August and September arrive, they herald the glorious peak of home canning season for many — a time of bountiful harvests and the satisfying rhythm of preservation. There’s a unique joy in transforming fresh produce into shelf-stable jars of deliciousness. From juicy tomatoes destined for rich sauces to sweet fruit jams, crisp peaches, and vibrant salsas, the possibilities are endless and incredibly rewarding.
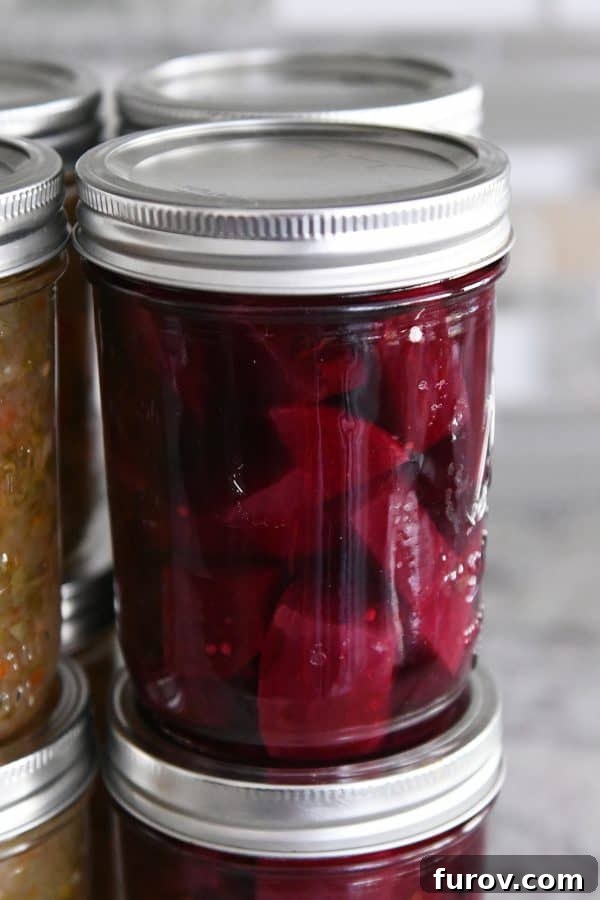
And yes, some of us even revel in the delight of pickled beets! While they might not be everyone’s top choice, the rich, earthy flavor and stunning purple hue of these preserved jewels are simply irresistible to those who appreciate them. The beauty of home canning is that it allows you to customize your pantry to your exact tastes, ensuring that your favorite seasonal produce can be enjoyed year-round.
Whether you’re taking your very first steps into the world of home canning or you’re a seasoned master preserver, sharing valuable resources and tried-and-true methods is always beneficial. For many years, the idea of canning felt daunting—conjuring images of sticky floors, overwhelming kitchen messes, and demanding hours. However, over the last decade, this traditional craft has transformed into one of my most cherished kitchen activities.
The truth is, home canning is often much simpler than it appears. The immense satisfaction that comes from preserving your own food, seeing those beautiful jars neatly lined up on your pantry shelves, is unparalleled. And there’s truly no sweeter sound in the kitchen than the gentle “pop” of a jar lid sealing, a clear sign of success and safety.
Beyond the personal satisfaction, home canning offers numerous benefits. It allows you to enjoy seasonal produce long after its harvest, reduce food waste, and gain control over the ingredients in your food, avoiding unwanted additives and preservatives found in store-bought alternatives. It’s also an empowering step towards greater food security and self-sufficiency, connecting us more deeply to our food sources.
This comprehensive guide brings together my favorite home canning resources, including essential how-to posts, highly recommended books, and my go-to recipes, designed to support you on your food preservation journey.
Important Safety Disclaimer: When it comes to home canning, food safety is paramount. I rigorously adhere to established guidelines and do not create or develop my own canning recipes. The risk of foodborne illness, particularly botulism, necessitates extreme caution. For the safest and most reliable results, always use canning recipes that have been thoroughly tested and officially approved for home canning by reputable sources. Prioritizing tested recipes ensures that your preserved foods are not only delicious but also safe for consumption.
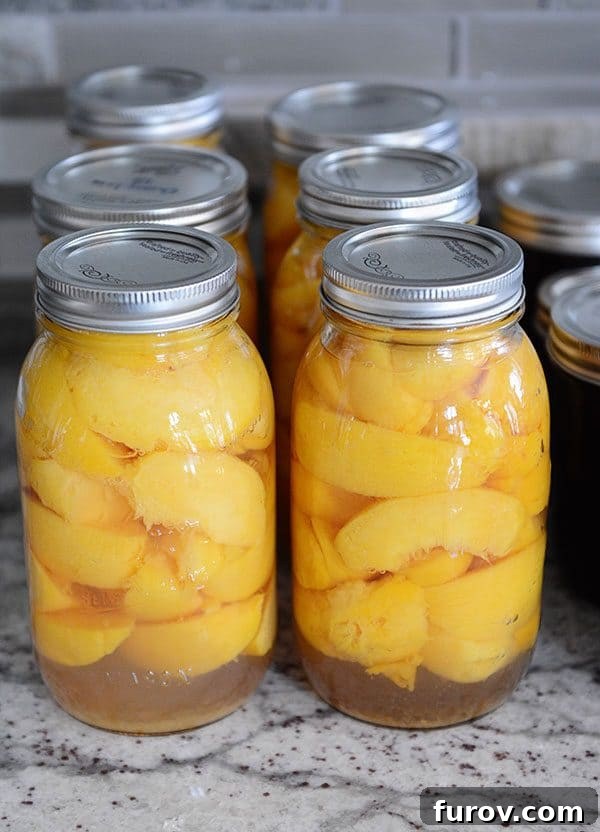
Essential Online Home Canning Resources
The internet offers a wealth of information and community support for home canners. Beyond personal blogs and recipe sites, there are highly valuable official resources and vibrant online communities. You can find numerous master preserver and general home canning groups on Facebook, which serve as excellent forums for asking questions, sharing experiences, and troubleshooting. These groups often connect you with experienced canners who can offer practical advice and support. For instance, I’m an active member of this particular group, which provides fantastic insights.
In addition to community forums, always refer to authoritative sources for canning guidelines and recipes. The National Center for Home Food Preservation (NCHFP), hosted by the University of Georgia, is the gold standard for scientifically tested home canning information in the United States. Their website offers detailed instructions, tested recipes, and up-to-date safety recommendations for a wide variety of foods and canning methods. Cross-referencing information with such trusted sources is always a wise practice.
Favorite Home Canning Recipes and Tutorials
Ready to get started? Here are some of my most cherished and frequently used canning recipes and detailed tutorials. These resources are perfect for both beginners and experienced canners looking for reliable, delicious ways to preserve their harvest. Each recipe is designed to guide you step-by-step through the process, ensuring both safety and incredible flavor.
Frequently Asked Questions About Home Canning
Here are answers to some of the most common questions I receive about home canning, offering practical advice for everyday preservers:
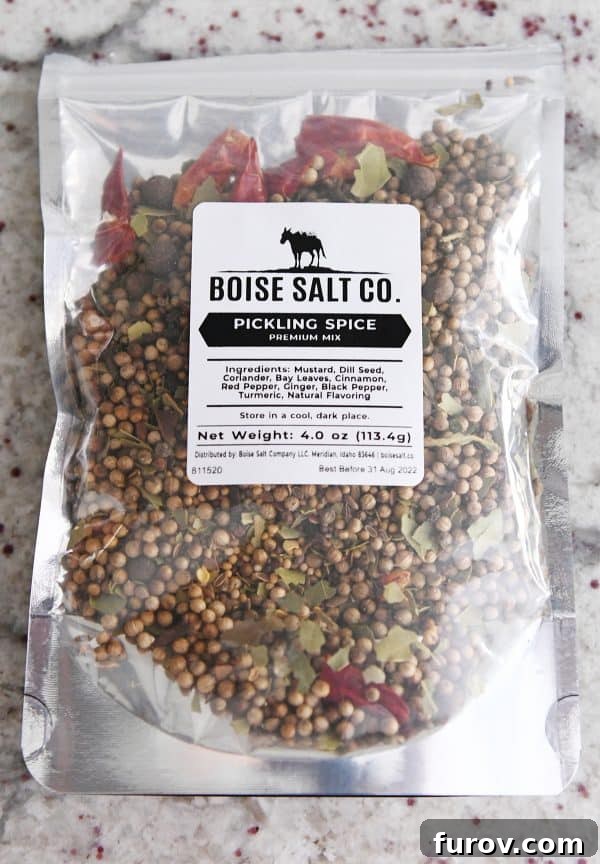
Q: Do you have a favorite pickling spice blend?
A: Absolutely! Over the years, I’ve experimented with a wide variety of pickling spice brands, and I’ve finally found a blend that consistently hits all the right notes for my palate. The Boise Salt Co blend (affiliate link) is exceptional. It combines a perfect balance of traditional pickling spices like mustard seed, dill seed, bay leaf, and peppercorns, creating a complex yet harmonious flavor profile. I used it in my last batch of pickled beets, and the results were outstanding. Highly recommend trying it for your next batch of pickles or other fermented vegetables!
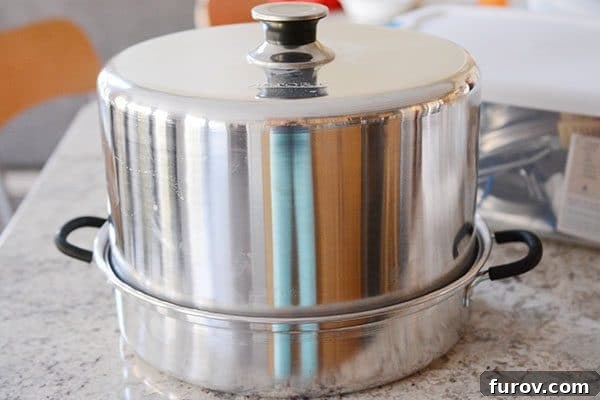
Q: Why do you use a steam bath canner instead of a traditional water bath canner?
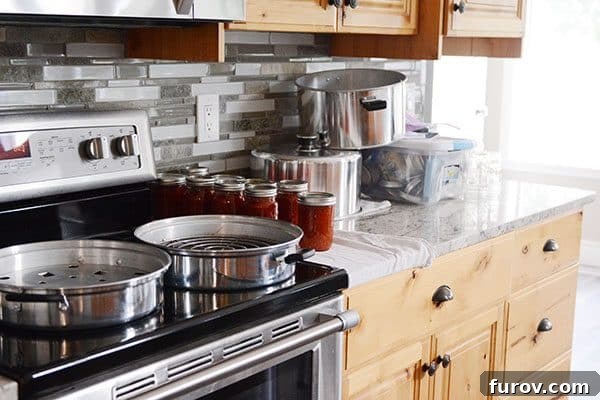
A: My transition to a steam bath canner several years ago, inspired by my Aunt Marilyn’s glowing recommendation, was a game-changer. Both steam bath canners and water bath canners are used for processing high-acid foods such as jams, jellies, pickles, and salsa. However, the operational differences are significant. A steam bath canner operates by heating a small amount of water to create steam, which then surrounds the jars to process them. This contrasts sharply with a traditional water bath canner, which requires a large pot filled almost entirely with boiling water to submerge the jars.
The primary advantages of a steam canner are numerous: it uses significantly less water, leading to faster heating times and reduced energy consumption. This also makes the entire canning process less cumbersome and considerably less messy, eliminating the risk of water splashing everywhere. Furthermore, the lighter weight of a steam canner, even when full, makes it much easier to handle. Since switching, I’ve experienced a dramatic reduction in jar breakage, which is a common frustration with water bath canning. I personally use this brand of steam canner (affiliate link), which I find perfect for my preference for small-batch canning, though they are also suitable for larger batches. Crucially, atmospheric steam canners are fully approved by the National Center for Food Preservation, ensuring safety and efficacy when used correctly.
Q: Do you need to keep canning lids and rings in hot or boiling water prior to using?
A: This is a common question, and the answer has actually evolved over time. Historically, it was standard practice to simmer metal canning lids in hot water before use, with the belief that it would help soften the sealing compound and promote a better seal. However, Jarden/Ball, a leading manufacturer of canning products, updated their recommendations a while ago. Their research indicated that the rubber sealing compound on modern lids is designed to work effectively without pre-heating.
Current best practice simply requires that new lids be washed in warm, soapy water to ensure they are clean and free of any dust or manufacturing residues. There’s no longer a need to keep them simmering in hot water; they can be used at room temperature directly from the package (after cleaning). Rings, or bands, also just need to be clean. This updated guidance simplifies the canning process and reduces an unnecessary step, allowing you to focus more efficiently on your preserving tasks.
Q: Have you used reusable Tattler lids? What’s your experience?
A: Yes, I invested in some of these reusable Tattler lids (affiliate link) a few years back after they came highly recommended for their eco-friendly design and potential long-term cost savings. My experience with them has been a journey of trial and error, definitely requiring some getting used to. My first couple of attempts were, to put it mildly, frustrating, and involved a fair share of strong language!
Unlike traditional metal lids, Tattler lids consist of two parts: a plastic disk and a separate rubber gasket. They require a slightly different application technique, specifically tightening the band only finger-tight during processing, then fully tightening once the jars are removed from the canner and cool. Despite the initial learning curve, I’ve found them to be reliable for certain applications, particularly for home-canned salsa. I will continue to use the ones I own, appreciating their reusability and contribution to reducing waste. However, I also still regularly use and value traditional metal lids and rings for their convenience and consistent performance, especially when I’m canning larger batches or trying new recipes. It really comes down to personal preference and what you’re comfortable with.
Q: If a jar doesn’t seal, can it be reprocessed?
A: Yes, absolutely! If you discover that a jar hasn’t sealed after its initial processing (usually indicated by a lid that springs up when pressed, rather than staying concave), it can often be reprocessed safely. The key is to do this promptly—within 24 hours of the initial processing. Beyond that timeframe, the quality and safety of the food inside may begin to diminish.
To reprocess a jar, first, inspect the jar rim for any chips or imperfections that might have prevented a proper seal. Sometimes, simply cleaning the rim thoroughly is enough. You should then replace the old lid with a brand new, clean lid (and optionally a new, clean jar if the old one had issues). If you are reprocessing jam or jelly that didn’t set, you can also open the jar, re-boil the contents with additional pectin (following specific recipes for remaking jam), and then reprocess the newly prepared product in clean jars with new lids. Ensure you use the correct processing time for the product and method. If reprocessing isn’t an option, the contents should be refrigerated and consumed within a few days or frozen.
Q: What is headspace and why is it important in canning?
A: Headspace is the empty space between the food surface and the underside of the lid in a canning jar. It’s crucial for several reasons. Firstly, during processing, food expands when heated, and proper headspace allows for this expansion without the food overflowing from the jar or interfering with the seal. Too little headspace can cause the food to boil out, leaving residue on the rim and preventing a vacuum seal. Secondly, once the jars cool, the food contracts, creating a vacuum that pulls the lid down and forms a tight seal. Without adequate headspace, a strong vacuum may not form, leading to unsealed jars. Different foods and canning methods require specific headspace measurements (typically ¼ inch for jams/jellies, ½ inch for fruits/pickles, and 1 inch for low-acid foods in pressure canning). Always follow recipe guidelines precisely.
Q: What are the key differences between water bath canning and pressure canning?
A: Understanding the distinction between water bath and pressure canning is fundamental to safe home food preservation. Water bath canning is suitable for high-acid foods (pH 4.6 or lower), such as fruits, jams, jellies, pickles, and tomatoes (often with added acid). It involves submerging jars in boiling water, which reaches a maximum temperature of 212°F (100°C). This temperature is sufficient to destroy molds, yeasts, and most bacteria in high-acid environments.
Pressure canning, on the other hand, is essential for low-acid foods (pH above 4.6), which include most vegetables, meats, poultry, and seafood. These foods require much higher temperatures, typically 240-250°F (116-121°C), to kill *Clostridium botulinum* spores, which can thrive in low-acid, anaerobic conditions and produce deadly toxins. Pressure canners achieve these temperatures by creating steam under pressure. Using the wrong canning method for a particular food can lead to serious health risks, so always follow tested recipes that specify the correct method.
While I’m certainly not an all-knowing canning expert or a certified master preserver, I am passionate about sharing reliable information and learning alongside you. If you have any other canning questions, please don’t hesitate to ask! I’m always happy to research and help point you in the right direction using trusted resources.
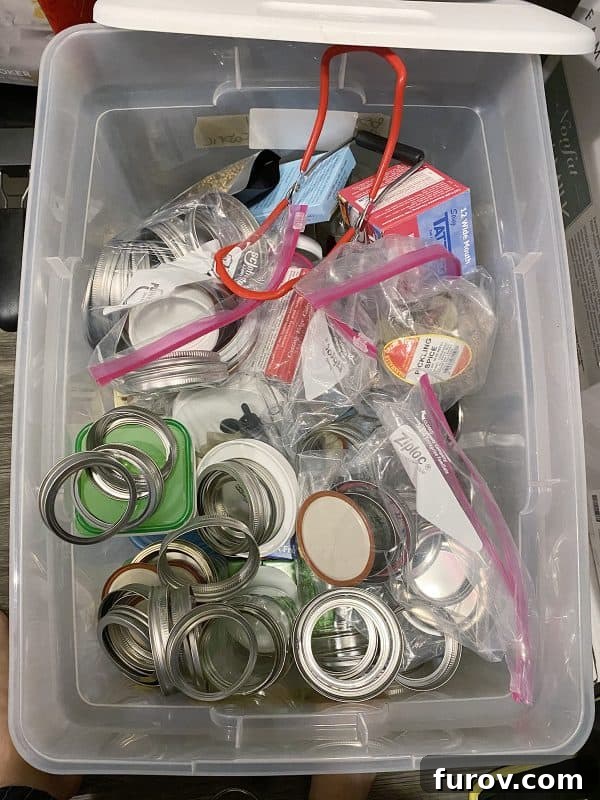
Speaking of things I’m *not* an expert on, as I recently shared on Instagram, I won’t be offering advice on perfectly organized canning supplies! Currently, this is my clever (ahem) organizing solution for canning lids and bands. Send help, or at least some inspiring organizational tips!
Disclaimer: I am a participant in the Amazon Services LLC Associates Program, an affiliate advertising program designed to provide a means for me to earn fees by linking to Amazon.com and affiliated sites. As an Amazon Associate I earn from qualifying purchases.