
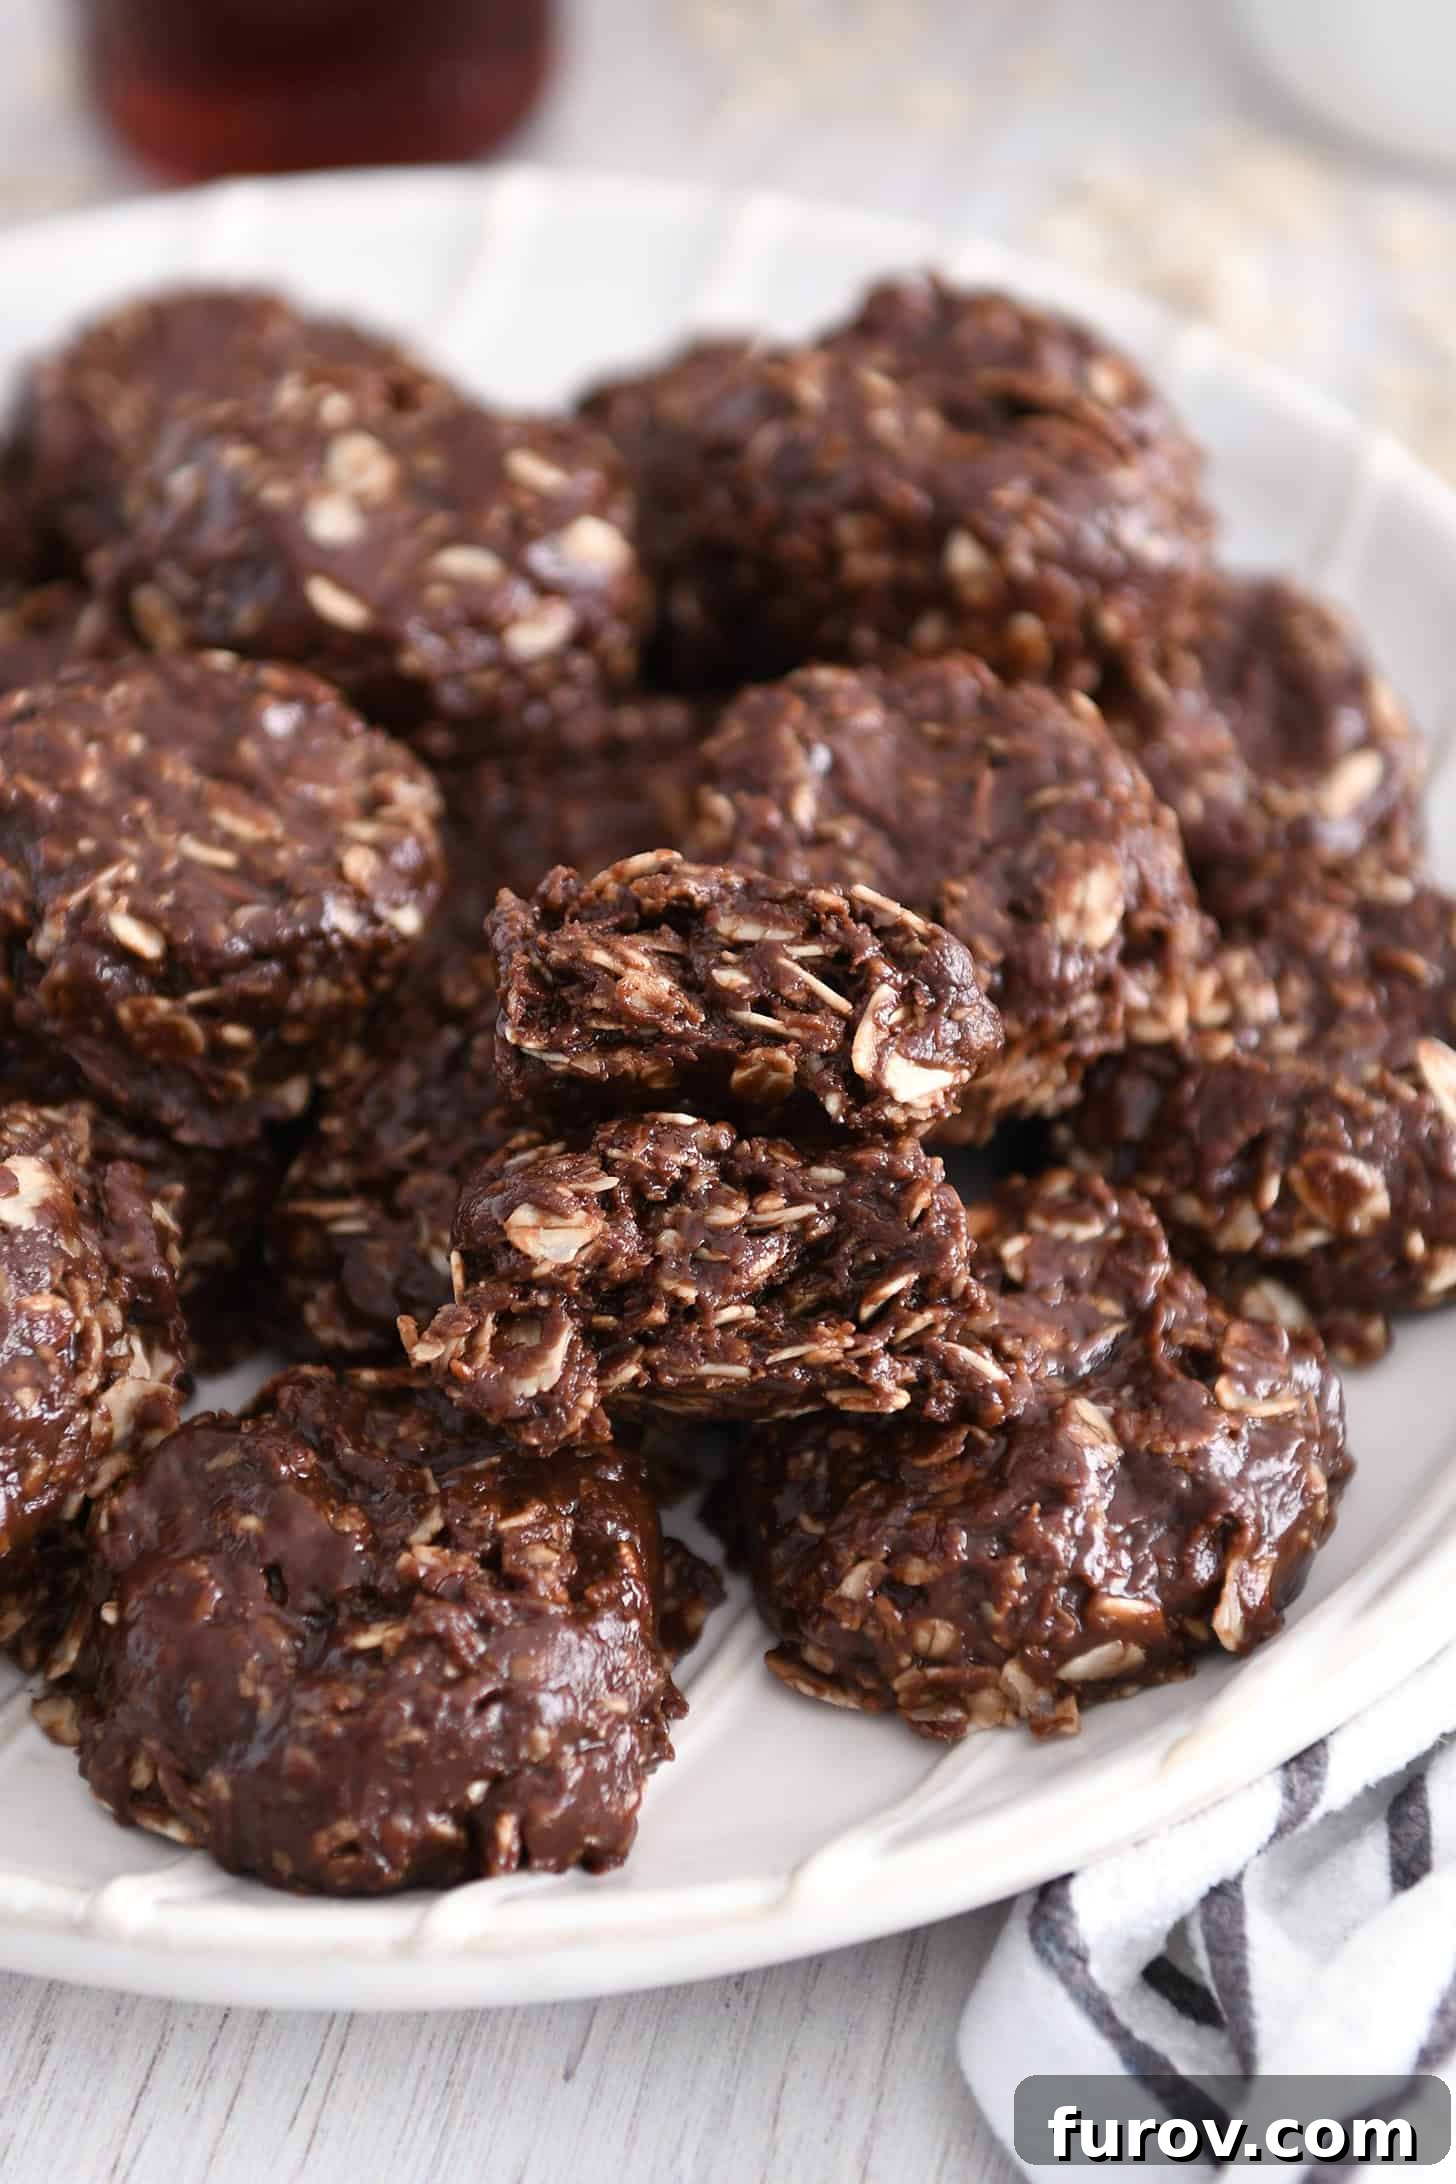
Craving a rich, decadent dessert that requires absolutely no baking? Look no further than these incredible Chocolate No-Bake Cookies! Boasting a sumptuously soft and fudgy texture, they are the ultimate chocolate fix, ready in a flash, and come with the added bonus of being free from refined sugar. Forget the oven and tedious prep; these delightful morsels are a testament to how simple and satisfying homemade treats can be. Perfect for any time a chocolate or cookie craving strikes, they store beautifully in the fridge for days, or even longer in the freezer, ensuring a sweet escape is always within reach.
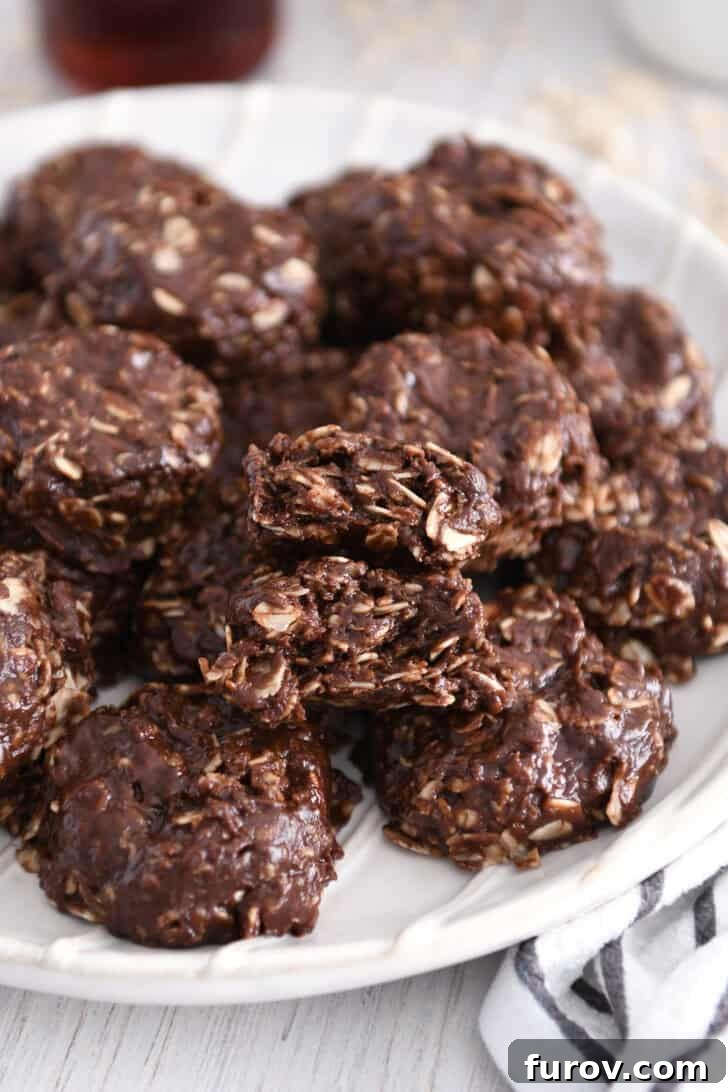
Why These Fudgy No-Bake Cookies Are a Must-Try
There are countless reasons why these **fudgy no-bake cookies** have become a staple in my kitchen, and I’m confident they’ll become a favorite in yours too. They effortlessly combine convenience with incredible flavor and a delightful texture that sets them apart from traditional recipes.
- Unparalleled Soft and Fudgy Texture: Many classic no-bake cookie recipes often disappoint with a gritty, overly sugary consistency. Our recipe, however, delivers a truly decadent experience. Each bite of these **chocolate no-bake cookies** is pure bliss—smooth, rich, and incredibly fudgy, melting in your mouth without any unwelcome grittiness. This superior texture is achieved through a careful balance of ingredients and a specific heating method, ensuring a consistently delightful result every time.
- Effortlessly Easy and Exceptionally Fast: In today’s busy world, who doesn’t appreciate a dessert that comes together quickly with minimal fuss? These cookies are incredibly simple to make, requiring no oven and only a few minutes of active prep time. Using a kitchen scale to measure ingredients like peanut butter, coconut oil, and honey directly into the saucepan makes the process even easier and significantly reduces cleanup. It’s the perfect solution for last-minute cravings or when you need a speedy treat without heating up your kitchen.
- Outstanding Shelf Life and Freezability: One of the best qualities of these **easy no-bake cookies** is how well they keep. They maintain their delightful texture and flavor for up to a week when stored in the refrigerator, making them an ideal make-ahead dessert. For even longer enjoyment, they can be easily frozen. Simply thaw them when a craving strikes, or—for a truly indulgent experience—nibble on them straight from the freezer. Trust me, it’s a game-changer!
- A Delicious Refined Sugar-Free Option: While we’re not claiming these are health food (they are cookies, after all!), this recipe offers a fantastic way to reduce refined sugar in your homemade treats. By using natural sweeteners like honey and pure maple syrup, we not only avoid granulated sugar but also contribute to the cookies’ incredibly smooth and fudgy texture. These natural alternatives provide a nuanced sweetness and depth of flavor that can’t be replicated with processed sugars, making them a more wholesome indulgence. If you’re looking for **refined sugar-free cookies** that don’t compromise on taste or texture, this recipe is a winner.
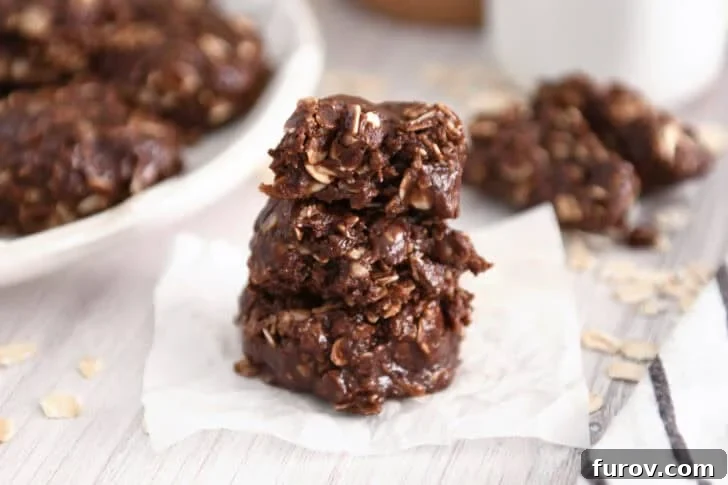
Key Ingredients for Perfect No-Bake Cookies
Each ingredient in this **chocolate no-bake cookie** recipe plays a crucial role in achieving their signature fudgy texture and rich flavor. Understanding the nuances of each component will help you create the best possible cookies.
- Peanut Butter: The foundation of these cookies! For the creamiest, most spreadable texture, I highly recommend using a smooth, natural peanut butter that’s a bit on the runnier side. Brands like Trader Joe’s creamy natural peanut butter work wonderfully. While regular, thicker peanut butter varieties like Skippy or Jif can also be used, be aware that their denser consistency might result in a slightly firmer cookie. Avoid overly thick or “stodgy” natural peanut butters, as they can make the mixture too stiff.
- Coconut Oil: This ingredient contributes to the smooth consistency and helps the cookies set up beautifully. I typically use unrefined coconut oil, which imparts a very subtle coconut flavor that is barely noticeable in the final product, blending seamlessly with the chocolate and peanut butter. If you prefer no coconut hint at all, refined coconut oil is a perfect substitute. Alternatively, unsalted butter can be used for a slightly different richness and melt-in-your-mouth quality.
- Honey + Pure Maple Syrup: The dynamic duo of natural sweeteners! I’ve found that a combination of honey and pure maple syrup yields the most delightful flavor and optimal fudgy texture for these cookies. The unique properties of each sweetener contribute to the overall mouthfeel and complexity. However, if you only have one on hand, you can certainly use all honey or all pure maple syrup. It’s crucial to use *pure* maple syrup, not pancake syrup, as pancake syrup is often made with corn syrup and artificial flavors, which will negatively impact both the taste and texture of your cookies.
- Cocoa Powder: This is where the rich chocolate flavor comes from! I’ve tested this recipe with both unsweetened natural cocoa powder and Dutch-process cocoa powder, and both options produce excellent results. Natural cocoa powder is more acidic, leading to a slightly brighter chocolate flavor, while Dutch-process cocoa is alkalized, giving a darker color and a milder, smoother chocolate taste. Feel free to use your preferred type. If your cocoa powder is prone to lumps, sifting it before adding will ensure a smooth, uniform chocolate distribution.
- Old-Fashioned Rolled Oats: These provide structure and a pleasant chewiness to the cookies. The larger flakes absorb the liquid mixture and contribute to the hearty texture that makes these no-bake cookies so satisfying.
- Quick Oats: The addition of quick oats alongside old-fashioned oats is key to achieving that perfect delightful, slightly dense yet tender texture. Quick oats are cut into smaller pieces and cook faster, helping to bind the mixture and create a smoother consistency. If you don’t have quick oats, simply pulse an equal amount of old-fashioned oats in a blender or food processor a few times until they are broken into smaller pieces that resemble quick oats.
Creative Add-In Ingredients: Customize your **homemade chocolate no-bake cookies** with exciting additions! For an extra layer of flavor and texture, consider folding in shredded coconut or finely chopped nuts like pecans, walnuts, or almonds. You could also experiment with dried fruits such as cranberries or raisins for a chewy, fruity contrast. When adding shredded coconut, reduce the amount of old-fashioned rolled oats by the same quantity of coconut you’re adding. For every 1/2 cup of chopped nuts or dried fruit, decrease the old-fashioned oats by 1/4 cup to maintain the ideal cookie consistency.
How to Make the Best Chocolate No-Bake Cookies
Making these **fudgy chocolate no-bake cookies** is incredibly straightforward, even for beginner bakers. Follow these simple steps to create a batch of irresistible treats:
- Prepare Your Pan: First, line a half-sheet pan with parchment paper and lightly grease it with nonstick cooking spray. This prevents sticking and makes for easy removal of your finished cookies.
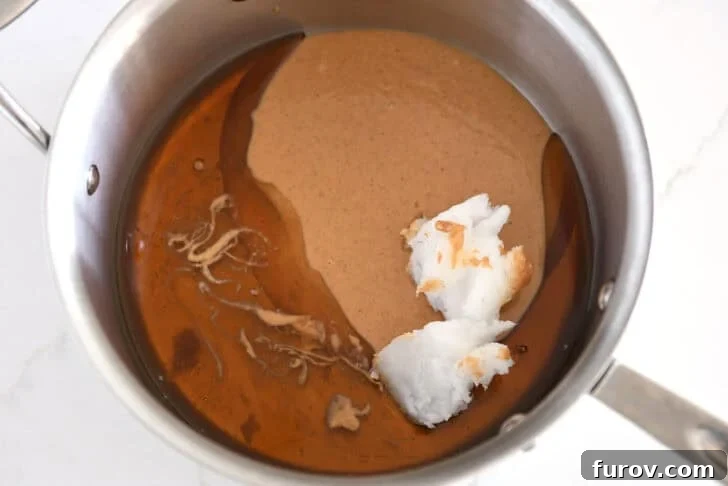
- Heat the Wet Ingredients: In a medium saucepan, combine the peanut butter, coconut oil, honey, and pure maple syrup. Heat the mixture over medium heat, stirring constantly with a spatula. The goal is to melt the ingredients and bring them to a gentle simmer. Watch carefully for small bubbles to just start forming on the bottom of the pan—do not let the mixture come to a rolling boil, as this can affect the final texture. This step ensures all ingredients are well-incorporated and heated just enough.
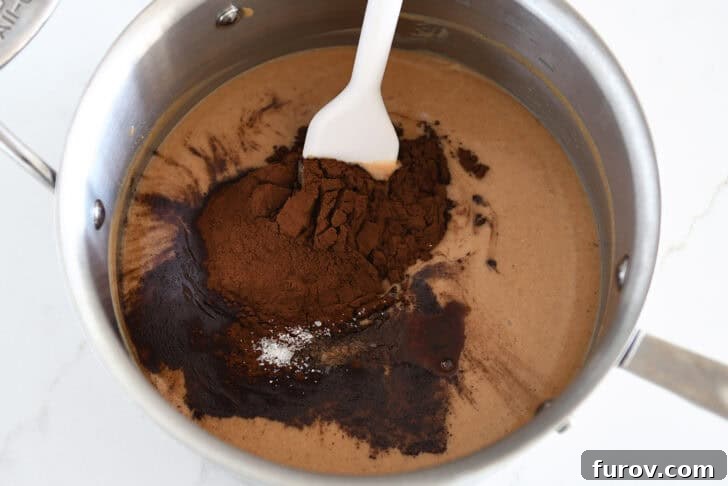
- Remove from Heat and Flavor: Immediately remove the saucepan from the heat. Stir in the cocoa powder, vanilla extract, and salt. Continue stirring until all these dry ingredients are completely combined and the mixture is smooth and glossy. Removing it from the heat before adding these ensures the vanilla flavor isn’t cooked off and prevents the cocoa powder from clumping.
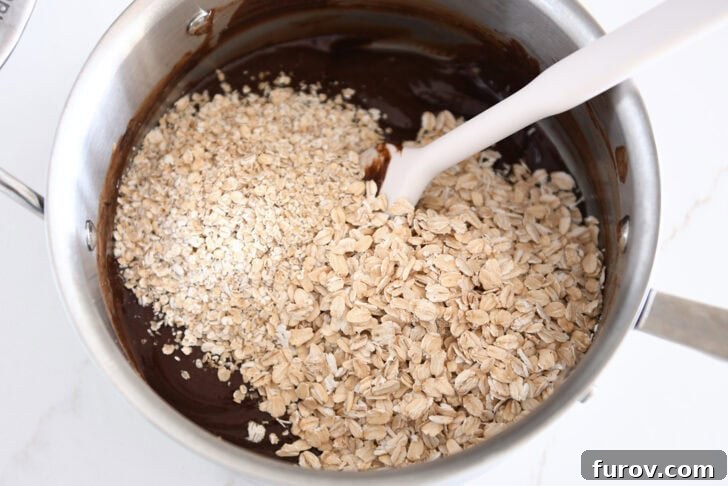
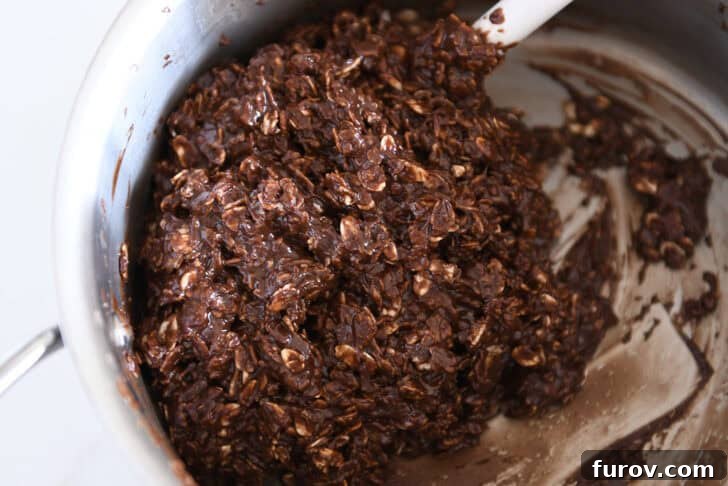
- Incorporate the Oats: Add both the old-fashioned rolled oats and quick oats to the chocolate mixture. Stir thoroughly until the oats are evenly coated and well-distributed throughout the batter. This step is crucial for achieving that characteristic chewy texture of **oatmeal no-bake cookies**.
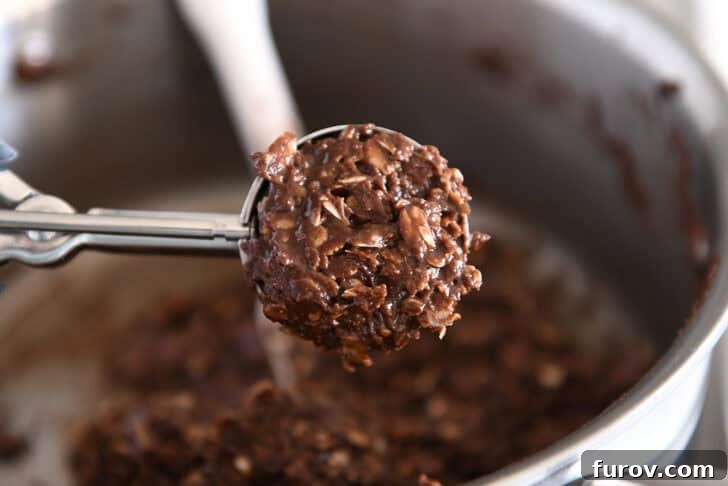
- Scoop and Chill: Using a medium cookie scoop (a #40 scoop, which holds about 2 tablespoons, works perfectly) or two spoons, drop mounds of the cookie dough onto your prepared baking sheet. You can make them smaller or larger to suit your preference. Optionally, gently flatten the tops of the cookie mounds with the back of your scoop or spoon for a more classic cookie shape. Once all the dough is scooped, place the pan in the refrigerator and let the cookies chill until they are fully set and no longer melty—this usually takes about an hour. Chilling is essential for firming up the cookies and achieving that perfect fudgy consistency.
Serving Suggestion: While these cookies can be enjoyed at room temperature, I personally find them most delicious when chilled. The cool temperature enhances their fudgy texture and makes them incredibly refreshing. They do tend to soften slightly if left out at room temperature for extended periods, but because they rely on cocoa powder for their chocolate flavor instead of melted chocolate chips, they won’t leave your fingers coated in melted chocolate, making them a less messy option regardless of temperature.
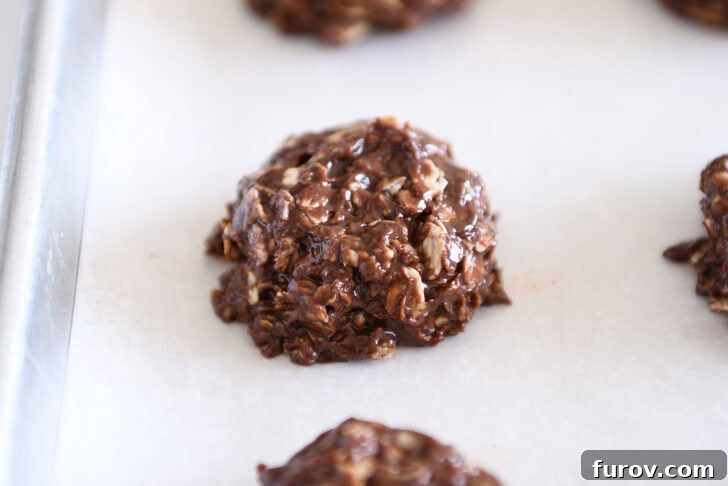
Comparing Chocolate No-Bake Cookie Recipes
You might notice other **no-bake cookie recipes** that include melted chocolate chips in the batter. While those can be delicious in their own right, they often result in a more candy-like and sometimes firmer, less fudgy texture. This particular recipe stands out because it relies solely on cocoa powder for its rich chocolate flavor. This choice isn’t just about taste; it significantly contributes to the superior, ultra-fudgy texture we aim for. Using cocoa powder also makes these delicious treats a bit more economical to make, as it’s generally less expensive than chocolate chips, especially high-quality ones.
Troubleshooting Common No-Bake Cookie Issues
Even with a simple recipe like this, a few common issues can arise. Here are some quick tips to troubleshoot:
- Cookies are too crumbly: This often happens if the mixture wasn’t heated enough, or if there wasn’t enough liquid. Ensure the peanut butter, coconut oil, and sweeteners are fully melted and just begin to simmer before removing from heat.
- Cookies are too sticky/don’t set: Conversely, if your cookies remain too soft or sticky, it might mean the mixture was over-boiled, causing too much moisture to evaporate, or the ratio of wet to dry ingredients is off. Double-check your measurements, especially for the oats. Proper chilling time is also crucial for setting.
- Can I use a different nut butter? Yes, you can experiment with other creamy nut butters like almond butter or cashew butter. Be mindful of their consistency; if they are very thick, you might need a tiny bit more liquid (like a teaspoon or two of additional maple syrup) to achieve the right batter consistency.
- Can I make these vegan? Absolutely! Simply substitute the honey with additional pure maple syrup and ensure your peanut butter is vegan-friendly. If using butter instead of coconut oil, opt for a good quality vegan butter alternative.
- How long do they last? When stored in an airtight container in the refrigerator, these cookies will stay fresh and delicious for up to a week. For longer storage, freeze them for up to 2-3 months.
These **chocolate no-bake cookies** are more than just a quick dessert; they are a delightful solution for those frequent chocolate cravings. Keeping a batch in the fridge or freezer means you’re always just moments away from a satisfying, sweet treat. They may possess a rustic charm, lacking the elaborate decorations of some “classic” baked cookies, but their incredible flavor and texture easily earn them a spot as one of my all-time favorite cookies. I sincerely hope you find as much joy in making and savoring them as I do!
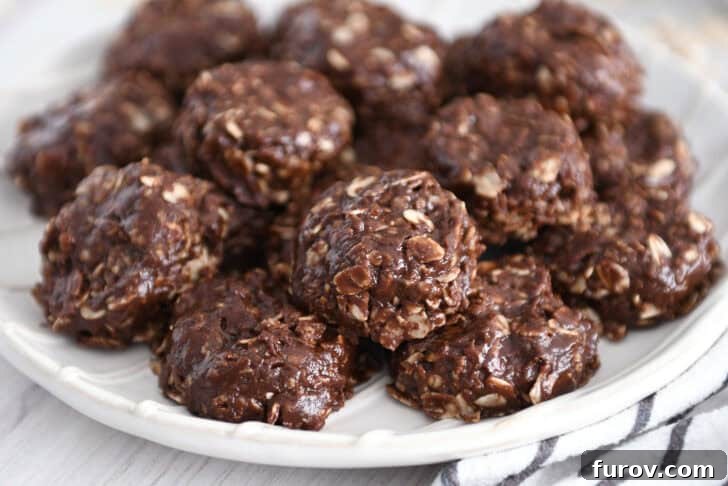
My Favorite Chocolate No-Bake Cookies
Yield: 16 cookies
Prep Time: 15 mins
Cooling Time: 1 hr
Total Time: 1 hr 15 mins
4.54 stars (13 ratings)
Pin Recipe
Ingredients
- ¾ cup (163 g) creamy natural or regular peanut butter (see note)
- ¼ cup (57 g) coconut oil
- ¼ cup (80 g) honey
- ¼ cup (80 g) pure maple syrup
- ¼ cup (21 g) Dutch-process or natural, unsweetened cocoa powder (sift before adding if the cocoa powder is lumpy)
- 1 teaspoon vanilla extract
- ¼ teaspoon salt
- 1 ¼ cups (125 g) old-fashioned rolled oats
- ½ cup (50 g) quick oats
Instructions
- Line a half sheet pan with parchment paper and lightly grease with nonstick cooking spray.
- In a medium saucepan, add the peanut butter, coconut oil, honey and maple syrup. Heat over medium heat, stirring constantly, until bubbles just start to simmer on the bottom of the pan (don’t let the mixture come to a boil).
- Remove from the heat and stir in the cocoa powder, vanilla and salt until well-combined.
- Add the oats and stir until evenly combined. Spoon or scoop the no-bake cookie batter into mounds on the prepared baking sheet. (A #40 cookie scoop – about 2 tablespoons – works well.) Optional: lightly flatten the mounds with the back of the cookie scoop or spoon, if desired.
- Place the pan in the fridge and let the cookies set up and cool, about an hour. The cookies can be enjoyed chilled or at room temperature, keeping in mind that they will soften quite a bit the longer they are at room temperature.
Notes
- Peanut Butter: These no-bake cookies have been successfully made with both runny natural peanut butter (like Trader Joe’s) and creamy regular peanut butter (like Skippy). Results may vary slightly if using a very thick or “stodgy” natural peanut butter.
- Coconut Oil: Unsalted butter can be substituted for coconut oil.
- Honey/Maple Syrup: While the combination of honey and maple syrup is recommended for optimal flavor and texture, you can use all of one or the other.
- Oats: For the best texture, the combination of quick oats and old-fashioned rolled oats is highly recommended. If only old-fashioned oats are available, coarsely blend ½ cup to simulate quick oats.
- Add-Ins: Feel free to incorporate shredded coconut or chopped nuts. When adding shredded coconut, reduce old-fashioned rolled oats by an equal amount. For every ½ cup of chopped nuts or dried fruit, decrease old-fashioned oats by ¼ cup.
Recipe Source: Adapted from Mel’s Kitchen Cafe