
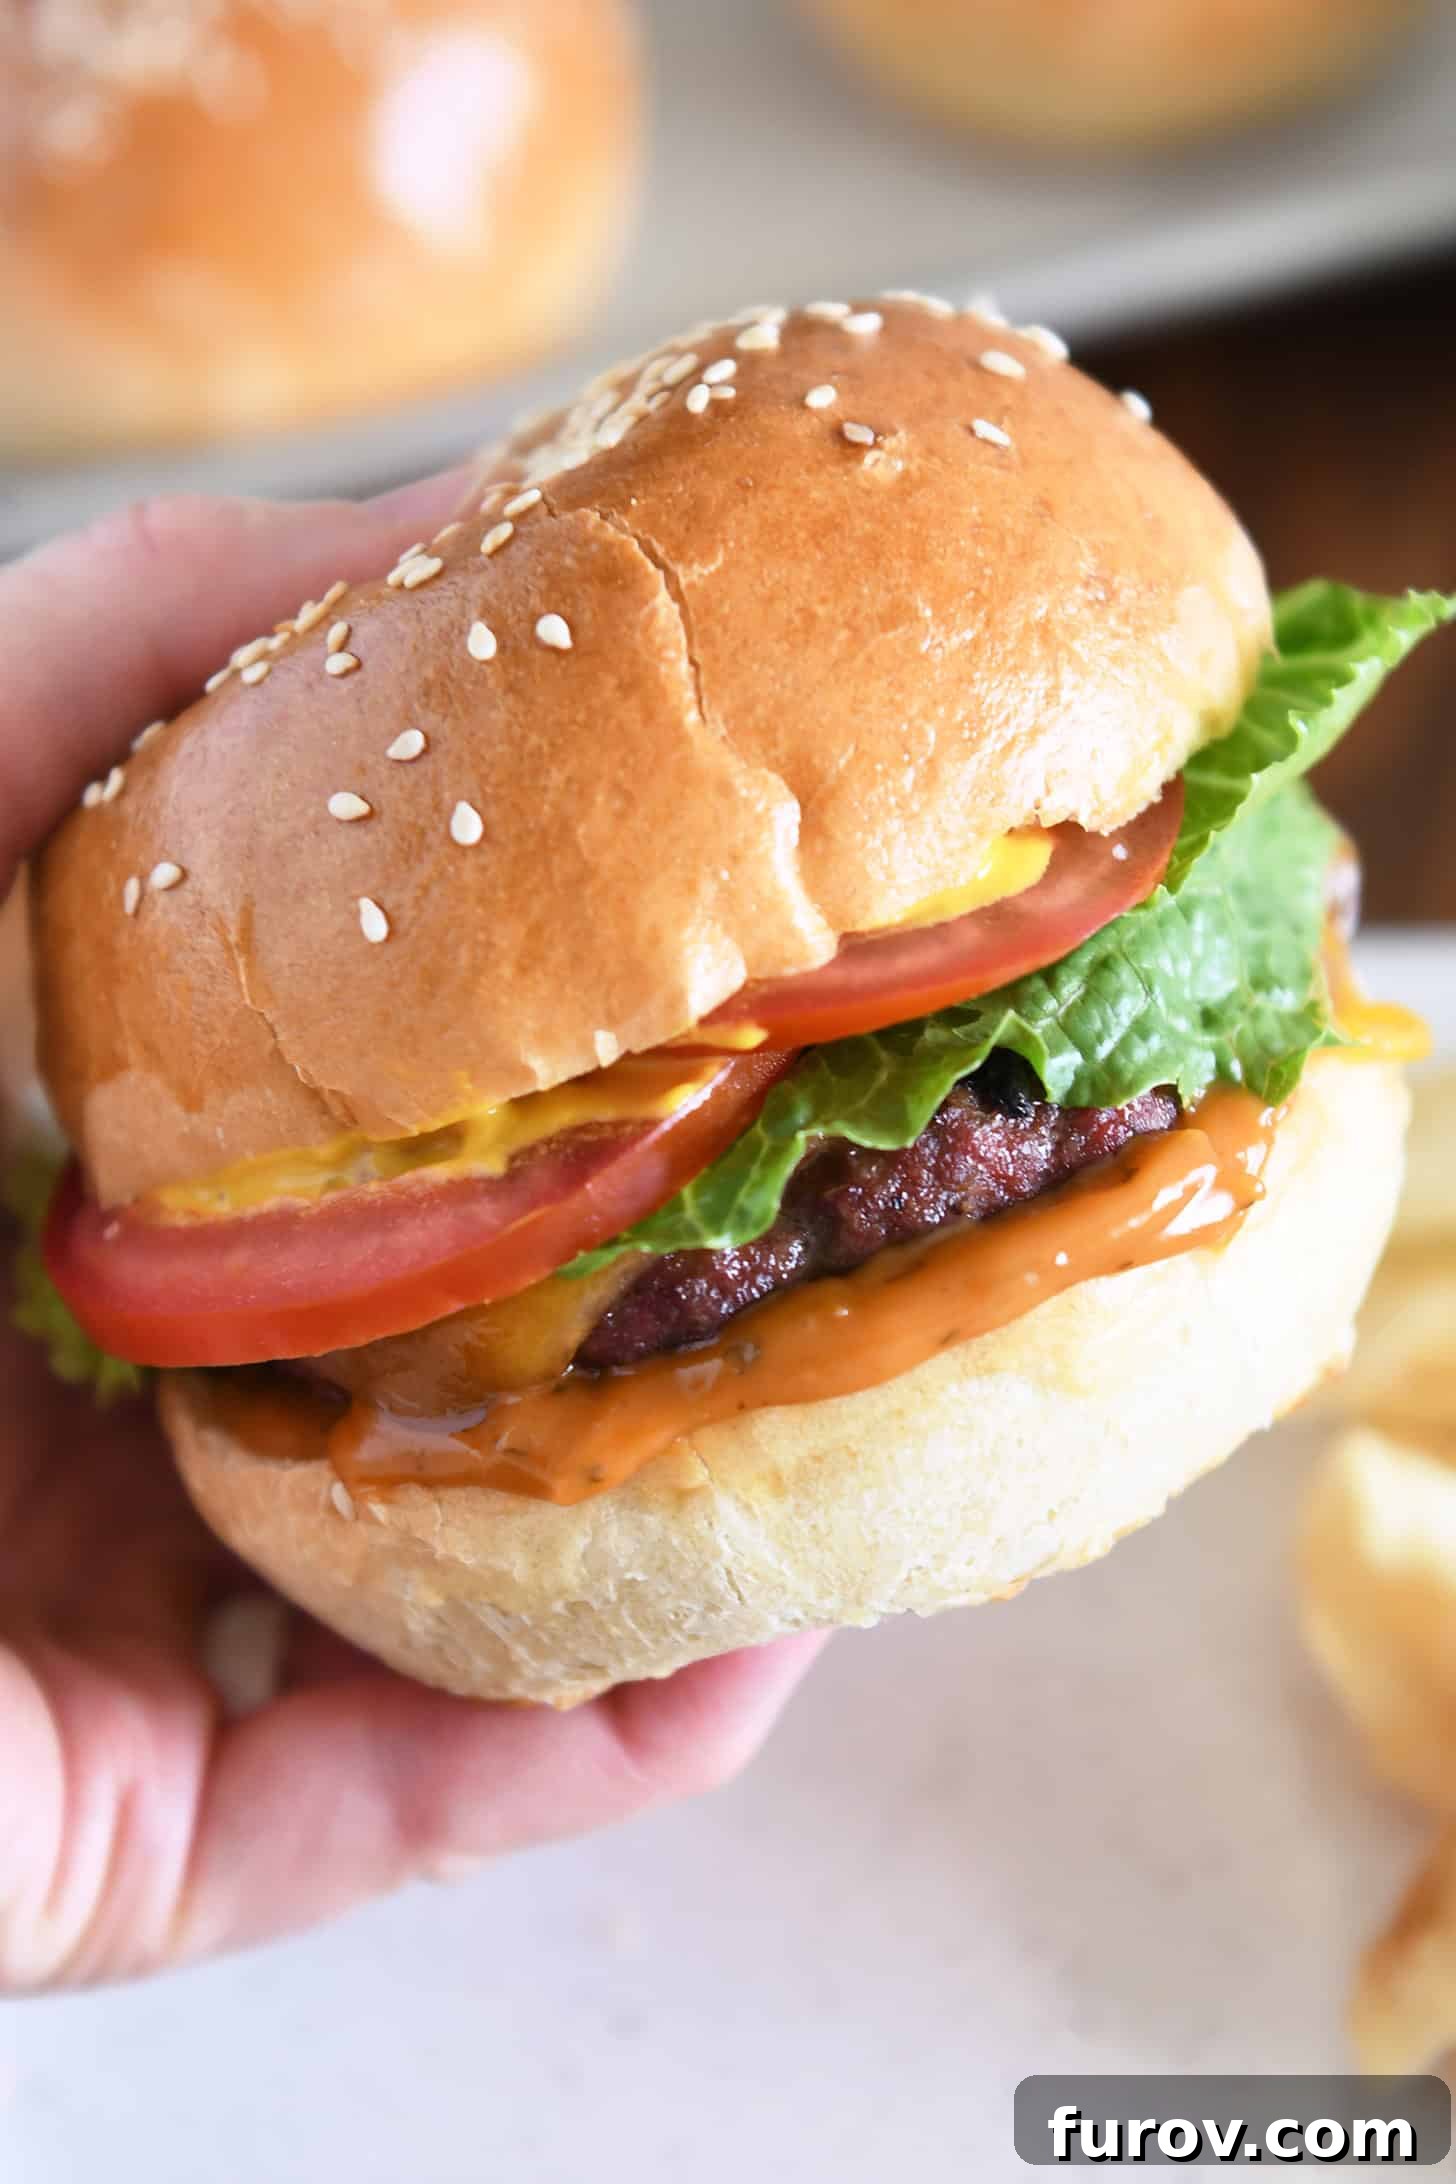
Welcome to the ultimate guide for crafting the perfect homemade hamburger buns! Forget store-bought options that often fall flat; these buns are incredibly easy to make, require minimal effort, and rise beautifully in a surprisingly short time. The result? Buns that are wonderfully soft and fluffy, yet robust enough to hold up to the juiciest burgers and all your favorite toppings without crumbling. Get ready to elevate your burger experience from ordinary to extraordinary.
This versatile recipe isn’t just for hamburgers; it excels for hot dog buns, mini slider buns, or even larger sub sandwich rolls. Whether you’re a seasoned bread baker or just starting your journey in the kitchen, this recipe is designed to be straightforward and rewarding. These buns aren’t just simple; they’re irresistibly delicious and guaranteed to impress!
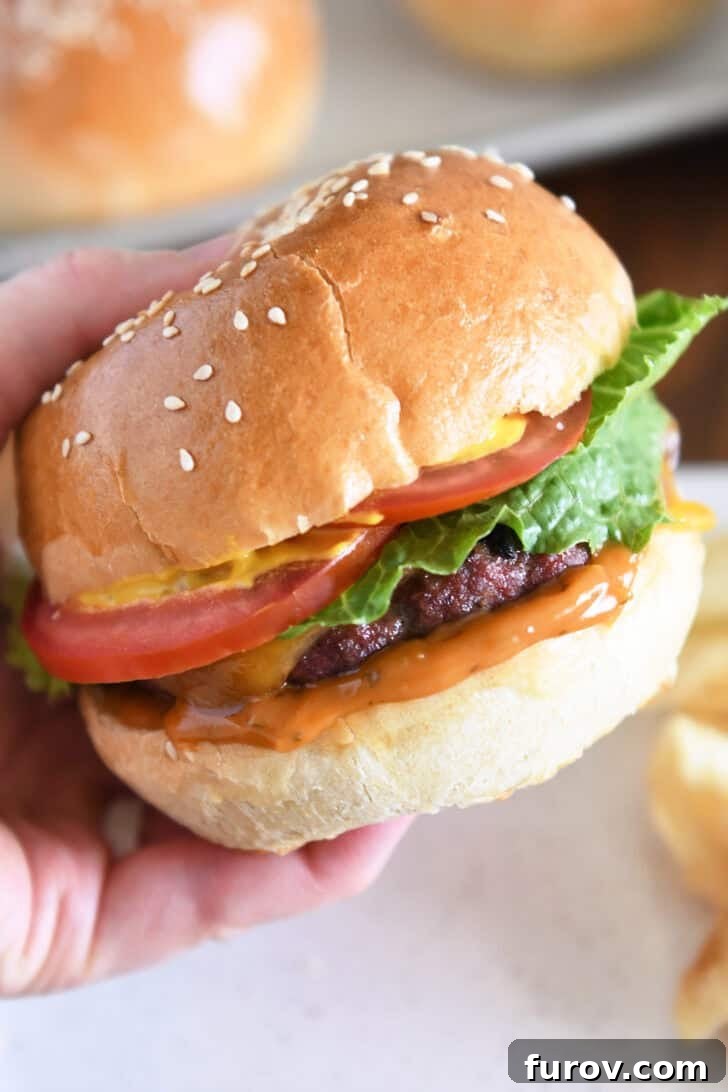
Crafting Your Own Homemade Hamburger Buns: A Step-by-Step Guide
Embarking on the journey of making homemade hamburger buns might seem daunting, but this recipe proves just how simple and enjoyable it can be. The dough for these buns is incredibly forgiving and adaptable, easily made either in a stand mixer with a dough hook or kneaded by hand. Whichever method you choose, the process is designed for success, yielding perfect buns every time.
Essential Tips for Dough Perfection:
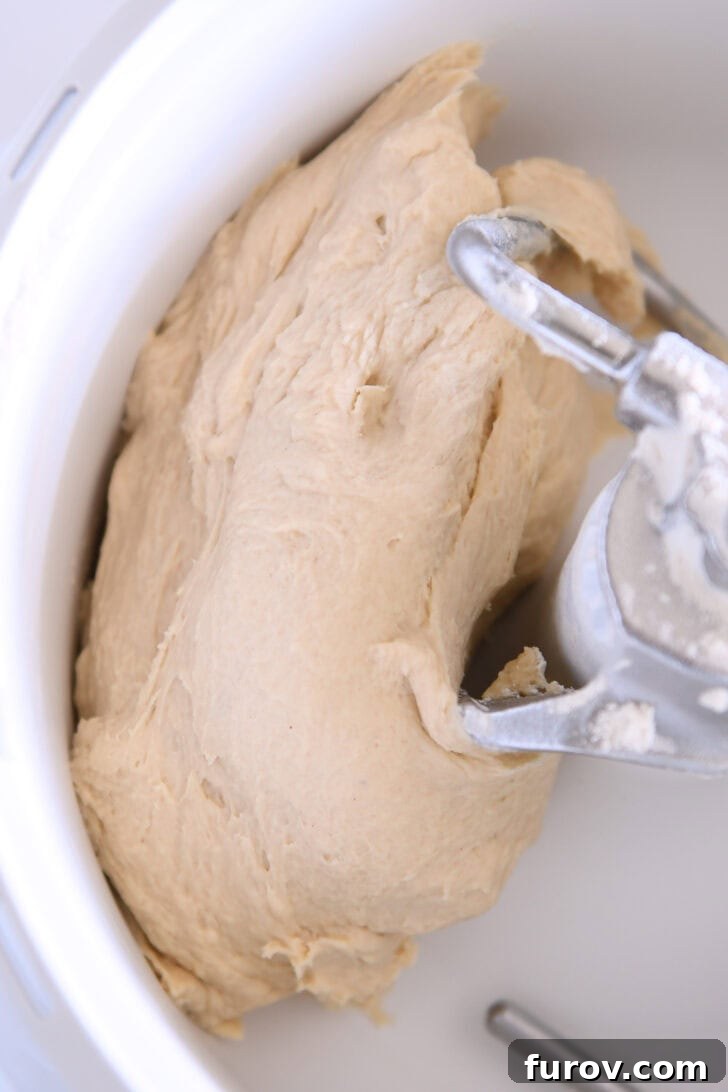
- **Flour Consistency is Key:** The exact amount of flour required can fluctuate based on environmental factors like elevation and humidity, as well as how the flour is measured. Begin by adding the initial quantity of flour, then gradually incorporate more until the dough forms a soft, cohesive ball that cleanly pulls away from the sides and center of your mixing bowl. The dough should feel supple and slightly tacky, but not overly sticky. Trust your instincts and the dough’s texture over a precise measurement.
- **The Ideal Rise:** For convenience and optimal results, I always recommend allowing your dough to complete its first rise directly in the same mixing bowl. Simply cover it with a clean kitchen towel or plastic wrap to create a warm, draft-free environment.
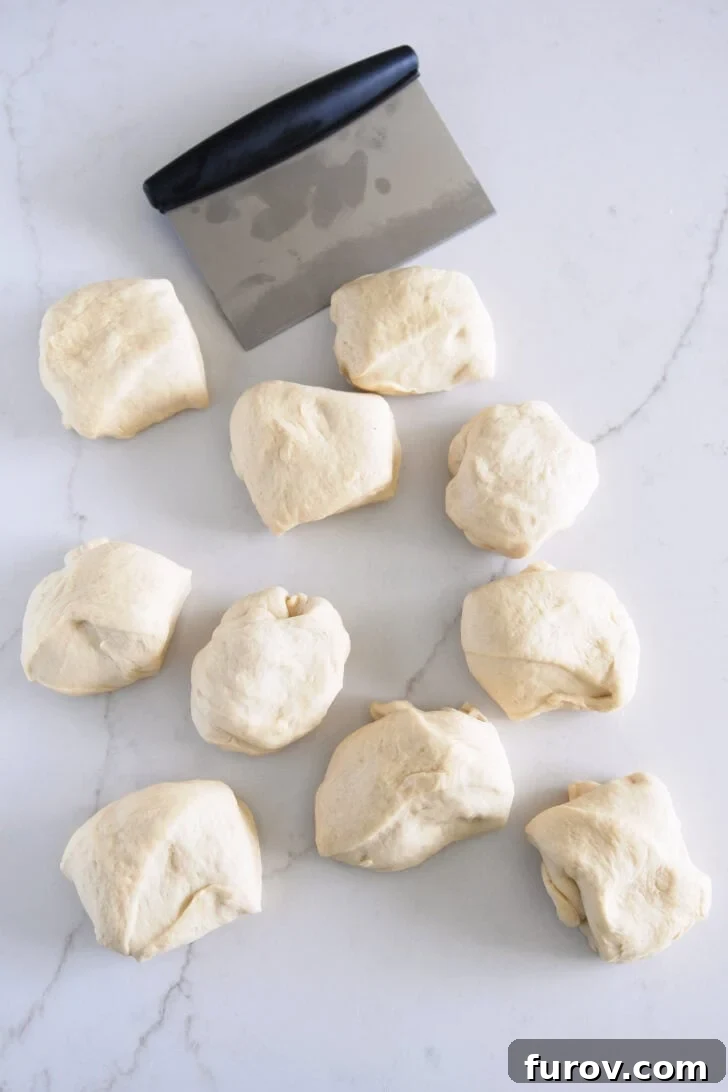
- **Portioning for Uniformity:** Once your dough has beautifully risen and doubled in size, gently turn it out onto a lightly greased countertop. This provides a non-stick surface for easy handling. Divide the dough into 10 equal pieces. For the most consistent bun size, aim for each piece to weigh approximately 4.5 to 4.7 ounces. This precision helps ensure even baking and a professional appearance for all your buns.
Customizing Your Bun Size: Each portion of dough, when properly divided, will create a baked bun with a diameter of about 3.75 to 4 inches. This is a perfect size for standard burgers. However, one of the greatest advantages of making your buns from scratch is the ability to customize! If you envision larger, bakery-style buns for substantial patties, or smaller, delightful slider buns for appetizers, simply adjust the division of the dough accordingly. Just remember to bake them a little longer or shorter depending on the size.
Perfecting the Shape: Shaping and Pressing Your Buns for Success
Once your dough has completed its first rise and has been divided, the next crucial step is to shape it into uniform, round buns. This process is straightforward and significantly impacts the final look and texture of your homemade hamburger buns.
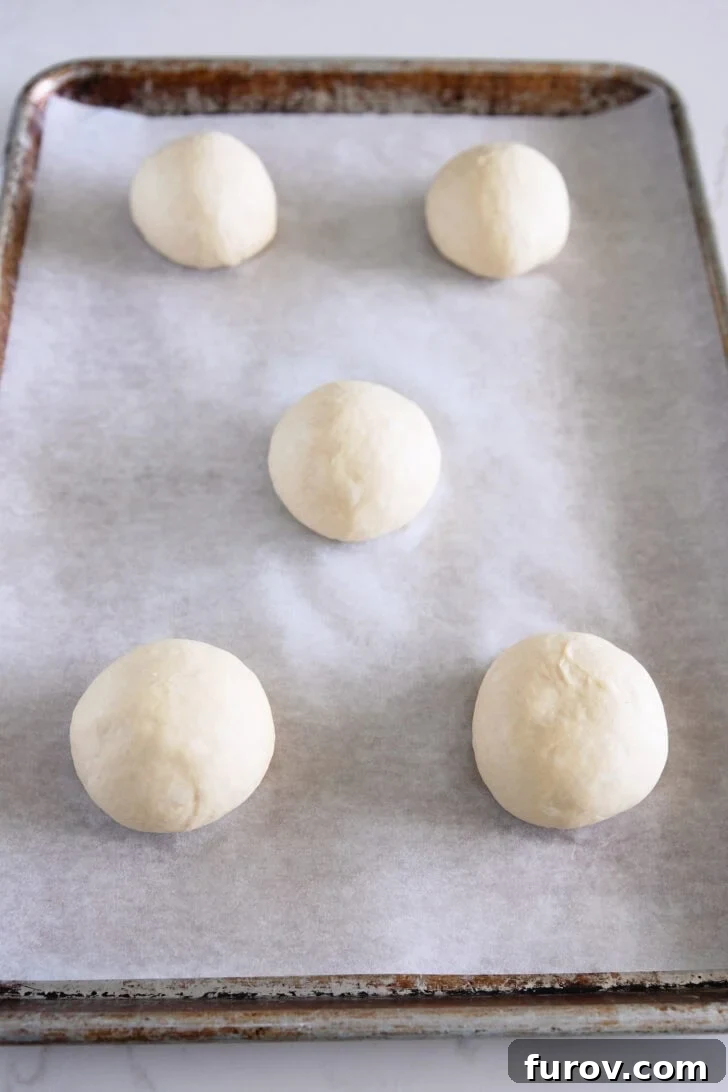
- Forming Round Balls: Take each individual piece of dough and gently shape it into a smooth, round ball. The goal here is to create a tight surface tension on the outside of the ball, which helps the bun rise evenly and maintain its shape during baking. You can achieve this by cupping the dough with your hand on a lightly floured surface and rotating it, or by gently tucking the edges under until a smooth top forms.
- Strategic Placement on Baking Sheets: Line two half-sheet pans with parchment paper. This prevents sticking and makes for easy cleanup. Arrange your dough balls several inches apart on the prepared pans. Adequate spacing is essential to allow the buns ample room to expand during their second rise and baking without crowding each other.
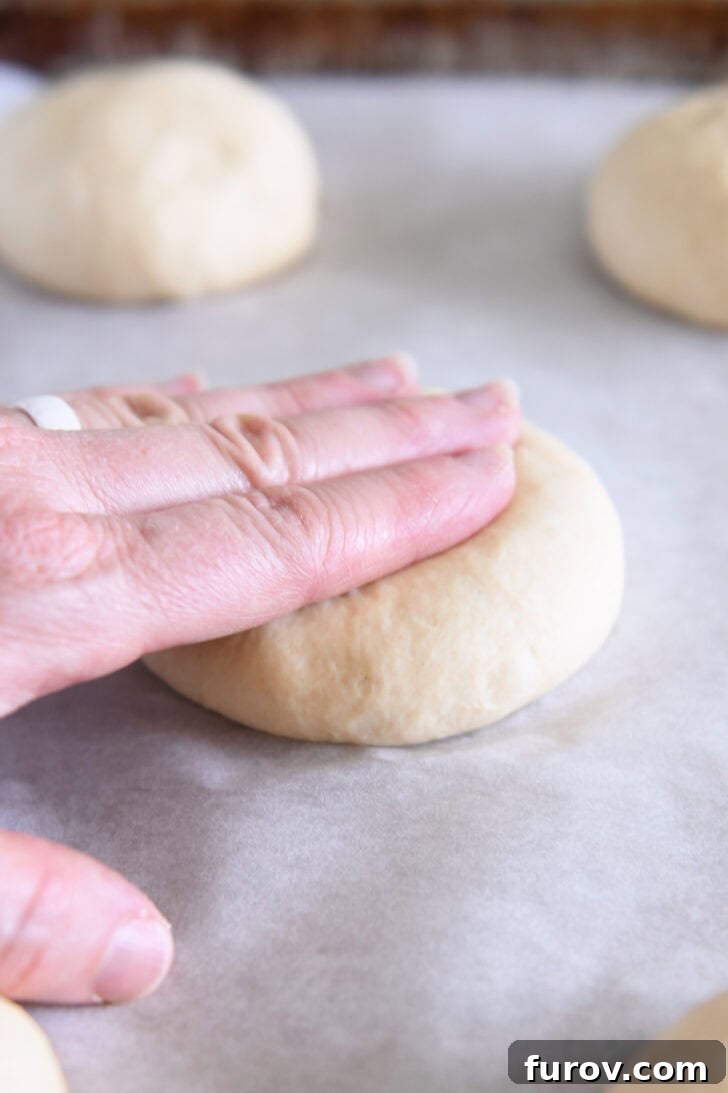
- Pressing for the Perfect Bun Shape: Using the palm of your hand, gently press each ball of dough into a thick disc. Aim for a thickness of approximately 1/2 to 3/4 inches. This crucial step prevents the buns from puffing up into tall, dome-like shapes, ensuring they have the classic flattened top that’s ideal for holding burger patties and toppings. Don’t press too thin, or they won’t have enough structure to rise into fluffy buns.
- The Second Rise: Cover the pressed dough discs lightly with a clean kitchen towel or plastic wrap. Allow them to rise in a warm, draft-free location until they are noticeably puffy and almost doubled in size again. This second proofing is vital for achieving that soft, airy texture in the final product.
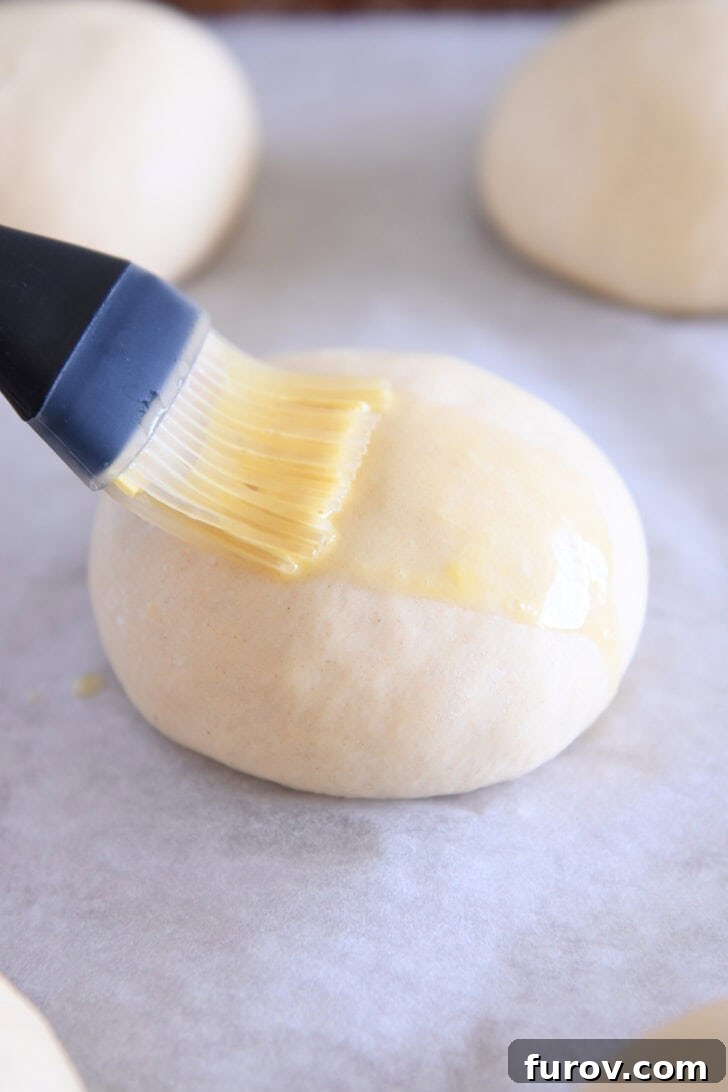
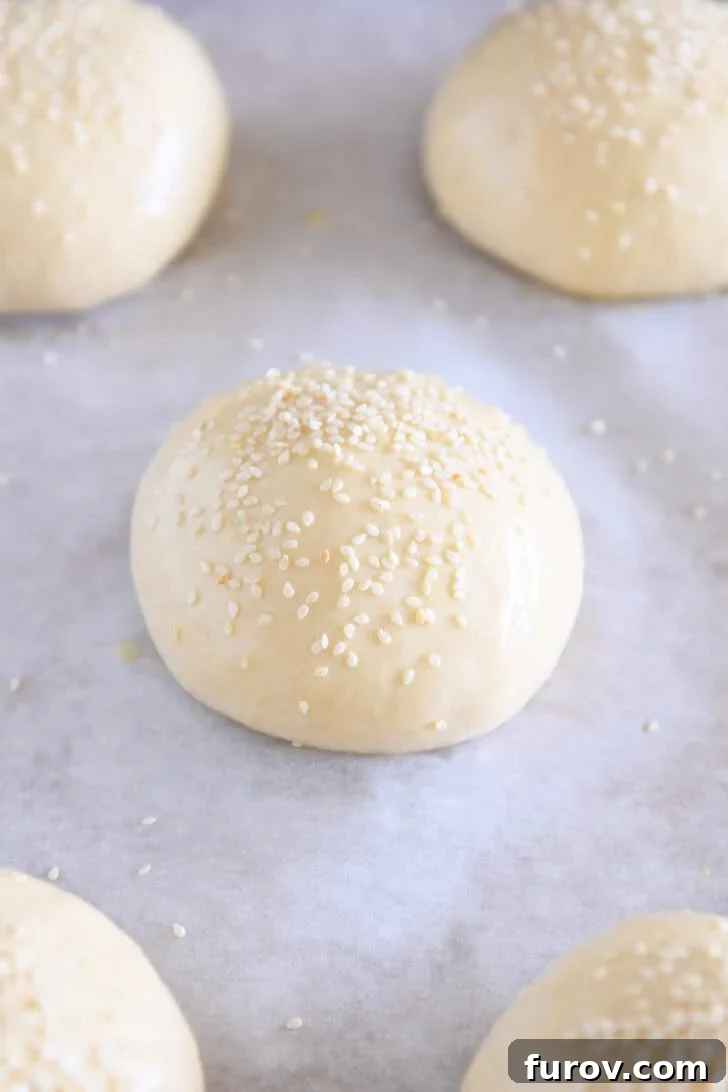
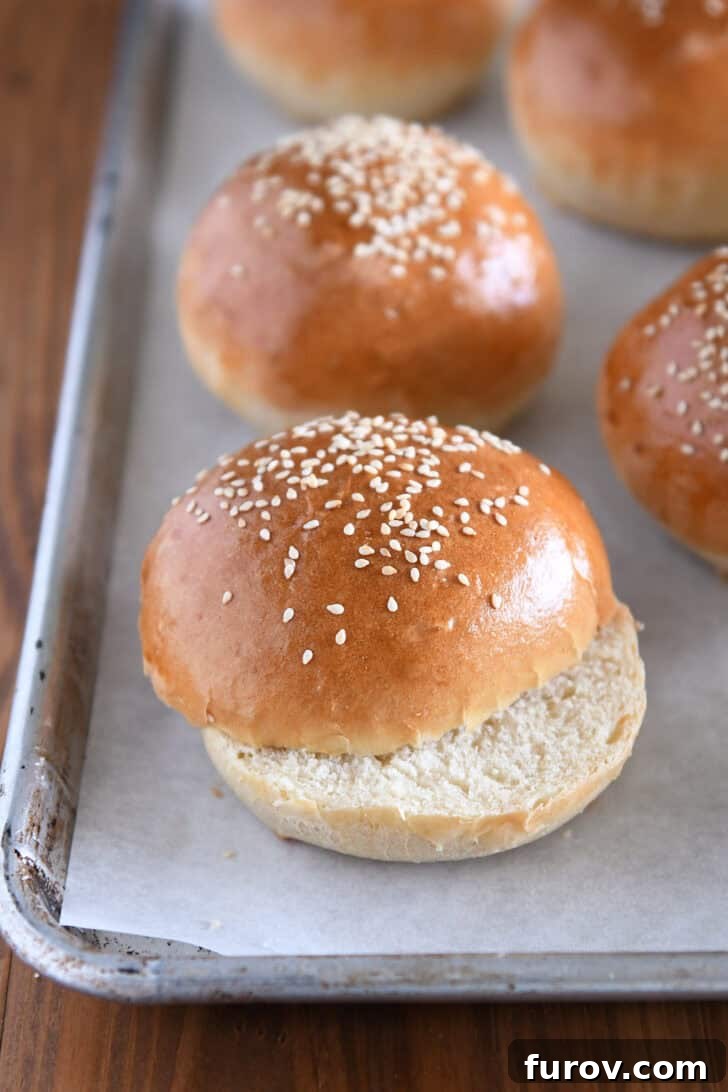
- The Golden Touch: Egg Wash and Toppings: Just before baking, gently brush the tops of the risen buns with an egg wash (typically one egg whisked with a tablespoon of water). This step is key to achieving that beautiful, glossy golden-brown crust. For an authentic touch and added flavor, sprinkle the tops with sesame seeds. This step is optional but highly recommended.
- Baking to Golden Perfection: Place your prepared pans into a preheated oven and bake until the buns are a rich golden brown. The color indicates they are perfectly cooked through and have developed a delicious crust.
Expert Tip for Shaping: If you find that the dough springs back significantly after you try to press it into a disc, it means the gluten is still too tight. Simply let the dough rest on the counter for another 5 to 10 minutes. This short rest allows the gluten to relax, making the dough more pliable and easier to press into the desired flat shape without resistance. Then, you can press again with ease.
Get ready for truly picturesque homemade hamburger buns with this incredibly easy and reliable recipe! Like, WOW. These buns are absolute perfection. They consistently deliver on both appearance and texture, transforming any meal into a special occasion.
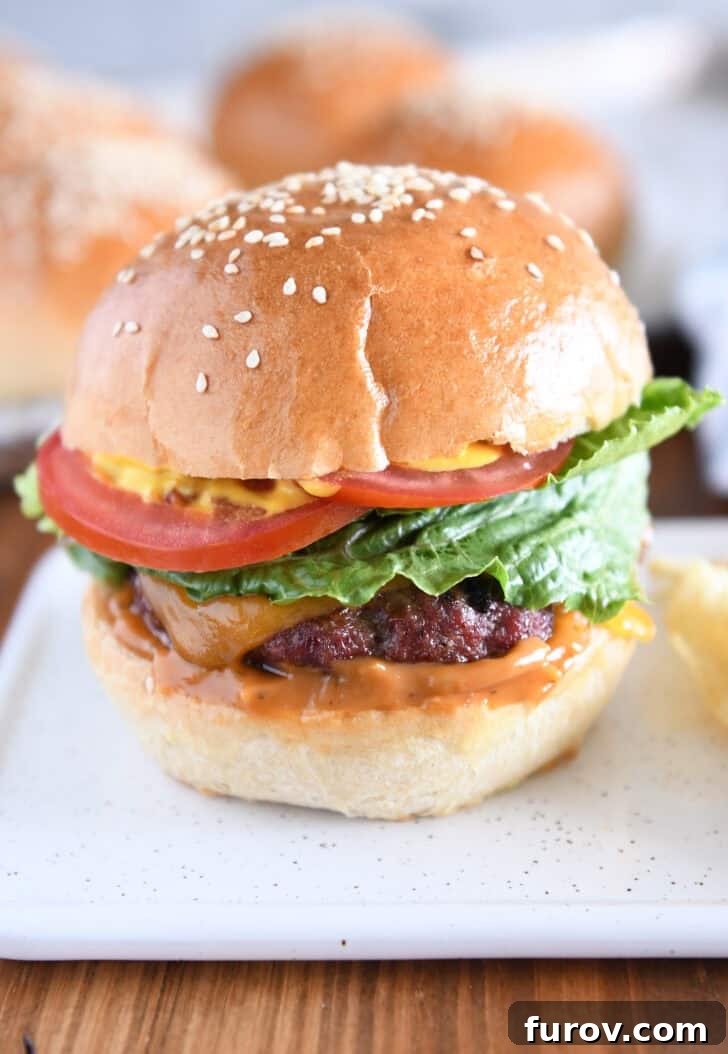
These buns strike the ideal balance: they are perfectly soft and delightfully fluffy, providing a tender bite, while simultaneously possessing incredible structural integrity. This sturdiness ensures they hold up exceptionally well to a juicy burger, a pile of crisp lettuce, ripe tomatoes, onions, and all your favorite condiments and toppings without becoming soggy or falling apart. Every bite will be a delightful experience.
Because this dough is made completely from scratch, you have the unparalleled freedom to easily tailor the size and shape of these buns to perfectly complement whatever you plan to serve. This versatility makes the dough ideal not only for classic hamburgers, but also for mini sliders, hearty deli sandwiches, gourmet pulled pork sandwiches, or any other creation you can dream up. This single dough recipe is your secret weapon for hamburgers, sliders, sandwiches, and so much more!
Of course, baking homemade buns might not be feasible for every single occasion – those chaotic weeknight dinners often call for shortcuts, and we understand that! But when you *do* have a little extra time, perhaps on a lazy weekend afternoon or for a special gathering, and you want to truly feel like a culinary rock star, these homemade buns are absolutely the ticket! The unparalleled freshness, flavor, and incredible texture of these buns will make every moment of effort worthwhile, earning you rave reviews from family and friends.
Explore More Delicious Recipes:
Check out these other fantastic recipes from our kitchen:
Dutch Oven Lasagna
BBQ Chicken Pineapple Skewers
Cherry Cheesecake Pie
Double Chocolate S’Mores Cookies
Cherry Chocolate Cobbler
Skillet Summer Vegetable Lasagna
Cherry Pie Cookie Bars
Tender Grilled Salmon
Homemade Pepperoni Pizza Rolls
Strawberry Shortcake Bars

Homemade Hamburger Buns
Pin
Ingredients
- 1 ½ cups warm water, 105 to 110 degrees F
- 2 tablespoons sugar or honey
- 2 tablespoons olive oil
- 1 tablespoon instant yeast (see note)
- 1 large egg (see note for egg-free version)
- 1 ½ teaspoons table salt
- 4 cups all-purpose or bread flour (see note)
Egg Wash + Topping:
- 1 large egg
- 1 tablespoon water
- Sesame seeds, optional
Instructions
-
In the bowl of a stand mixer fitted with the dough hook (or in a large mixing bowl if kneading by hand), combine the warm water, sugar (or honey), olive oil, instant yeast, egg, salt, and approximately 2 cups of the flour.
-
If using a mixer, start on low speed. Gradually add the remaining flour, a little at a time, until the dough comes together to form a soft ball that pulls cleanly away from the sides and bottom of the bowl. If kneading by hand, continue adding flour and kneading until the dough is smooth, elastic, and no longer excessively sticky. Knead the dough for about five minutes. If at any point the dough begins to stick to the sides of the bowl again during kneading, add a tablespoon or two of flour until it clears the sides once more. The final dough should feel soft and slightly tacky, but it should not leave significant residue on your fingers.
-
Cover the bowl securely with plastic wrap or a clean kitchen towel. Place the covered bowl in a warm, draft-free spot (such as a slightly warm oven, or simply on the countertop in a warm kitchen) and allow the dough to rise until it has visibly doubled in size. This usually takes between 45 to 60 minutes, depending on the warmth of your environment.
-
Prepare two half-sheet pans by lining them with parchment paper. Lightly grease the parchment paper with cooking spray to ensure no sticking. Set these prepared pans aside.
-
Gently punch down the risen dough to release the air. Turn the dough out onto a lightly greased countertop or a large pastry mat.
-
Divide the dough into 10 equal pieces. For precise and uniform buns, weigh each piece to be approximately 4.5 to 4.7 ounces. Roll each individual piece of dough into a smooth, round ball. Place five of these dough balls on each of your prepared sheet pans, ensuring they are spaced several inches apart to allow for expansion.
-
Using the palm of your hand, gently press each dough ball into a thick disc, aiming for about 1/2-inch to 3/4-inch in height and 2 to 2 1/2 inches across. This flattening step is crucial for the classic hamburger bun shape. If the dough resists and springs back when pressed, let it rest for 5 to 10 minutes to allow the gluten to relax, then press again.
-
Cover the pressed dough discs again and let them rise in a warm, draft-free location until they are noticeably puffy. This second rise typically takes about 45 minutes.
-
While the buns are finishing their second rise, preheat your oven to 375 degrees Fahrenheit (190 degrees Celsius).
-
Prepare the egg wash by whisking together the remaining large egg and one tablespoon of water in a small bowl. Once the buns have completed their second rise, very lightly brush the tops and sides of each bun with the egg wash. Be gentle to avoid deflating the perfectly risen dough. If desired, sprinkle the tops with sesame seeds for added flavor and visual appeal.
-
Bake the buns in the preheated oven for approximately 18 minutes, or until they turn a beautiful golden brown color. The internal temperature should be around 200-210°F (93-99°C) when fully cooked. Remove from the oven and transfer to a wire rack to cool completely before slicing and serving.
Notes
Egg: For an egg-free version of these delicious buns, simply omit the egg from the dough ingredients. You will also need to omit the egg wash. To compensate for the liquid, add an additional 2 to 3 tablespoons of water to the dough mixture. While the buns may be slightly less sturdy without the egg, they will still work wonderfully for burgers and retain a soft texture.
Flour: Feel free to experiment with different types of flour. You can substitute up to half of the all-purpose flour with whole wheat flour, with white wheat flour being an excellent choice for a lighter texture. If using whole wheat flour, you may need to knead the dough for an additional 1-2 minutes to develop the gluten adequately. Always remember to judge the exact amount of flour by the look and feel of the dough, as factors like elevation, humidity, and even how you measure your flour can cause slight variations.
Size of Buns: As a general guideline, these buns will measure approximately 3.75 to 4 inches in diameter once baked. However, this size can be customized and will vary slightly depending on how flat you press the dough discs prior to their second rise and baking. For larger buns, press less; for slightly smaller buns, press a little more.
Storage: Store cooled homemade hamburger buns in an airtight container or a large zip-top bag at room temperature for up to 3-4 days. For longer storage, buns can be frozen for up to 2-3 months. Thaw at room temperature or gently warm in the oven for a fresh-from-the-bakery feel.
Serving Suggestions: These buns are perfect for classic beef burgers, but don’t stop there! They are also fantastic with grilled chicken, pulled pork, veggie burgers, or even as sandwich rolls for your favorite deli meats and cheeses. Toast them lightly before serving for an extra layer of texture and flavor.
Recommended Products
Recipe Inspiration: This fantastic recipe is adapted from Mel’s Kitchen Cafe, originally based on their much-loved French bread roll recipe, but thoughtfully modified to create a slightly sturdier bun that still retains all the beloved softness and fluffiness perfect for any burger.