
The Best Homemade Christmas Caramels: A Timeless Family Tradition
These Christmas caramels are more than just a sweet treat; they are an invitation to create cherished memories. Experience the pure joy of homemade caramels, essential for the holidays, with this creamy, melt-in-your-mouth recipe that promises to delight everyone.
For over three decades, these exquisite caramels have been a cornerstone of my family’s holiday celebrations. They are not merely a recipe; they are a legacy, a tradition lovingly passed down through generations, embodying the true spirit of Christmas. Each year, as the festive season approaches, the anticipation for these smooth, buttery confections grows, signaling the start of a magical time filled with warmth, laughter, and irresistible sweetness.
Now that you know how deeply rooted these caramels are in my life’s story, let me share a simple truth:
These homemade caramels are, without exaggeration, the absolute best you will ever taste. Period.
A Sweet Family Tradition for Over 30 Years
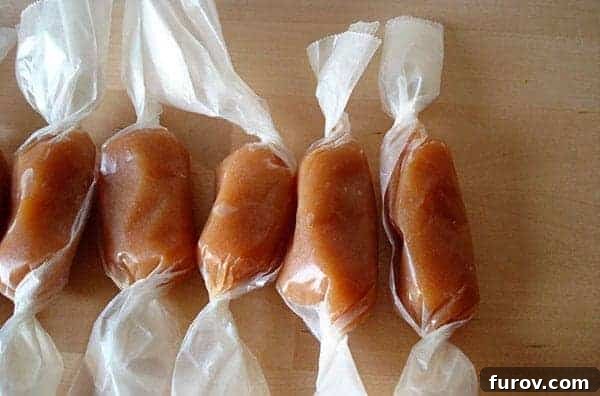
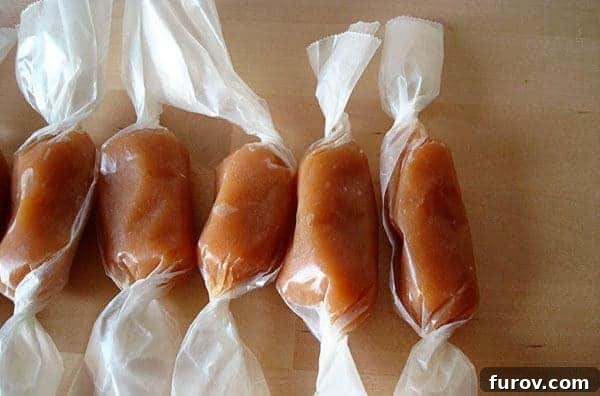
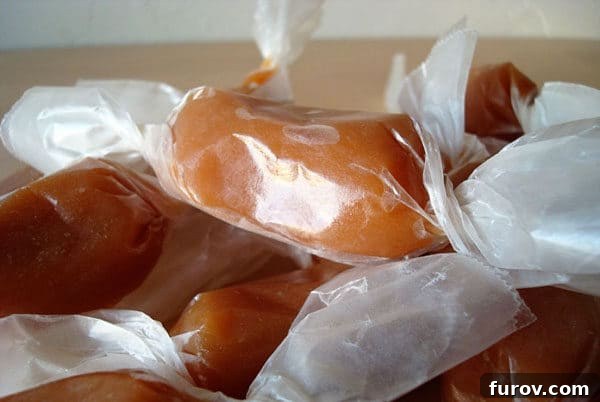
My mom has been meticulously crafting these exceptional caramels every Christmas for as long as I can recall. The aroma alone would fill our home, a fragrant blend of butter, sugar, and vanilla that instantly transported us to a world of holiday cheer. As children, we eagerly participated in the annual caramel-making ritual. We’d form an enthusiastic assembly line, carefully wrapping each golden square in waxed paper, a delightful task often punctuated by furtive attempts to sneak a few warm, soft pieces into our mouths. These caramels weren’t just for us; they were lovingly prepared as gifts for cherished neighbors and friends, spreading joy one sweet bite at a time.
Today, I proudly carry on this beautiful tradition, finding immense satisfaction in creating these same holiday treats for my own family and community. The thought of candy making can sometimes feel daunting, even a little scary, to those who haven’t tried it. However, I promise you, with the right tools and a sprinkle of patience, it’s a wonderfully rewarding process. A reliable candy thermometer, easily found and incredibly affordable at most stores, is your best friend in this endeavor. It demystifies the entire process, guiding you to perfect results every time.
Homemade caramels truly are indispensable during the holidays. Their rich flavor and chewy texture elevate any festive gathering, offering a taste of comforting nostalgia. Of all the caramel recipes out there, these creamy, sweet morsels are the only ones I ever make. A heartfelt thank you, Mom, for this incredible legacy!
Essential Tips for Perfect Homemade Caramels
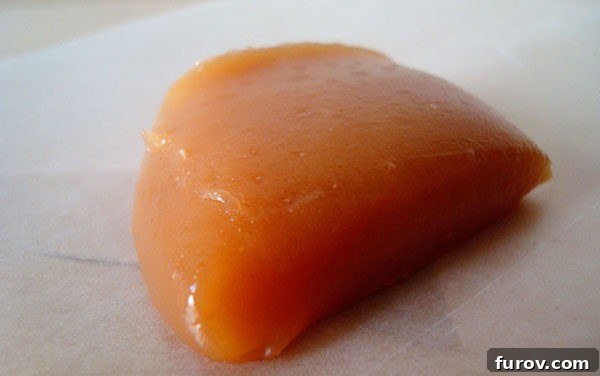
Crafting flawless caramels, especially for beginners, can feel like a delicate dance. However, by understanding and applying a few key principles, you can achieve professional-quality results right in your home kitchen. These tips are designed to build your confidence and ensure every batch of your homemade caramels turns out perfectly soft, chewy, and utterly delicious.
1. The Golden Rule of Candy Making: Calibrate Your Thermometer!
One of the most common sources of frustration in candy making stems from an inaccurate candy thermometer. Even new thermometers can be off by a few degrees, and those few degrees can make the difference between perfectly soft caramels and a hard, brittle mess. Fortunately, calibrating your thermometer is incredibly simple and should be done before each use. Here’s how:
- Bring a pot of water to a full, rolling boil.
- Carefully insert your candy thermometer into the boiling water, ensuring the tip does not touch the bottom of the pot and is submerged at least two inches.
- At sea level, boiling water should register exactly 212°F (100°C).
- If your thermometer reads slightly higher or lower (e.g., 210°F or 214°F), don’t panic! You don’t necessarily need a new thermometer. Simply note the difference. If it reads 210°F, it’s 2 degrees low, so you’ll subtract 2 degrees from your target caramel temperature. If it reads 214°F, it’s 2 degrees high, so you’ll add 2 degrees to your target temperature. This simple adjustment ensures you’re cooking your caramel to the precise temperature needed for optimal texture.
2. Embrace the No-Stir Method for Unrivaled Smoothness
This particular caramel recipe stands out because it doesn’t require constant stirring after the second half of the sweetened condensed milk is added. This is a significant advantage, freeing you from laboring over the stove for extended periods. The reason for this unique approach lies in preventing sugar crystallization. Constant stirring, especially after the mixture has started boiling, can encourage sugar crystals on the sides of the pan to fall back into the mixture, leading to a grainy, less desirable texture in your finished caramels.
While you won’t be stirring constantly, vigilance is still key. Keep a close eye on your candy thermometer to ensure the correct temperature is reached, and crucially, not exceeded. Overcooking even by a few degrees can drastically alter the caramel’s texture from soft and chewy to tough and overly firm. Furthermore, to prevent scorching and achieve that beautiful golden-brown color without bitterness, always cook the caramel over medium-low heat. This demands patience, as the process will naturally take longer than cooking at high heat. However, the rich, unscorched flavor and smooth consistency of slow-cooked caramels are absolutely worth every minute of the wait.
3. The Art of Pouring: Leave the “Icky Stuff” Behind
When it’s time to pour your perfectly cooked caramel onto a buttered baking sheet, resist the urge to scrape the bottom and sides of the pan. This might sound counter-intuitive, but there’s a good reason. The edges and bottom of the pan often accumulate tiny sugar crystals or slightly scorched bits that, if incorporated into your smooth caramel, can introduce a gritty texture or a slightly burnt flavor. Instead, simply tilt the pan and allow the luscious, cooked caramel to flow naturally onto the baking sheet.
Once the flow stops, stop pouring. Don’t be tempted to scrape up the remaining caramel clinging to the pan. Just walk away from it. Place the pan in the sink and turn your attention to spreading out your glorious caramels. Trust me, you do not want those undesirable remnants mingling with your otherwise perfect batch. This small but crucial step ensures every single square of your homemade caramels is smooth, pure, and utterly delightful.
My Mom’s Famous Christmas Caramels
4 – 6 dozen (9×13-inch pan)
10 mins
45 mins
55 mins
Pin
Ingredients
-
2 cups
(424 g) sugar -
1 ½ cups
light corn syrup -
1 can
sweetened condensed milk, add only ½ to begin with -
¼ teaspoon
salt -
1 cup
(227 g) butter -
2 teaspoons
vanilla extract -
1 ½ cups
chopped toasted pecans, optional
Instructions
-
Thoroughly butter the sides and bottom of a 9×13-inch baking pan. Ensure every surface that will come into contact with the caramel is coated to prevent sticking. Set this prepared pan aside.
-
In a large, heavy-bottomed saucepan (essential for even heat distribution), combine the sugar, light corn syrup, half of the can of sweetened condensed milk, salt, and butter.
-
Place the saucepan over medium-low heat. Begin stirring constantly to ensure the sugar crystals dissolve completely into the liquid. This initial stirring is crucial for a smooth caramel. As the mixture approaches a boil, add the remaining half of the sweetened condensed milk. Continue to stir until fully combined and the mixture returns to a gentle boil.
-
Once the second half of the condensed milk has been incorporated and the mixture is boiling again, clip your calibrated candy thermometer onto the side of the pan, ensuring its tip is submerged in the caramel but not touching the bottom. At this point, stop stirring the mixture to prevent sugar crystallization, which can lead to a grainy texture. Continue to boil the mixture over medium-low heat, undisturbed, until your thermometer registers the soft-ball stage (234°F or 112°C). For a slightly firmer caramel, you can cook it up to 248°F (firm-ball stage), but for truly melt-in-your-mouth soft caramels, 234°F is ideal. Many people prefer this softer texture, but adjust based on your personal preference.
-
The moment your caramel reaches the desired temperature, immediately remove the pan from the heat. Carefully stir in the vanilla extract and, if using, the chopped toasted pecans until well combined. Work quickly but gently.
-
Without scraping the bottom or sides of the saucepan, carefully pour the hot caramel mixture into your prepared 9×13-inch pan. Allow the caramel to cool completely at room temperature, undisturbed, for several hours or overnight, until it is firm enough to cut. Once cooled, cut the caramel into desired squares and wrap each piece individually in waxed paper or parchment paper for optimal freshness and presentation.
Mel
Dessert, Holiday Treat
American
Stovetop
Recommended Products for Perfect Caramels
Recipe Source: My beloved mom, Michel W. – the original caramel queen!
Embrace the Sweetness: Make These Caramels Your New Holiday Tradition
There’s something uniquely special about homemade holiday treats, and these Christmas caramels are no exception. They offer more than just a sweet indulgence; they create an opportunity to slow down, engage in a mindful activity, and ultimately, share a piece of your heart with those you love. Whether you’re continuing a family tradition or starting a new one, this recipe is guaranteed to bring warmth and joy to your kitchen and smiles to the faces of everyone who tastes them.
So, gather your ingredients, trust your candy thermometer, and prepare to embark on a delightful journey into the world of homemade candy. These creamy, dreamy caramels are waiting to become a cherished part of your holiday memories for years to come!