
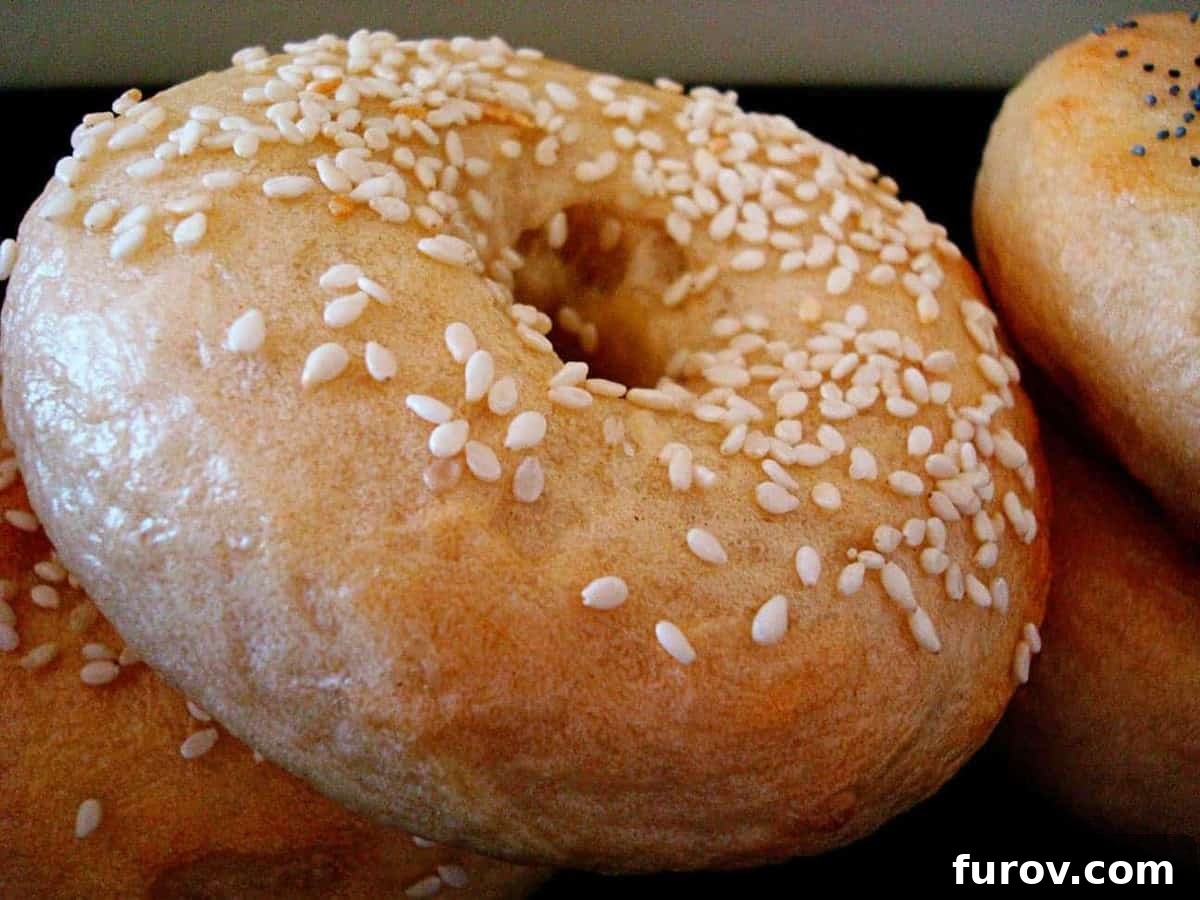
Mastering Homemade Bagels: Your Ultimate Guide to Chewy Perfection
There’s a universally acknowledged truth among bagel enthusiasts: not all bagels are created equal. For years, my quest for that elusive, perfect bagel has been a driving force in my kitchen. The pre-packaged, supermarket imposters simply don’t cut it, often lacking the dense, chewy texture and rich flavor that defines a truly magnificent bagel. My culinary pilgrimage has taken me through various recipes, all aimed at replicating the phenomenal bagels I’ve savored in iconic bagel cities like New York and Chicago.
This journey led me to a pivotal discovery—a recipe that has finally satisfied my craving for authentic, from-scratch homemade bagels. It’s a game-changer for anyone who appreciates the distinct character of a perfectly baked bagel: a slightly crisp exterior giving way to a wonderfully chewy interior, bursting with a subtle, malty sweetness. Prepare to transform your breakfast routine and impress every bagel lover you know.
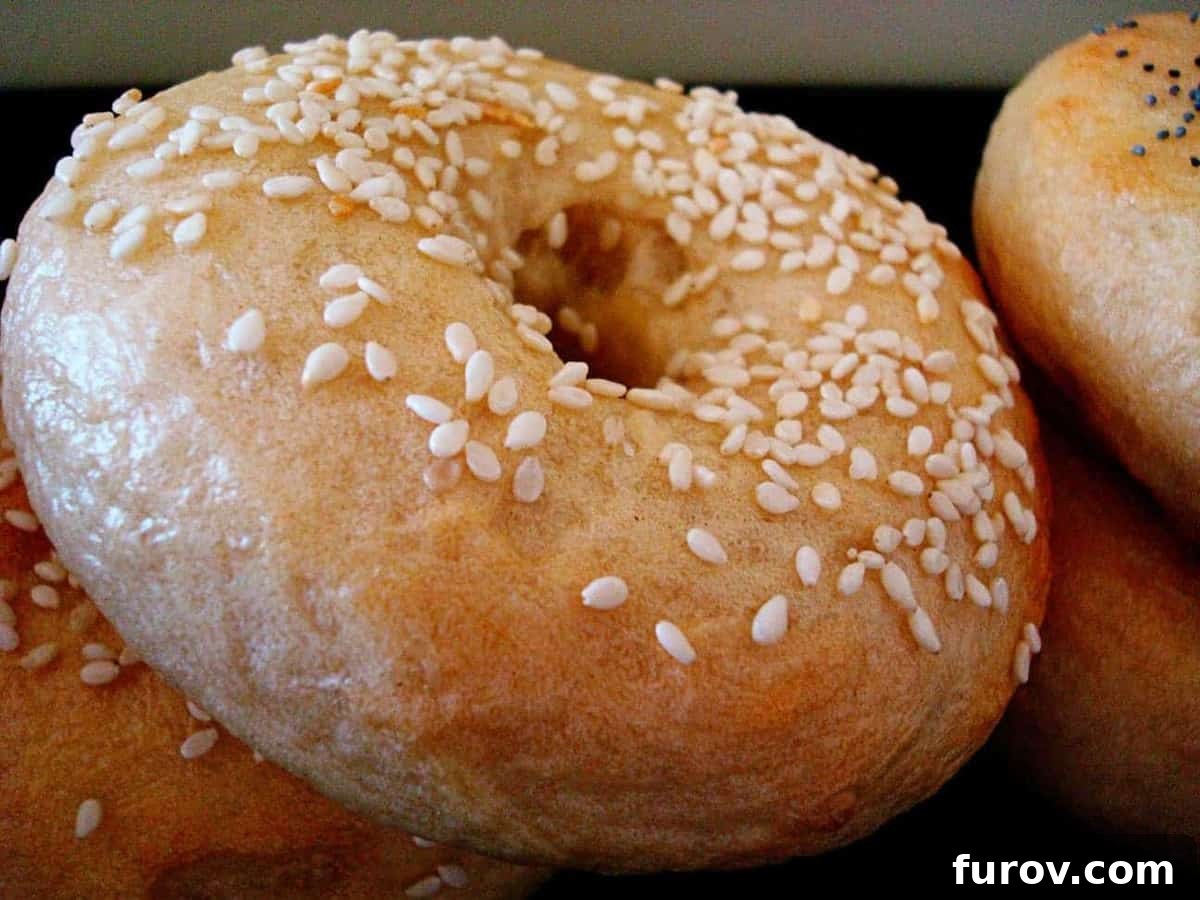
The Bagel Backstory: Why Homemade Reigns Supreme
The bagel, with its distinctive ring shape and satisfying chew, boasts a rich history dating back centuries, believed to have originated in Jewish communities in Poland. Traditionally, a bagel’s unique texture comes from a two-step cooking process: first, a brief boil in water, followed by baking. This boiling process gelatinizes the starches on the exterior, creating that signature glossy, crisp crust and contributing significantly to the dense, chewy crumb.
Unfortunately, many commercially produced bagels skip or shorten the crucial boiling step, resulting in a bread-like, airy texture that often disappoints. This widespread compromise is precisely why embarking on the journey of homemade bagels is so rewarding. You gain full control over the process, ensuring every bite delivers that authentic, deeply satisfying experience.
My Journey to the Perfect Bagel Recipe
For a long time, I experimented with various bagel recipes, including a well-loved one from Emeril, which, while good, left me feeling like something was still missing. I craved that profound chewiness and rich flavor profile I remembered from truly artisanal bagels. It was a constant pursuit, refining techniques and tweaking ingredients, always with the goal of achieving bagel nirvana in my own kitchen.
Then, I stumbled upon a recipe from King Arthur Flour, a renowned name in baking, and it completely transformed my homemade bagel game. This recipe, with its meticulous step-by-step instructions available on their blog, introduced a couple of key differences that elevated the results from good to absolutely phenomenal. The moment I bit into one of these newly perfected bagels, I knew my search was over. My sister-in-law, Erin, was also quickly converted!
Unlocking the Secret to Superior Chewiness: Key Ingredients & Techniques
What makes this King Arthur Flour-inspired recipe stand head and shoulders above the rest? It boils down to two critical elements that contribute immensely to both flavor and texture:
The Power of the Overnight Starter (Pre-ferment)
One of the most significant differences in this recipe is the incorporation of a starter, or pre-ferment, made the night before. This simple step, requiring minimal effort, works wonders by allowing the flour and yeast to ferment slowly over many hours. This extended fermentation develops complex flavors and aromas that simply can’t be achieved with a quick rise. It adds an incredible depth to the bagels, moving them far beyond the blandness of typical store-bought options. The starter enhances the dough’s elasticity and extensibility, resulting in a more robust gluten structure, which is vital for that characteristic chew.
Bread Flour vs. All-Purpose: A Crucial Distinction
Another crucial element is the use of unbleached bread flour instead of all-purpose flour. Bread flour has a higher protein content, typically around 12-14%, compared to all-purpose flour’s 10-12%. This higher protein content is essential for developing stronger gluten networks during kneading. Stronger gluten means a more elastic dough, which in turn leads to an incredibly chewy, dense bagel—precisely what we’re aiming for. This small change in flour type makes a monumental difference in the final texture, providing that satisfying bite that true bagel lovers cherish. The resulting bagel is so delicious and satisfying, it’s hard to stop at just one.

Frequently Asked Questions About Homemade Bagels
Do I really have to make the dough the night before?
While it might seem like an extra step, the overnight rest for the starter is paramount for developing the rich, nuanced flavor that distinguishes truly exceptional bagels. This slow, cool fermentation allows enzymes to break down starches into sugars, which not only feeds the yeast but also creates a more complex taste profile and improves the dough’s overall structure. If you are truly pressed for time, you could theoretically shorten the rest, but for the best possible results—bagels that are deeply flavorful and wonderfully chewy—I strongly recommend adhering to the overnight rest. It’s a small investment in time for a huge return in quality.
How do you store homemade bagels afterward?
Once your fantastic homemade bagels have cooled completely to room temperature, they are best enjoyed fresh. However, if you have leftovers (and that’s a big “if”!), proper storage will ensure they stay delicious for longer. I usually slice the cooled bagels in half and then freeze them in an airtight freezer bag. This prevents freezer burn and makes them incredibly convenient. When you’re ready for a bagel, simply pull out a frozen half or whole bagel and toast it directly in your toaster or toaster oven. For a quick refresh, you can also microwave them for a minute or two, though toasting offers a superior texture. They will taste almost as good as freshly baked!
If I’m going to experiment with added ingredients/flavors, when should I add them?
Customizing your bagels with various ingredients is one of the joys of baking at home! For most savory additions like dried minced garlic, onion flakes, herbs, or shredded cheese, I recommend incorporating them with the last addition of flour during the kneading process. This ensures they are evenly distributed throughout the dough as it develops. However, for more delicate ingredients such as chocolate chips or fresh fruit, which might melt or become overly mushy due to the warmth of the dough or extensive kneading, it’s best to fold them in gently at the very last stage of kneading. This minimizes damage and preserves their integrity, giving you perfect flavor pockets in your finished bagels.

Fantastic (and Easy!) Homemade Bagels
Pin
Ingredients
Starter:
- ½ cup (71 g) unbleached bread flour
- ¼ cup cool water
- Pinch of instant yeast, I used active-dry yeast and it worked great
Dough:
- 4 cups (568 g) unbleached bread flour
- 1 ¼ cups cool water
- 1 ¾ teaspoons salt
- 1 ½ teaspoons instant yeast, again, I used active-dry yeast and it worked great
Water Bath:
- Water to fill a 10″-diameter pan about 1″ deep
- 1 tablespoon non-diastatic malt powder or brown sugar, I used brown sugar
Instructions
-
**Prepare the Starter:** In a medium-sized bowl, combine all the starter ingredients: ½ cup unbleached bread flour, ¼ cup cool water, and a pinch of instant yeast (or active-dry yeast). Mix until well combined and a shaggy dough forms. Cover the bowl tightly with plastic wrap to prevent it from drying out, and let it rest at room temperature overnight, ideally for 12-14 hours. This slow fermentation is key to developing complex flavors.
-
**Mix the Dough:** The next day, your starter should appear puffy and slightly bubbly, indicating active fermentation. Combine this bubbly starter with all of the dough ingredients in a large mixing bowl: 4 cups unbleached bread flour, 1¼ cups cool water, 1¾ teaspoons salt, and 1½ teaspoons instant yeast (or active-dry yeast). Knead the mixture thoroughly until it forms a stiff but not dry dough. You can do this by hand, using an electric stand mixer with a dough hook, or in a bread machine on the dough cycle. Due to the high-protein bread flour, developing the gluten may require more effort and time than with all-purpose flour; aim for a smooth, elastic dough that springs back when poked.
-
**First Rise and Shaping Prep:** Lightly grease a clean bowl or a large measuring cup (at least 8-cup capacity) and transfer the kneaded dough into it. Cover the bowl and let the dough rise in a warm spot for 1 hour. After the initial rise, gently deflate the dough by pressing out the air. Re-cover the bowl and allow it to rise for another 30 minutes. This second, shorter rise helps improve the texture and manageability of the dough.
-
**Shape the Bagels:** Transfer the risen dough to a lightly floured work surface. Divide the dough into 12 equal pieces. For slightly larger bagels, as I prefer, you can divide it into 10 pieces. Roll each piece into a smooth, round ball. Cover the dough balls loosely with plastic wrap to prevent drying and let them rest for 30 minutes. During this time, they will puff up very slightly, becoming easier to handle for shaping. While the dough rests, preheat your oven to 425°F (220°C).
-
**Prepare the Water Bath and Form Holes:** In a wide-diameter pan (approximately 10 inches), such as an electric frying pan, heat about 1 inch of water combined with 1 tablespoon of non-diastatic malt powder or brown sugar (brown sugar works perfectly). Bring this mixture to a very gentle boil. While the water heats, take each rested dough ball. Use your index finger to poke a hole directly through the center of each ball. Gently twirl the dough on your finger to stretch the hole until it is about 2 inches in diameter. The entire bagel will be roughly 3½ inches across. Place each shaped bagel on a lightly greased or parchment-lined baking sheet, ensuring some space between them. Repeat with the remaining dough pieces.
-
**Boil the Bagels:** Carefully transfer the bagels, four at a time if your pan allows, into the simmering water bath. If needed, increase the heat slightly to maintain a gentle simmer. Boil the bagels for 2 minutes on one side, then flip them over using a slotted spoon or skimmer and cook for 1 minute more on the second side. This boiling step is crucial for achieving the classic chewy texture and glossy crust. Once boiled, remove the bagels from the water, allowing excess water to drain, and place them back on the prepared baking sheet. Repeat this process with the remaining batches of bagels.
-
**Bake and Finish:** Transfer the baking sheets with the boiled bagels into your preheated 425°F (220°C) oven. Bake for approximately 25 minutes, or until the bagels achieve your desired shade of deep golden brown. If you wish to add toppings like sesame seeds, poppy seeds, or everything bagel seasoning, remove the bagels from the oven after about 15 minutes of baking. Lightly spray them with water (this helps the seeds adhere) and then generously sprinkle with your chosen toppings. Return the bagels to the oven to finish baking until they are beautifully colored and cooked through. Once baked, remove the bagels from the oven and cool them completely on a wire rack before slicing and serving.
Notes on Precision in Baking: Why Weight Measurements Matter
Recommended Products
Recipe Source: Adapted from King Arthur Flour
Elevate Your Bagels: Customization and Serving Suggestions
While a plain homemade bagel is a thing of beauty, the real fun begins when you start customizing them! The possibilities are endless, allowing you to tailor your bagels to any craving. For classic savory toppings, consider rolling your boiled bagels in sesame seeds, poppy seeds, or a generous sprinkle of everything bagel seasoning before baking. You can also mix dried minced garlic or onion flakes into the dough, or press them onto the surface.
Feeling a little more adventurous? Experiment with cheese bagels! As I mentioned, I can’t wait to try these topped with Asiago cheese. Simply grate your favorite cheese—cheddar, Monterey Jack, or a blend—and press it onto the surface of the bagels after boiling and just before baking. For sweet variations, you could add cinnamon and raisins to the dough, or sprinkle a cinnamon-sugar mixture on top before baking. These homemade bagels are also the perfect canvas for your favorite spreads, from classic cream cheese to butter, jam, or even savory sandwich fillings. Enjoy them fresh out of the oven, or toast them up from frozen for a quick and delicious meal any time.
Other Delicious Bread & Bagel Recipes You’ll Love:
Embrace the satisfaction of crafting these chewy, flavorful bagels from your own kitchen. You’ll be amazed at how a little time and the right technique can yield results far superior to anything you can buy at the store. Happy baking!