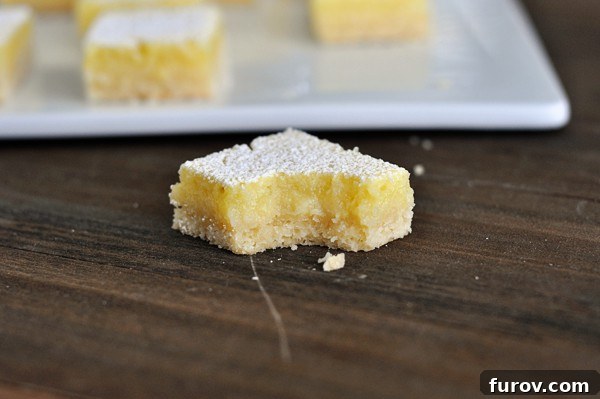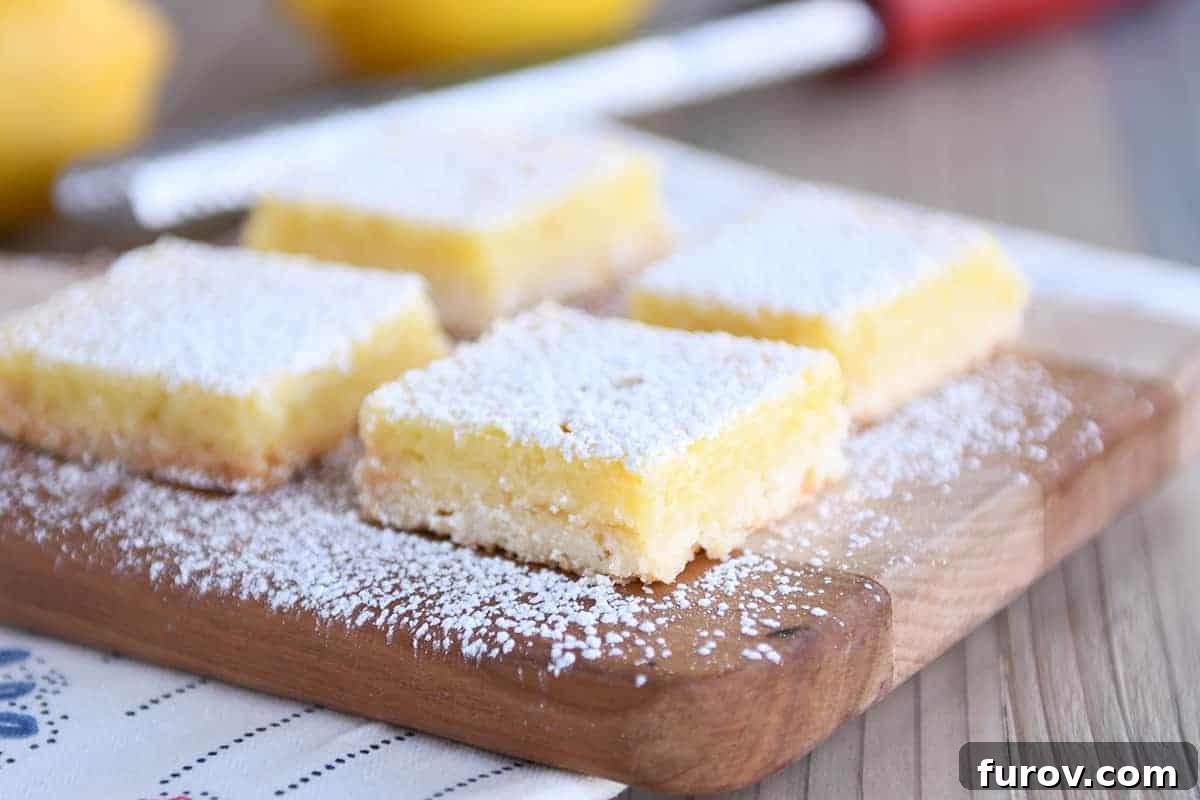
These truly are the best lemon bars on the planet, boasting the perfect balance of a rich, buttery crust and a luscious, ultra-lemony filling, all finished with a delicate dusting of powdered sugar. A delightful treat for any occasion!
The Ultimate Lemon Bars: A Recipe for Zesty Perfection
While I consider myself a lifelong chocolate enthusiast, there are moments when only the vibrant, tangy embrace of a perfectly crafted lemon bar will satisfy. It took dedicated effort to refine this recipe to my exact preferences, prioritizing a substantial crust-to-filling ratio. This ensures that the sometimes intensely sweet and tangy lemon filling is beautifully complemented, creating a harmonious bite every time.
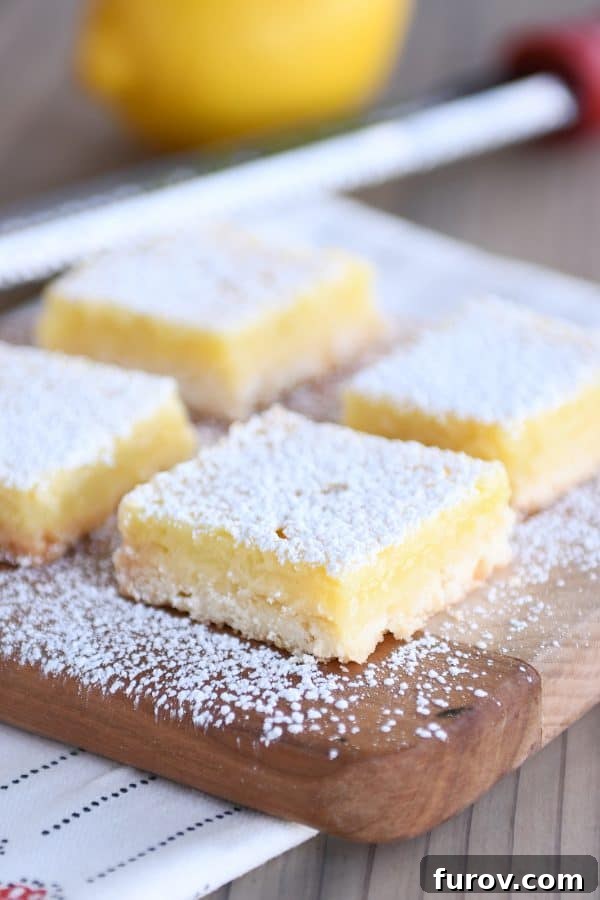
My goal was a lemon filling that is both robustly lemon-flavored and incredibly balanced. You won’t find yourself thinking, “Wow, I can’t possibly eat another lemon-flavored thing for a week!” after enjoying one of these. Instead, each bite offers a bright, refreshing burst that leaves you craving just one more.
My husband, Brian, perfectly captures the essence of these bars: “It’s rare that I actually crave lemon bars, but when they are sitting there right in front of me, I can’t stop eating them!” Indeed, these lemon bars possess an irresistible quality that makes them utterly impossible to resist.

Why These Lemon Bars Stand Out
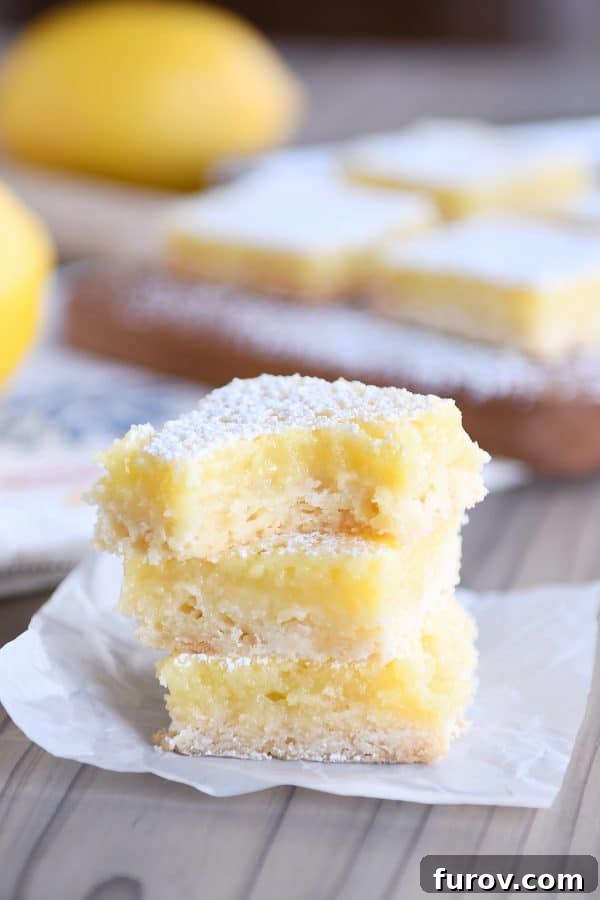
What makes these lemon bars truly exceptional? It all comes down to a few key elements that I’ve meticulously perfected over the years. First, the crust. It’s not just a base; it’s an integral part of the experience. A rich, buttery shortbread crust provides the ideal counterpoint to the bright lemon filling. Many recipes skimp on the crust or make it too thin, but here, you get a satisfying texture and flavor with every bite. The robust crust ensures the bars hold together beautifully, offering a delightful crumble that melts in your mouth.
Then there’s the filling. It’s intensely lemony, yes, but crucially, it’s not overwhelmingly sour or excessively sweet. The perfect balance of tartness and sweetness creates a vibrant, clean flavor that truly sings. The texture is creamy and smooth, reminiscent of a silky lemon curd, without being overly gelatinous. This delicate interplay of textures and flavors is what elevates these lemon bars from good to truly extraordinary.
Effortless Perfection: Baking Easy Lemon Bars
Despite their sophisticated flavor and appearance, these lemon bars are remarkably simple to prepare. The entire process is designed to be straightforward and enjoyable, making them accessible even for novice bakers. The buttery, shortbread-like crust comes together in minutes. You simply mix the dry ingredients with cold butter, press the mixture into a pan, and pre-bake it for a short period. This pre-baking step is crucial for achieving that perfectly crisp, golden base that defines a great lemon bar.
While the crust is baking, you’ll whip up the quick and easy lemon curd filling. This involves whisking together a few essential ingredients that transform into a bright, tangy custard. Once the crust is lightly golden, the lemon filling is poured directly onto the warm base and baked again until set. The aroma filling your kitchen will be absolutely divine!
The Magical Touch of Powdered Sugar
Don’t forget the final flourish: a generous dusting of powdered sugar. This isn’t just for aesthetics, though it certainly makes the bars look more inviting. The delicate sweetness of the powdered sugar plays a vital role in balancing the intense, fresh tanginess of the lemon filling. It creates a subtle, melt-in-your-mouth sweetness that truly completes the experience, enhancing the overall flavor profile without making the bars too sweet.
The Essential Ingredient: Fresh Lemon Juice vs. Bottled
When it comes to crafting truly exceptional lemon bars, the debate between fresh versus bottled lemon juice has a clear winner: fresh lemon juice is non-negotiable. Time and again, culinary experts and home bakers alike confirm that fresh lemons provide an unparalleled brightness and depth of flavor that simply cannot be replicated by its bottled counterpart. Bottled lemon juice, while convenient, often contains preservatives and lacks the vibrant, complex notes of freshly squeezed citrus. Using it will inevitably result in bars with an artificial, flat, and less satisfying taste.
For this recipe, you’ll need approximately 3-4 large, ripe lemons to yield the required amount of juice and zest. A crucial tip for maximizing flavor and efficiency: always zest your lemons before you juice them! It’s much easier to grate the fragrant outer peel when the lemon is whole and firm. The zest is packed with essential oils that contribute significantly to the intensely lemony aroma and flavor of the filling, making it a key component alongside the juice.
Evolving Perfection: My Journey with This Lemon Bar Recipe
Like any cherished recipe I’ve made countless times, this lemon bar recipe has naturally evolved over the years, shaped by my personal preferences and changing tastes. It’s a testament to how even the “best” can be subtly refined to align with “How Mel Enjoys Her Lemon Bars in Different Phases of Life.”
Having been a staple on my site for over five years, I’ve discovered a particular affinity for a crust that’s a bit more buttery and less prone to crumbling. This led to a slight increase in butter, from 1 ½ sticks to a full 2 sticks (1 cup). This seemingly small adjustment creates an even richer, more tender crust that holds together beautifully, adding to the overall luxuriousness of the bars. For those who still adore the original, slightly more crumbly version, rest assured, the foundational recipe remains a beloved classic.
Furthermore, on days when efficiency is key (let’s be honest, that’s often!), I’ve adopted a simpler method for the crust. Instead of meticulously cutting in cold butter with a food processor or two knives, I sometimes soften or slightly melt the butter and combine all the crust ingredients with an electric mixer. This creates a wonderfully cohesive mixture that presses effortlessly into the pan, saving time without sacrificing flavor or texture. Both methods yield fantastic results, offering flexibility to suit your baking style.
If you’ve been on a quest for the perfect lemon bars, I genuinely believe this recipe will become your new favorite. It’s a culmination of years of baking, tasting, and tweaking, all to bring you a dessert that is truly irresistible.
Tips for Lemon Bar Success
Achieving lemon bar perfection is within reach with these simple yet crucial tips:
- Crust Consistency is Key: Whether you cut in cold butter for a traditional shortbread texture or use softened butter with a mixer for a quicker approach, ensure your crust mixture is evenly crumbly and presses firmly into the pan. Chilling the crust before baking helps it set and prevents shrinkage.
- Don’t Skip the Zest: Lemon zest carries a significant amount of the lemon’s essential oils, providing a much deeper, more aromatic lemon flavor than juice alone. Make sure to zest your lemons before juicing them!
- Avoid Overbaking the Filling: The lemon filling should be set but still have a slight jiggle in the center when gently tapped. Overbaking can lead to a rubbery texture. It will continue to set as it cools.
- Cool Completely: Patience is a virtue with lemon bars. Allow them to cool completely at room temperature, and then chill them in the refrigerator for at least a few hours (or preferably overnight) before cutting. This ensures clean, neat slices and a perfectly set filling.
- The Powdered Sugar Dusting: Dust the bars with powdered sugar just before serving. If you dust them too early, the sugar will absorb moisture and disappear.
Storage and Freezing Instructions
Lemon bars are fantastic make-ahead desserts. Here’s how to store them:
- Room Temperature: If planning to eat within a day, lemon bars can be stored in an airtight container at room temperature. However, for best flavor and texture, refrigeration is recommended.
- Refrigerator: Store lemon bars in a single layer in an airtight container in the refrigerator for up to 3-4 days. Separate layers with parchment paper if stacking.
- Freezing: Lemon bars freeze beautifully! Once completely cooled and cut, arrange them in a single layer on a baking sheet and freeze until firm. Then, transfer the frozen bars to an airtight freezer-safe container, separating layers with parchment paper. They can be stored in the freezer for up to 2-3 months.
- Thawing: To enjoy frozen lemon bars, simply remove them from the freezer and let them thaw at room temperature for about 30-60 minutes, or in the refrigerator overnight. Dust with fresh powdered sugar before serving.
Frequently Asked Questions (FAQs) about Lemon Bars
Here are answers to some common questions about making perfect lemon bars:
- Can I use a different type of citrus? Absolutely! While this recipe is optimized for lemons, you can experiment with limes for lime bars, or even a mix of citrus for a unique flavor. Adjust sugar levels slightly as needed, as limes tend to be more tart.
- What kind of pan is best for lemon bars? A 9×13-inch metal baking pan is ideal for even heat distribution and proper setting. Lining the pan with parchment paper or foil with an overhang makes lifting the cooled bars out incredibly easy for neat cutting.
- Why is my lemon filling runny? A runny filling usually indicates that the bars were underbaked. Ensure the filling is set with only a slight jiggle in the center when you remove it from the oven. Also, make sure your eggs are large and you’re measuring your ingredients accurately, especially the flour and lemon juice.
- Why is my crust tough or hard? A tough crust can result from overmixing the dough, which develops the gluten in the flour. Mix just until combined. Also, ensure your butter is at the correct temperature (cool room temperature for cutting in, or softened for the mixer method) and that you don’t over-pack the crust into the pan.

Perfect Lemon Bars
Pin
Rate
Ingredients
For the Crust (see note for adaptations):
- 1 ¾ cups (249 g) all-purpose flour
- ⅔ cup (76 g) powdered sugar, plus extra to sprinkle on bars
- ¼ cup cornstarch
- ½ teaspoon salt
- 12 tablespoons (170 g) butter, 1 1/2 sticks, at cool room temperature, cut into 1-inch pieces
For the Filling (see note for thicker filling):
- 4 large eggs
- 1 ⅓ cups (283 g) granulated sugar
- 3 tablespoons all-purpose flour
- 2 teaspoons grated lemon zest, from 2 large lemons
- ⅔ cup freshly squeezed lemon juice, from 3 to 4 large lemons
- ⅓ cup milk
- Pinch of salt, about 1/8 teaspoon
Instructions
-
Place an oven rack in the middle position and preheat the oven to 350 degrees F. Line a 9X13-inch baking pan with foil or parchment paper and lightly grease the foil/parchment (optional: it helps with removing the bars after baking, but you can instead grease the pan with nonstick cooking spray).
-
Whisk together the flour, powdered sugar, cornstarch, and salt (this can be done in a food processor or in a large bowl by hand). Add the pieces of butter and cut the butter into the dry ingredients using a pastry blender, two knives or your fingers (taking care not to melt the butter too much – you might try freezing the butter and grating it into the dry ingredients on the large holes of a box grater) or process in the food processor for 8 to 10 seconds and then as needed until the mixture resembles coarse meal.
-
Sprinkle the mixture into the prepared pan and press into an even layer on the bottom. Refrigerate for 15-30 minutes. Bake until very lightly golden brown on the edges, about 15-20 minutes.
-
For the filling, whisk together the eggs, sugar, salt, and flour in a medium bowl and then stir in the lemon zest, juice and milk to combine.
-
Pour the filling onto the warm crust; reduce the oven temperature to 325 degrees and bake for about 18-20 minutes until the filling feels slightly firm to the touch. Cool the bars to room temperature, sprinkle with additional powdered sugar and cut into bars.
Notes
Filling: for thicker filling, use 1/2 cup milk, pinch salt, 5-6 tablespoons flour, 1 tablespoon lemon zest, 1 cup fresh lemon juice, 6 eggs and 2 cups sugar.
Recommended Products
Recipe Source: adapted slightly from Cook’s Illustrated (using salted butter instead of unsalted, lowfat milk instead of whole milk, and a few other very minor changes) in combination with my mom’s 40-year old recipe.
Recipe originally published July 2013; thoroughly updated with new photos, expanded commentary, and detailed recipe notes for enhanced clarity and success.