
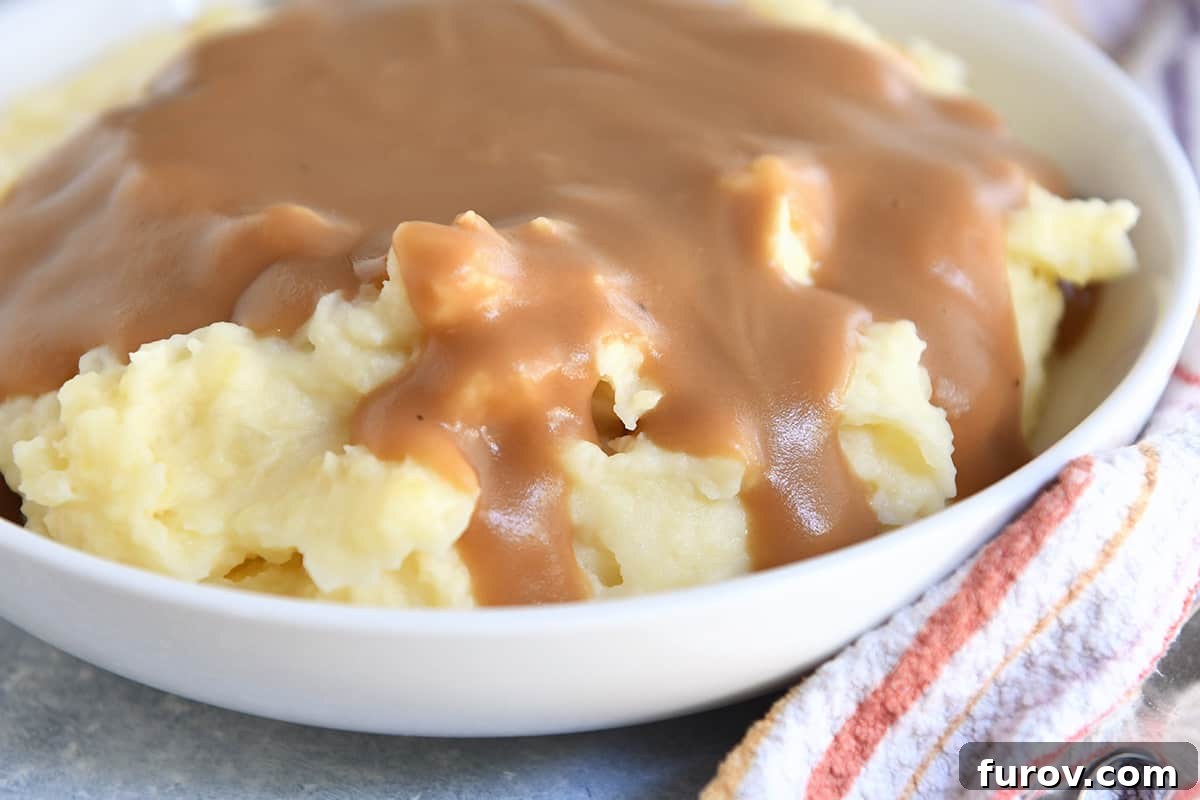
Mastering Homemade Gravy: A Foolproof Recipe for Every Occasion
There’s something truly magical about a rich, silky, and flavorful homemade gravy. It’s the ultimate comfort food accompaniment, capable of transforming a simple meal into an extraordinary culinary experience. Whether you’re preparing a festive holiday feast, a comforting Sunday roast, or simply elevating your mashed potatoes, knowing how to craft the perfect gravy from scratch is an invaluable skill that will impress everyone at your table.
This comprehensive guide will walk you through a foolproof recipe, ensuring perfect results every time. We’ll delve into the foundational techniques, share expert tips, and even show you how to customize your gravy using delicious meat drippings. Prepare to unlock the secrets to a gravy so good, it might just become your signature dish.
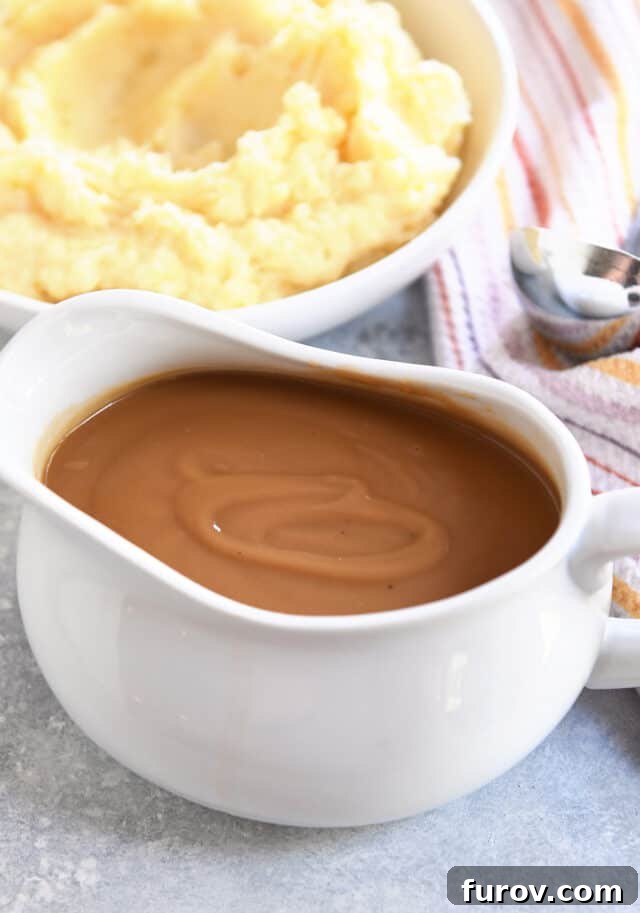
The Foundation: Understanding the Roux
At the heart of any truly great homemade gravy lies the roux. A classic French culinary technique, a roux is a cooked mixture of fat and flour, forming the essential thickening agent for sauces, soups, and, of course, gravies. In this recipe, we’ll be using butter as our fat of choice, which imparts a wonderful richness and flavor that complements almost any meal.
One of the most critical steps for an exceptionally flavorful gravy is to cook your roux until it achieves a beautiful golden color. This crucial process is where the magic of the Maillard reaction occurs, developing a deep, nutty flavor that elevates your gravy far beyond a simple thickener.
For the best silky smooth consistency, we’ll employ equal parts flour and butter in our homemade gravy recipe. This balance ensures optimal thickening without a pasty texture, creating a pourable, luxurious gravy that coats every morsel beautifully.
5 Expert Tips for Crafting the Best Gravy
Achieving gravy perfection doesn’t require culinary wizardry, but rather adherence to a few key techniques. Master these five tips, and you’ll be well on your way to making restaurant-quality gravy every time:
- Cook the Roux to Golden Perfection: As mentioned, don’t rush this step. Cooking the flour and butter together until the mixture turns a light golden brown (think peanut butter color) will infuse your gravy with a rich, complex flavor that is truly unparalleled.
- Utilize Hot Broth or Stock: Always add warm or hot liquid to your roux. Introducing cold broth to a hot roux can cause the flour to seize and clump, making it incredibly difficult to achieve a smooth consistency. Keeping your broth steaming hot ensures seamless incorporation.
- Choose a High-Quality, Flavorful Broth or Stock: The quality of your liquid directly impacts the final flavor of your gravy. Invest in a good quality store-bought stock or, even better, use homemade stock. Opt for low-sodium varieties to have precise control over the seasoning. (Specific brand preferences are noted in the recipe section below).
- Whisk Constantly and Vigorously: This is arguably the most crucial tip for lump-free gravy. From the moment the flour hits the butter, and especially as you add the broth, consistent whisking is your best friend. It helps break up any potential lumps and ensures a smooth, even texture as the gravy thickens.
- Consider a Spoonful of Bouillon Paste: For an extra layer of depth and savory umami, a tablespoon of bouillon paste can work wonders. It amplifies the existing flavors in your broth, making your gravy taste even more robust and satisfying.
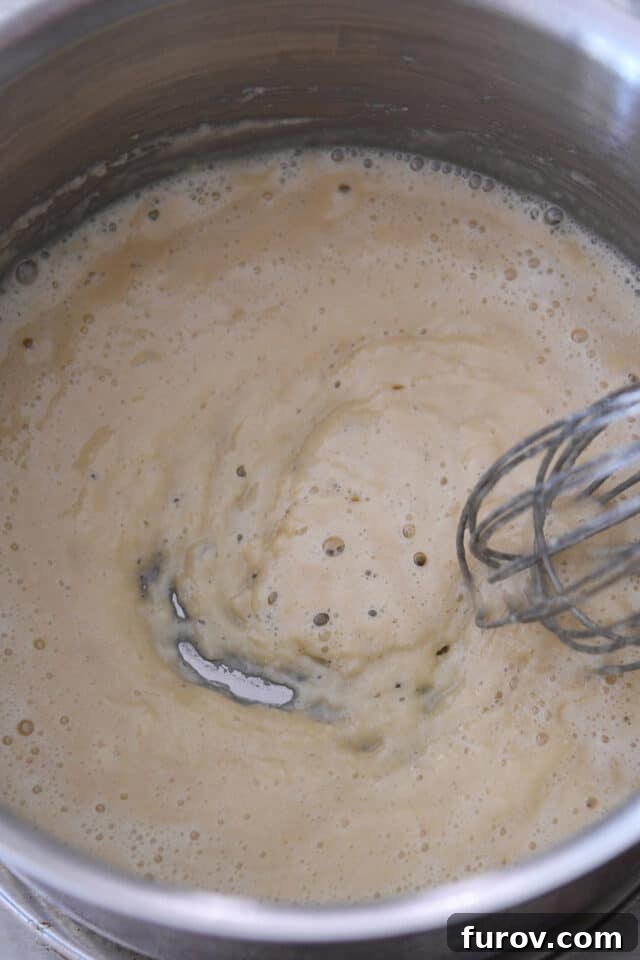
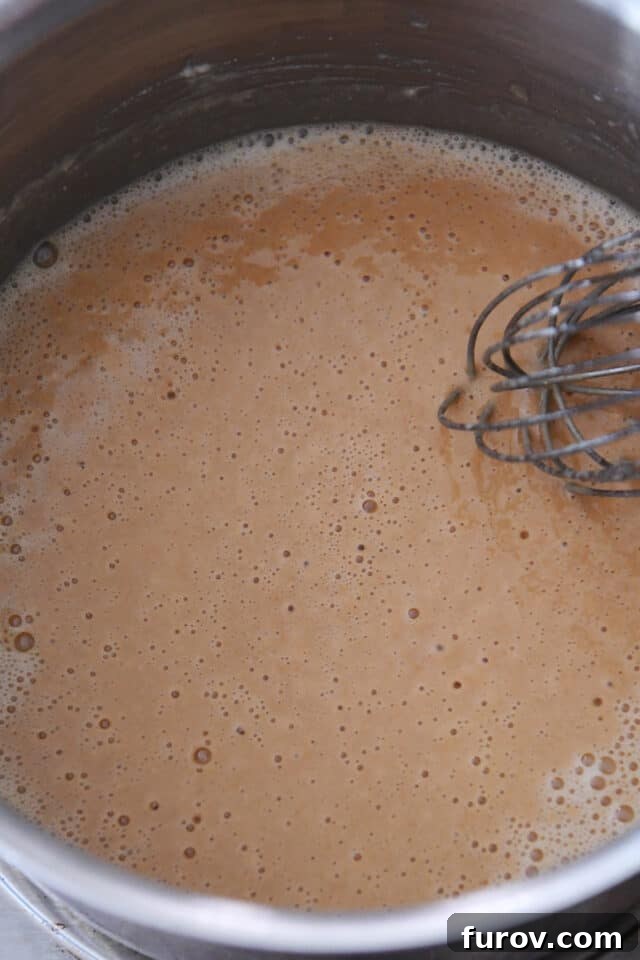
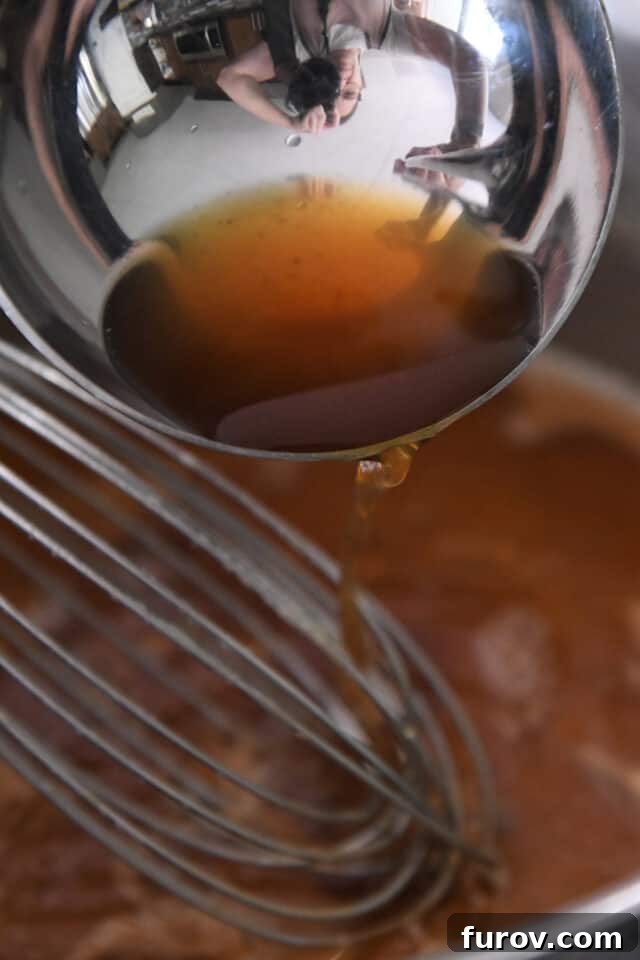
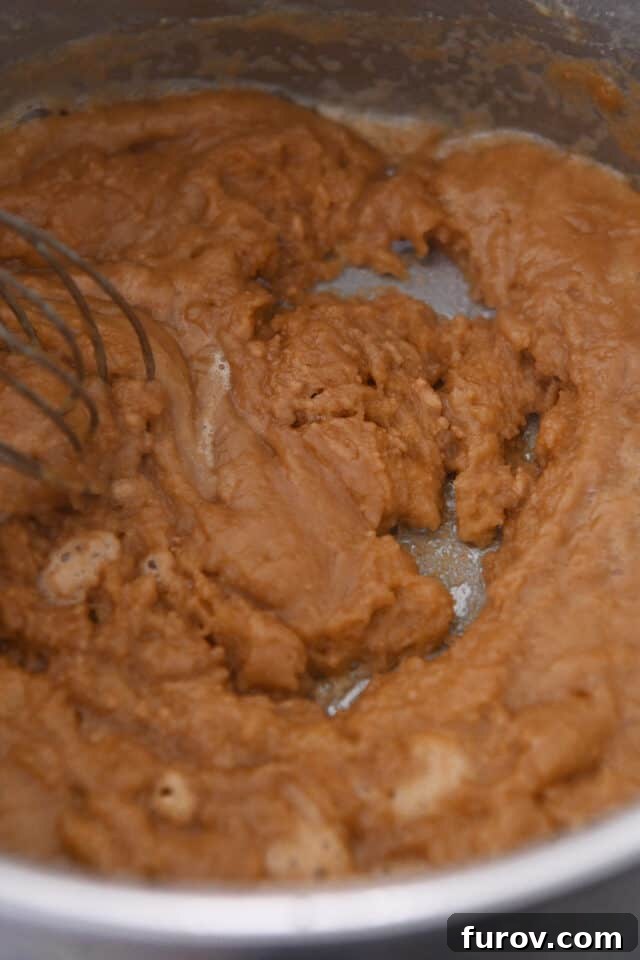
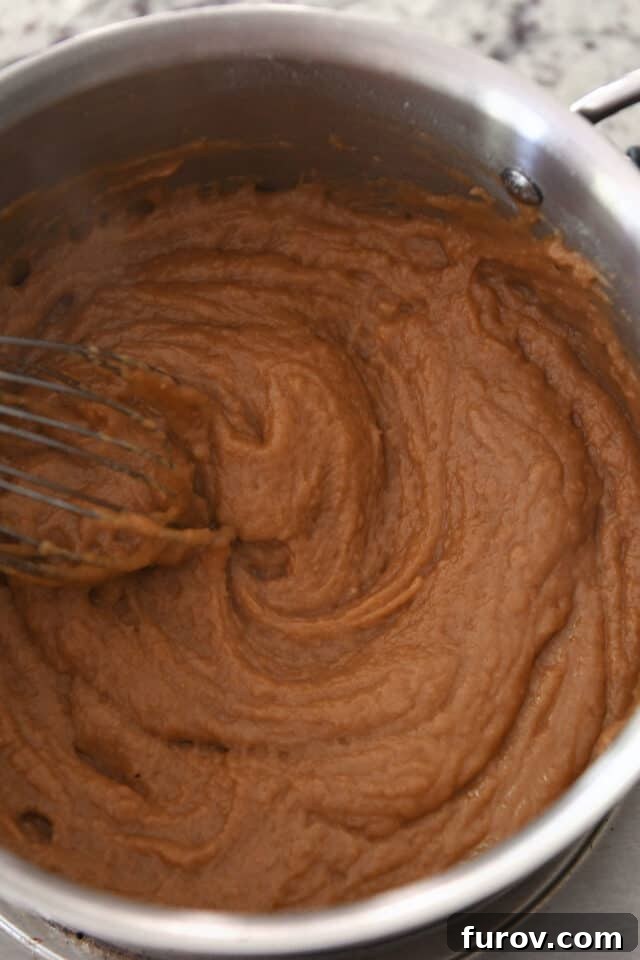
When you begin to ladle and whisk the hot broth into the golden roux, don’t be alarmed if the mixture initially appears crumbly or even curdled. This is a normal stage in the gravy-making process! As you continue to add more broth, whisking constantly and patiently, the starches in the flour will hydrate and thicken, transforming the mixture into a luscious, silky smooth gravy. Trust the process, and your patience will be rewarded!
Remember these two fundamental rules for gravy free of any unsightly lumps: whisking constantly throughout the process, and always using hot broth or stock. These are the non-negotiables for a flawlessly smooth gravy.
By applying these expert tips and following the simple method outlined in the recipe below, this versatile gravy base can be effortlessly adapted to complement any main course. Simply switch out your broth to create delicious chicken, turkey, or rich beef gravy.
Elevating Flavor: Incorporating Meat Drippings into Your Gravy
While this homemade gravy recipe is incredibly flavorful and delicious on its own, it truly shines when enriched with the savory goodness of meat drippings. Whether from a succulent roasted turkey, a tender pot roast, or a perfectly baked chicken, these drippings contain concentrated flavors that will take your gravy to an entirely new level of deliciousness.
To effectively use drippings, first ensure they are properly prepared. Carefully skim or strain any excess fat from your pan drippings. Tools like a fat separator make this process simple, or you can refrigerate the drippings until the fat solidifies at the top, allowing for easy removal. Once the fat is separated, pour the flavorful drippings into a liquid measuring cup. Add enough high-quality broth or stock until the total liquid reaches 4 cups. Now, you can proceed with the recipe as directed. An optional, but highly recommended, step is to use some or all of the skimmed fat from the drippings in place of the butter in your roux for an even deeper, more authentic flavor profile.
The same principle applies to homemade stock. If you have the luxury of using your own slow-simmered stock, it will undoubtedly impart a superior depth of flavor. However, don’t fret if homemade stock isn’t an option; a good-quality store-bought stock will still yield excellent results, especially if it’s a flavorful, low-sodium variety.
Preparing Gravy Ahead of Time: Convenience and Quality
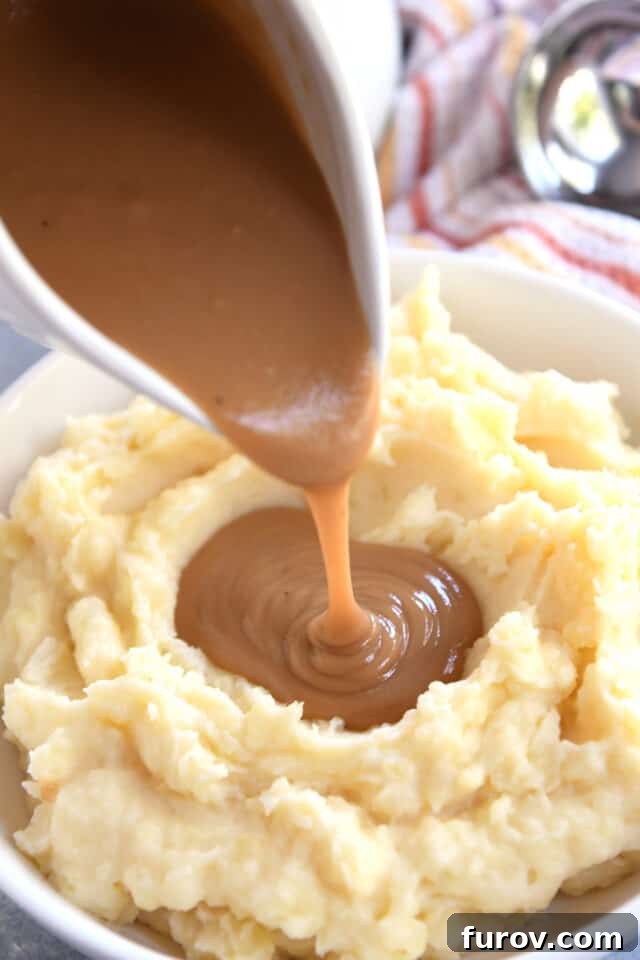
One of the many advantages of this homemade gravy recipe is its make-ahead potential. You can easily prepare your gravy several days in advance, a significant time-saver, especially when planning for large holiday meals or busy weeknights. After refrigerating, you’ll notice the gravy becomes wonderfully thick and gelatinous – a completely normal outcome due to the cooling of the fat and collagen (if using drippings or bone broth).
When it’s time to serve, reheating is straightforward. Gently warm the gravy over low heat in a saucepan, whisking constantly until it softens and returns to its smooth, pourable consistency. It will transition from a globby state back to silky smooth as it heats up and you continue to stir. If needed, thin the gravy to your desired consistency by whisking in a little extra hot broth or stock.
It’s also common for a thin “skin” to form on the surface of gravy if it’s not covered directly with plastic wrap or kept agitated. Should this happen, simply use a spoon to skim it off and discard it before serving. The gravy underneath will be perfectly fine.
Achieving Your Perfect Gravy Consistency Every Time
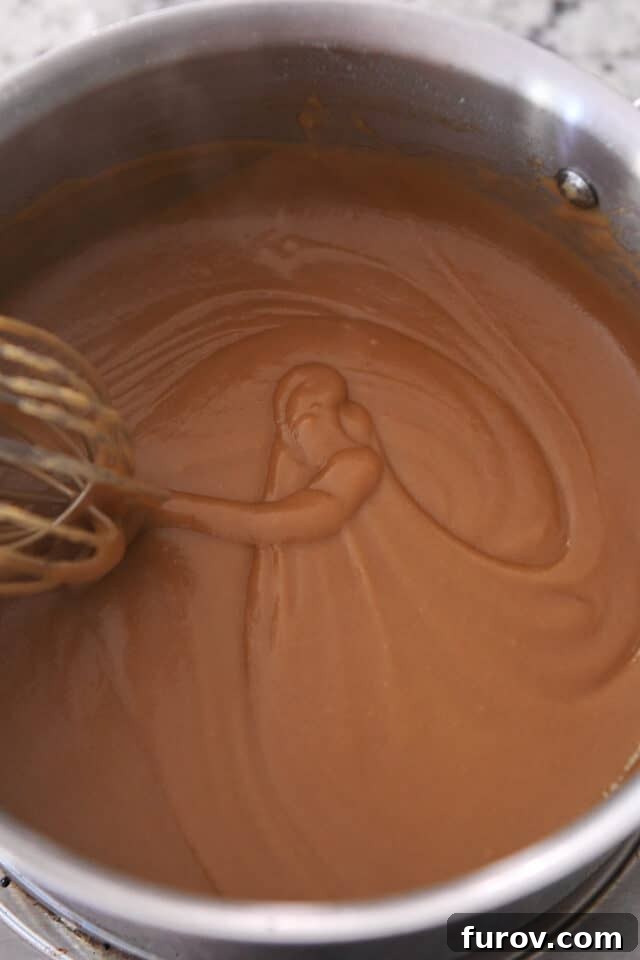
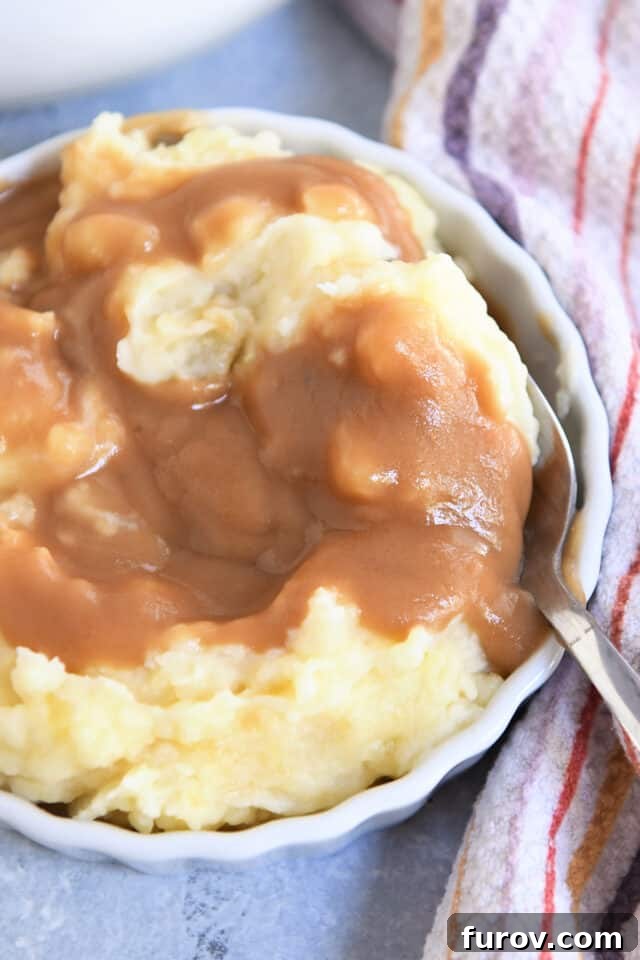
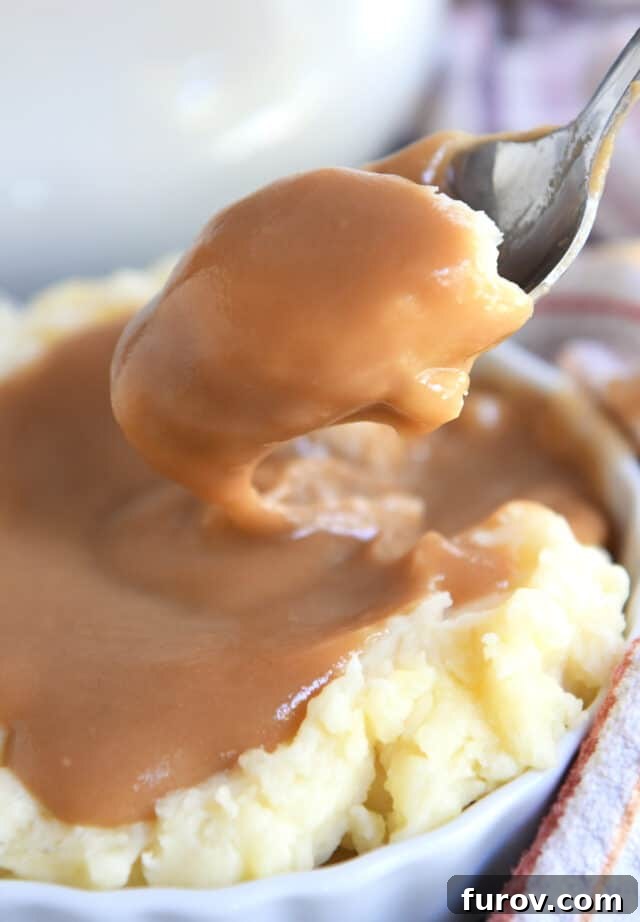
This recipe, when combined with our foolproof tips, guarantees perfect gravy results, no matter your preference. We understand that gravy consistency is a deeply personal matter; some prefer a thin, delicate pour, while others crave a thick, hearty sauce that stands proudly on the plate. Here, we favor a medium-thick gravy – substantial enough to cling to food without being overly dense.
The beauty of this recipe lies in its adaptability. You have complete control to adjust the gravy to your ideal thickness or thinness with ease:
To achieve a thicker gravy, begin by adding only three cups of hot broth or stock to your roux. After simmering and whisking, evaluate the consistency. If you desire it even thicker, you can continue simmering gently to reduce it further, or create a small slurry of 1 tablespoon of flour or cornstarch mixed with 2 tablespoons of cold water, whisking it into the simmering gravy until thickened to your liking. Add additional liquid only if necessary to adjust.
To make a thinner gravy, once your gravy has reached its initial smooth consistency, simply whisk in an additional 1/2 cup of hot broth or stock. Evaluate the texture and continue adding more liquid, a tablespoon at a time, until it reaches your preferred thinness. Always use hot liquid to avoid cooling the gravy and potentially creating lumps.
Serving Suggestions and Flavor Variations
A truly versatile companion, homemade gravy elevates almost any savory dish. It’s an indispensable component for holiday meals, pairing perfectly with roasted turkey, mashed potatoes, and stuffing. Beyond the holidays, consider it for everyday delights: drizzled over pot roast, chicken fried steak, biscuits, hot open-faced sandwiches, or even a comforting bowl of rice. For an extra touch of sophistication, try incorporating fresh herbs like thyme, sage, or rosemary into your gravy while it simmers. A splash of dry red or white wine (depending on your broth base) can also add a delightful complexity. Sautéed mushrooms or caramelized onions, finely chopped and stirred in, make for an even heartier and more robust sauce.
Troubleshooting Common Gravy Challenges
Even with the most foolproof recipes, occasional challenges can arise. Here’s how to tackle common gravy mishaps:
- Lumpy Gravy: If despite your best whisking efforts, you end up with lumps, don’t despair! You can easily fix this by pouring the gravy through a fine-mesh sieve or strainer into another saucepan. For very stubborn lumps, an immersion blender can quickly smooth things out.
- Gravy is Too Thin: If your gravy isn’t thickening enough, you have a few options. You can continue to simmer it gently, allowing some of the liquid to evaporate and concentrating the sauce. Alternatively, make a small slurry with one tablespoon of cornstarch (or flour) mixed with an equal amount of cold water, then slowly whisk it into the simmering gravy until it reaches your desired consistency. Be careful not to add too much at once.
- Gravy is Too Thick: This is the easiest fix! Simply whisk in additional hot broth or stock, a little at a time, until your gravy reaches the perfect, pourable consistency.
- Bland Flavor: If your gravy tastes a bit flat, a pinch more salt and freshly ground black pepper can make a big difference. You can also whisk in a bit more bouillon paste, a dash of Worcestershire sauce, or a few drops of soy sauce for a deeper umami kick. A final swirl of butter at the end can also enrich the flavor.
I feel so strongly about the simple joy of perfect gravy that every time I make it, I call out to my family: “What’s the secret to amazing gravy?!?” And they dutifully holler back: “Never stop stirring!” Then, I usually delegate one of them (often the one who was too cool to respond initially) to come over to the stove and take over the “whisk constantly” duties. It’s a tradition born of love, and a testament to the importance of good gravy!
I truly hope that when all is said and done, I’ve left my children with a cherished legacy of love, unwavering faith, and, of course, the undeniable pleasure of really, really good homemade gravy. 💗
The Best Homemade Gravy
Yield: 12 servings
Prep Time: 10 mins
Cook Time: 20 mins
Total Time: 30 mins
4.91 stars (44 ratings)
Pin Recipe
Ingredients
- 4 cups broth or stock, preferably low-sodium (see note for how to use drippings)
- 10 tablespoons (142 g) butter
- ⅔ cup (95 g) all-purpose flour (don’t pack the flour into the cup – should be right around 10 tablespoons)
- 1 tablespoon bouillon paste (optional – see note)
- Salt and pepper to taste
Instructions
- Warm the broth or stock in a saucepan or in the microwave until steaming. Keep warm.
- Melt the butter in a medium saucepan over medium heat. Add the flour and cook, whisking constantly, until the roux is golden brown, 4 to 5 minutes. Whisk in the bouillon paste, if using.
- Whisking constantly and quickly, slowly ladle in warm broth about 1/2 cup at a time. Combine fully before adding more. The mixture will look crumbly and may even look curdled. It’s ok! Trust the process.
- Once all the broth has been added, simmer the gravy for 3 to 4 minutes, whisking constantly, until thick and silky smooth. Season to taste with salt and pepper (important! The exact amount will depend on unsalted/salted butter and/or regular or low-sodium broth/stock). Thin with additional broth, if desired.
- Serve immediately or keep warm to serve later. The gravy will thicken as it cools.
Notes
Broth/Stock: using a flavorful broth or stock for this gravy is key for good flavor. I prefer stock over broth for deeper flavor. Homemade or storebought works great. I like Pacific Foods, Swansons and Trader Joe’s brands of chicken or beef stock. It’s beneficial to use a low-sodium stock so the salt level can be controlled at the end by taste.
Drippings: this recipe works very well using drippings from cooked or roasted meat. To use drippings, skim or strain the fat from the drippings (use a fat separator or refrigerate all the drippings until the fat solidifies and can easily be skimmed off the top). Pour the drippings into a liquid measuring cup and add broth or stock to equal 4 cups. Proceed with the recipe. You can use the fat from the drippings in place of some or all of the butter, if desired.
Bouillon Paste: adding a spoonful of bouillon paste boosts the flavor of homemade gravy. I prefer the Better Than Bouillon brand. If I’m making gravy for chicken or turkey, I use chicken-flavor bouillon (and obviously beef-flavored bouillon for gravy to be served with beef).
Author: Mel Gunnell
Course: Side Dish | Cuisine: American | Method: Stovetop
Nutrition Information
Serving: 1 serving (1/2 cup gravy), Calories: 120kcal, Carbohydrates: 5g, Protein: 4g, Fat: 10g, Saturated Fat: 6g, Cholesterol: 25mg, Sodium: 105mg, Fiber: 0.2g, Sugar: 0.03g
Recommended Products
Recipe Source: Adapted from Mel’s Kitchen Cafe