
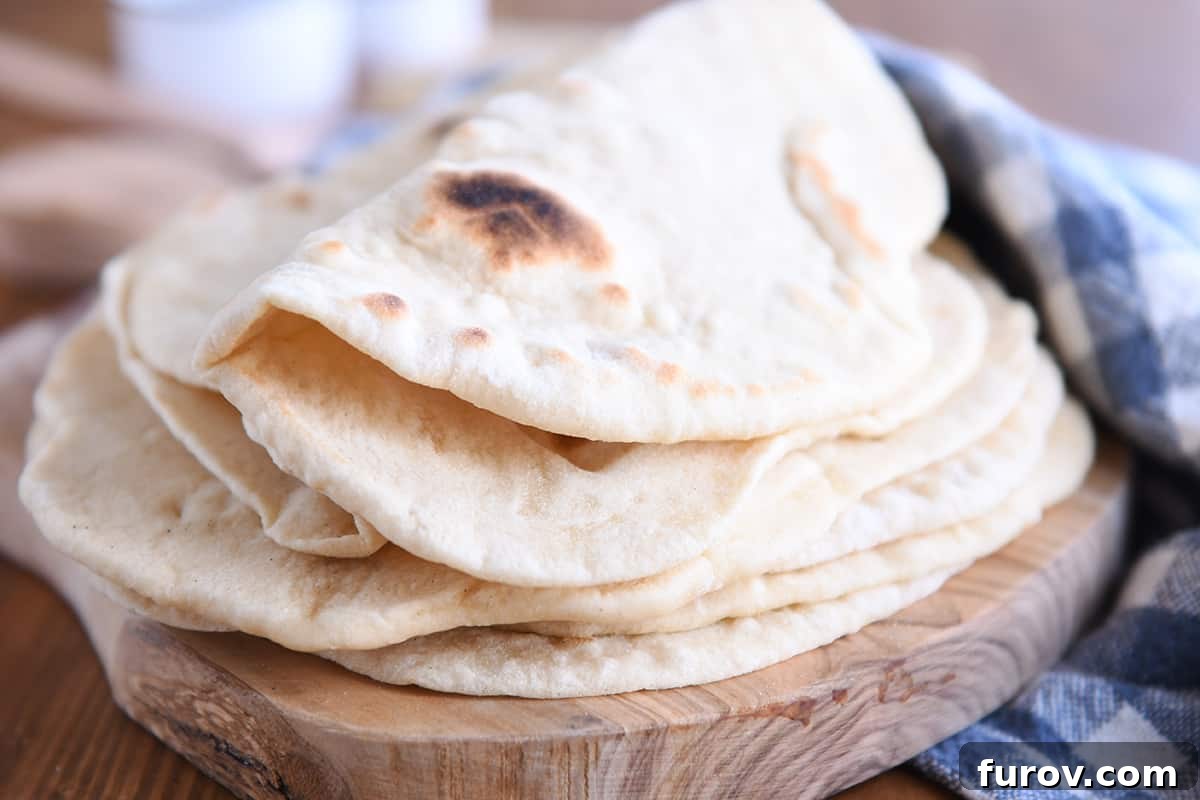
Welcome to the world of effortless sourdough baking! This incredibly easy sourdough flatbread recipe is a game-changer, perfect for crafting versatile sandwich wraps, serving alongside your favorite meals, or simply enjoying warm, fresh from the skillet. Prepare to fall in love with a dough that’s an absolute dream to work with, delivering unparalleled softness, a delightful chew, and a rich, complex flavor that only sourdough can provide.
Whether you’re a seasoned sourdough enthusiast or just embarking on your sourdough journey, this flatbread is an absolute must-make. Its exceptional texture and taste make it a staple in any kitchen. Forget complicated processes; this recipe simplifies the art of sourdough into a gratifying and accessible experience. Get ready to impress yourself and your loved ones with this remarkably delicious and adaptable bread.
Sourdough Starter Essentials: Active vs. Discard
Understanding your sourdough starter is the first crucial step to perfecting this flatbread. While many recipes conveniently call for sourdough discard, allowing you to use your starter straight from the fridge without prior feeding, this particular recipe explicitly relies on an active, freshly fed sourdough starter. This distinction is vital for achieving the proper rise and signature airy texture of our flatbread.
An active starter means your sourdough culture needs to be at its peak—ripe, bubbly, and full of vigor—before it’s incorporated into the dough. This ensures that the yeast and bacteria within the starter are energized and ready to work, providing the necessary leavening for a beautifully risen and tender flatbread. If your starter isn’t active enough, your flatbreads might turn out dense rather than light and fluffy.
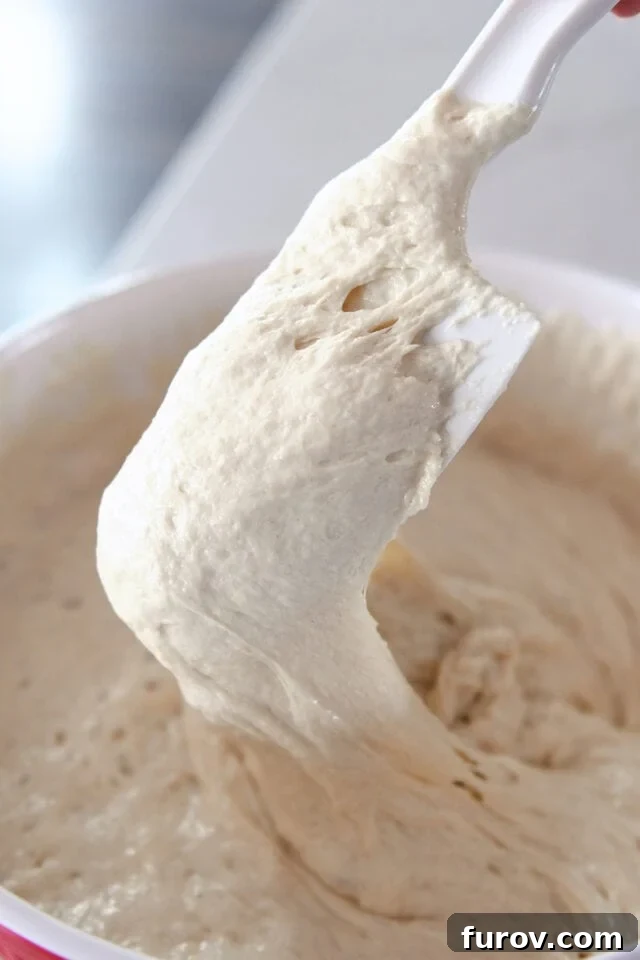
My personal sourdough starter is diligently maintained using a 1:1:1 ratio of starter, flour, and water by weight. This consistent feeding schedule results in a starter with the consistency of a thick, pourable batter, as you can observe in the photo below. If your starter differs in thickness—either notably thicker or thinner—you might need to make slight adjustments to the flour or water content in this recipe to achieve the ideal dough consistency. Refer to the recipe notes for specific guidance on how to make these adjustments.
Optimal Timing for Your Sourdough Starter: To ensure your sourdough starter is robustly active and bubbling for this recipe, I highly recommend feeding it the night before you plan to bake. This allows sufficient time for it to become thoroughly ripe and ready for use by morning. This flatbread recipe is designed for same-day preparation and cooking, making it a relatively quick sourdough project once your starter is prepared.
Crafting the Perfect Sourdough Flatbread Dough
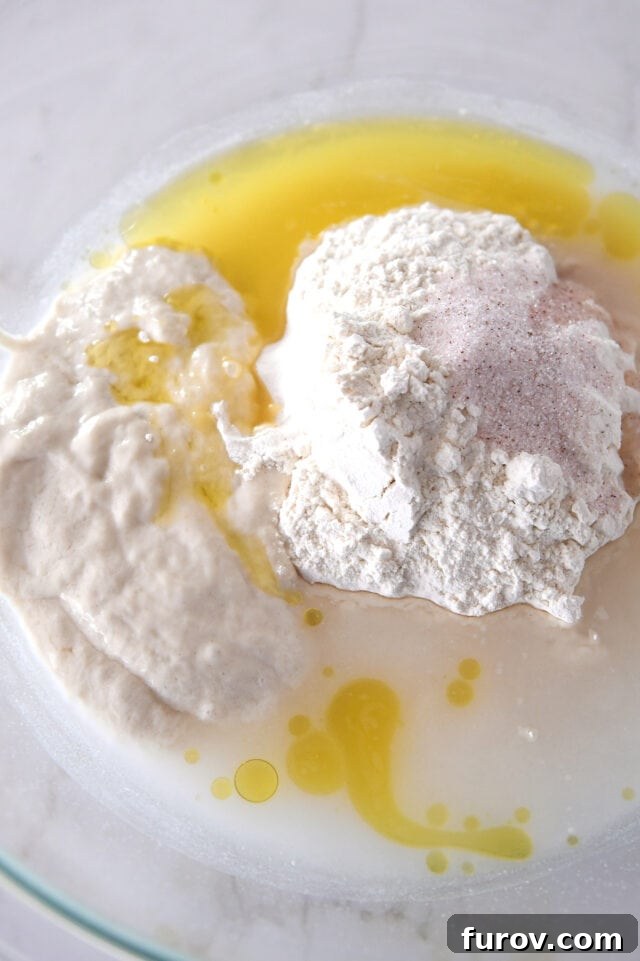
The beauty of this easy sourdough flatbread lies in its simplicity. The dough ingredients come together effortlessly in a single bowl, mixed by hand. This hands-on approach connects you directly with the dough, allowing you to feel its transformation and adjust as needed. The fundamental ingredients are:
- All-purpose flour: I prefer unbleached for its consistent quality and lack of chemical additives.
- Active sourdough starter: As discussed, this is key for leavening and flavor.
- Olive oil: Adds richness, tenderness, and a subtle fruity note to the flatbread.
- Water: Hydrates the flour and starter, creating the dough’s structure.
- Salt: Essential for flavor enhancement and regulating fermentation.
Once combined and briefly kneaded, the dough should present as a soft, slightly shaggy ball. When you gently press into it, it should indent easily without leaving excessive dough residue on your fingers. This texture indicates optimal hydration. It’s crucial to resist the urge to add more flour unless the dough is excessively sticky and truly unmanageable. Over-flouring can lead to a tough, dry flatbread, so trust the process and embrace a slightly softer dough.
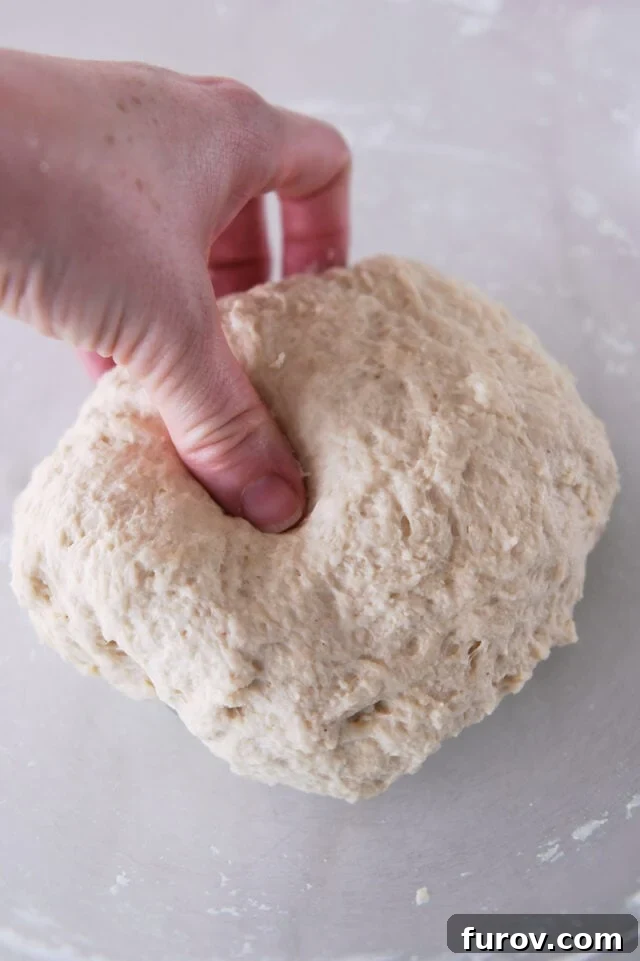
The dough then needs to undergo its bulk fermentation, rising until it has visibly doubled in size. Be aware that this process, relying on sourdough’s natural yeast, typically takes longer than dough leavened with commercial yeast. Patience is key here. To expedite the rise, place your covered bowl of dough in a warm, draft-free environment, such as a slightly warmed oven (turned off), near a sunny window, or in a proofing box. The exact time can vary significantly based on ambient temperature and starter activity, ranging from 2 to 6 hours or even longer.
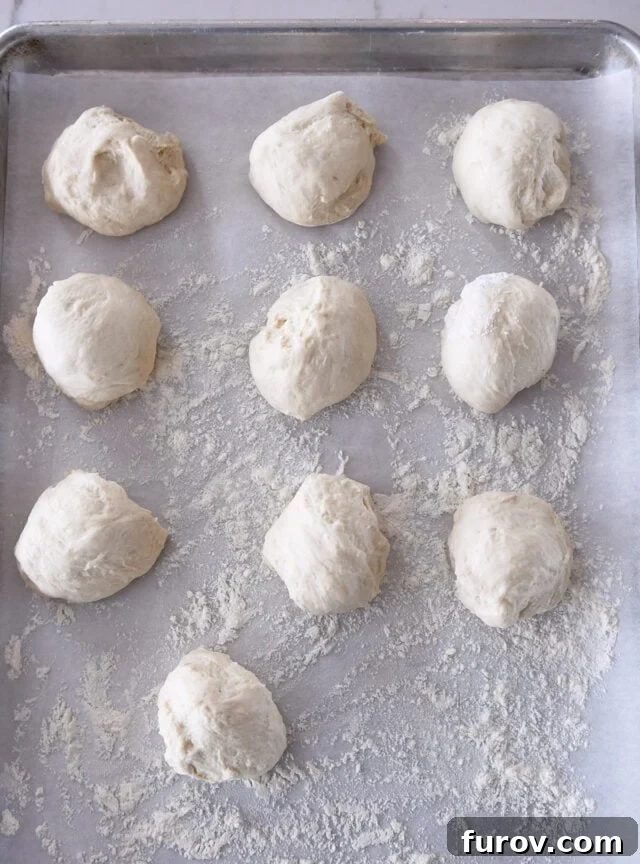
Once doubled, gently deflate the dough and divide it into ten equal pieces. Aim for approximately 65 to 75 grams per piece for consistent flatbreads. Briefly shape each piece into a neat ball by tucking the edges underneath. Arrange these dough balls a few inches apart on a lightly floured baking sheet, preferably lined with parchment paper to prevent sticking. Allow them to rest for an additional 20 to 30 minutes. This crucial resting period, known as bench rest, allows the gluten to relax, making the dough much easier to roll out evenly without snapping back.
Mastering the Art of Rolling Out Sourdough Flatbreads
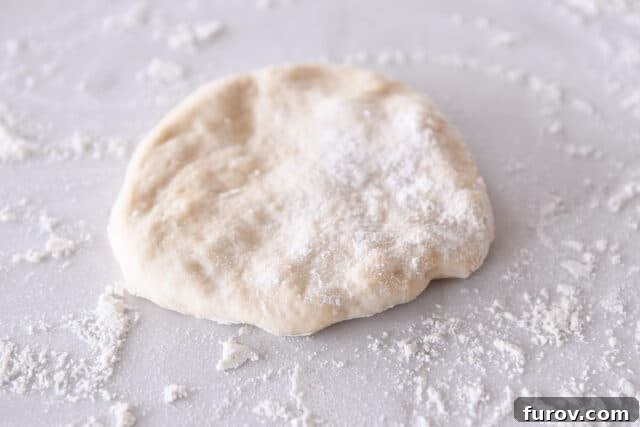
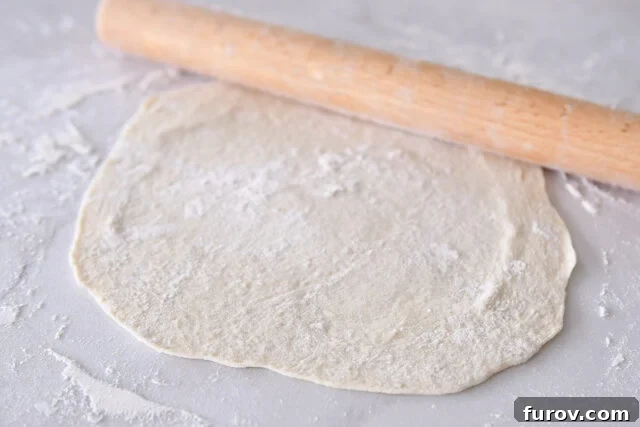
With your dough balls rested and relaxed, it’s time for the enjoyable task of rolling them out. On a lightly floured counter, take each piece of dough and roll it into a thin, circular shape. Don’t worry about achieving a perfect circle; the rustic charm of slightly irregular edges adds to the homemade appeal.
The exact dimensions and thickness of your rolled-out flatbread will dictate its final texture and intended use. For delicate, pliable tortillas perfect for tacos or soft-shell wraps, aim to roll them super thin, almost translucent. If you prefer a fluffier, more substantial bread reminiscent of naan, roll them slightly thicker. This adaptability makes the recipe incredibly versatile, allowing you to customize your flatbreads to suit any culinary whim.
During the rolling process, exercise caution not to incorporate too much extra flour. A light dusting is sufficient to prevent sticking, but excessive flour can stiffen the dough, making it less pliable and potentially leading to a drier finished product. The goal is to maintain the dough’s inherent softness and elasticity throughout, ensuring your cooked flatbreads retain their tender, chewy texture.
Achieving Perfection: Cooking Sourdough Flatbread in a Cast Iron Skillet
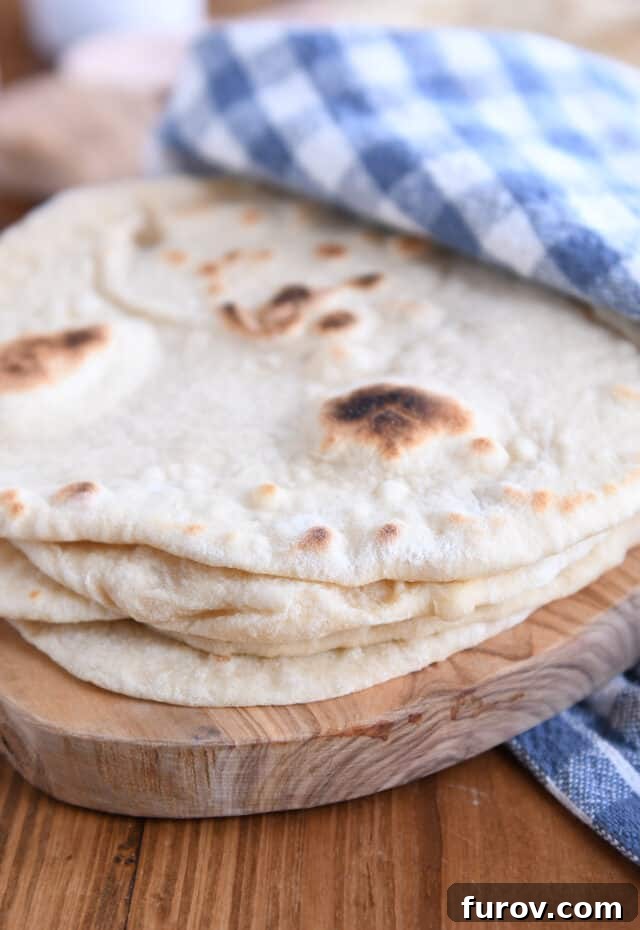
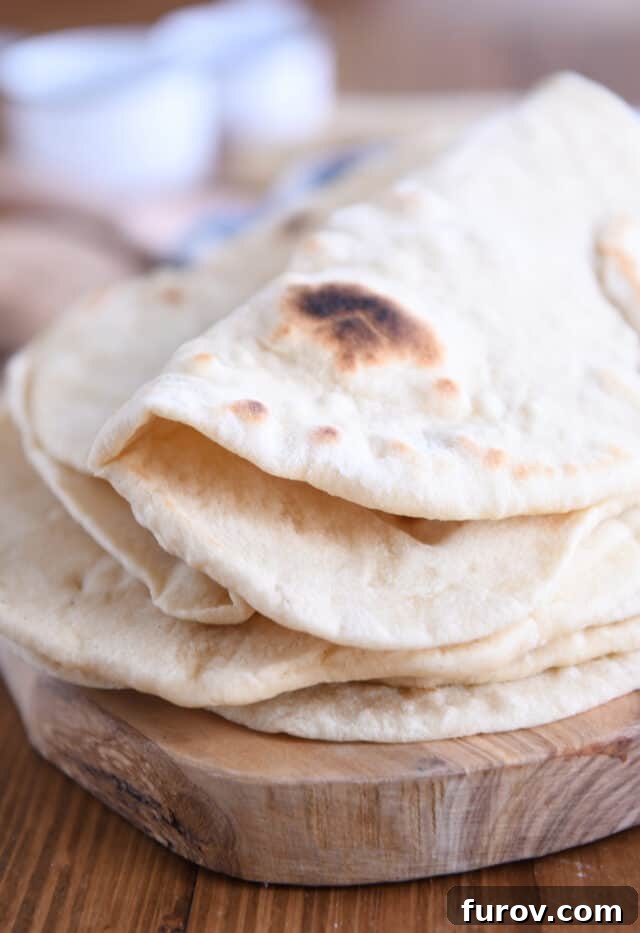
For cooking this easy sourdough flatbread, my preferred tool is undeniably a cast iron skillet. Its superior heat retention and even distribution are unparalleled, ensuring each flatbread cooks uniformly and develops those coveted bits of spotty golden-brown char that contribute so much to its flavor and aesthetic appeal. The only minor drawback is the single-flatbread cooking capacity, which means a bit more time if you’re making a large batch.
If speed is of the essence, a large griddle is an excellent alternative that allows you to cook multiple flatbreads simultaneously, significantly cutting down on total cooking time. Regardless of your chosen cooking surface, ensure it’s preheated to a medium-high temperature to achieve a quick and efficient cook.
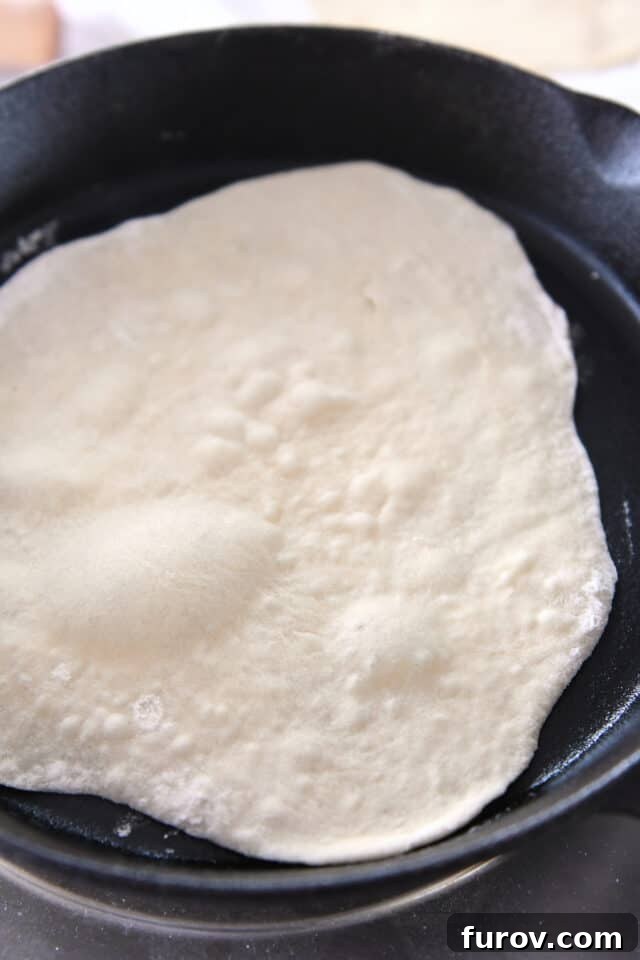
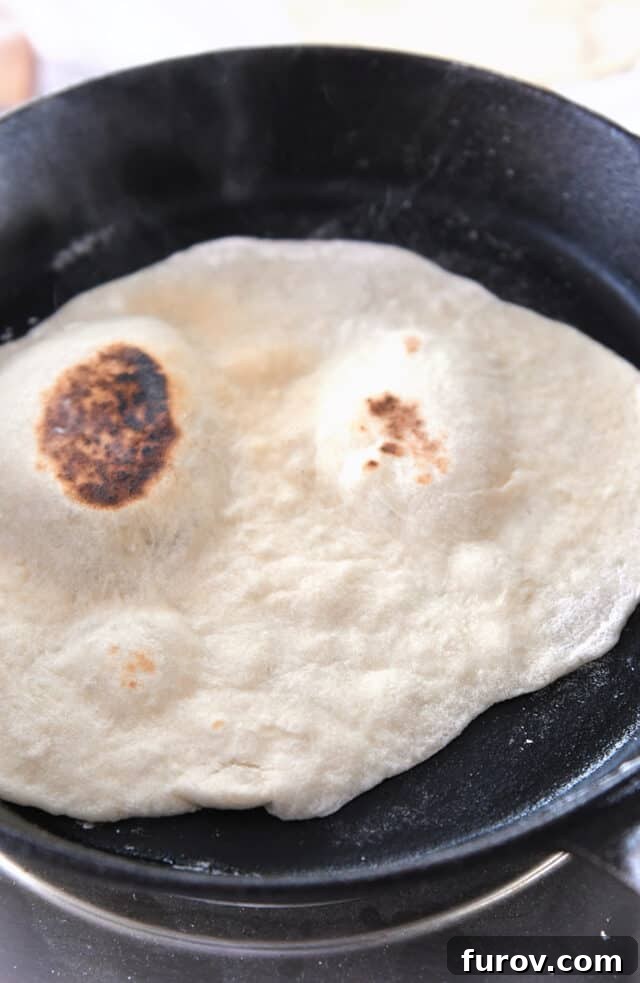
These flatbreads cook surprisingly fast! Each side typically requires just one to two minutes until it’s beautifully golden in spots and cooked through. As they cook, you’ll observe the flatbreads puffing up, often forming large, enticing bubbles. Do not be tempted to pierce these bubbles! They are a crucial component of the flatbread’s success. The steam trapped within these bubbles is what creates the incredibly soft, airy, and chewy interior texture. Furthermore, when these puffy bubbles come into direct contact with the hot cooking surface, they transform into those wonderful golden-brown spots, indicating perfect caramelization. In essence: these bubbles are your friends and a sign of a perfectly cooked flatbread.
Endless Culinary Possibilities: How to Serve Sourdough Flatbread
The beauty of this easy sourdough flatbread lies in its incredible versatility. It adapts seamlessly to a multitude of different meal styles, making it a valuable addition to your culinary repertoire:
- Dynamic Wraps & Tortillas: Roll the dough extra thin and cook them slightly crisp for fantastic homemade tortillas. They are ideal for tacos, burritos, quesadillas, or any meal where a fresh, soft shell enhances the experience. Imagine warm flatbreads cradling your favorite fillings!
- Indian-Inspired Delights: For a more substantial bread akin to naan, roll them a bit thicker. These are magnificent for soaking up the rich sauces of Indian-inspired dishes such as quick chicken curry or this easy basil curry. We particularly adore pairing them with our egg roll skillet meal for a truly satisfying experience.
- Personalized Pizzas: Transform your flatbread dough into individual (or even larger, if your pan allows) pizza bases! Cook them on a pizza stone, a regular baking sheet in a 450°F oven, or even experiment with an air fryer for a crispy crust. Top with your favorite sauce, cheese, and toppings for a quick and delicious homemade pizza night.
- Gourmet Sandwiches & Everyday Wraps: Once cooked and cooled, these flatbreads make an outstanding foundation for any variety of sandwiches or wraps. Their soft, pliable nature makes them perfect for holding generous fillings without tearing.
Confession time: I often find myself stashing a flatbread or two away from my family, just so I can enjoy my ultimate favorite lunch. I roll them up with slices of savory ham, creamy Swiss cheese, and a drizzle of tangy mustard. It’s a simple pleasure, but oh-so-good!
However, be warned: the moment you taste a piece of this sourdough flatbread, piping hot off the skillet, perhaps with a dollop of butter and a touch of honey, it’s entirely possible that no bread will ever actually make it to its intended purpose—let alone become leftovers. This flatbread has a way of disappearing quickly!
Why This Is the Ultimate Sourdough Flatbread Recipe
Even among the other excellent flatbread recipes on my site, this sourdough version stands out as a clear winner, especially if you have the time to prep your active sourdough starter. Here’s why it consistently earns top marks:
- Unrivaled Dough Pliability and Ease: The dough is extraordinarily soft, elastic, and incredibly forgiving to work with. It stretches beautifully without tearing, making the rolling-out process a joy rather than a chore. This pliability ensures that even novice bakers can achieve perfectly shaped flatbreads with minimal effort.
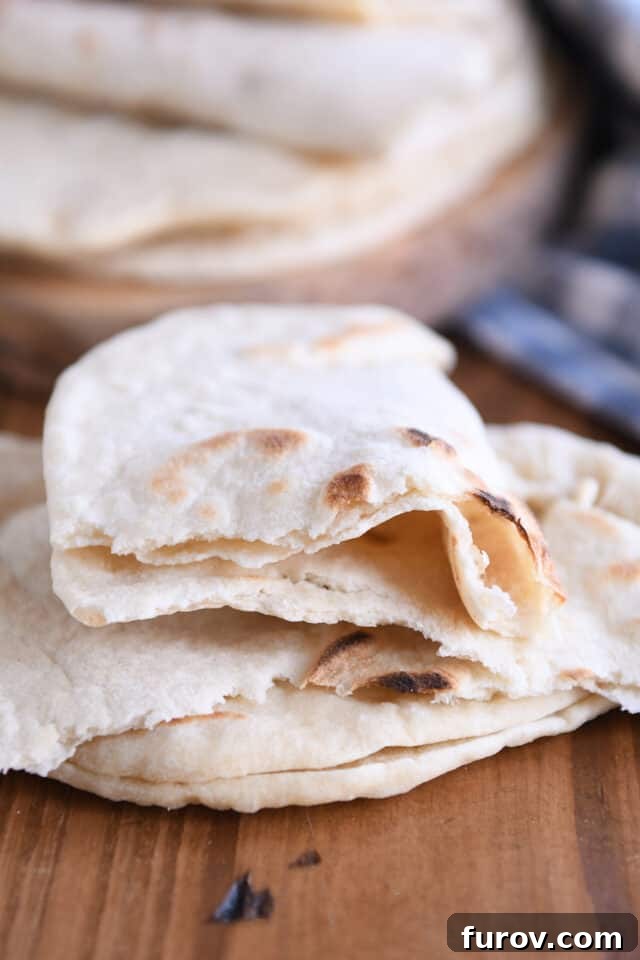
- Exceptional Softness That Lasts: Unlike many breads that quickly dry out, these cooked sourdough flatbreads retain their remarkable softness and delicious flavor for several days when stored properly. This means you can enjoy fresh-ttasting flatbreads throughout the week, making meal prep a breeze.
- Sophisticated, Balanced Flavor: This flatbread offers a deeply complex flavor profile, thanks to the sourdough fermentation, without being overly tangy or sour. It strikes a perfect balance, enhancing any dish it accompanies rather than overpowering it, appealing to both sourdough lovers and those new to its unique taste.
This recipe has quickly become one of my absolute favorites, and I’ve been eagerly looking forward to sharing its magic with all of you!
New to Sourdough Baking? If the world of sourdough seems intimidating and you’re unsure where to begin, don’t fret! I’ve put together a quick guide to sourdough for beginners that can help demystify the process. My philosophy embraces the “lazy girl way” of sourdough—it absolutely doesn’t have to be high-maintenance to yield incredible results!

Easy Sourdough Flatbread Recipe
Yield: 10 flatbreads
Prep Time: 15 minutes
Cook Time: 25 minutes
Rising Time: 4 hours
Total Time: 4 hours 40 minutes
Rating: 4.90 stars (19 ratings)
Ingredients
- 2 ½ cups (355 g) all-purpose flour
- ¾ cup (175 g) warm water
- ⅔ cup (175 g) fed/active sourdough starter
- 2 tablespoons (25 g) olive oil
- 2 teaspoons (10 g) salt
Instructions
- In a large bowl, combine the flour, warm water, active sourdough starter, olive oil, and salt. Mix with a wooden spoon or spatula until the ingredients come together to form a cohesive dough. You can use your hands towards the end of mixing to ensure everything is well-incorporated. Knead the dough briefly, just a few times, until it forms a soft ball. Only add a minimal amount of extra flour if the dough is too sticky to handle.
- Cover the bowl with plastic wrap or a damp cloth and allow the dough to rise in a warm, draft-free spot until it has visibly doubled in size. This primary fermentation can take anywhere from 2 to 6 hours, or potentially longer, depending on the warmth of your environment and the activity of your starter. Sourdough tends to rise slower than commercial yeast doughs.
- Lightly dust a parchment-lined baking sheet with flour and set it aside.
- Gently turn the risen dough out onto a lightly floured surface. Divide the dough into ten equal pieces, each weighing approximately 65 to 75 grams. Form each piece into a smooth ball by gently pulling the edges underneath. Arrange the dough balls several inches apart on the prepared baking sheet.
- Let the dough balls rest for an additional 30 minutes. This resting period helps the gluten relax, making the dough easier to roll out.
- On a lightly floured counter, roll each dough ball into a thin 6- or 7-inch circle. Don’t worry if the circles aren’t perfectly round; a slightly irregular shape is part of their homemade charm. Avoid using excessive flour during rolling to keep the dough soft and pliable.
- Heat a cast iron skillet or a griddle over medium-high heat. Once hot, cook each flatbread for 1 to 2 minutes per side, until golden brown spots appear and the bread is cooked through. The flatbreads will likely puff up and form bubbles as they cook; resist the urge to pierce these bubbles, as the trapped steam contributes to their soft and airy texture.
- Serve the sourdough flatbreads warm or at room temperature. They store exceptionally well for several days in a sealed bag and also freeze beautifully for longer preservation.
Notes
Sourdough Starter: This recipe calls for an active, fed sourdough starter. My starter uses a 1:1:1 ratio (starter:flour:water) and has a consistency similar to a thick, pourable batter. If your starter is significantly thicker, you might need to add a touch more warm water to the dough. Conversely, if your starter is thinner, you may need to incorporate a bit more flour to achieve a soft, workable dough consistency. Ensure your starter is ripe and bubbly for the best results, as sourdough discard will not provide enough leavening.
Timing: While I typically make and cook these flatbreads on the same day, this dough is quite forgiving. For a deeper sourdough flavor, you could likely cover the dough (either in bulk or after dividing into pieces) and refrigerate it for 1 to 2 days before rolling and cooking. Bring to room temperature before rolling for easier handling.
Author: Mel Gunnell
Course: Bread
Cuisine: American
Method: Stovetop
Nutrition Facts (per flatbread)
- Serving: 1 flatbread
- Calories: 154 kcal
- Carbohydrates: 27g
- Protein: 4g
- Fat: 3g
- Saturated Fat: 0.4g
- Sodium: 467mg
- Fiber: 1g
- Sugar: 0.1g
Recommended Products
Recipe Source: Adapted from Mel’s Kitchen Cafe
Other Delicious Flatbread & Sourdough Recipes to Explore:
We hope this detailed guide encourages you to dive into making your own easy sourdough flatbread. It’s a rewarding experience that yields incredibly delicious results, perfect for elevating any meal or simply enjoying as a wholesome snack. Happy baking!