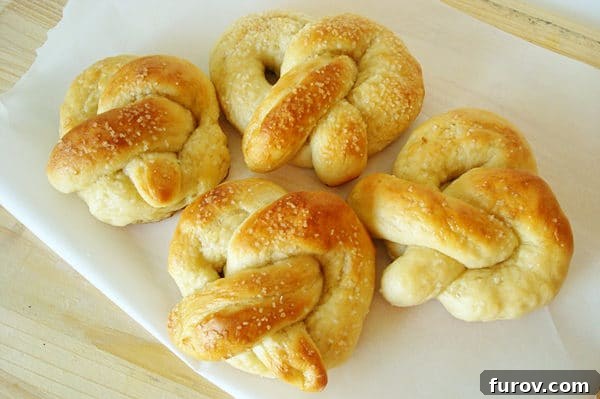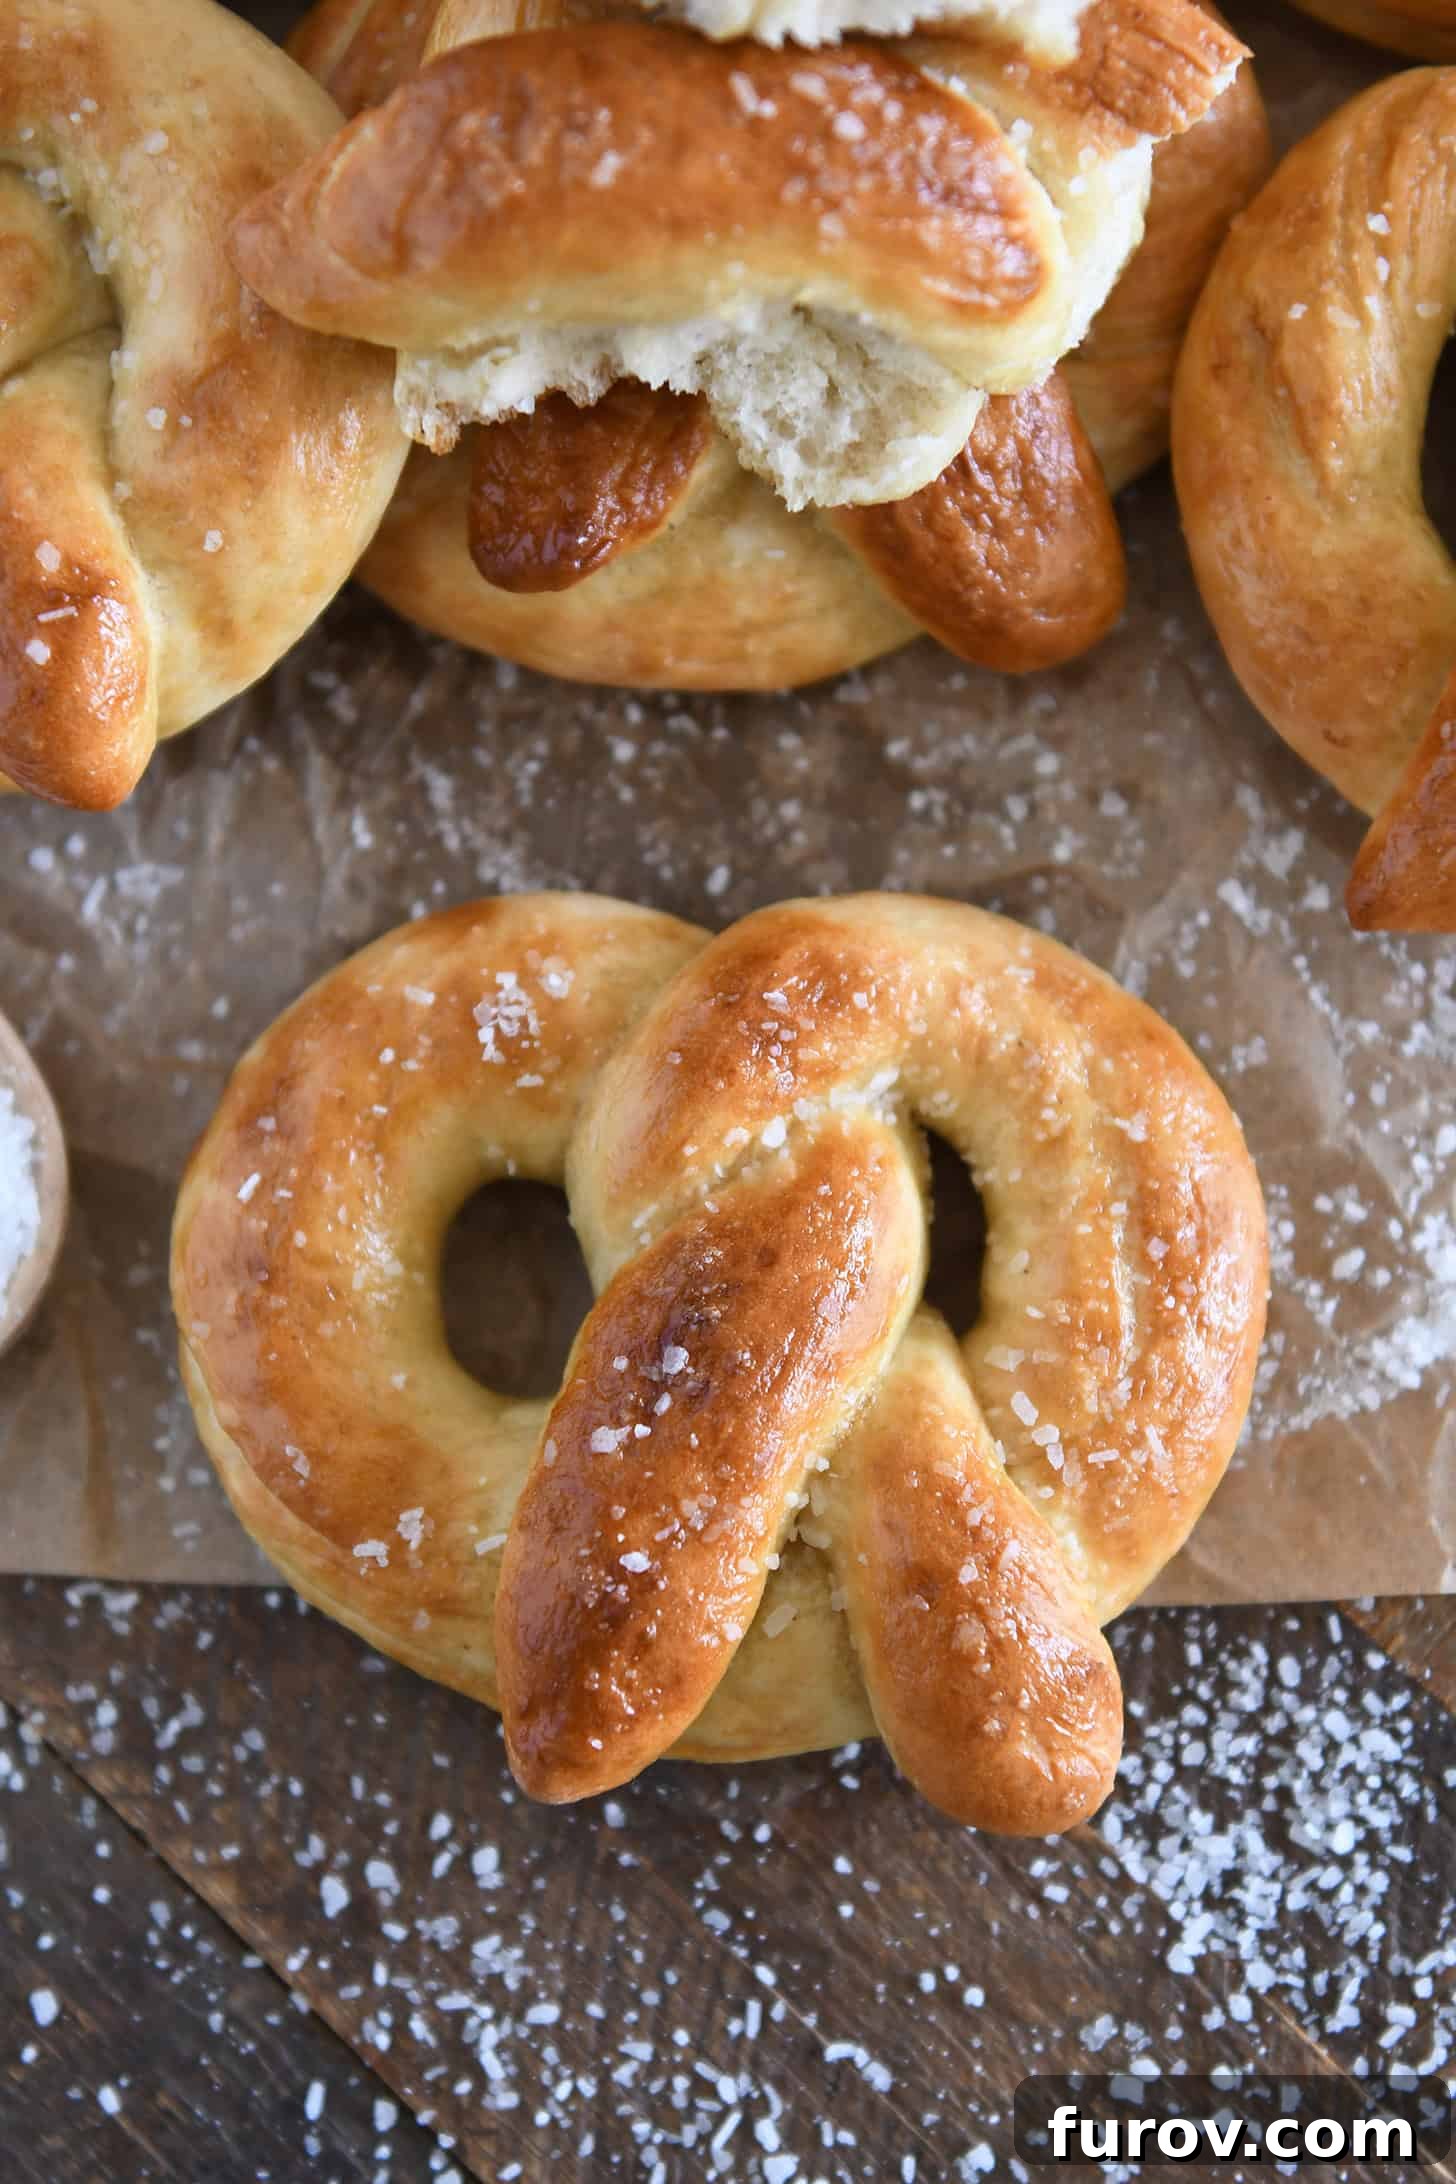
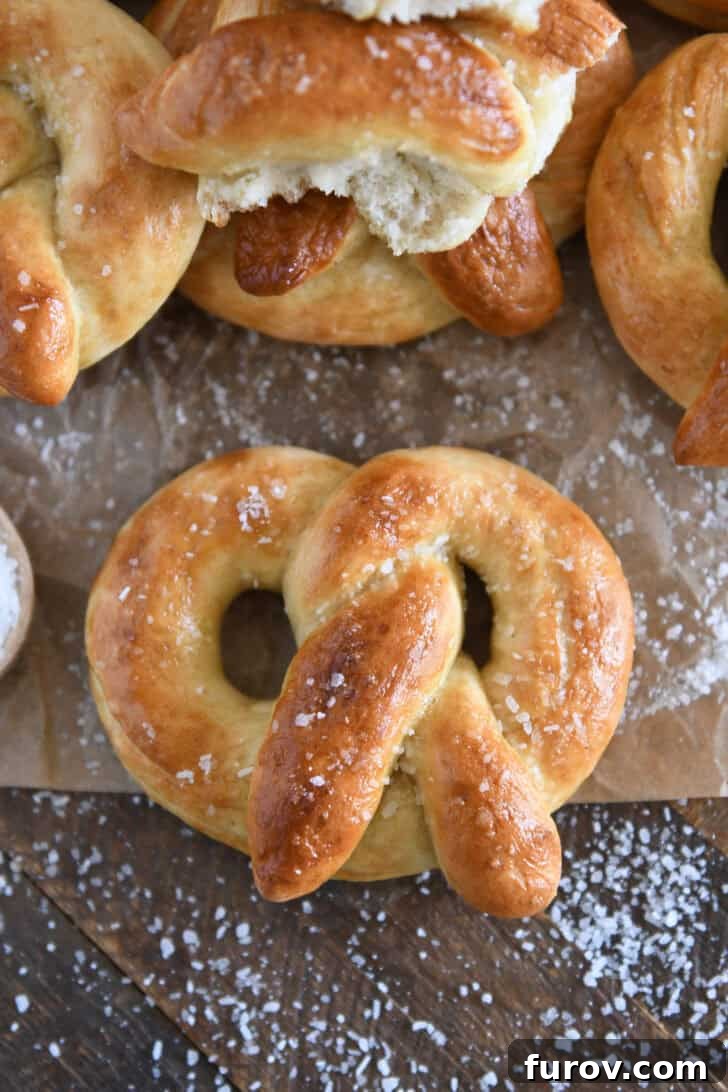
Experience the joy of baking with these incredibly easy homemade soft pretzels! Our step-by-step guide includes expert tips on shaping and baking to achieve that perfect golden-brown crust and irresistible chewy texture you crave.
There’s nothing quite like the aroma of freshly baked pretzels filling your home. This highly-rated recipe consistently delivers the very best homemade soft pretzels you’ll ever taste. Forget those dry, disappointing store-bought versions; these pretzels are a game-changer.
Our community raves about this recipe. As one delighted reader, Cynthia, commented: “Loved this recipe! It was so easy, and my pretzels turned out so soft and chewy I can’t wait to make them again!” ⭐️⭐️⭐️⭐️⭐️
Why This Easy Soft Pretzel Recipe Will Become Your Family Favorite
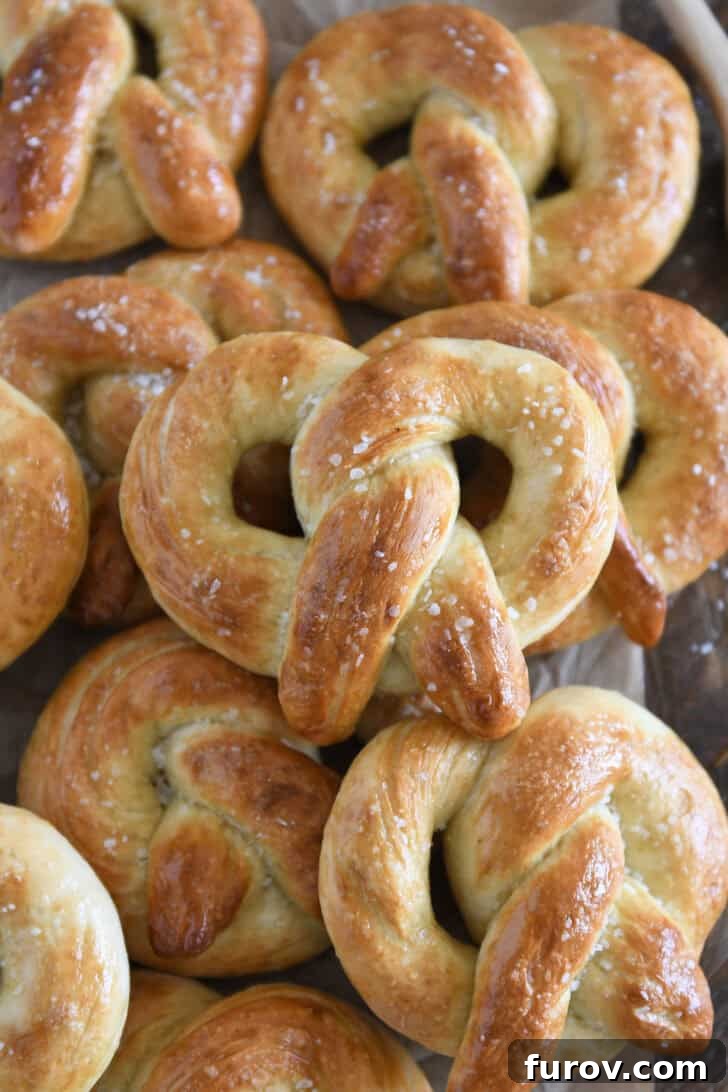
For over 15 years, this homemade pretzel recipe has been a beloved staple in our family kitchen. It’s more than just a recipe; it’s a tradition. My kids have literally grown up making these soft, chewy delights with me, often foregoing the classic pretzel shape to craft their pretzel ropes into their initials, whimsical animals, or other creative forms. The memories made in the kitchen, flour dusting every surface, are just as precious as the delicious outcome.
But beyond the nostalgia, there are concrete reasons why this recipe stands out as the best way to make soft pretzels at home:
We love this recipe because:
- It is incredibly straightforward and easy. Unlike many intimidating baking projects, this recipe requires no advanced skills or elaborate equipment. The ingredient list is simple, consisting of pantry staples you likely already have on hand. You’ll be amazed at how effortlessly you can achieve bakery-quality pretzels.
- No long rising times or special ingredients are needed. We understand that life is busy. This recipe is designed for efficiency, ensuring you can enjoy warm, fresh pretzels without waiting hours for the dough to prove. Plus, you won’t need to hunt for obscure ingredients – just the basics!
- The pretzels don’t require a fussy boiling water bath, like bagels. Many traditional pretzel recipes call for a caustic lye bath or an extended boiling process in baking soda water. Our method simplifies this crucial step with a gentle, quick dip in a warm water bath. This less-intrusive approach still delivers that essential golden crust and signature pretzel flavor without the extra fuss or safety concerns.
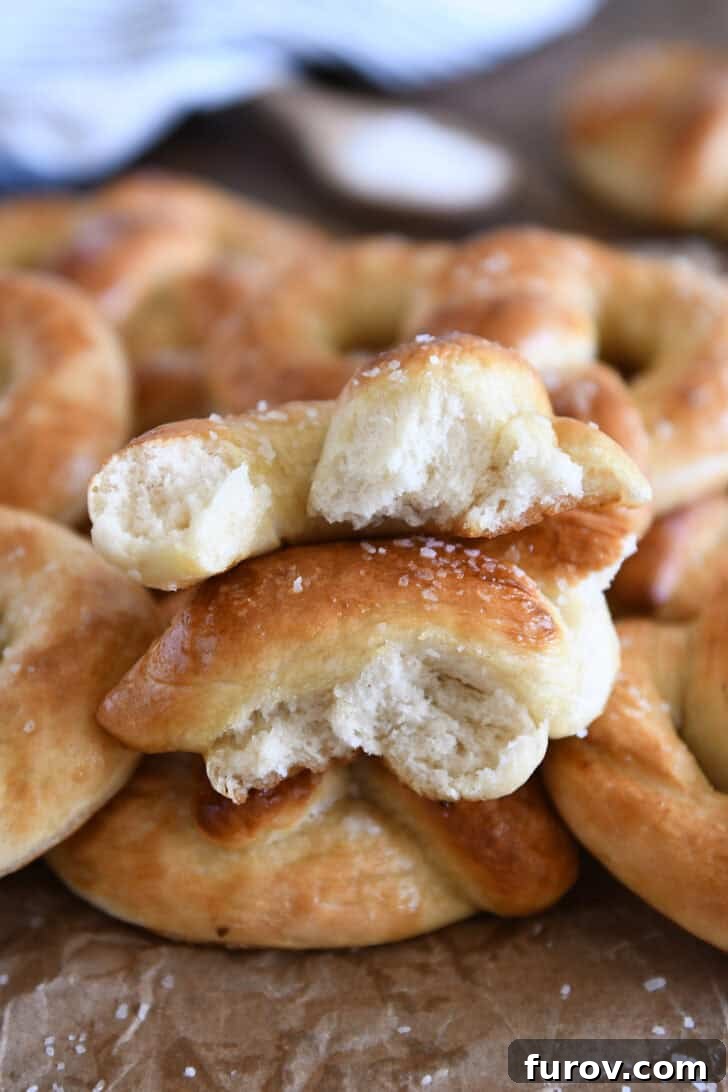
- The pretzels taste just as good as, if not better than, your favorite mall pretzels! Seriously, prepare for an authentic soft pretzel experience right in your own kitchen. That perfect balance of salty exterior, buttery richness, and soft, chewy interior will transport you straight to the food court, but with a freshness that’s unmatched.
- You can make a batch of these delicious pretzels in under two hours! From start to finish, including mixing, a quick rise, shaping, and baking, you can have a tray of warm, buttery pretzels ready to devour in remarkably little time. It’s perfect for a spontaneous snack, a fun weekend activity, or impressing guests.
This recipe isn’t just about making pretzels; it’s about bringing joy and a touch of homemade magic into your everyday life. The simplicity and delicious results make it a consistent winner in our home, and we’re confident it will be in yours too.
How to Master Homemade Soft Pretzels: A Simple Step-by-Step Guide
Making buttery, chewy, and soft pretzels at home is a wonderfully rewarding experience, and it’s surprisingly easy with this foolproof recipe! Follow these straightforward steps, and consult the detailed recipe card below for precise measurements and timings, to create pretzels that will disappear as fast as you can make them:
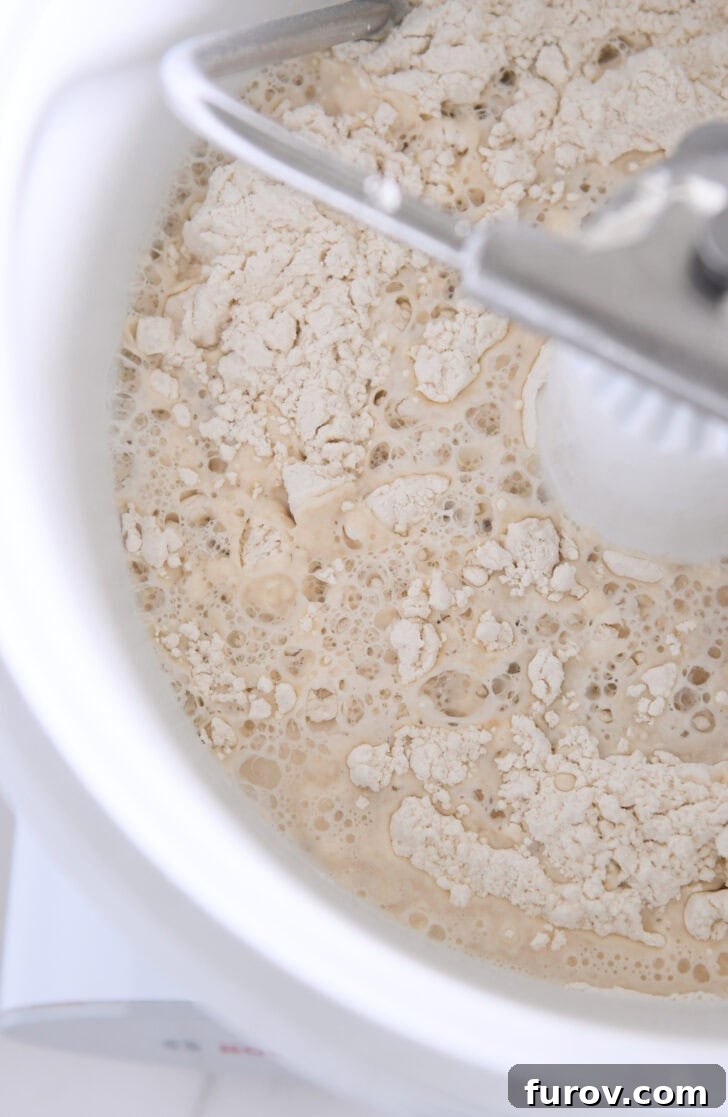
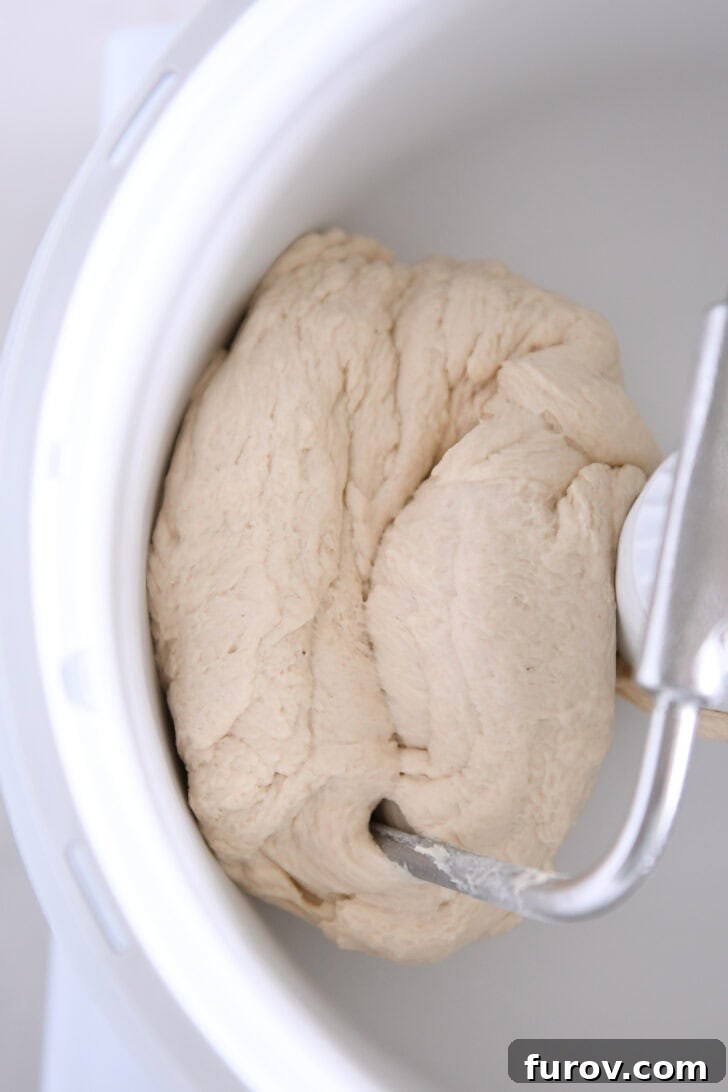
- Mix the Dough: Begin by combining your dry ingredients, then add warm water and let your stand mixer, fitted with a dough hook, do the hard work. If you prefer, this dough can also be easily made and kneaded by hand, developing strength and elasticity as you work it.
- Let the Dough Rise: A quick, modest rise is all this dough needs. This step allows the yeast to activate, giving the pretzels their signature soft and airy texture without requiring hours of waiting.
- Divide the Dough: Once risen, gently deflate the dough and divide it into equal pieces. Eight pieces will yield a good standard size, but you can adjust for larger or smaller pretzels, or even pretzel bites.
- Shape the Pretzels: This is where the fun begins! Roll each piece of dough into a long rope, then twist and fold it into the classic pretzel shape. Don’t worry if your first few aren’t perfect; practice makes delicious! (Refer to our dedicated shaping tutorial below for visual guidance).
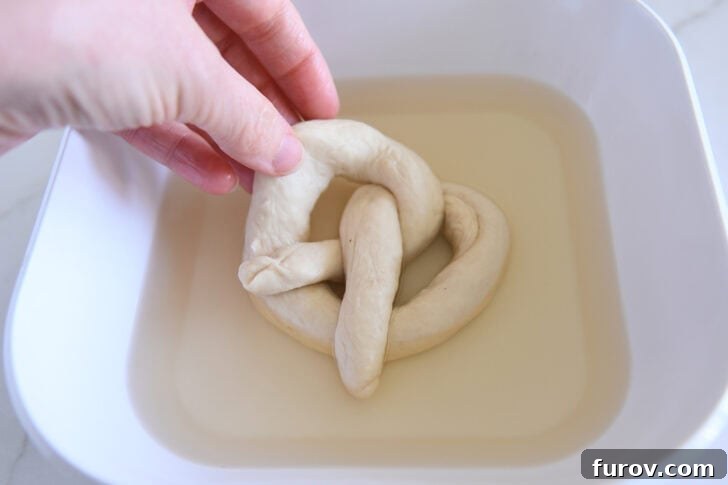
- Dip in the Bath: A critical step for that beautiful golden-brown crust! Each shaped pretzel takes a quick dip in our special warm water, baking soda, and honey solution. This bath is what reacts with the heat of the oven to create the iconic pretzel exterior.
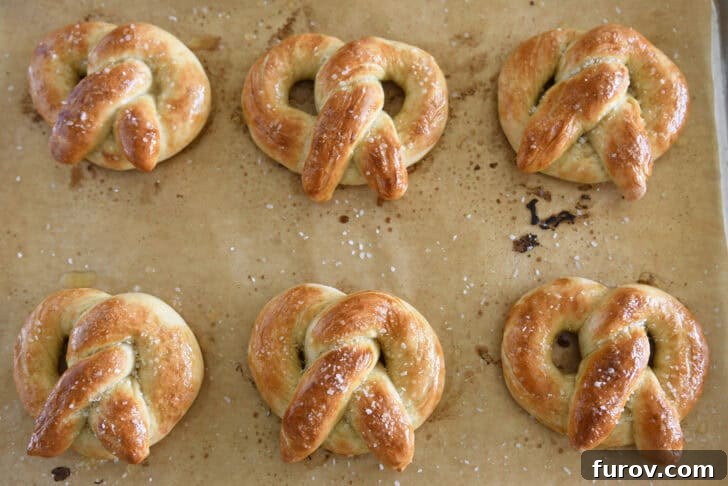
- Bake to Perfection: Transfer your dipped pretzels to a hot oven. The high temperature ensures a quick bake, locking in moisture while developing that sought-after crispy, golden crust.
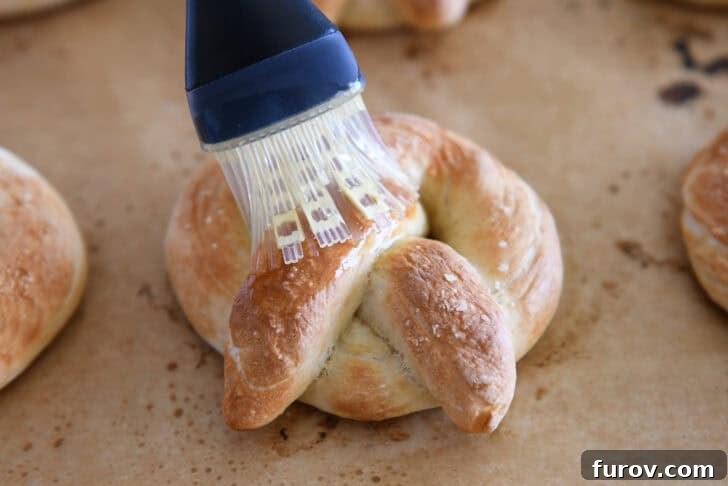
- Brush with Butter: Immediately after baking, while the pretzels are still piping hot, brush them liberally with melted butter. This not only enhances their flavor but also contributes to their rich color and tender texture.
- Devour (Seriously, I Dare You to Eat Just One!): Serve warm and enjoy! These pretzels are so irresistible, you’ll find it nearly impossible to stop at just one. They’re perfect plain, with coarse salt, or paired with your favorite dipping sauce.
This simple sequence of steps ensures a successful batch of homemade pretzels every time, making you a pretzel-making pro in no time!
Mastering the Twist: How to Shape Homemade Pretzels Like a Pro
While the classic pretzel shape is undeniably iconic, the beauty of this versatile pretzel dough lies in its flexibility. You can unleash your creativity and make a variety of fun shapes: try easy pretzel bites, long pretzel sticks, or let your kids freeform their own random figures, just like mine love to do. They can even spell out their names or initials! No matter the shape, the taste will be phenomenal.
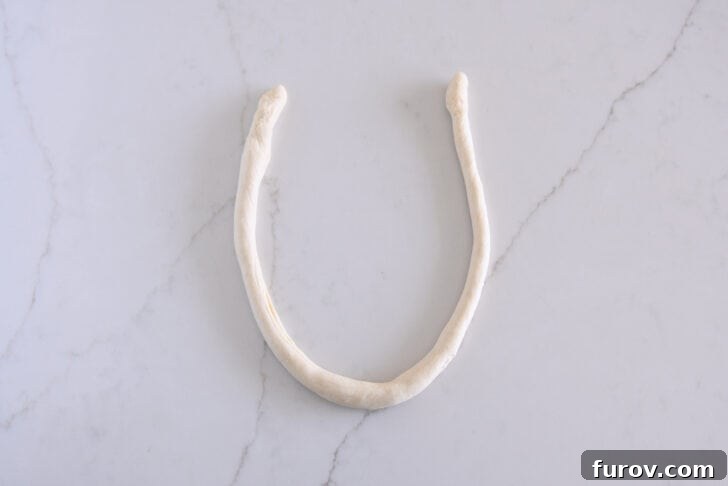
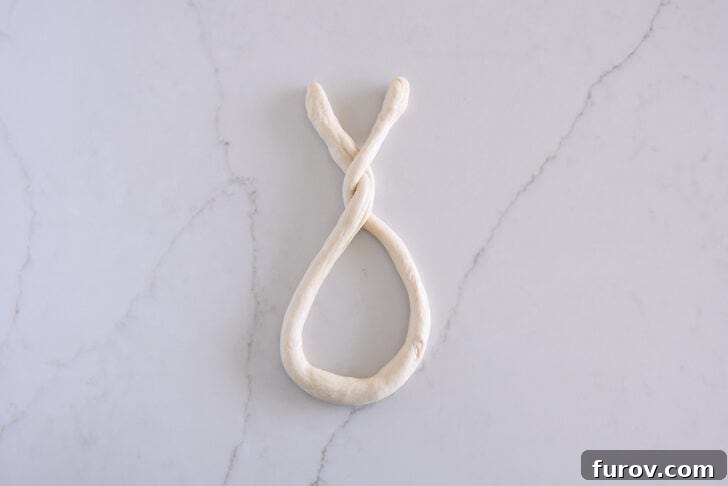
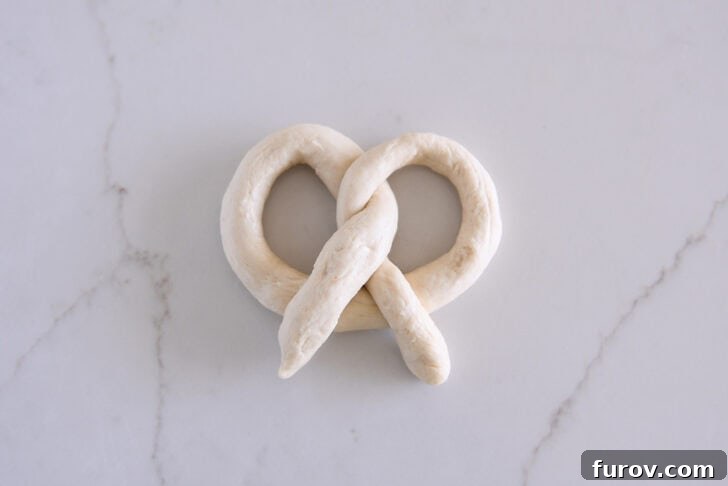
However, if you’re aiming for that instantly recognizable, classic soft pretzel shape, a little guidance goes a long way. Follow these detailed directions, complemented by the helpful pictures below, to achieve perfect twists:
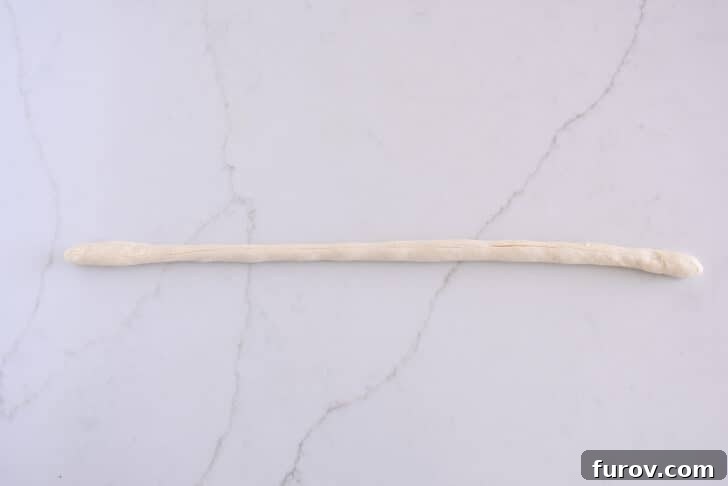
- Roll into a Long Rope: Take one piece of divided dough and, on a lightly floured surface, begin rolling it between your palms and the countertop. Apply even pressure as you roll, extending the dough into a very long, thin rope. Aim for approximately 20-24 inches in length. The thinner you roll it, the more defined your twists will be and the less likely the “gaps” will puff closed.
- Form a Horseshoe: Once you have your long rope, pick up both ends and bring them up towards each other, allowing the rope to form a graceful horseshoe shape or a wide “U”. Ensure the ends are relatively even in length.
- Twist the Ends: With the horseshoe in front of you, carefully cross the two ends over each other. Twist them around each other not just once, but twice. This double twist is key to creating that authentic pretzel knot appearance and prevents them from unraveling during baking.
- Bring Ends Down to Connect: After twisting, gently fold the twisted ends down towards the bottom curve of the horseshoe. Press the ends firmly onto the dough to secure them. The twisted knot should now be centered at the top of your pretzel, forming the classic bow-like silhouette.
Expert Tip for Defined Pretzels: Remember that these pretzels puff and rise quite a bit during baking. If you desire those charming, open gaps in the bow-shaped pretzel and a more traditional appearance, it’s crucial to roll that rope out longer and thinner than you might initially think! Don’t be afraid to stretch it out. A longer, thinner rope will ensure your twists remain distinct and beautiful after baking.
With a little practice, you’ll be shaping perfectly twisted pretzels in no time, ready for their buttery finish!
Essential Tips for Perfect Pretzels Every Time
To ensure your homemade soft pretzels are nothing short of spectacular, here are a few additional tips and insights gained from years of baking this beloved recipe:
➡️ Salting for Flavor and Texture: I always recommend sprinkling the pretzels with coarse salt before baking. This initial layer adheres beautifully to the dough as it bakes. For an extra punch of flavor and that classic pretzel look, I sometimes add a bit more salt after the pretzels have been baked and generously buttered. It creates a wonderful texture contrast and ensures every bite is perfectly seasoned.
➡️ Choosing the Right Salt: While specific “pretzel salt” exists, don’t feel obligated to seek it out. I often use the coarse kosher salt (like Diamond Crystal brand) that I keep on hand for everyday cooking. While it might not be as uniform or visually prominent as some specialized pretzel salts, it works absolutely wonderfully, delivering excellent flavor. The key is to use a coarse grain that won’t dissolve completely during baking, providing that essential crunch.
➡️ The Magical Buttering Step: Seriously, whatever you do, DO NOT skip the buttering step! This is the secret to elevating these pretzels from simply good to truly unforgettable. Brushing them liberally with melted butter immediately after they come out of the oven infuses them with an ethereal, iconic buttery taste and contributes significantly to their phenomenal golden-brown crust. In fact, use more melted butter than you think you should on each one. Trust me on this – if that isn’t a life motto, I don’t know what is! The butter seeps into the warm crevices, making them utterly divine.
➡️ The Perfect Companion: While these pretzels are delicious on their own, they are absolutely divine when paired with a dipping sauce. The homemade cheese sauce from our pretzel twist recipe is an ideal match for these homemade soft pretzels. Its creamy, savory notes perfectly complement the salty, buttery goodness of the pretzels.
In the vast landscape of recipes that have truly stood the test of time, this homemade soft pretzel recipe undoubtedly emerges as a clear winner. Its enduring appeal and consistent deliciousness have cemented its place as a cherished family favorite for decades, and honestly, I don’t foresee that changing anytime soon.
There are very few recipes that elicit such genuine excitement from my children as this one does. It’s more than just a treat; it’s a portal to fond memories and comforting traditions. It’s nostalgic, bringing back sensory experiences of cozy kitchens and shared laughter. But most importantly, the pretzels themselves are, without exaggeration, insanely delicious – perfectly soft, wonderfully chewy, and packed with that irresistible buttery-salty flavor.
I, for one, confess to having very little willpower when confronted with a fresh pan of these hot, glistening, buttery pretzels. They possess a certain divine quality that makes them utterly irresistible. Prepare to fall in love with the magic of baking your own soft pretzels at home!
Homemade Soft Pretzels
Pin
Ingredients
Dough:
- 2 ½ cups (355 g) all-purpose flour
- ½ teaspoon salt
- 1 teaspoon sugar
- 2 ¼ teaspoons instant yeast
- 1 cup very warm water (105 to 110 degrees F)
Topping (See note):
- 1 cup warm water
- 1 tablespoon baking soda (see note)
- 1 tablespoon honey
- Coarse salt, optional, optional
- 3 tablespoons (42 g) melted butter
Instructions
-
In the bowl of a stand mixer fitted with the dough hook (or in a large mixing bowl if kneading by hand), combine the flour, salt, sugar, and instant yeast. Mix these dry ingredients thoroughly to ensure even distribution.
-
Gradually add the very warm water (ensure it’s between 105-110°F to activate the yeast without killing it) to the dry ingredients. Mix on medium speed until the dough comes together and forms a soft ball. Continue mixing, adding a tiny bit more flour if the dough is too sticky, or a teaspoon of warm water if it’s too dry, until the dough cleans the bottom and sides of the bowl. The ideal consistency is soft, pliable, and slightly tacky but not overly sticky.
-
Knead the dough for 4 to 5 minutes using the stand mixer, or 7-10 minutes by hand. The dough should become smooth and elastic. You can test for readiness by gently pressing a finger into the dough; it should spring back slowly.
-
Cover the bowl with a clean kitchen towel or plastic wrap. Allow the dough to rise in a warm, draft-free place until it has roughly doubled in size, which typically takes about 45 to 60 minutes, depending on the warmth of your kitchen.
-
While the dough is rising, preheat your oven to a high temperature of 500°F (260°C). This intense heat is crucial for achieving that characteristic golden-brown crust and perfectly chewy interior of homemade pretzels.
-
Prepare two half-sheet baking pans by lining them with parchment paper. Lightly brush the parchment paper with olive oil or a neutral cooking spray to prevent sticking.
-
Once risen, gently punch down the dough to release the air. Transfer it to a lightly greased work surface. Divide the dough into eight equal pieces. For precision, each piece should weigh approximately 70 grams (about 2.5 ounces). Cover the individual pieces loosely and let them rest, uncovered, for 5 minutes. This brief resting period helps relax the gluten, making the dough much easier to roll and shape without it springing back excessively.
-
While the dough pieces are resting, prepare your dipping bath. In a microwave-safe dish, combine 1 cup of warm water and 1 tablespoon of baking soda. Heat this mixture in the microwave for 30-45 seconds, then stir well to ensure the baking soda is completely dissolved. Stir in 1 tablespoon of honey. This creates the essential alkaline bath for pretzel browning.
-
Working with one piece of dough at a time, roll each into a long, thin rope, approximately 20-24 inches in length. Once rolled, twist each rope into the classic pretzel shape. If you need a visual guide, refer to the step-by-step pictures provided earlier in the post. Ensure your twists are firm but not tearing the dough.
-
Carefully dip each shaped pretzel into the prepared warm water and baking soda bath, ensuring it’s fully submerged for a few seconds. This critical step facilitates the Maillard reaction during baking, giving the pretzels their beautiful golden-brown color and unique flavor. Remove, letting any excess liquid drip off, and place them several inches apart on your prepared baking sheets.
-
If desired, sprinkle the pretzels lightly but evenly with coarse salt or specialized pretzel salt. Allow them to rest, uncovered, on the baking sheets for an additional 10 minutes before baking. This short rest helps them maintain their shape and develop a slightly better texture.
-
Bake the pretzels in the preheated 500°F oven for 7 to 9 minutes, or until they achieve a rich golden-brown color and are slightly puffed. Keep a close eye on them, as high heat means they can brown quickly.
-
Immediately upon removing the hot pretzels from the oven, liberally brush each one with melted butter. The hot surface will absorb the butter, creating an incredibly rich flavor and glossy finish. Serve them warm, as they are best enjoyed fresh, or at room temperature. Enjoy your perfect homemade soft pretzels!
Notes
Optimized Topping for Perfect Results: Over the many years I’ve made and shared this recipe, I’ve continually refined the topping solution to achieve the ideal golden crust without the sometimes-overpowering baking soda taste. The original recipe called for a stronger solution of ½ cup water and 2 tablespoons of baking soda. Through experimentation, I’ve found that adjusting this to 1 cup of warm water, 1 tablespoon of baking soda, and 1 tablespoon of honey yields significantly better results in terms of both vibrant color and balanced flavor. The honey not only aids in browning but also subtly enhances the pretzel’s taste, making for a truly superior homemade soft pretzel experience.
Recommended Products
Recipe Source: This beloved recipe has been adapted slightly from a fantastic base provided by King Arthur Baking Company.
This recipe was originally published in February 2010 and has been thoughtfully updated in October 2025 with fresh photos, enhanced recipe notes, and more detailed instructions to ensure your best pretzel-making experience yet.