
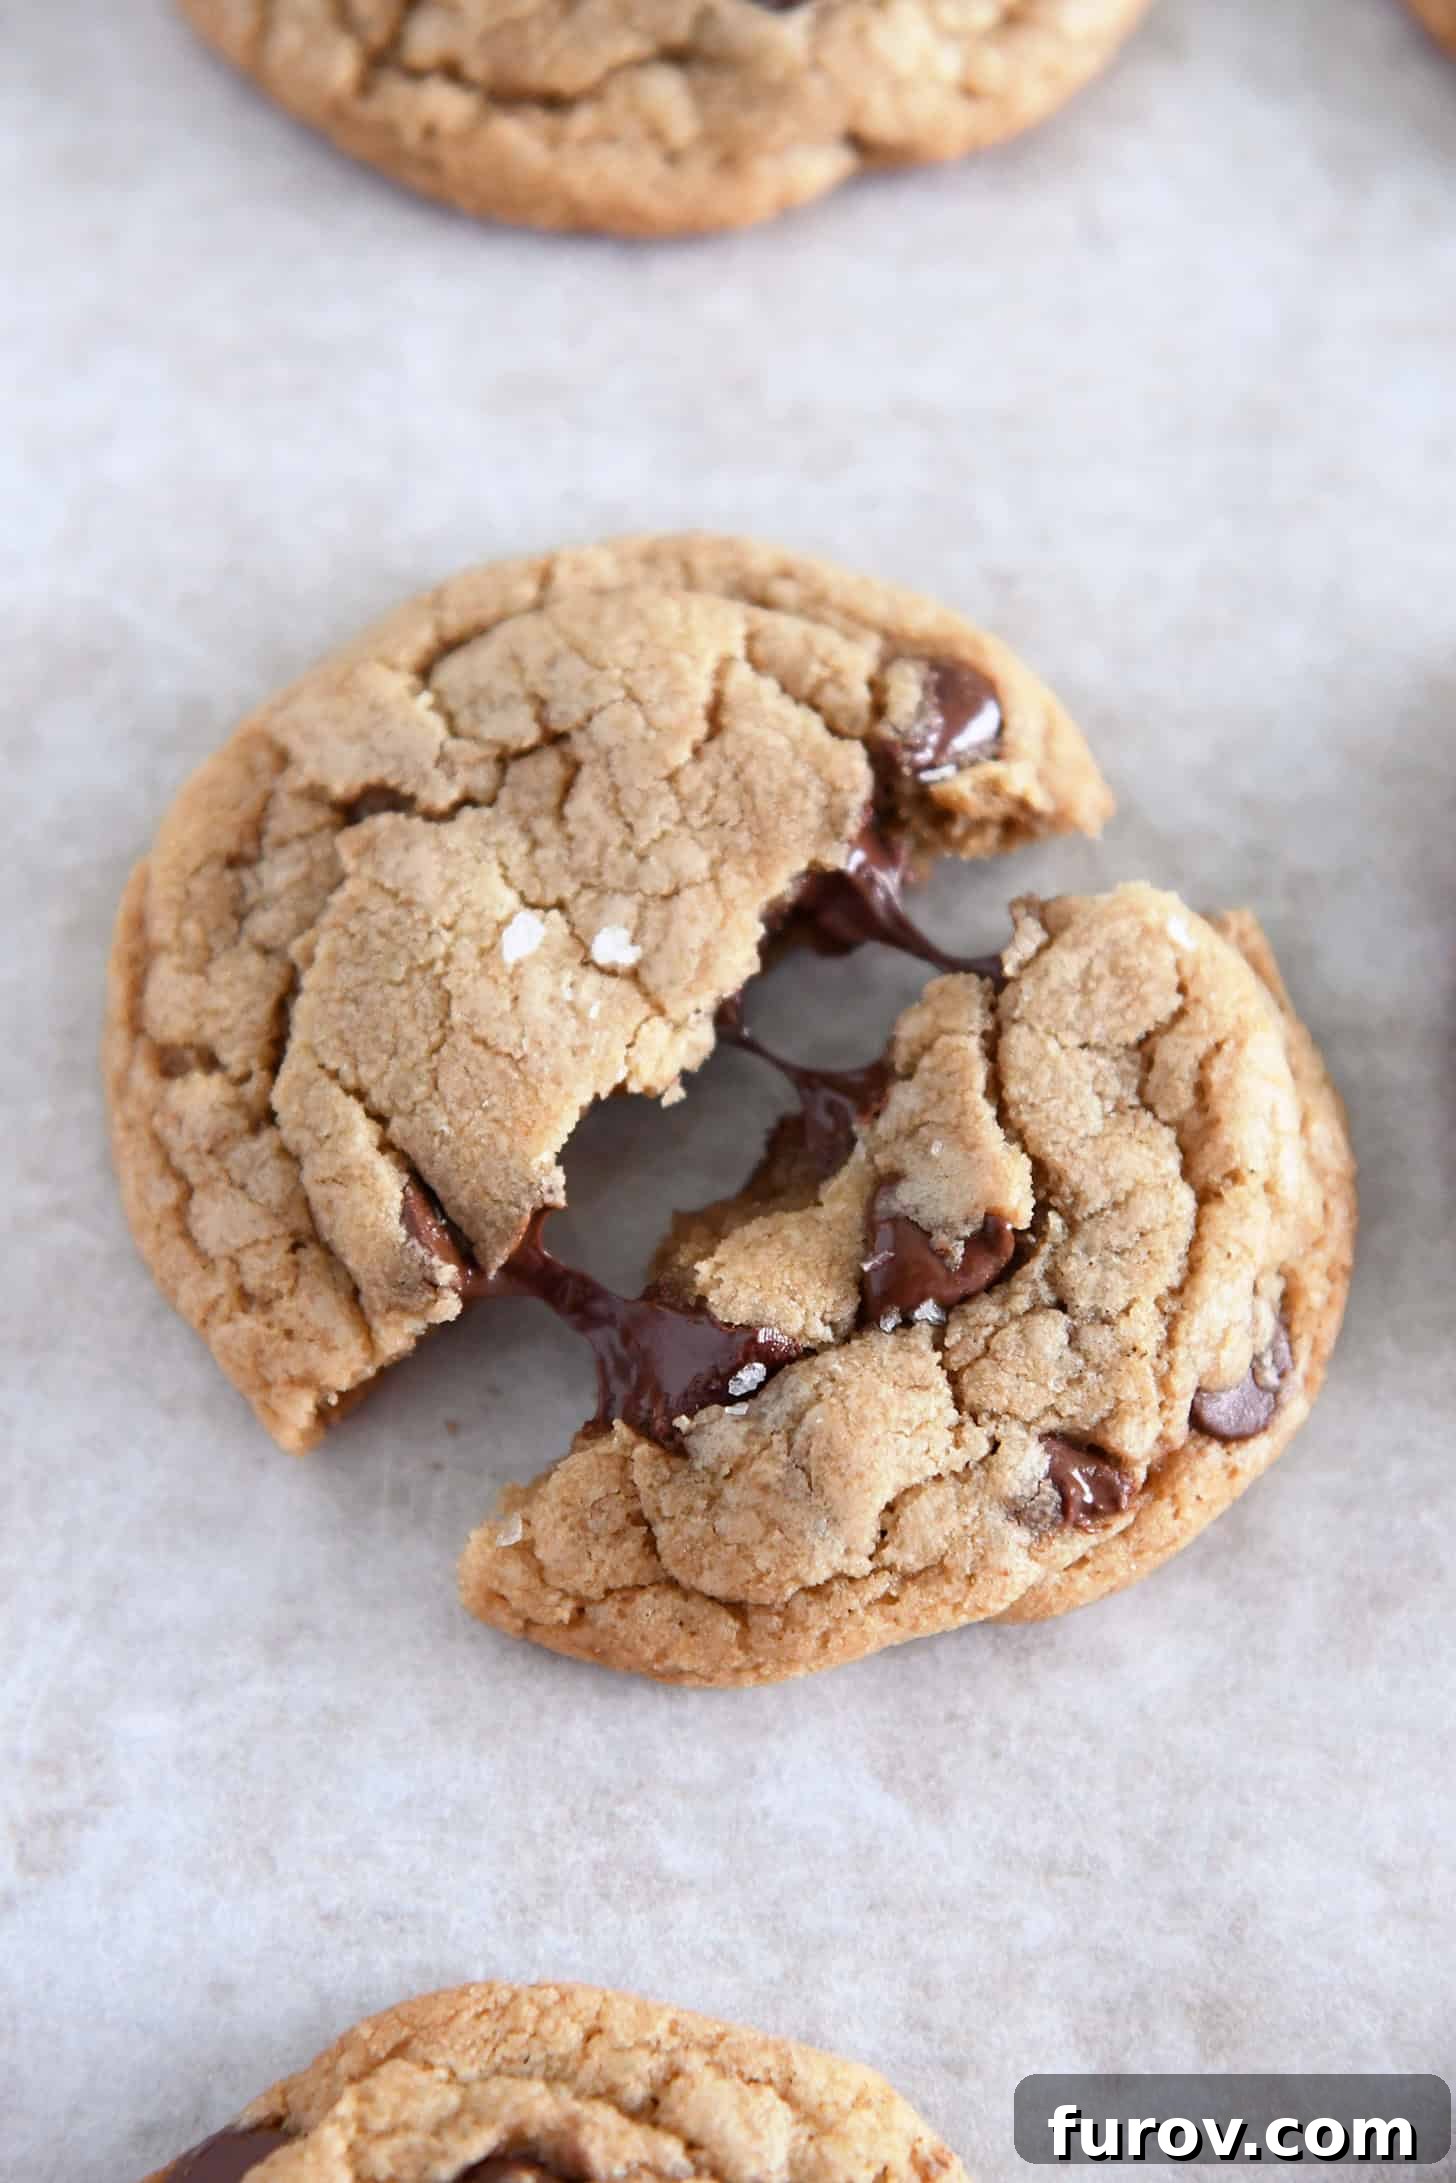
Welcome to the ultimate guide to creating unbelievably chewy and soft chocolate chip cookies that taste like they came straight from a gourmet bakery, but are surprisingly easy to make right in your own kitchen! Forget about those store-bought imitations or complicated recipes requiring endless chilling. These **Salted Brown Butter Chocolate Chip Cookies** are a game-changer, designed to deliver exceptional flavor and texture without any fuss. They are the kind of cookies that will make your friends ask for the recipe, the kind that beg to be photographed for Instagram, and the kind you’ll want to bake again and again. Prepare to discover your new favorite cookie recipe!
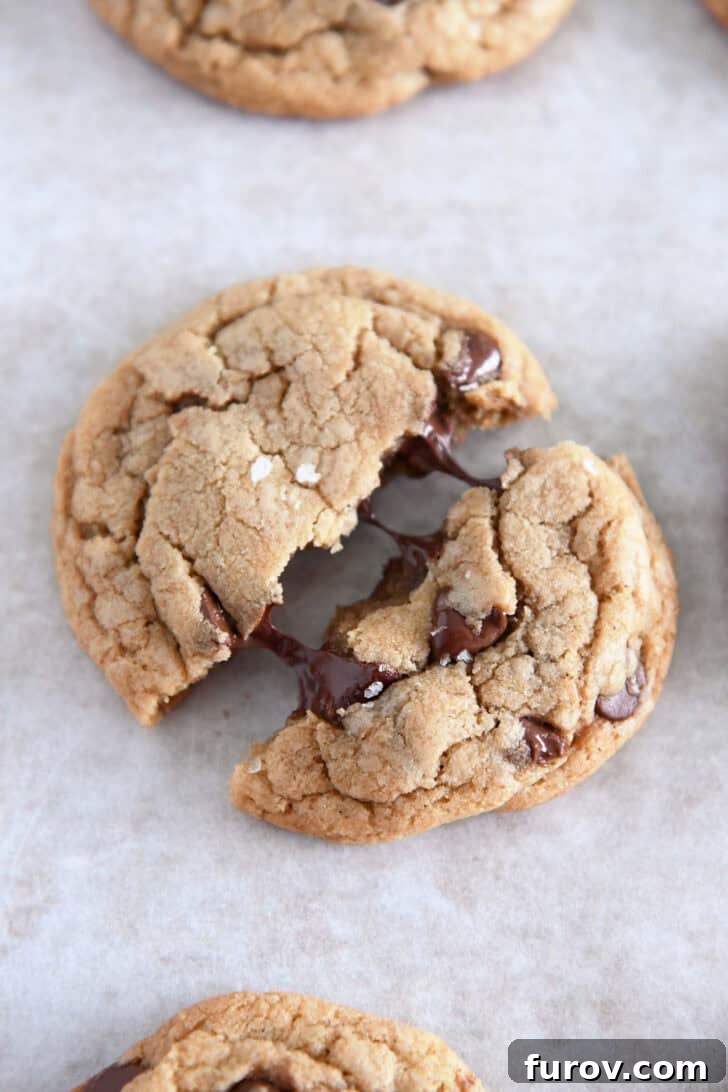
Unlocking Gourmet Flavor: The Secrets to Next-Level Chocolate Chip Cookies
What elevates these cookies from good to truly extraordinary? It’s a combination of simple yet impactful ingredients and techniques that infuse every bite with incredible depth and complexity. This recipe isn’t just about making cookies; it’s about mastering the art of flavor development. We achieve this gourmet distinction by strategically incorporating a few key elements:
- Brown Butter: This isn’t just melted butter; it’s butter transformed. Browning butter adds a magnificent depth of flavor, introducing rich, nutty, and subtly caramel notes that permeate the entire cookie dough. It’s a simple step that yields profound results, making these cookies stand out from any ordinary chocolate chip recipe. If you’ve never browned butter before, don’t be intimidated—it’s surprisingly easy and a skill that will upgrade countless dishes. (You can find a detailed tutorial on how to brown butter here). The process takes only a few minutes but imparts an unparalleled warmth and complexity to the final product.
- Higher Ratio of Brown Sugar to Granulated Sugar: The balance of sugars is crucial for texture. By using a greater proportion of brown sugar compared to granulated sugar, we achieve a distinctly chewier cookie. Brown sugar contains molasses, which not only contributes to a deeper, richer flavor but also enhances moisture retention, resulting in that perfectly soft and bendy texture we all crave in a chocolate chip cookie. This strategic ratio ensures your cookies won’t be overly crisp or cakey, but delightfully soft and tender with every bite.
- Flaky Sea Salt on Top: While optional, a delicate sprinkle of flaky sea salt on the baked cookies is truly a revelation. This finishing touch isn’t merely for aesthetics; it plays a vital role in balancing the sweetness of the chocolate and the rich cookie dough. The salt acts as a counterpoint, cutting through the richness and brightening all the flavors, making the chocolate taste even more intensely chocolatey and the caramel notes of the brown butter more pronounced. It creates a dynamic flavor profile that makes these cookies absolutely irresistible.
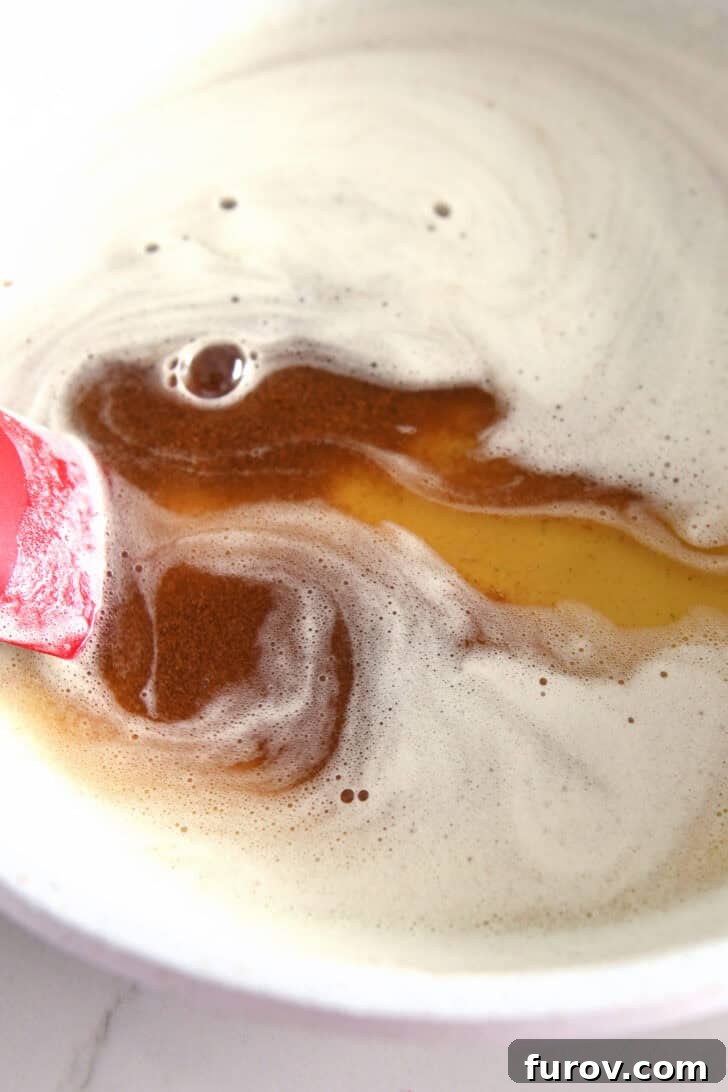
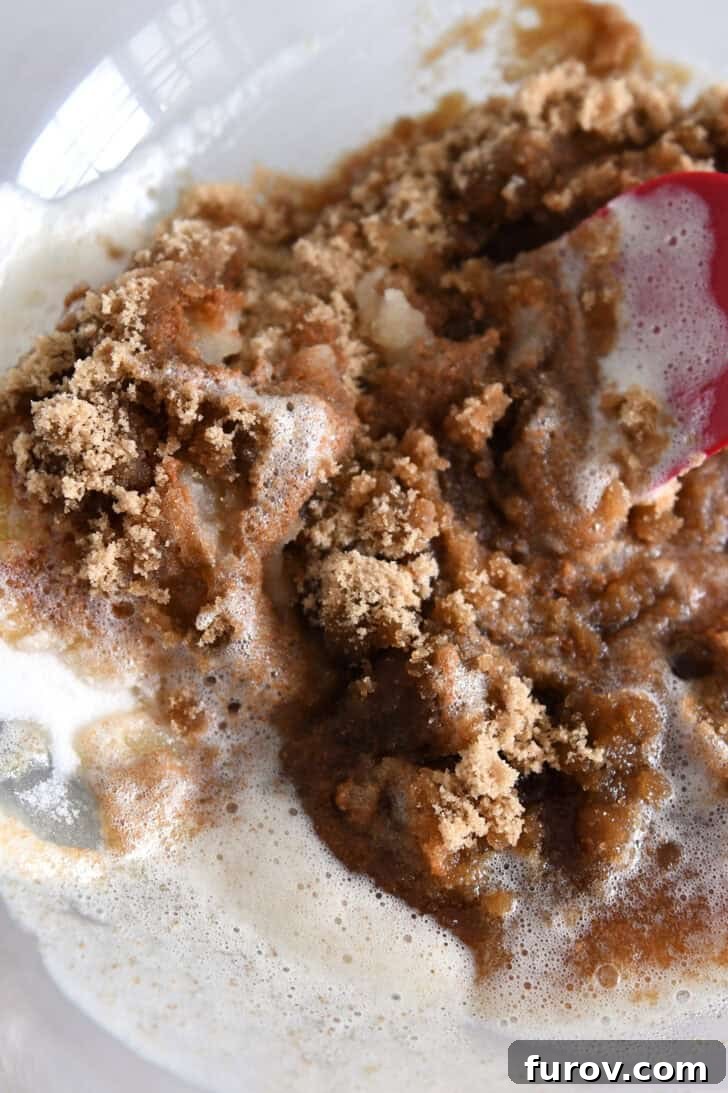
As if these flavor enhancements weren’t enough, this recipe also boasts incredible convenience, making it perfect for both seasoned bakers and beginners alike. We understand that time is precious, and sometimes you just need a batch of amazing cookies without all the extra steps. That’s why these cookies come with two major selling points:
Effortless Preparation: The dough can be mixed entirely by hand in just one bowl. No need for a bulky electric mixer, special attachments, or extensive cleanup. A simple spatula and a good arm are all you need to bring this dough together. This makes the baking process streamlined and accessible, proving that gourmet results don’t require professional equipment.
Instant Gratification: These cookies don’t require ANY chilling! Yes, you read that right. Unlike many recipes that demand hours of refrigeration for the dough, these cookies can be baked immediately after mixing. This means less waiting and more enjoying, making them ideal for impromptu cravings or last-minute dessert needs. The satisfaction of warm, fresh-from-the-oven cookies is just minutes away! (Cue the celebratory confetti! 🎉)
These salted brown butter chocolate chip cookies are not just “good”—they are truly spectacular. They possess the perfect balance of soft, chewy texture with the sophisticated flair and complex taste of an incredible, high-end cookie. Each bite is a symphony of sweet, salty, and nutty flavors, leaving you craving more. Trust me, once you try them, you’ll want to incorporate them into your daily baking routine, forever and ever.
The Essential Finishing Touch: A Few Notes About Flaky Sea Salt
While the addition of flaky sea salt to the top of your freshly baked cookies is technically optional, it is highly recommended if you want to experience the full, nuanced flavor profile of these gourmet treats. The salt truly elevates the cookie, creating a delightful interplay of sweet and savory notes that will impress even the most discerning palates. However, if a sweet-and-salty combination isn’t your preference, feel free to omit it.
If you choose to embrace the magic of flaky sea salt, here are a few important tips to ensure perfect results:
- Always use flaky sea salt. The distinct characteristic of flaky sea salt lies in its delicate, thin crystals that dissolve beautifully on the tongue, providing bursts of saline flavor without being overwhelming. Its texture is what makes it ideal for finishing baked goods. Avoid using coarse salt, kosher salt, or standard table salt, as these have different crystal structures and salinity levels that can overpower the cookies or provide an unpleasant texture. For best results, seek out a high-quality flaky sea salt. This is the specific type of salt I personally use and highly recommend for its quality and texture. {affiliate link}
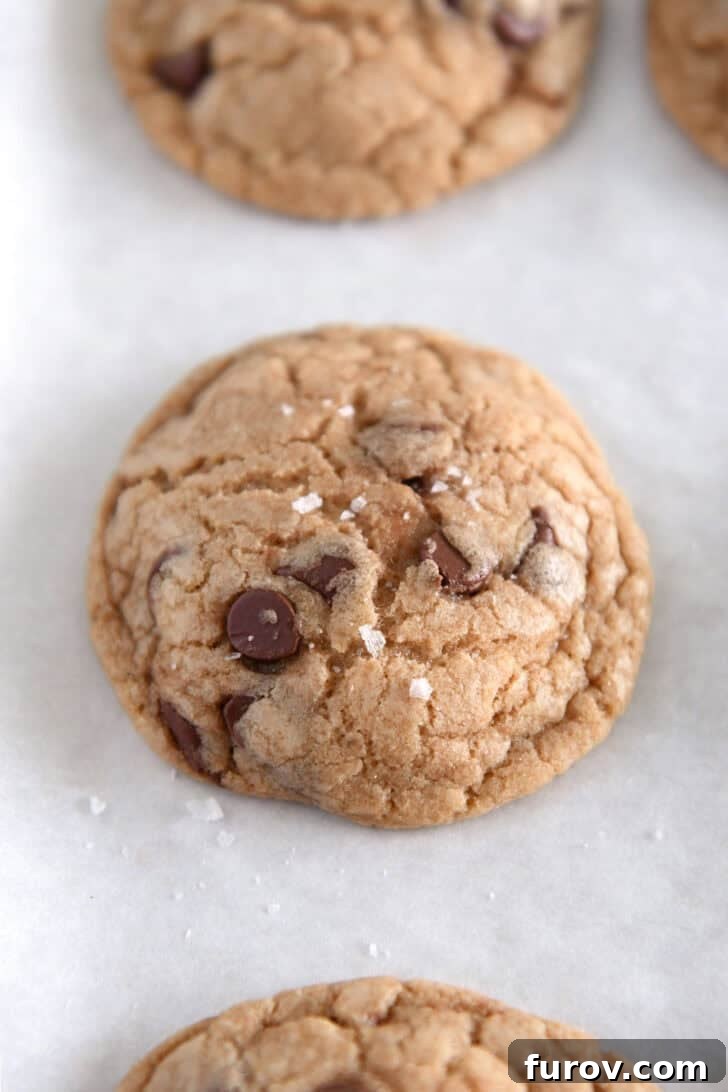
- Timing is everything. Add the salt immediately as the cookies emerge from the hot oven. The residual heat from the cookies will help the delicate salt flakes adhere to the surface, ensuring they stay put and deliver that perfect salty crunch with every bite. If you wait too long, the cookies will cool and the salt won’t stick as effectively.
- Less is more. Only add a tiny sprinkle – just a few grains per cookie. The goal is to enhance the flavors, not to make the cookies taste overtly salty. A subtle dusting is all that’s needed to achieve that exquisite balance and make the flavors pop. Resist the urge to over-salt; a light hand will yield the best results.
Chocolate Choices and Optimal Baking Tips
When it comes to the chocolate in your chocolate chip cookies, personal preference plays a huge role. However, for this particular recipe, I have a strong recommendation that I believe contributes significantly to its gourmet appeal. I highly suggest using **semisweet chocolate chips**. Their balanced sweetness and slight bitterness provide a wonderful contrast to the rich, caramelly brown butter dough and prevent the cookies from becoming overly cloying. Personally, I find milk chocolate chips to be a bit too sweet for these “grown-up” cookies, as they can overwhelm the subtle complexities of the brown butter. That being said, I’m not here to dictate your baking choices! If milk chocolate is your absolute favorite, or if you prefer the intense bitterness of dark chocolate, by all means, follow your heart on this one. You could also experiment with chopped chocolate bars for varied melt and texture.
The Freedom to Chill (or Not): Customizing Your Cookie Experience
One of the most celebrated aspects of this recipe is its “no-chill” convenience, allowing you to enjoy freshly baked cookies almost instantly. However, for those who appreciate the subtle benefits of chilled dough, or if you simply prefer to prep ahead, you can absolutely chill the dough for several hours or even overnight. Chilling the dough often results in a deeper, more developed flavor as the ingredients meld together, and it can also yield a slightly thicker, chewier cookie with less spread. If you opt for chilling, here’s how to do it effectively and what adjustments to make:
- **Scoop Before Chilling:** It’s much easier to scoop and shape the cookie dough into balls *before* refrigerating. This way, the cold, firm dough is ready to go straight onto the baking sheet.
- **Adjust Baking Time:** Chilled dough will take slightly longer to bake. Add a few extra minutes (typically 1 to 2 minutes) to the recommended baking time.
- **Prevent Excessive Spreading (or lack thereof):**
- If your cookies are flattening *too much* while baking from chilled dough, it might indicate your oven temperature is slightly off or the dough needs to be colder. Try increasing your oven temperature by 25 degrees F (e.g., to 375F) or ensure your oven is fully preheated.
- Conversely, if the chilled cookies aren’t flattening *enough* and remain too spherical, you can gently reduce the baking temperature to 325 degrees F. Alternatively, give each chilled cookie dough ball a light press with the palm of your hand or the bottom of a glass before baking to encourage a more even spread.
Truly, whether you bake them immediately or chill the dough for a deeper flavor, these are some of the most delicious and satisfying chocolate chip cookies you will ever make. They strike the perfect balance between classic comfort and gourmet sophistication. I sincerely hope you love them as much as I do!
A Look Back at Past Favorites:
One Year Ago: Super Easy Brown Sugar Baked Ham
Two Years Ago: Quick and Easy Foolproof Pizza Dough
Three Years Ago: Easy No-Knead Sourdough Peasant Bread
Four Years Ago: Easy Chicken Enchilada Casserole
Five Years Ago: The Best Banana Muffins
Six Years Ago: Big Fat Double Dark Chocolate Cookies {Almost Levain Bakery Knockoff}
Seven Years Ago: Sheet Pan Unstuffed Chicken Cordon Bleu with Roasted Broccoli
Eight Years Ago: Quick Weeknight Homemade Spaghetti Sauce
Nine Years Ago: Whole Grain Peanut Butter and Honey Banana Muffins
Ten Years Ago: Foolproof Cream Puffs

Salted Brown Butter Chocolate Chip Cookies
Pin
Ingredients
- 1 cup (227 g) salted butter
- 1 ¼ cups (265 g) packed light or dark brown sugar
- ½ cup (106 g) granulated sugar
- 2 large (100 g) eggs
- 1 large (20 g) egg yolk
- 1 teaspoon vanilla extract
- 3 cup (426 g) all-purpose flour
- 1 teaspoon baking powder
- 1 teaspoon baking soda
- ¾ teaspoon table salt
- 2 cups (340 g) semisweet chocolate chips
- Flaky sea salt, for sprinkling (optional)
Instructions
-
Line two half sheet pans with parchment paper; set aside.
-
For the brown butter: Cut the butter into pieces and add to a 10-inch skillet (a light-colored pan is ideal for easily monitoring the browning process). Heat over medium heat, stirring continuously as the butter melts to ensure even cooking.
-
Continue to cook the butter, stirring constantly and slowly with a silicone spatula. The butter will go through several stages: it will foam, then sizzle, and eventually bubble. After approximately 5 to 8 minutes, the milk solids in the butter will begin to turn golden brown and settle at the bottom of the pan. Keep a close watch, as brown butter can burn very quickly! Do not leave it unattended.
-
Once the butter solids are beautifully browned and golden, and the aroma is distinctly nutty and caramelly, immediately remove the skillet from the heat. Pour the browned butter, including all the golden bits, into a large heat-proof bowl to stop the cooking process.
-
For the cookies: To the bowl containing the warm brown butter, add both the brown sugar and granulated sugar. Stir vigorously until well combined. Allow this mixture to sit and cool until it is just barely warm or reaches room temperature, typically about 5 to 7 minutes. This cooling step is important for the cookie dough’s texture.
-
Once cooled, add the eggs, egg yolk, and vanilla extract to the sugar-butter mixture. Stir thoroughly until all ingredients are well-combined and the mixture appears light and creamy.
-
Incorporate the all-purpose flour, baking powder, baking soda, and table salt into the wet ingredients. Mix until only a few dry streaks of flour remain; avoid overmixing.
-
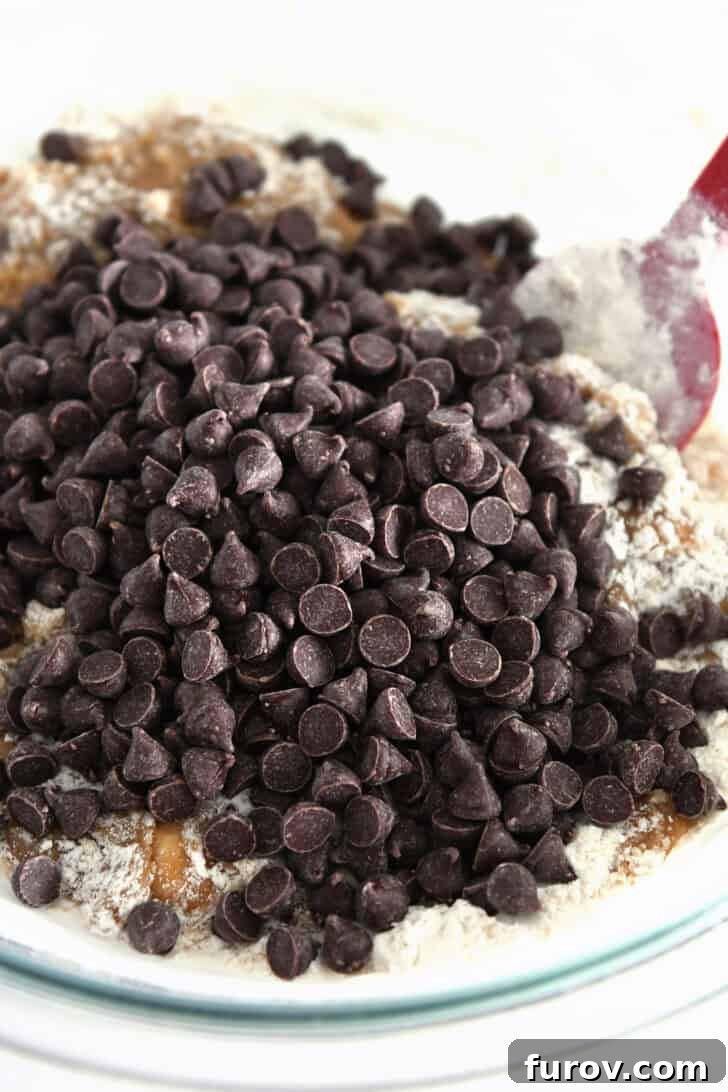
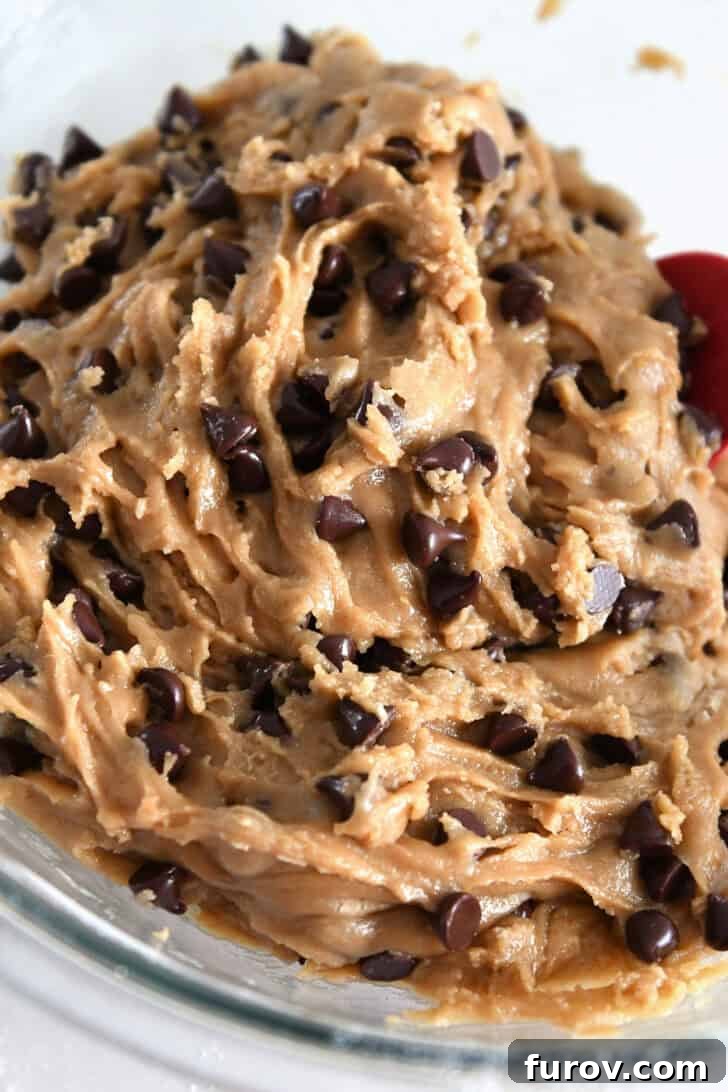
Finally, stir in the semisweet chocolate chips until they are evenly distributed throughout the dough. Allow the dough to rest briefly while your oven preheats.
-
Preheat your oven to 350 degrees F (175 degrees C). It’s crucial that the oven is fully preheated before baking the cookies. If the oven isn’t hot enough, your cookies are more likely to spread excessively during baking.
-
Scoop the cookie dough into 2-tablespoon size portions (I find a #40 medium cookie scoop works perfectly for this). Roll each portion into a neat ball. Place the dough balls several inches apart on the prepared baking sheets to allow for proper spreading.
-
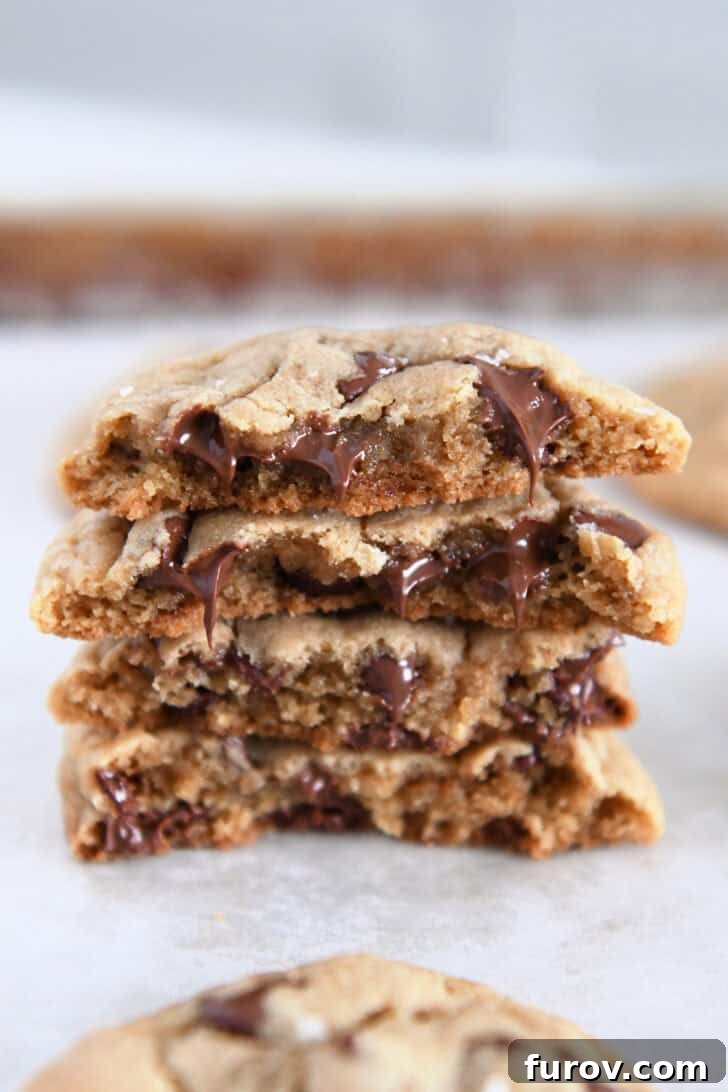
Bake for 10 to 11 minutes. The cookies are done when the edges are just set and lightly golden, and the centers still look slightly soft and a bit crackly on top. For the absolute softest and chewiest cookies, be careful not to overbake them – they will continue to set as they cool.
-
Immediately upon removing the cookies from the oven, gently sprinkle a few grains of flaky sea salt on top of each warm cookie, if desired. The heat will help the salt adhere.
-
Allow the cookies to cool on the baking sheets for a few minutes to firm up slightly before carefully transferring them to a wire rack to cool completely. Enjoy!
Notes
Optional Chilling of Cookie Dough: As noted, these cookies are designed to be baked immediately without chilling. However, if you prefer to prepare the dough in advance or believe chilling enhances flavor and texture, you certainly can. If chilling the cookie dough, always roll the dough into individual balls *before* refrigerating. This makes them easy to transfer directly to the baking sheet when ready to bake. If baking the cookie dough straight from the refrigerator, you may need to add 1 to 2 minutes onto the typical baking time. If the chilled cookies don’t seem to flatten sufficiently during baking, gently press down on each cookie dough ball slightly before placing it in the oven, or reduce your oven temperature to 325 degrees F.