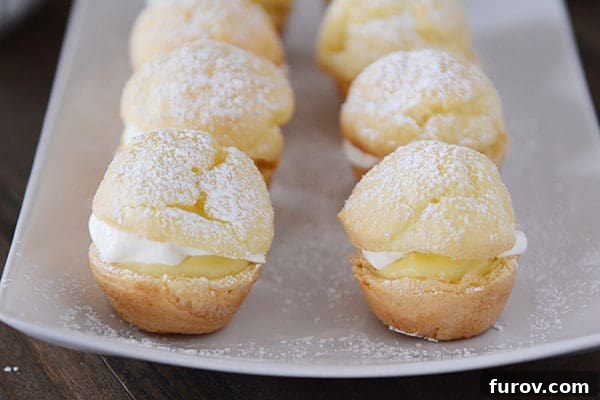
Experience the magic of baking with this incredibly easy and foolproof cream puff recipe. Prepare to be amazed as homemade cream puffs, once seemingly complex, become a joyful and simple endeavor in your kitchen!
Foolproof Cream Puffs: Your Guide to Effortless French Patisserie at Home
Have you ever dreamed of creating delicate, airy cream puffs, only to be deterred by their reputation for being tricky to master? Today, that changes! I am thrilled to share a truly foolproof cream puff recipe that will not only elevate your baking confidence but also make you feel like a culinary superstar. The best part? These delightful French pastries come together surprisingly quickly, proving that exquisite desserts don’t always require endless hours in the kitchen.
This recipe demystifies the art of choux pastry (Pâte à Choux), the foundation of perfect cream puffs, éclairs, and profiteroles. We’ll break down each step, ensuring a light, hollow shell ready to be filled with luxurious creams. Get ready to impress your friends and family with a dessert that tastes gourmet but is astonishingly simple to make!
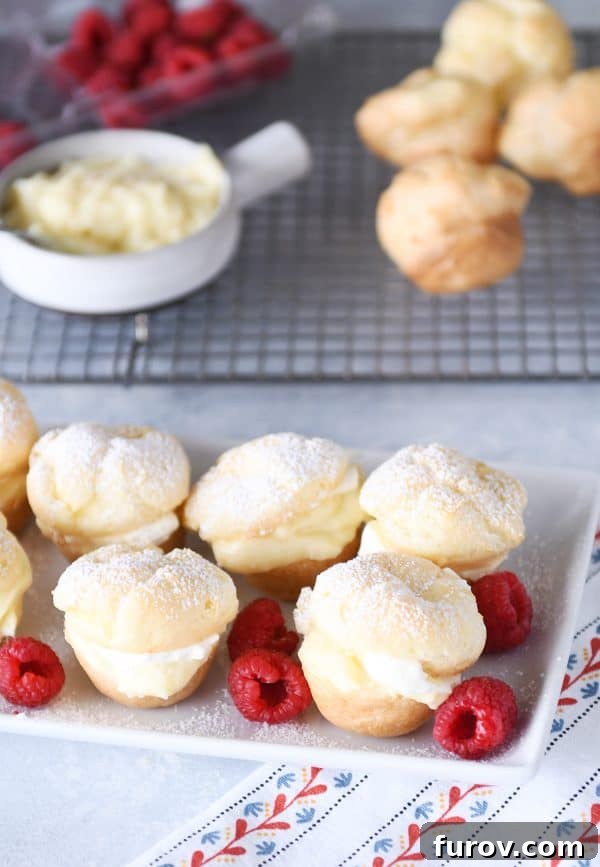
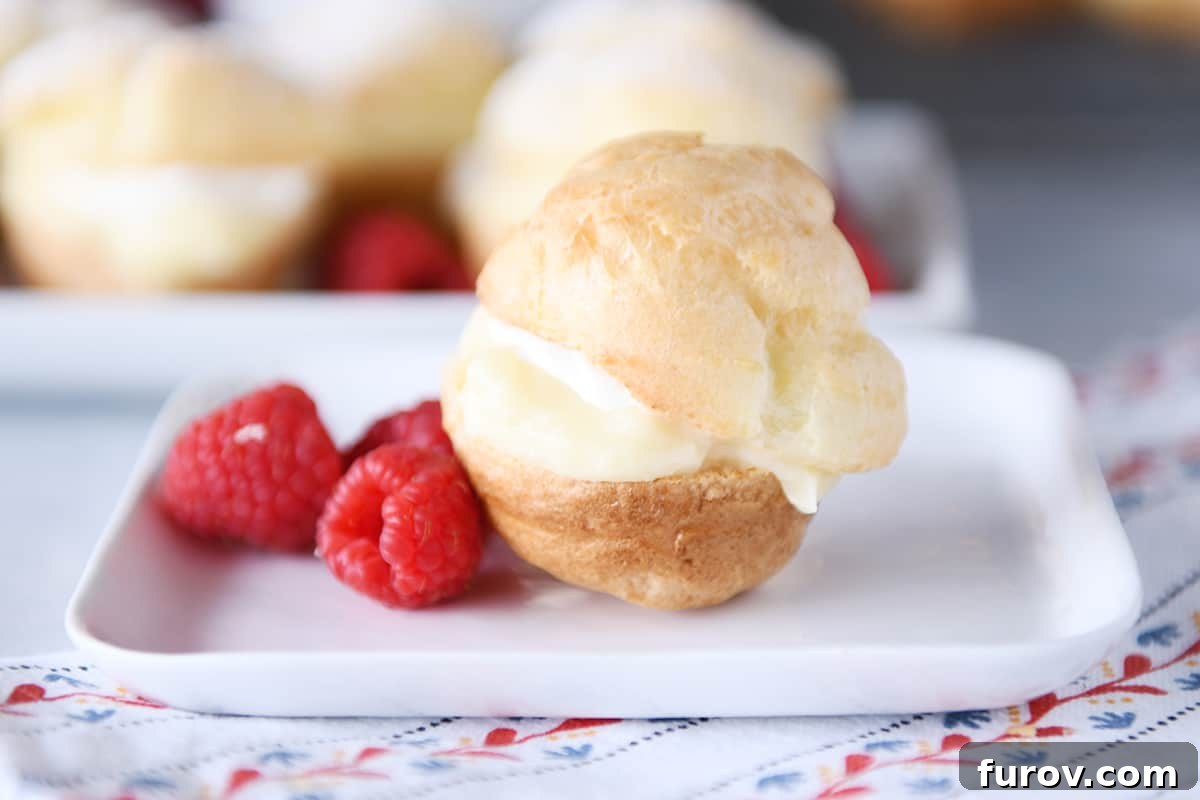
To make your baking journey even smoother, you’ll find a comprehensive how-to video further down the page. Additionally, I’m unveiling a couple of ingenious tricks that guarantee success every single time you bake these wonderful treats. Forget the pressure of perfection; the rustic charm of homemade cream puffs, with their uniquely craggy tops, is part of their undeniable appeal. Embracing this natural, artistic quality makes the process even more enjoyable. Rest assured, whether they’re perfectly smooth or charmingly uneven, their incredible taste will speak for itself.
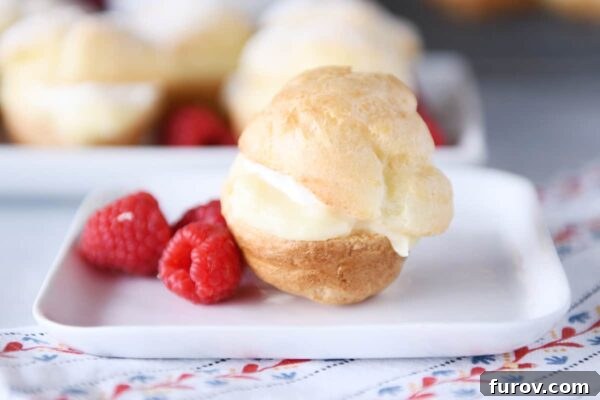
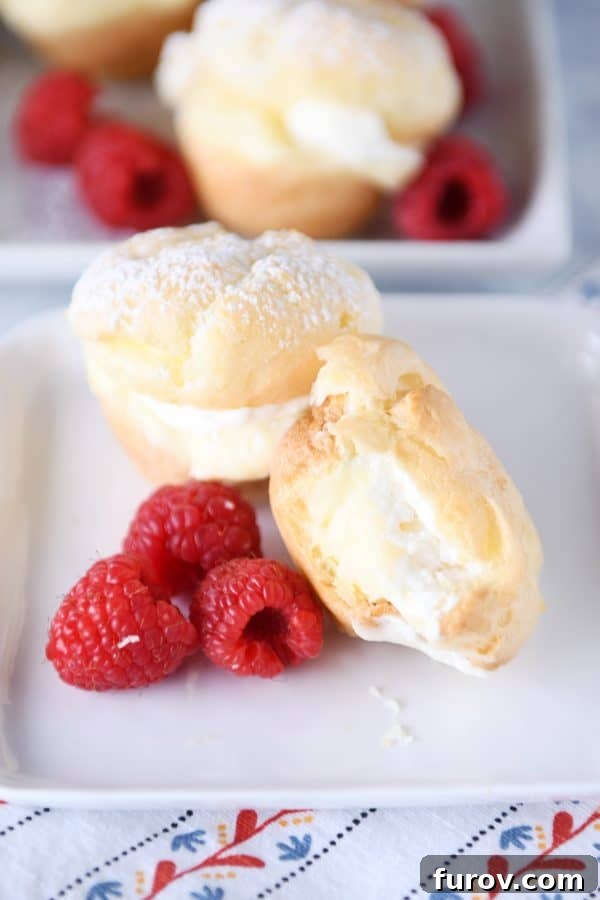
Imagine biting into these tender, delicate pastries – a blissful combination of a crisp, light choux shell yielding to layers of luscious, homemade vanilla cream filling, all crowned with a cloud of sweetened whipped cream. It’s a symphony of textures and flavors that will tantalize your taste buds and leave you craving more.
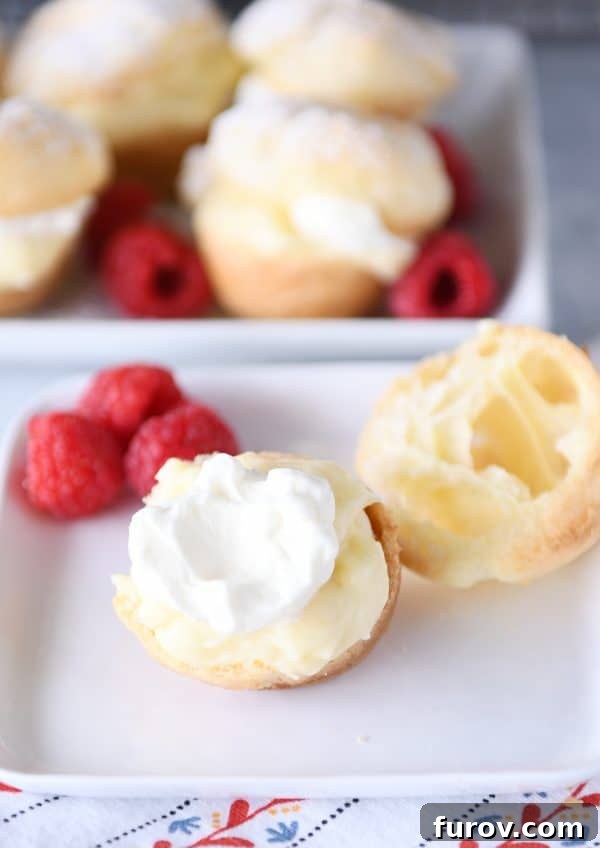
As I mentioned, it’s absolutely fine if your cream puffs possess a unique character, perhaps looking a little “spiky” or akin to modern art. In fact, that’s often the hallmark of a truly homemade delicacy! I can confidently promise you this: once your guests take that first bite and experience the ethereal goodness of these mini cream puffs, no one will be scrutinizing the precise architecture of the shell. They’ll be too busy savoring every delightful crumb.
Unlocking the Secrets to Perfectly Foolproof Cream Puffs
Achieving consistently fantastic homemade cream puffs relies on a few critical techniques. These two secrets, coupled with a clever pro tip, will transform your baking experience and ensure your choux pastry rises beautifully, stays crisp, and never collapses.
1) Harness the Power of Muffin Tins: This simple method is an absolute game-changer. Baking your cream puffs in a mini muffin tin (or a regular muffin tin for larger puffs) provides crucial structural support. Instead of spreading out and flattening on a baking sheet, the batter is encouraged to rise upwards, creating those wonderfully airy, spherical shells we all adore. This technique ensures a consistent shape and an even bake, contributing significantly to the “foolproof” nature of this recipe. Furthermore, scooping the sticky choux pastry batter into the tins with a cookie scoop is an incredibly easy and mess-free way to portion them, making the entire process far more manageable.
2) The Essential Steam Escape: Immediately after removing your perfectly baked cream puffs from the oven, you must pierce each one with a thin wooden skewer or a small paring knife. This step is absolutely paramount and cannot be skipped! Why? As the cream puffs bake, steam builds up inside, creating their signature hollow interior. If this steam isn’t allowed to escape while the pastries cool, it can condense, leading to soggy, collapsed shells. Piercing them allows the steam to release gradually, maintaining their crisp texture and preventing them from deflating. This simple action is the key to light, airy, and stable cream puff shells every time.
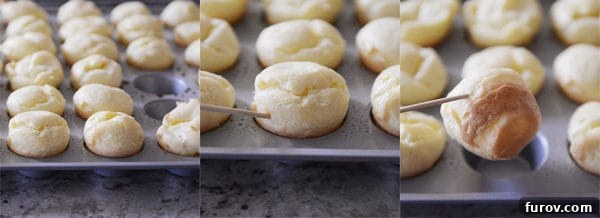
(Also, here’s a professional tip to refine your cream puff presentation: before baking, dip your finger in cold water and gently smooth out the top of each mounded cream puff dough. This small effort helps to minimize any dangerous spikes or overly rough edges, resulting in a more beautifully rounded and appealing finished pastry.)
Watch the How-To Video Here for Visual Guidance!
For those who prefer visual learning, this step-by-step video guides you through the entire process of making these amazing cream puffs, from preparing the choux pastry to filling the delicate shells. It’s an invaluable resource for ensuring your success.
You can explore more of our baking demonstrations and culinary tips by visiting our Instagram Live channel or checking out this dedicated page for “Bake with Mel” videos.
A Look Back:
One Year Ago: Spinach Strawberry Salad with Homemade Creamy Poppy Seed Dressing
Two Years Ago: Easter Dinner Make-a-Menu
Three Years Ago: Red Brie Pasta Sauce
Amazing and Foolproof Cream Puffs
Pin Recipe
Ingredients
Cream Puff Shells:
- 1 cup water
- ½ cup (113 g) salted butter
- 1 cup (142 g) all-purpose flour
- 4 large eggs
Vanilla Cream Filling:
- 2 cups milk, I use 2%
- ¼ cup (29 g) powdered sugar
- 2 large egg yolks
- 1 large egg
- ¼ cup cornstarch
- ⅓ cup (38 g) powdered sugar
- 2 tablespoons salted butter
- 1 teaspoon vanilla extract
Sweetened Whipped Cream:
- 2 cups heavy whipping cream
- 2 tablespoons powdered sugar
- ¼ teaspoon vanilla extract
- Powdered sugar for sprinkling
Instructions
-
Prepare Your Oven: Position an oven rack in the lower-middle section. Preheat your oven to 400 degrees F. If you’re using a dark-coated baking pan, consider reducing the temperature by 25 or 50 degrees to prevent over-browning. Lightly grease either a 24-cup mini muffin tin or a 12-cup regular muffin tin. You will likely bake the cream puffs in two batches to ensure even cooking.
-
Begin the Choux Pastry: In a medium-sized saucepan, combine the water and butter. Bring this mixture to a gentle simmer over medium heat. Once simmering, reduce the heat to medium-low. Add all of the flour at once, then stir vigorously with a sturdy wooden spoon or heat-resistant spatula. Continue stirring until the mixture comes together and forms a cohesive ball, pulling away cleanly from the sides of the pan. This process helps to dry out the dough, which is crucial for a good rise.
-
Incorporate the Eggs: Transfer the warm flour mixture from the saucepan into a clean mixing bowl (or the bowl of an electric stand mixer fitted with the paddle attachment). Using a handheld electric mixer (or the stand mixer), beat the dough on medium speed for 1-2 minutes until it has cooled slightly. This cooling step is important to prevent the eggs from cooking prematurely. Next, add the eggs one at a time, beating constantly after each addition until fully incorporated. The mixture will initially look curdled, but continue beating until the dough is thick, smooth, and glossy. It should hold its shape when lifted.
-
Portion the Dough: Now it’s time to shape your cream puffs. For mini cream puffs, scoop a heaping ½ tablespoon of dough into each mini muffin cup, filling it about halfway. For regular-sized cream puffs, use a couple of tablespoons per cup in a standard muffin tin, again filling it approximately halfway. A cookie scoop is highly recommended for this step, as it makes portioning the sticky dough incredibly easy and consistent.
-
Smooth for Success: Once all the muffin cups are filled, wet your fingers with cold water. Gently dab and smooth out the tops of the mounded dough in each cup. This technique helps to eliminate any rough spots or peaks, encouraging the cream puffs to bake into beautifully rounded, even shapes rather than developing sharp, irregular “spikes.” This small detail makes a big difference in the final appearance.
-
Bake to Golden Perfection: Place the muffin tin in the preheated oven. Bake mini cream puffs for approximately 15-20 minutes, and regular cream puffs for about 25 minutes. Bake until the tops of the shells are a lovely light golden brown and they feel firm and hollow. It’s crucial that they are baked all the way through; if there’s any residual doughy moisture inside the shells, they are likely to collapse upon cooling. If unsure, add a few more minutes to the baking time until they are thoroughly crisp.
-
Release the Steam: As soon as you remove the baked cream puffs from the oven, work quickly. Use a thin wooden skewer or the tip of a small paring knife to pierce the side of each cream puff. This allows the steam trapped inside to escape. I find it most efficient to poke the shell right where I intend to split it later to add the filling. This critical step prevents the shells from becoming soggy and collapsing as they cool. Once pierced, carefully remove them from the tin and let them cool completely on a wire rack.
-
Repeat if Necessary: If you have remaining choux pastry dough, repeat the scooping, smoothing, and baking process for the next batch of cream puff shells. Ensure your muffin tin is clean and lightly greased again if needed.
-
Prepare the Vanilla Cream Filling: While your cream puff shells are cooling, begin the vanilla cream filling. In a medium saucepan, combine the milk and ¼ cup of powdered sugar, then bring this mixture to a gentle simmer over medium heat. In a separate medium bowl, whisk together the two large egg yolks, one whole large egg, cornstarch, and ⅓ cup of powdered sugar until smooth. Once the milk mixture is simmering, slowly and gradually ladle or drizzle a small amount of the hot milk into the egg mixture while continuously whisking. This crucial step, known as tempering the eggs, slowly raises their temperature, preventing them from curdling and turning into scrambled bits. Once about half of the hot milk has been incorporated, pour the tempered egg mixture back into the saucepan with the remaining hot milk. Cook over medium heat, stirring and/or whisking constantly, until the mixture visibly bubbles and thickens to a pudding-like consistency.
-
Finish the Cream: Remove the saucepan from the heat. Stir in the salted butter and vanilla extract until they are fully melted and smoothly incorporated into the cream. The butter adds richness and a silky texture, while the vanilla provides its classic aromatic flavor.
-
Chill the Filling: For the smoothest possible cream, pour the mixture through a fine mesh strainer into a clean bowl. This optional step helps remove any tiny lumps or cooked egg particles, ensuring a truly silky filling. Press plastic wrap directly onto the surface of the cream (to prevent a skin from forming) and refrigerate until thoroughly chilled. The vanilla cream filling can be prepared up to a week in advance, making it a perfect component for make-ahead dessert planning.
-
Whip the Cream: In a clean, cold bowl, combine the heavy whipping cream, powdered sugar, and vanilla extract. Whip the mixture using an electric mixer until stiff peaks form. The cream should be thick and hold its shape. (If you have a high-powered blender like a Blendtec, whipping cream in it is incredibly fast and yields perfect results in just a minute or two.)
-
Assemble Your Cream Puffs: Once both the cream puff shells and the vanilla cream filling are completely cooled, it’s time for assembly. Carefully split each cooled cream puff shell in half, typically right at the natural seam where the puffy top meets the smoother bottom. Generously spoon the chilled vanilla cream filling into the bottom half of each shell. Then, add a delightful dollop of the sweetened whipped cream on top of the vanilla cream. Finally, gently place the top half of the cream puff shell back into position. For a finishing touch, lightly dust all the assembled cream puffs with additional powdered sugar just before serving.
-
Storage and Make-Ahead: These cream puffs are fantastic when freshly made, but they can also be fully assembled up to a day in advance. In fact, many find their flavors meld and deepen beautifully, making them taste even better when prepared ahead of time. Store the assembled cream puffs uncovered in the refrigerator to maintain the crispness of the shells. If covered tightly, the shells can become soggy. Serve chilled for the best experience.
Notes
Make Ahead Tips: The cream puff shells can be baked in advance, allowed to cool completely, and then stored lightly covered (not airtight, as this leads to sogginess) for up to a day or so. The vanilla cream filling can be prepared even further ahead, up to a week in advance, and stored covered in the refrigerator. For optimal flavor and convenience, the cream puffs can be entirely assembled, filled with cream, and lightly dusted with sugar up to a day before serving. They truly taste fantastic when given a little time to set and meld flavors. Remember to store them uncovered in the refrigerator.
Recommended Products
Recipe Source: This incredible cream puff recipe is thoughtfully adapted from Sally’s tried-and-true recipe. Her detailed instructions and advice were instrumental, especially in tailoring this version for mini cream puffs. The rich vanilla cream filling draws inspiration from an allrecipes base, specifically modified with powdered sugar for a luxuriously smoother and silkier texture, perfect for these delicate pastries.
This recipe was originally published in March 2015 and has since been updated with fresh photos, enhanced commentary, an instructional video, and expanded recipe notes to provide the most comprehensive and foolproof guide possible.