
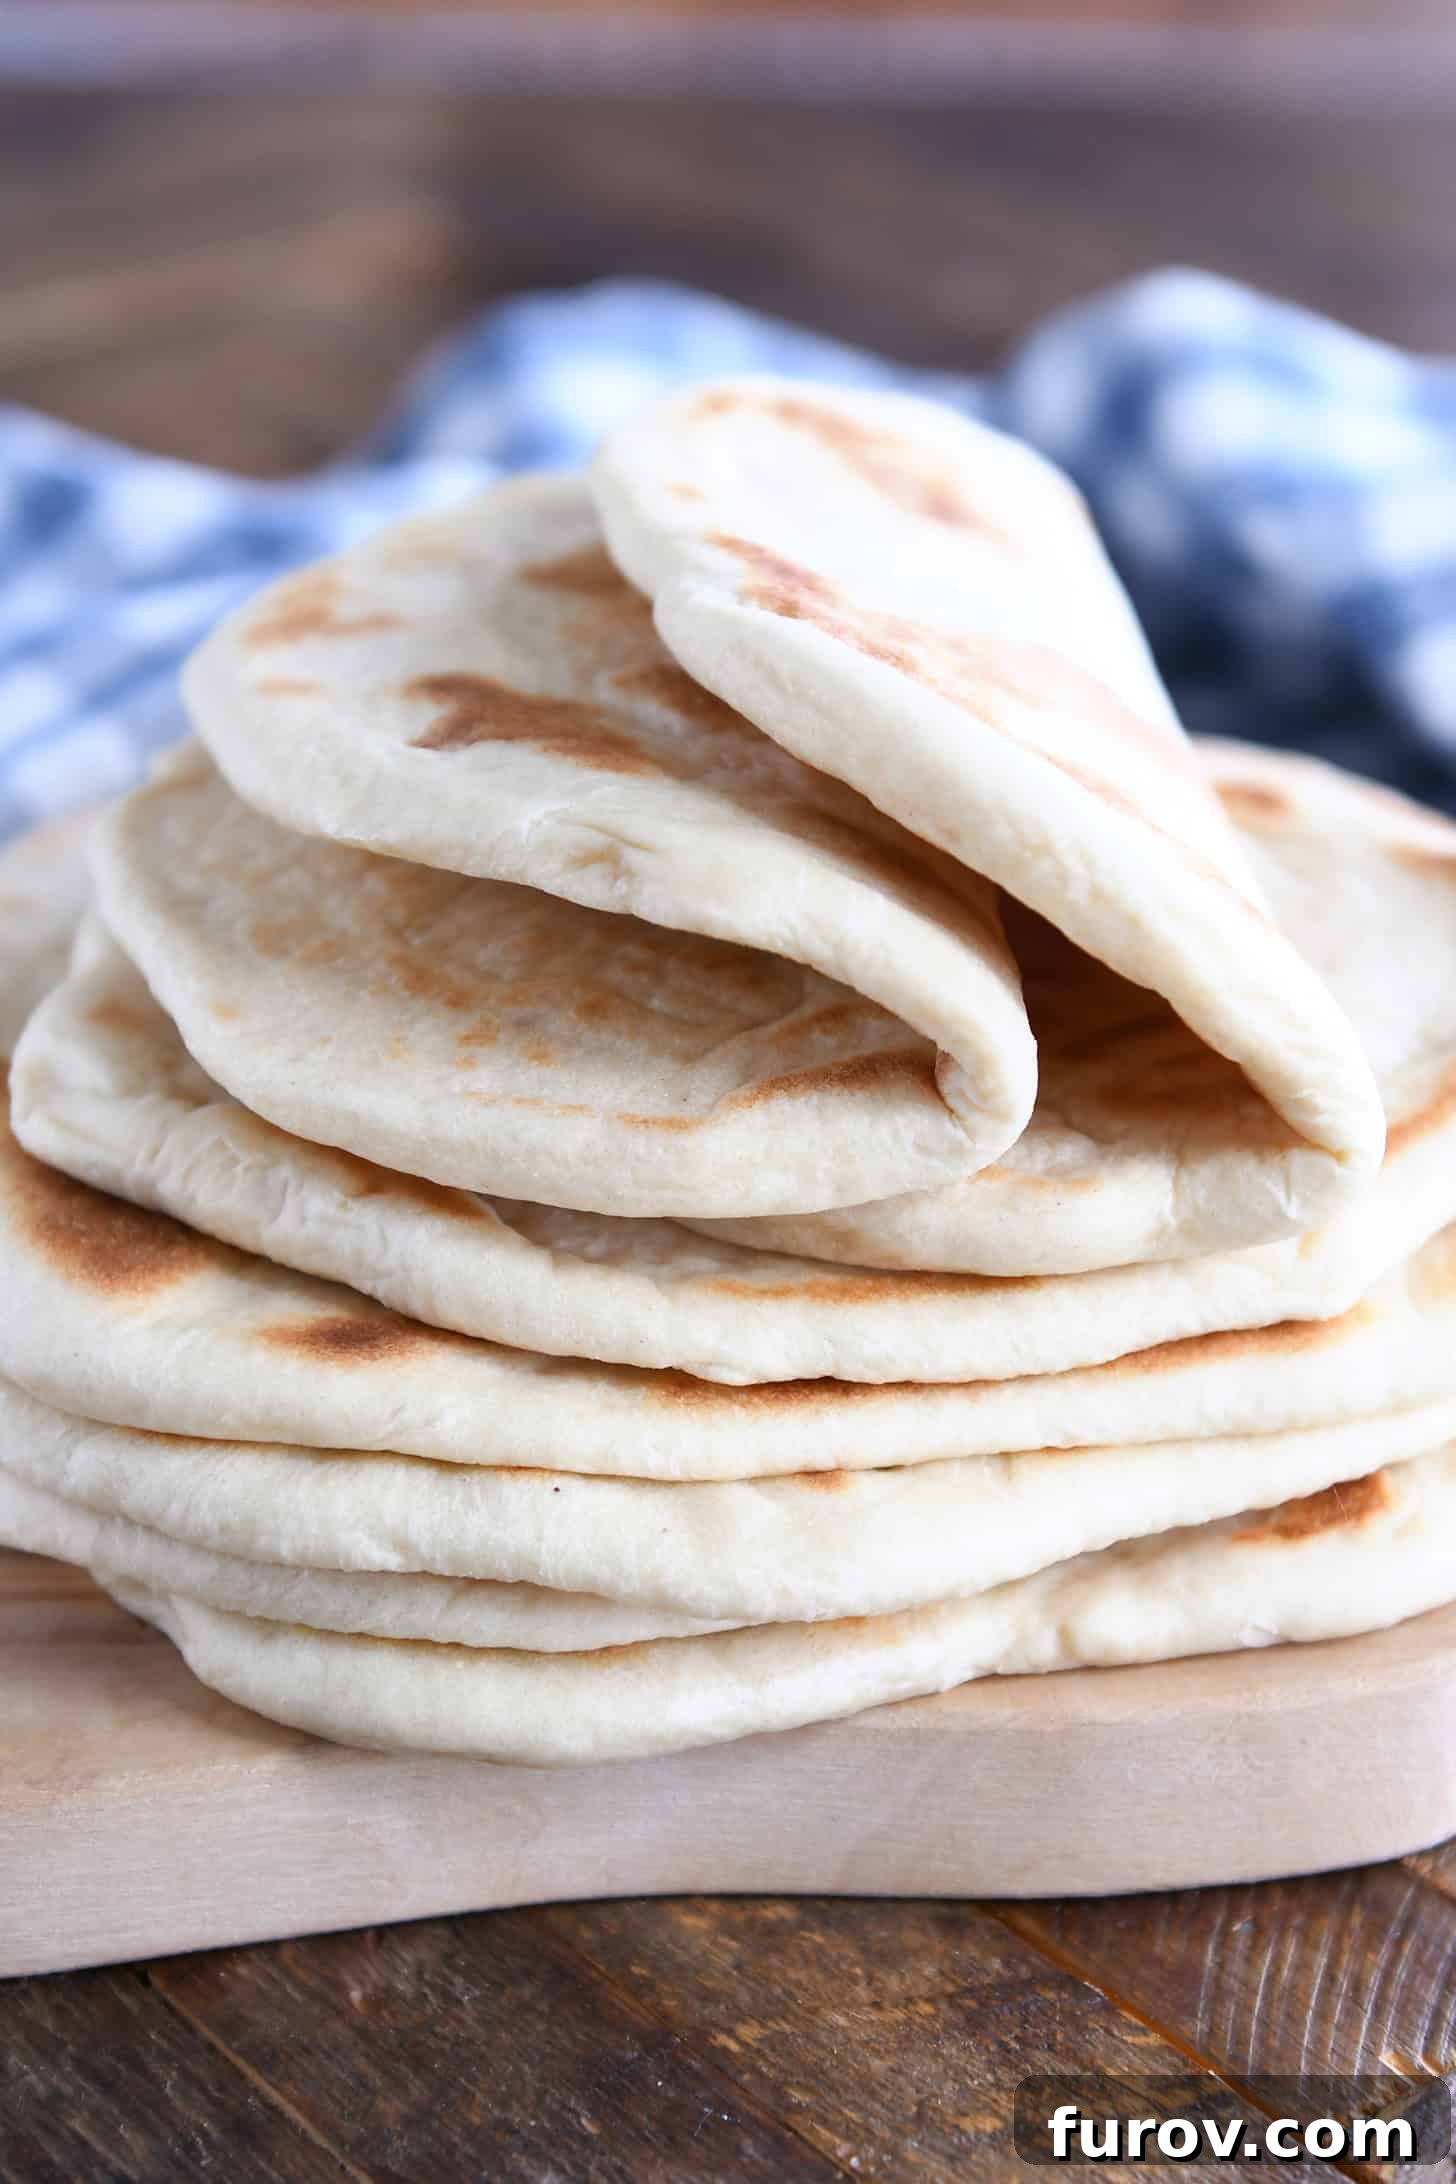
Welcome to the ultimate guide for crafting the most incredible homemade flatbread you’ll ever taste! Forget those bland, store-bought options; this recipe promises soft, pliable, and utterly delicious flatbreads that are perfect for countless culinary adventures. Whether you’re looking for the ideal companion to a rich curry, a versatile base for wrap-style sandwiches, or simply a warm, comforting treat to slather with butter and honey, this easy-to-follow tutorial will unlock the secrets to perfect flatbreads, cooked right on your skillet or griddle. Prepare to impress your family and friends with a staple that’s surprisingly simple to make from scratch, transforming your kitchen into a haven of aromatic delights.
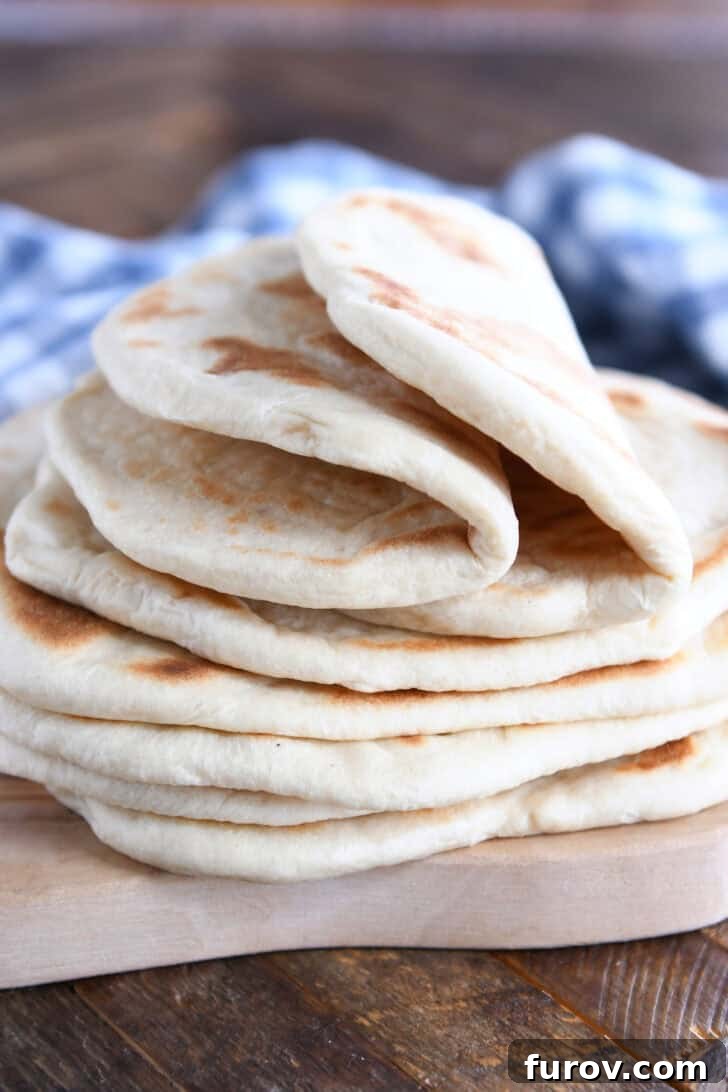
Crafting the Perfect Soft Flatbread Dough: A Step-by-Step Guide
The foundation of any exceptional flatbread lies in its dough, and thankfully, this recipe features a remarkably simple dough that’s a joy to work with. You don’t need to be a seasoned baker to achieve fantastic results. While a stand mixer equipped with a dough hook can certainly streamline the process, making this dough by hand is equally rewarding and therapeutic. The key is understanding the role of each ingredient and paying attention to the dough’s texture rather than strictly adhering to exact measurements, as environmental factors can play a significant role.
Let’s break down the essential ingredients for this wonderfully soft flatbread dough:
- Active Yeast: The leavening agent responsible for giving your flatbreads their delightful puff and airy texture. Instant yeast is preferred for its convenience, as it doesn’t require prior proofing.
- Granulated Sugar: A small amount of sugar acts as food for the yeast, helping it activate and ensuring a robust rise. It also contributes to the golden-brown crust.
- Warm Water: Crucial for activating the yeast. The ideal temperature range (100-105 degrees F) is warm to the touch, but not hot enough to kill the yeast.
- Warm Milk: Adds richness, tenderness, and a lovely subtle flavor to the dough, contributing to a softer crumb compared to water alone.
- Extra-Virgin Olive Oil: Enhances the dough’s elasticity, makes it more manageable, and imparts a delicious Mediterranean aroma and flavor to the finished flatbreads.
- Salt: Essential for flavor balance and also plays a role in controlling yeast activity and strengthening the gluten structure.
- Bread Flour: High in protein, bread flour develops strong gluten, which is vital for the flatbreads’ chewiness and ability to puff up beautifully during cooking.
Expert Tip for Dough Consistency: Trust Your Touch, Not Just the Scale!
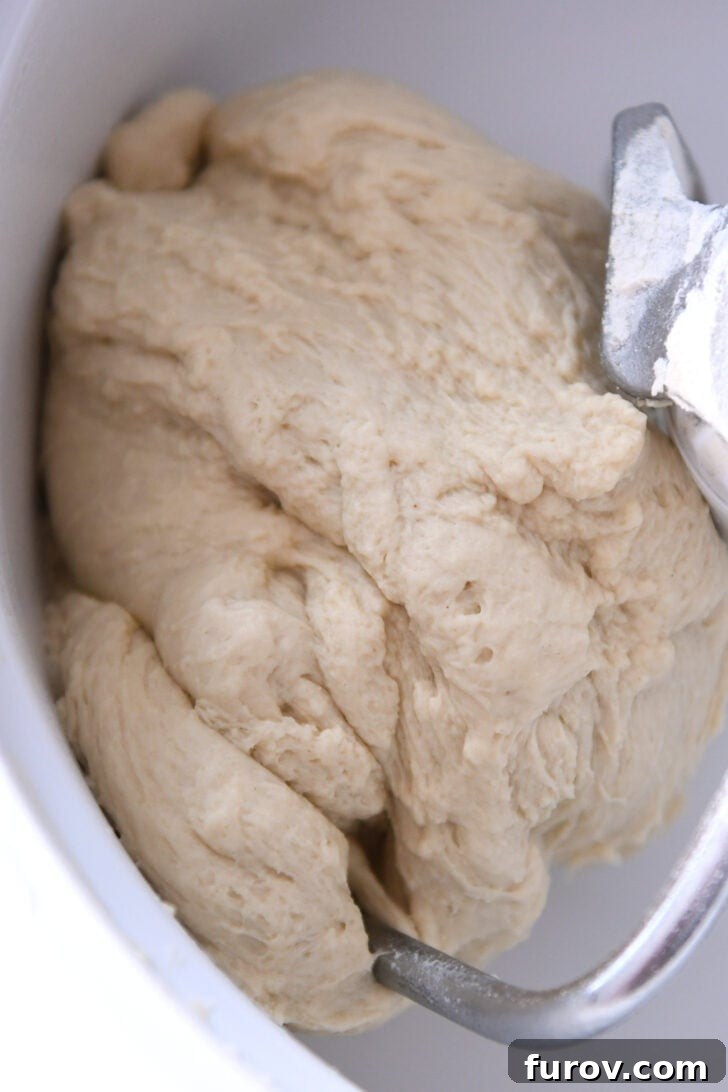
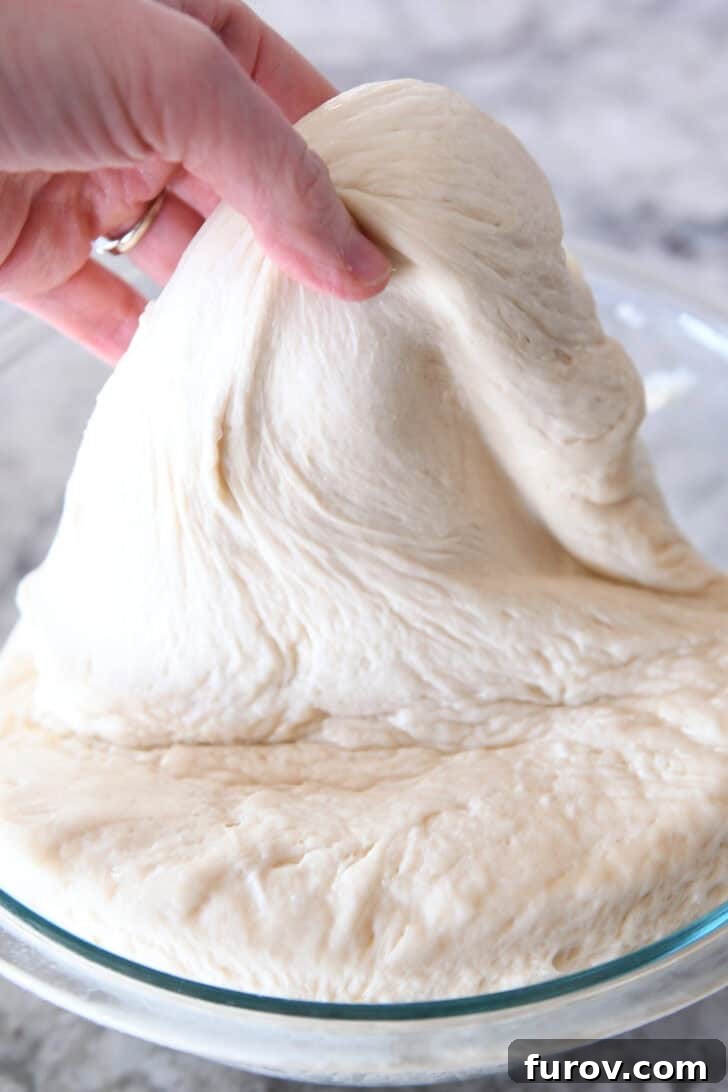
When it comes to flour, consider the measurement a guideline, not an absolute rule. The exact amount of flour needed can vary based on factors like humidity, temperature, and even the brand of flour. Instead, focus on the dough’s feel. It should be wonderfully soft and slightly sticky, clinging just enough to your fingers to indicate proper hydration without leaving excessive residue. If it feels too wet, add flour a tablespoon at a time; if it’s too stiff, a tiny bit of warm water or milk can help. Achieving this ideal consistency is paramount for flatbreads that are both easy to roll and delightfully tender.
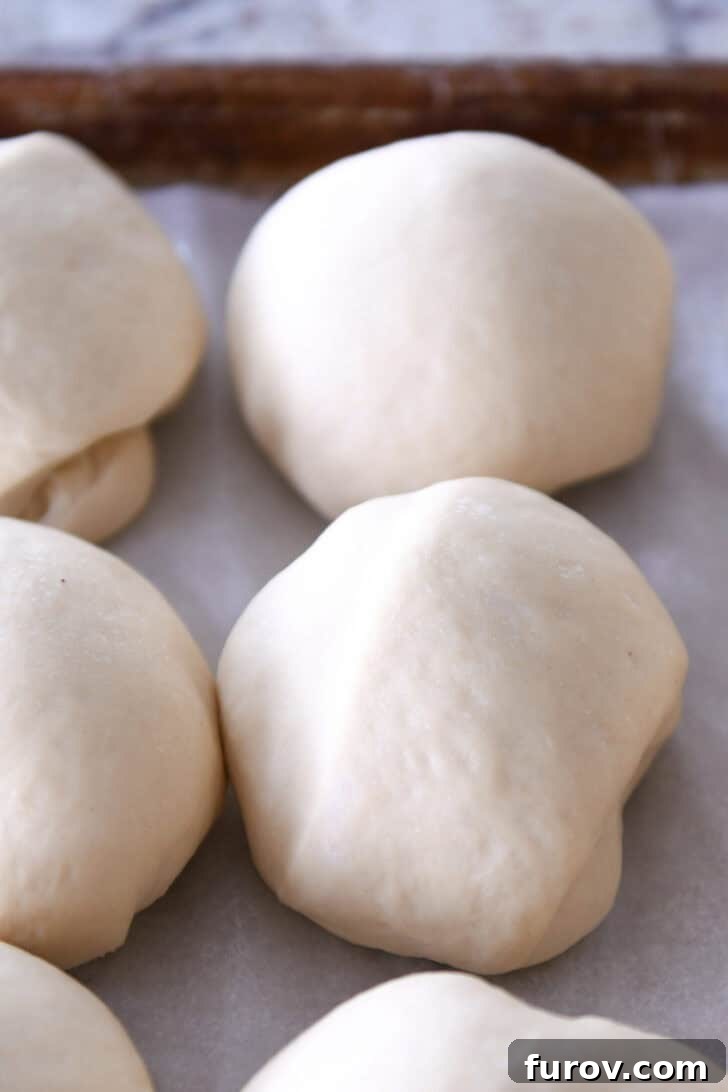
Once your dough is perfectly kneaded and has risen to double its size, the next step is to divide it. Carefully separate the dough into eight equal pieces, shaping each into a smooth ball. This stage is more important than it seems. After dividing, allow these dough balls to rest, covered, for about 10-15 minutes. This brief rest period is a baker’s secret weapon: it allows the gluten strands, which become taut during kneading and shaping, to relax. Relaxed gluten is far easier to roll out thinly and evenly, preventing the dough from springing back, ensuring a perfectly round and thin flatbread every time. This patience will be rewarded with superior texture and manageability.
Pan-Frying Flatbread: Mastering the Skillet or Griddle
With your dough perfectly prepared and rested, it’s time for the magical transformation on the stovetop. The beauty of these flatbreads is that they don’t require an oven; a simple griddle or skillet is all you need to achieve beautifully puffed, golden-brown results.
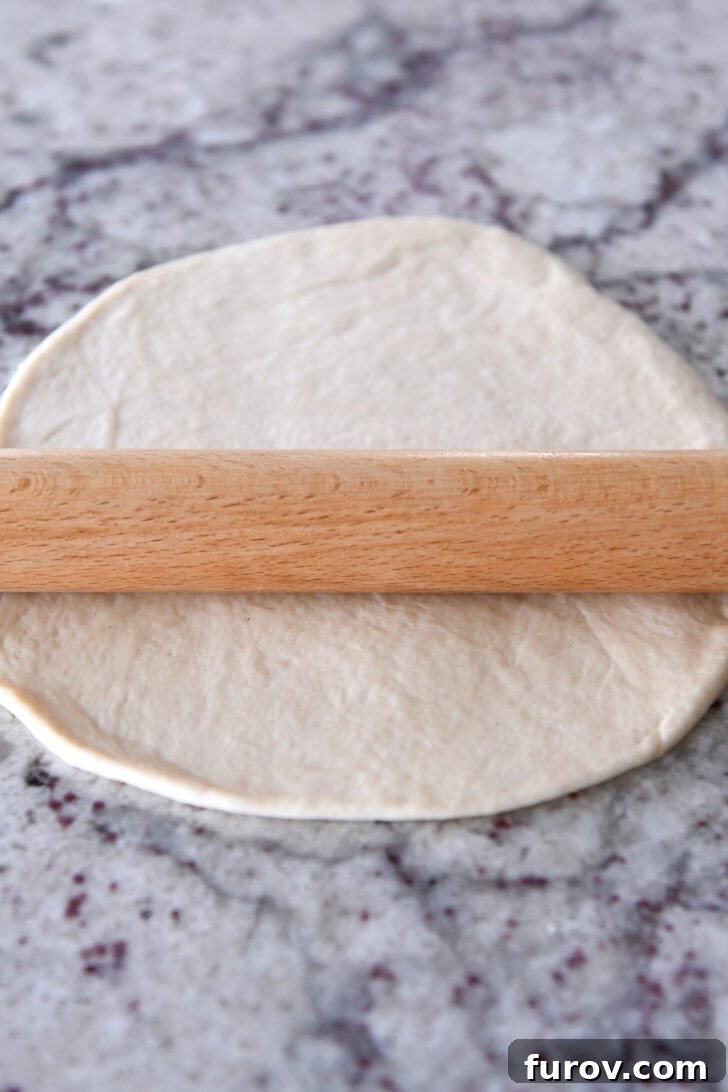
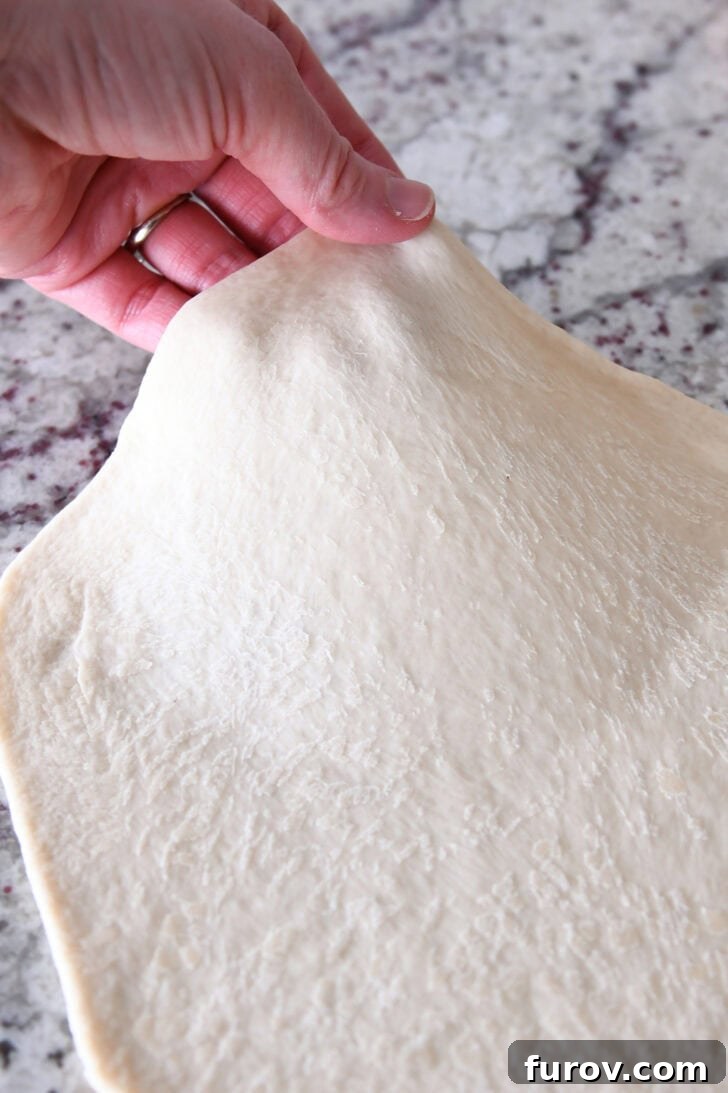
Begin by taking one piece of rested dough at a time. On a lightly floured or greased surface, roll out the dough into a circle that is approximately 7 to 8 inches in diameter and about 1/8-inch thick. The thinner you can roll them, the better! These flatbreads are designed to puff up wonderfully as they cook, creating delightful pockets and a light texture. Don’t be afraid to gently stretch the dough with your fingers as you roll to achieve the desired thinness. However, exercise caution not to overstretch, as this can cause the dough to shrink back during cooking, resulting in smaller, thicker flatbreads. Aim for a consistent thickness across the entire circle for even cooking.
Choosing Your Cooking Surface and Heat: Griddle vs. Skillet
The versatility of this recipe extends to your choice of cooking equipment. You can use either a flat griddle (electric or stovetop) or a heavy-bottomed skillet (cast iron or nonstick) set over medium heat on your stovetop. The key is to ensure the surface is evenly heated. For optimal results and to prevent sticking, a nonstick surface is highly recommended. If you’re using a good quality nonstick griddle or skillet, there’s absolutely no need to add any oil for cooking, making these flatbreads a healthier option and simplifying cleanup. If using cast iron or stainless steel, a very light brush of oil might be helpful, but ensure it’s minimal to prevent the flatbreads from becoming greasy.
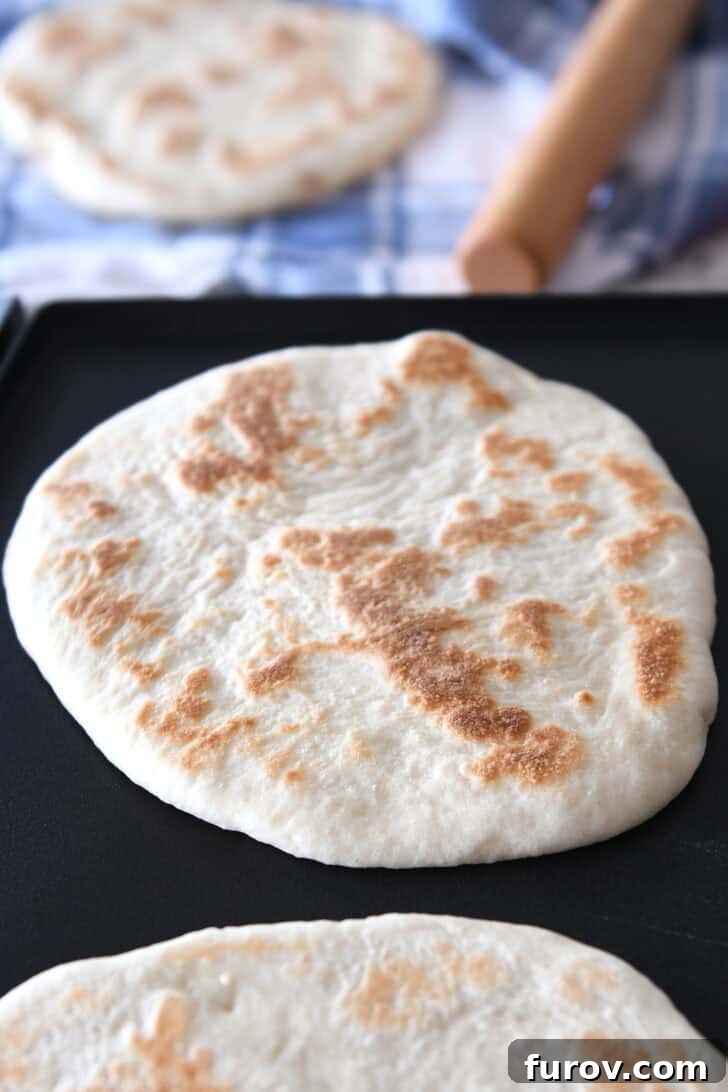
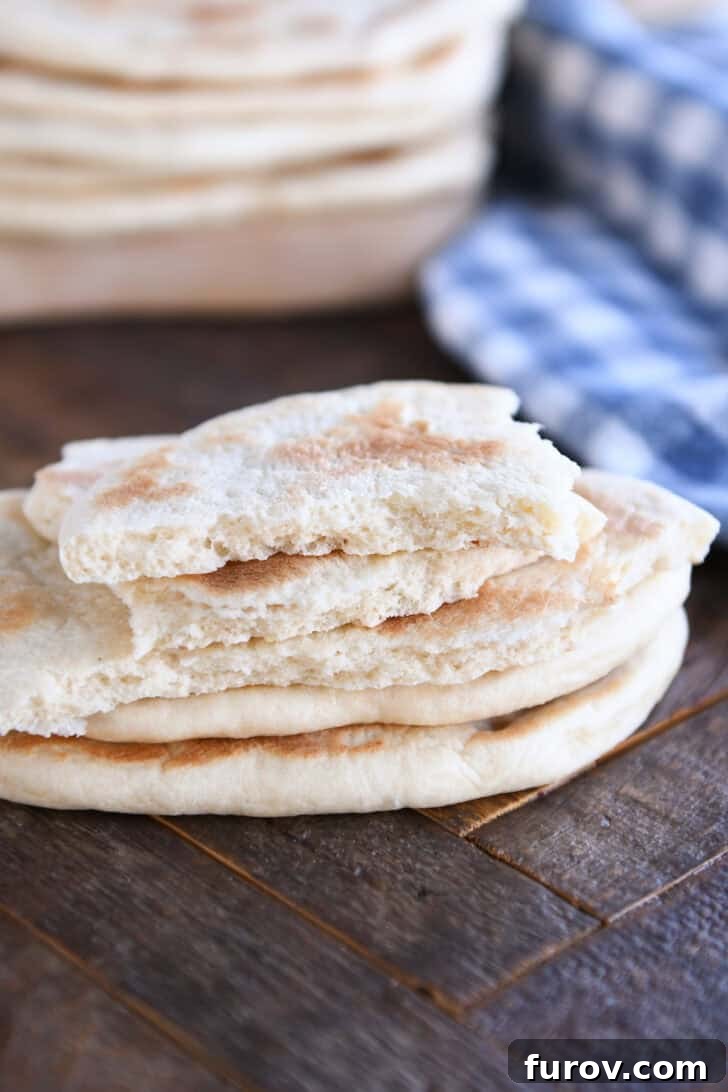
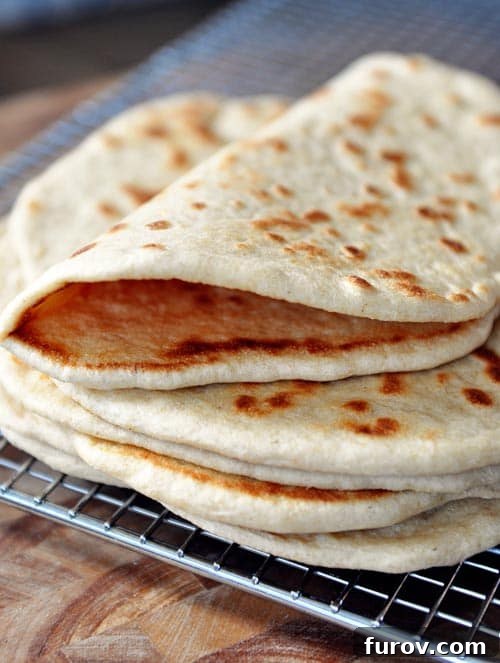
Once your griddle or skillet is hot – typically around 350 degrees F for an electric griddle, or medium heat on your stovetop – carefully place one rolled-out flatbread onto the hot surface. Cook for approximately 2 to 3 minutes on the first side. During this time, you’ll observe the dough beginning to bubble and, if you’re lucky, beautifully puff up! This puffing is a sign that the yeast has done its job and the internal steam is creating those desirable pockets. Once the first side is golden-brown and spotty, use tongs or a spatula to flip the flatbread. Continue to cook on the second side for another 1 to 2 minutes, or until it’s also golden and develops those attractive browned spots.
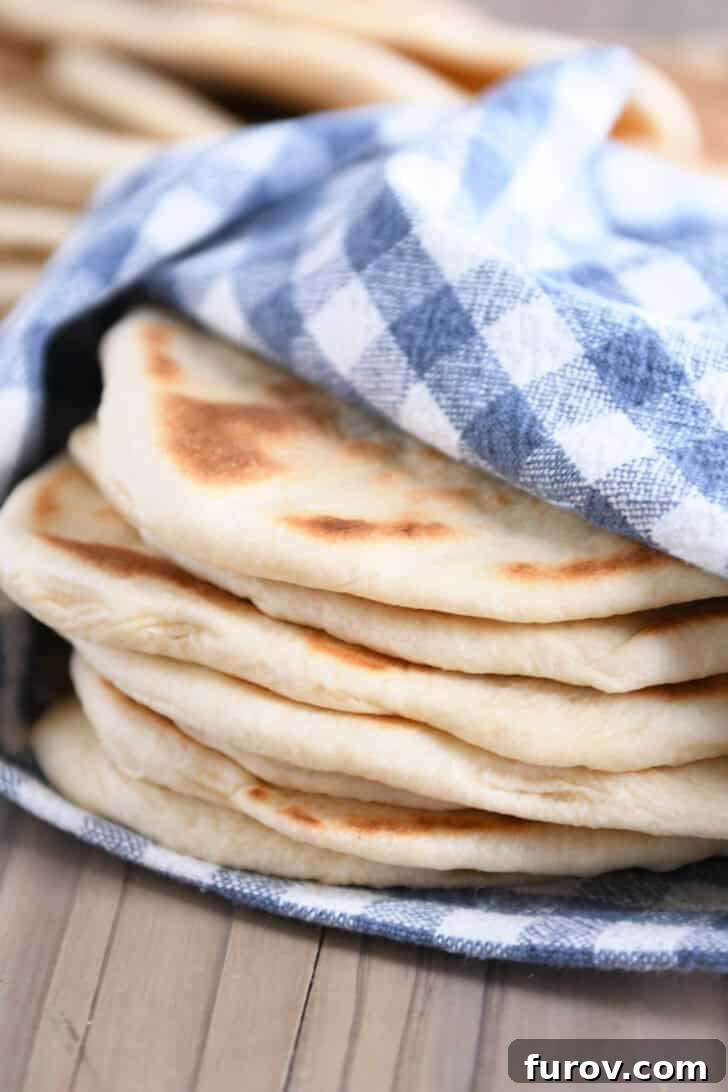
As each flatbread finishes cooking, transfer it to a plate and immediately cover it with a clean kitchen towel. This covering helps trap the steam, keeping the flatbreads wonderfully soft and pliable. Stack them as they come off the griddle; the residual heat and steam will continue to tenderize them. Repeat this process with the remaining dough, enjoying the rhythmic dance of rolling, cooking, and stacking until you have a beautiful pile of warm, homemade flatbreads ready to enjoy.
Versatile Flatbread: Serving Suggestions and Recipe Pairings
The moment these flatbreads come off the griddle, hot and fragrant, they are truly irresistible. Our top recommendation? Enjoy them simply with a generous slather of butter and a drizzle of honey. The combination of warm, soft bread with the sweet and savory notes is pure culinary bliss and often doesn’t even make it to the dinner table!
However, the versatility of these soft, foldable flatbreads extends far beyond a simple snack. They are a magnificent addition to a myriad of meals, transforming ordinary dishes into extraordinary culinary experiences. Here are some of our favorite ways to incorporate this homemade flatbread into your cooking, categorized for easy reference:
Perfect for Wraps and Sandwiches:
These pliable flatbreads are ideal for creating delicious, portable meals. Their ability to fold without cracking makes them superior to many store-bought tortillas.
- Avocado Veggie Flatbread: Load it up with creamy avocado, crisp vegetables, and a tangy dressing for a fresh, healthy lunch.
- Chicken Banh Mi Flatbread: A fusion delight! Fill with marinated chicken, pickled vegetables, and a flavorful sauce for a quick and easy take on a Vietnamese classic.
- Easy Chicken Gyros: These flatbreads are the perfect vehicle for savory seasoned chicken, fresh tomatoes, onions, and a dollop of creamy tzatziki.
- Sheet Pan Chicken Tzatziki Wraps: Assemble tender, roasted chicken and fresh veggies, then wrap them in these soft flatbreads for a convenient and flavorful meal.
- Tender Greek Pork: Slow-cooked, succulent pork nestled in a warm flatbread creates a hearty and satisfying meal.
- Big Fat Greek Tacos: A playful twist, combining Greek flavors with the beloved taco format.
Delectable Dippers for Stews, Curries, and Bowls:
Beyond wraps, this flatbread excels as a side dish, perfect for soaking up rich sauces and flavorful broths. Its sturdy yet soft texture makes it an excellent accompaniment.
- Chicken Curry in a Hurry: The ideal partner for scooping up every last drop of a fragrant chicken curry.
- Coconut Shrimp Curry: Its subtle sweetness and soft texture perfectly complement the exotic flavors of a coconut shrimp curry.
- Indian Butter Chicken: A classic pairing! Use the flatbread to mop up the rich, creamy, and spiced butter chicken sauce.
- Korean Beef Bowls: Adds a wonderful textural contrast and absorbency to a savory beef bowl.
- Egg Roll in a Skillet: Perfect for scooping up the flavorful filling of an deconstructed egg roll.
- Thai-Style Green Beans and Turkey: A great way to enjoy the aromatic and savory notes of this quick stir-fry.
What People Are Saying: Rave Reviews for This Flatbread Recipe
Don’t just take our word for it! This homemade flatbread recipe has garnered hundreds of 5-star reviews, cementing its status as a tried-and-true favorite among home cooks everywhere. The consistent praise highlights its simplicity, incredible taste, and versatile applications. Here’s a glimpse into what happy bakers are saying:
⭐️⭐️⭐️⭐️⭐️ “This recipe was simple, the instructions were clear and informative. The dough was soft and well balanced in taste, and created a nice pita pocket. We filled ours with chicken, cucumber, pickled onion, tomatoes, and tzatziki sauce. So good!” – Mariah
⭐️⭐️⭐️⭐️⭐️ “So easy and so delicious!! I’ll never do store bought flatbread again now that I have this recipe in my arsenal. Made pita pizzas with the leftover bread using muhammara and leftover grilled chicken – fantastic!! Thank you for sharing this!” – Lauri
⭐️⭐️⭐️⭐️⭐️ “Made this last night and I was impressed. The dough is a dream to work with and the finished product was exactly what I wanted for the grilled kebabs I made.” – Mari
⭐️⭐️⭐️⭐️⭐️ “Yes! I’ve been looking for a flat bread recipe like the ones I’ve had Greek gyros in and this is it! Perfect!! Thank you!” – Kathy
Homemade Flatbread
Yield: 8 flatbreads
Prep Time: 1 hr 20 mins
Cook Time: 6 mins
Total Time: 1 hr 26 mins
4.70 stars (378 ratings)
Pin Recipe
Rate This Recipe
Ingredients
- 2 teaspoons instant yeast
- 1 teaspoon granulated sugar
- ⅔ cup warm water (100 to 105 degrees F)
- ½ cup warm milk (100 to 105 degrees F)
- 1 tablespoon extra-virgin olive oil
- 1 teaspoon salt
- 3 cups (426 g) bread flour, more or less (see notes below for guidance)
Instructions
- In the bowl of an electric stand mixer fitted with the dough hook (or a large mixing bowl if kneading by hand), combine the water, milk, olive oil, yeast, sugar, salt, and 1 cup of the bread flour. Mix until these ingredients are well combined and a shaggy dough begins to form.
- Gradually add the remaining flour, a little at a time, until a soft and slightly sticky dough forms. The dough should pull away from the sides of the bowl to form a cohesive ball, yet still feel tender to the touch without leaving excessive residue on your fingers. Avoid over-flouring, as this can lead to a dry, tough flatbread.
- Knead the dough for 4-5 minutes with the stand mixer, or 8-10 minutes if kneading by hand, until it is smooth and elastic.
- Lightly grease a large bowl with a little olive oil. Transfer the kneaded dough to the bowl, turning it once to coat all sides. Cover the bowl tightly with greased plastic wrap or a clean kitchen towel. Let the dough rise in a warm place until it has doubled in size, which typically takes about an hour to an hour and a half, depending on your kitchen’s temperature.
- Once risen, gently punch down the dough to release the air. Divide the dough into 8 equal pieces. Shape each piece into a smooth ball. Cover the dough balls with a cloth or plastic wrap and let them rest for another 10-15 minutes. This crucial resting period allows the gluten to relax, making the dough much easier to roll out thinly.
- Working with one piece of dough at a time, on a lightly greased or floured countertop, use a rolling pin to roll the dough into a circle approximately 7 to 8 inches in diameter and about 1/8-inch thick. Aim for thinness, as the flatbreads will puff up during cooking.
- Heat a griddle to medium heat (around 350 degrees F for electric griddles) or place a large skillet on your stovetop over medium heat. Ensure the cooking surface is hot. If using a nonstick surface, no oil is needed. For other surfaces, a very light brush of oil can be applied.
- Place one rolled flatbread onto the hot griddle or skillet. Cook for 2 to 3 minutes, or until the dough begins to bubble enthusiastically and puff up. Flip the flatbread and continue to cook on the second side for another 1 to 2 minutes, until it turns golden brown and develops characteristic browned spots.
- Transfer the cooked flatbread to a plate and immediately cover it with a clean kitchen towel. This helps to keep them warm and soft. Continue with the remaining dough, stacking the warm flatbreads as they finish cooking.
- Serve your delicious homemade flatbreads warm or at room temperature, and enjoy their incredible versatility!
Notes
Flour Amount: Due to variations in humidity, temperature, altitude, and flour type, the exact amount of flour required can fluctuate. Instead of strictly following the measurement, rely on the dough’s texture and feel. A perfectly floured dough should be soft, pliable, and slightly sticky, not dry or tough.
Yeast: This recipe calls for instant yeast. If you prefer to use active dry yeast, you will need to proof it first. Combine the active dry yeast with the sugar and warm water (or milk) in a small bowl and let it sit for 5-10 minutes until it becomes foamy and bubbly. This indicates the yeast is active and ready before proceeding with the rest of the ingredients.
Author: Mel
Course: Bread
Cuisine: American
Method: Stovetop
Nutrition Information (per flatbread):
Serving: 1 flatbread, Calories: 206kcal, Carbohydrates: 36g, Protein: 7g, Fat: 3g, Saturated Fat: 1g, Cholesterol: 2mg, Sodium: 301mg, Fiber: 2g, Sugar: 1g
Recommended Products
Recipe Source: Adapted from Jaclyn at Cooking Classy (modifications include reduced sugar, oil and salt, use of instant yeast, and adjusted bread flour amounts and method).
Recipe originally published March 2014; updated February 2025 with new photos, enhanced recipe notes, and detailed instructions for an even better baking experience.
Frequently Asked Questions About Homemade Flatbread
Making flatbread at home can sometimes bring up a few questions, especially if you’re new to yeast doughs. Here are answers to some of the most common queries to help you master this delicious recipe:
Can I use all-purpose flour instead of bread flour?
While bread flour is recommended for its higher protein content, which contributes to the flatbread’s chewiness and structure, you can use all-purpose flour. However, be aware that the texture might be slightly less chewy, and the dough might be a bit softer. You might also need to adjust the amount of flour slightly to achieve the desired soft, slightly sticky consistency.
How do I store leftover homemade flatbread?
Once cooled, stack the flatbreads and store them in an airtight container or a resealable plastic bag at room temperature for up to 2-3 days. For longer storage, see the freezing instructions below. Reheat gently in a dry skillet, microwave, or toaster oven until warmed through and pliable again.
Can I freeze homemade flatbread?
Absolutely! Flatbreads freeze beautifully. Once they have completely cooled, stack them with a piece of parchment paper between each flatbread to prevent sticking. Place the stack in a freezer-safe bag or container and freeze for up to 2-3 months. To reheat, thaw at room temperature, then warm in a dry skillet or microwave until soft.
My flatbread isn’t puffing up. What went wrong?
Several factors can prevent puffing. The most common reasons include:
- Yeast issues: Ensure your yeast is fresh and active.
- Dough consistency: If the dough is too stiff (too much flour) or too wet, it may not puff properly.
- Rolling thickness: If the dough is rolled too thick, it may not puff as much. Aim for 1/8-inch thickness.
- Griddle temperature: The cooking surface needs to be hot enough (medium heat) to create instant steam, which causes the puffing. If it’s too low, the flatbread will dry out before it puffs.
Even if they don’t puff, they will still be delicious!
Can I make the dough ahead of time?
Yes, you can prepare the dough and let it complete its first rise. After the first rise, punch down the dough and place it in a lightly greased airtight container in the refrigerator for up to 24 hours. When you’re ready to cook, remove the dough from the fridge and let it come to room temperature for about 30-60 minutes before proceeding with dividing, resting, and rolling.