
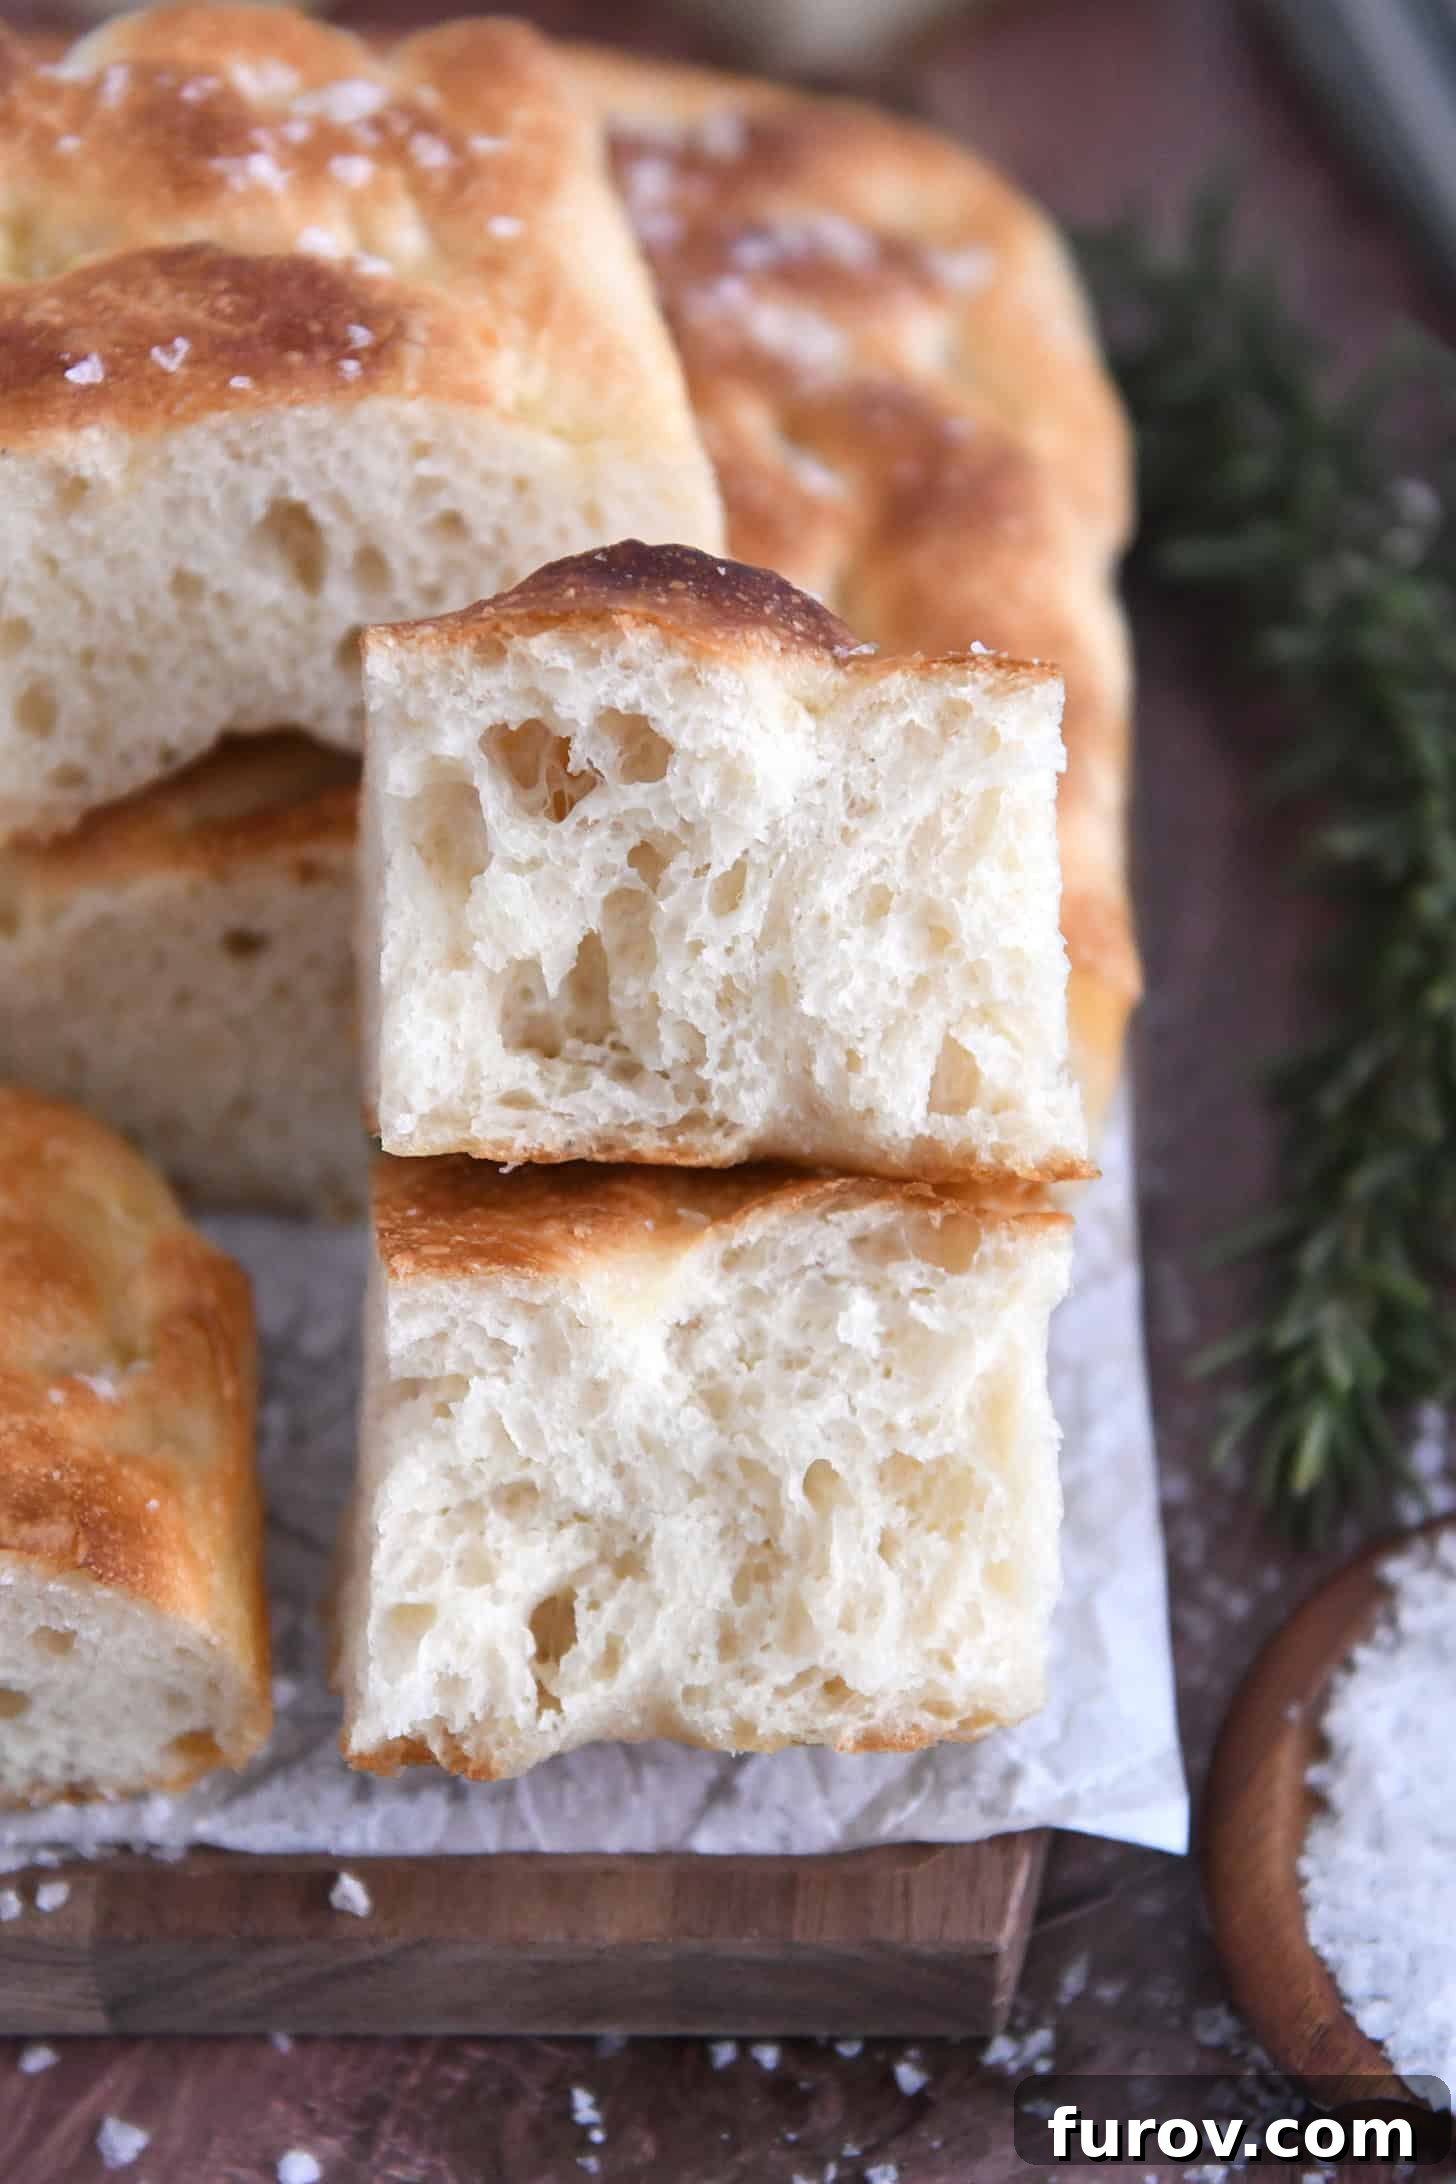
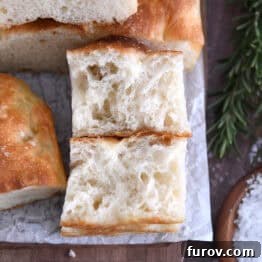
Discover the ultimate guide to the easiest no-knead focaccia bread you will ever make. The result is a masterpiece of baking: an unbelievably fluffy, bubbly crumb topped with a crisp, golden, and perfectly salty crust. Prepare to be amazed by this simple yet stunning bread.
This foolproof focaccia recipe has become a true obsession in our kitchen. It is, without a doubt, one of the most rewarding and delicious breads I have ever baked, and the process is shockingly simple. It’s the perfect companion for any meal, ideal for dipping into herbed olive oil, and it transforms into the most incredible sandwiches you can imagine.
Why This Will Be Your Go-To Focaccia Recipe
I have lost count of how many times I’ve baked this loaf. It has firmly established itself as my go-to bread for family dinners, gatherings with friends, and quiet afternoons when only a perfect slice of bread will do. It’s a recipe that delivers consistent, professional-quality results every single time.
Here’s what makes this the best easy focaccia recipe:
- Truly No-Knead: Forget the stand mixer and the strenuous kneading. This dough comes together in a single bowl with just a spatula. It’s a simple, mess-free process that anyone can master.
- Same-Day Baking Perfection: Many focaccia recipes require an overnight cold fermentation. While that method is great, this recipe is designed for fantastic results on the same day, delivering that signature airy texture without the long wait.
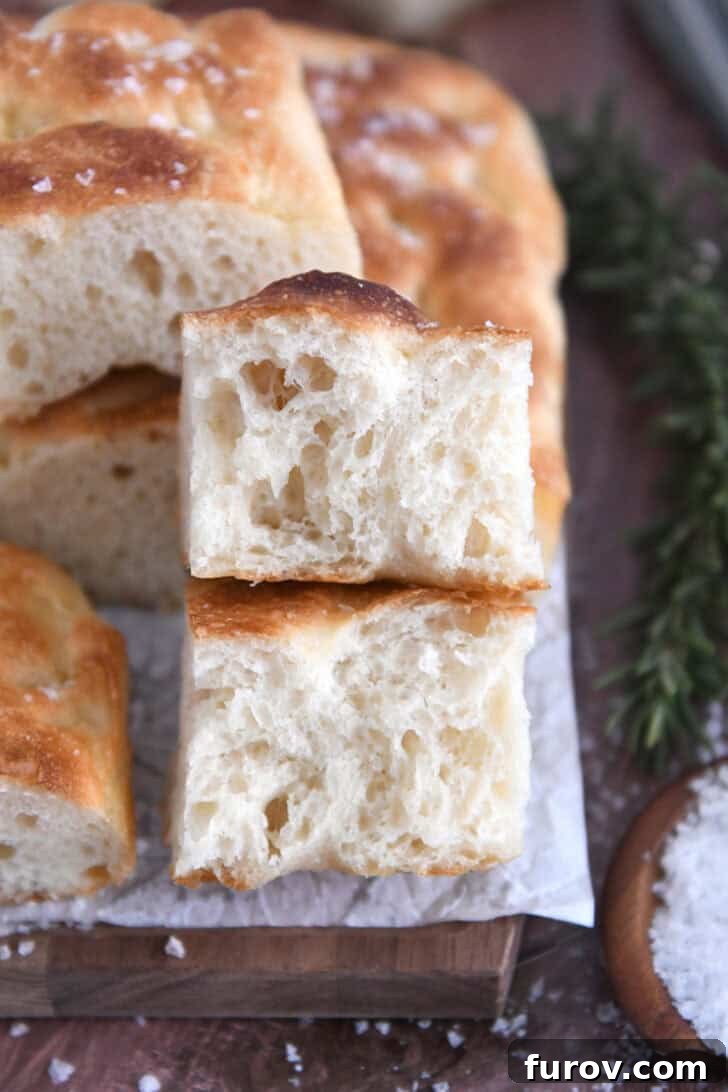
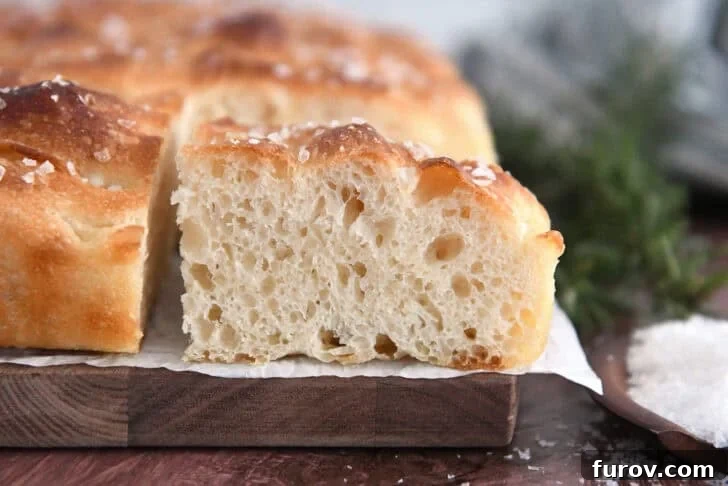
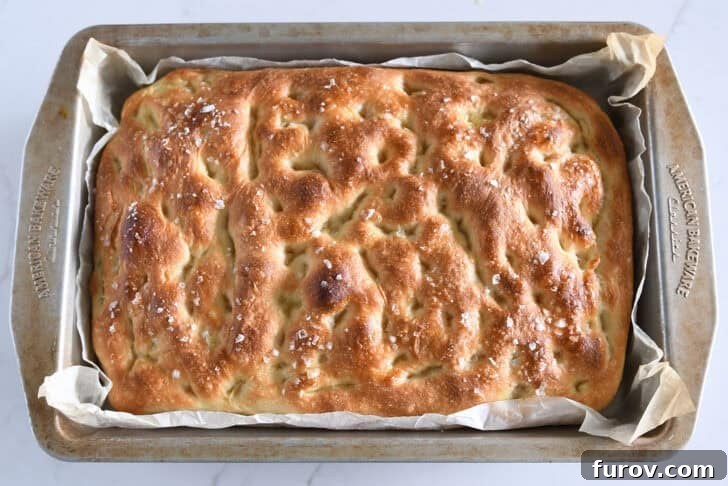
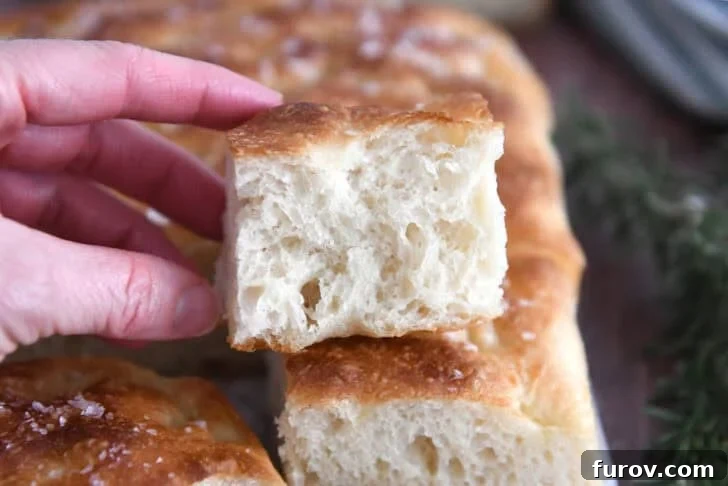
- Incredibly Fluffy and Crisp: Achieve that dreamy texture everyone loves. This bread boasts a light, ultra-fluffy interior full of beautiful air pockets, all encased in a deliciously golden, crisp, and salty crust.
- Amazingly Versatile: Serve it as a side dish to soak up pasta sauce, use it as a base for an artisanal pizza, or slice it horizontally to create the foundation for unforgettable sandwiches, whether cold or pressed into a panini.
A Closer Look at the Ingredients
The ingredient list for this focaccia is refreshingly simple, but understanding the role of each component is key to achieving a perfect loaf. Let’s break down what you’ll need.
- Bread Flour: This is the star ingredient for a superior texture. Bread flour has a higher protein content than all-purpose flour, which helps develop stronger gluten strands. This gluten structure is what traps the air bubbles created by the yeast, resulting in a chewier, loftier, and fluffier focaccia. While you can use all-purpose flour in a pinch, the crumb may be slightly less airy.
- Instant Yeast: Also known as “rapid-rise” yeast, this type can be mixed directly with the dry ingredients without needing to be activated in water first. It’s efficient and reliable. If you only have active dry yeast, you may want to dissolve it in the warm water for 5-10 minutes before adding it to the flour.
- Fine Salt: We use regular table salt or fine sea salt within the dough itself. Salt is crucial for flavor, but it also helps control the yeast’s activity and strengthens the gluten structure.
- Warm Water: The temperature of your water is important. Aim for around 105-110°F (40-43°C). If the water is too cold, it will slow down the yeast activity significantly. If it’s too hot, it can kill the yeast. Using a kitchen scale to weigh your water and flour ensures the most accurate hydration level, leading to consistent results.
- Extra-Virgin Olive Oil: Focaccia is a celebration of olive oil. A good quality extra-virgin olive oil will impart a rich, fruity flavor throughout the bread. It’s used in the dough, in the pan, and drizzled on top, creating a tender crumb and a wonderfully crisp crust.
- Flaky Sea Salt: This is the finishing touch that elevates your focaccia from good to unforgettable. Sprinkled on top before baking, flaky sea salt provides a delightful crunch and a burst of clean, briny flavor that complements the rich olive oil. Maldon sea salt flakes are an excellent choice.
How to Make Focaccia Bread: Step-by-Step
While this recipe is incredibly easy, following each step carefully is the secret to perfect focaccia. Let’s walk through the process together.
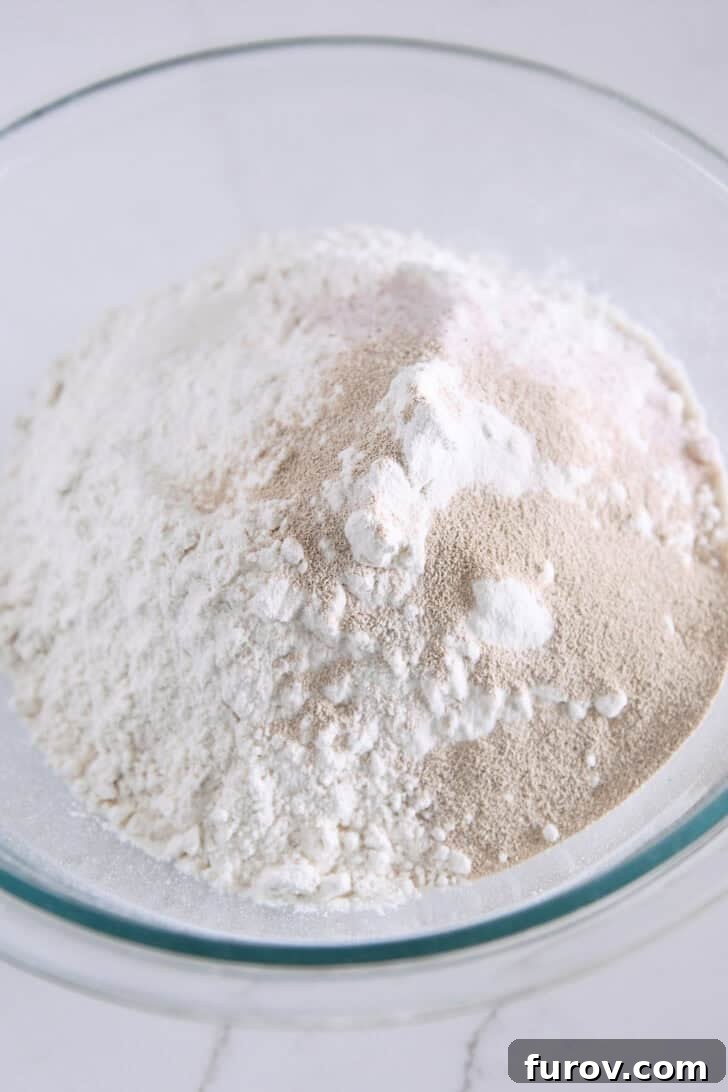
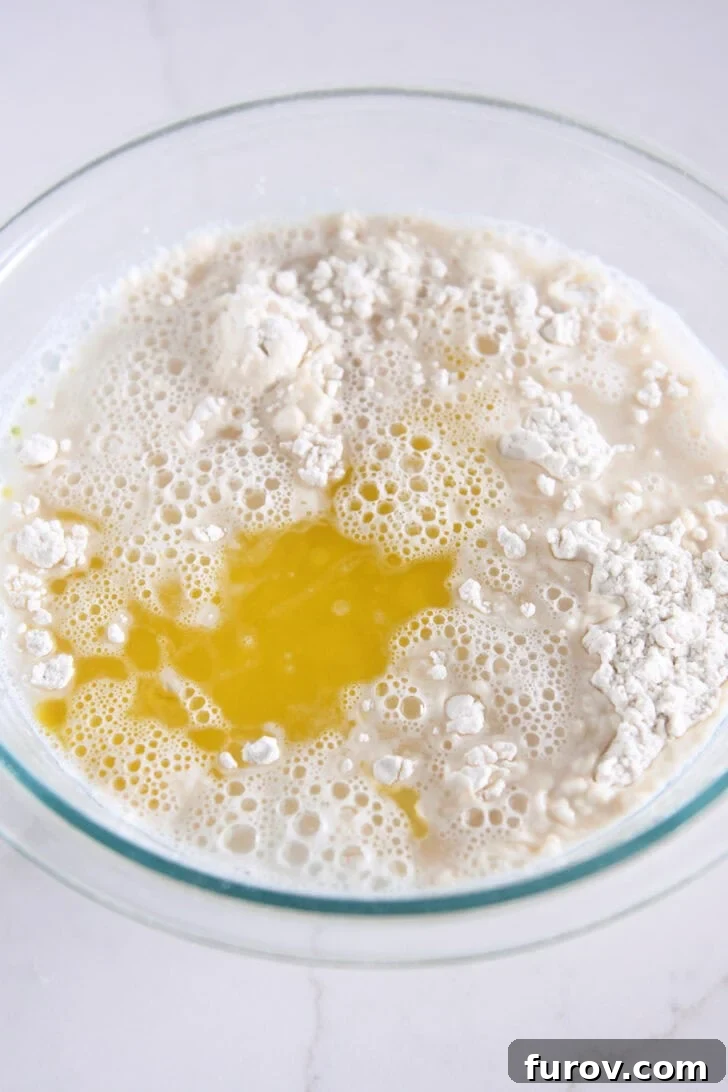
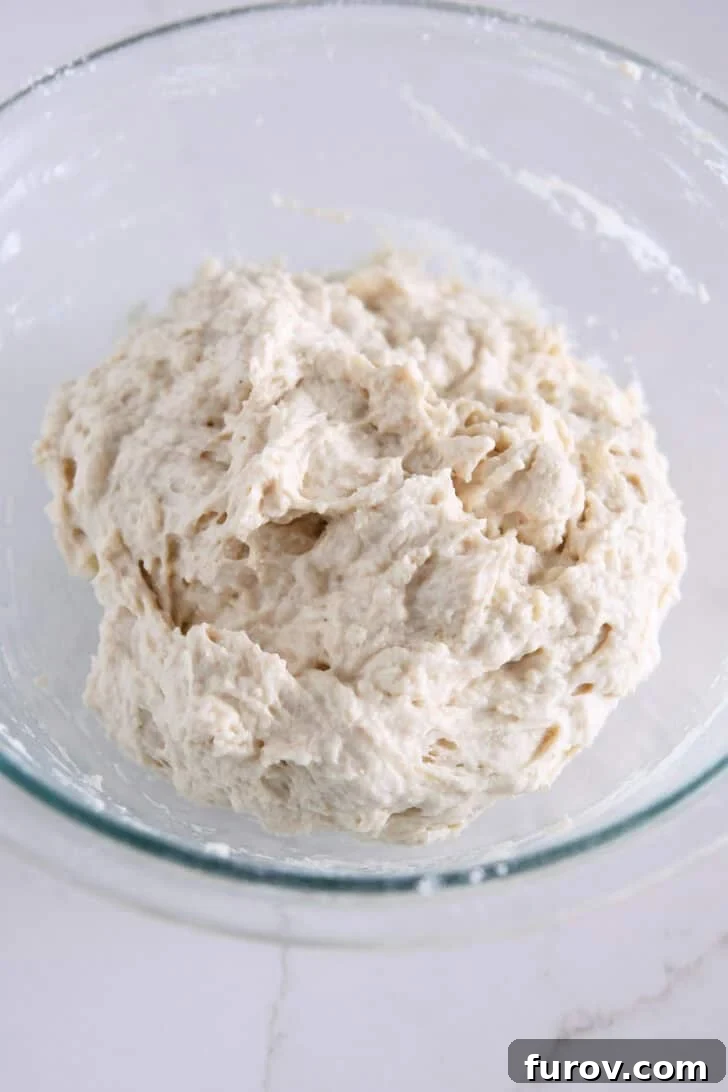
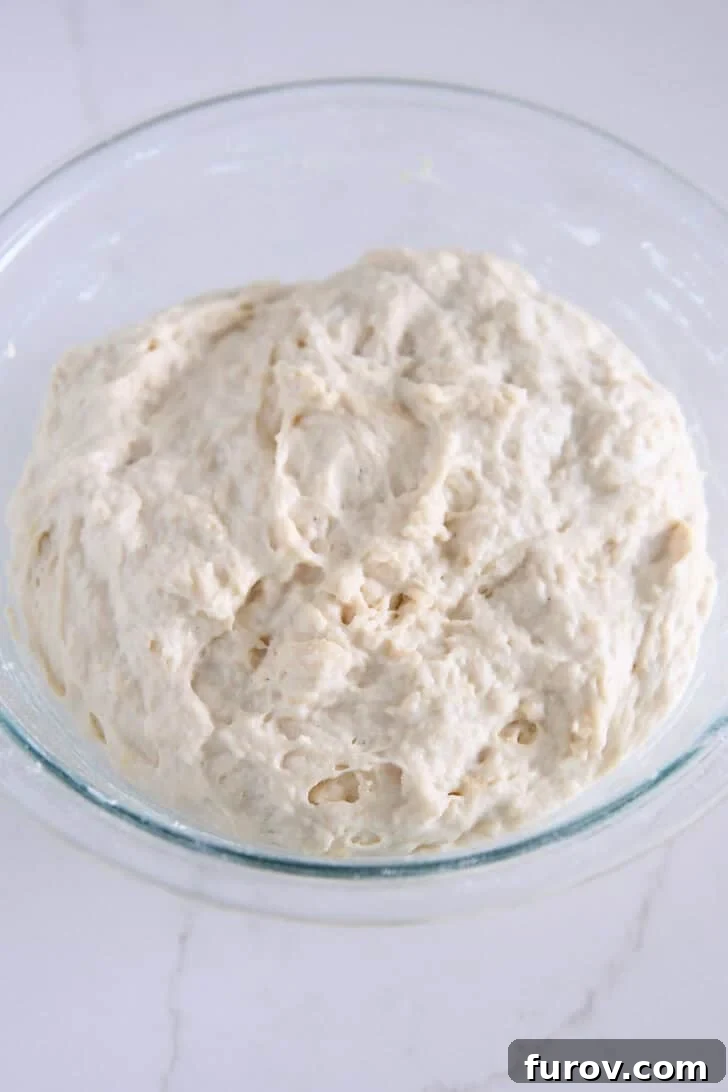
- Mix the Dough: In a large mixing bowl, combine the bread flour, instant yeast, and table salt. Pour in the warm water and olive oil. Use a spatula to mix everything together until a shaggy, sticky dough forms and no dry patches of flour remain.
- First Rest: Cover the bowl with plastic wrap or a damp towel and let it rest at room temperature for 30 minutes. This allows the flour to fully hydrate.
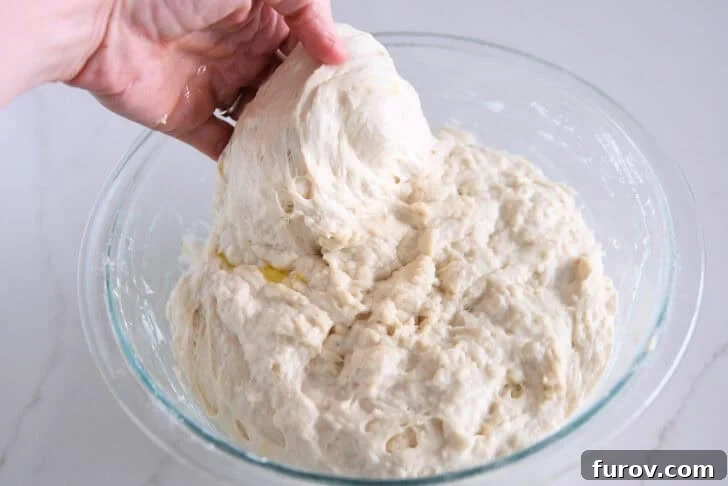
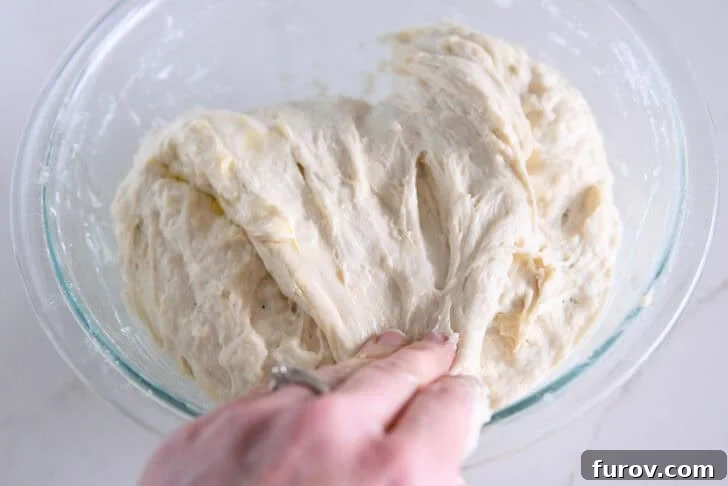
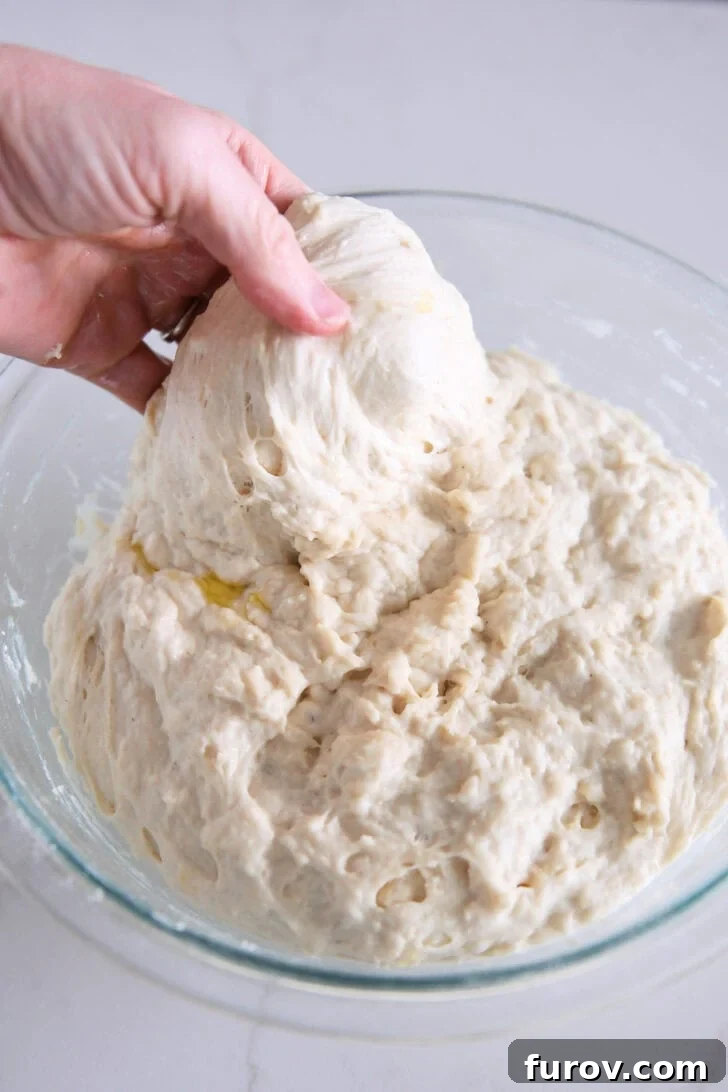
- Stretch and Fold: After the first rest, perform a series of “stretch and folds.” This technique develops gluten without kneading. You’ll do this 12-15 times to build structure. (More on this crucial step below!)
- Second Rest: Let the dough rest again, covered, for another 20-30 minutes. This helps the gluten relax.
- Prepare the Pan: Line a 9×13-inch baking pan (a light-colored metal one is ideal) with parchment paper. Drizzle it generously with olive oil.
- Transfer the Dough: Gently scrape the dough out of the bowl and into the prepared pan. It will be sticky and pliable.
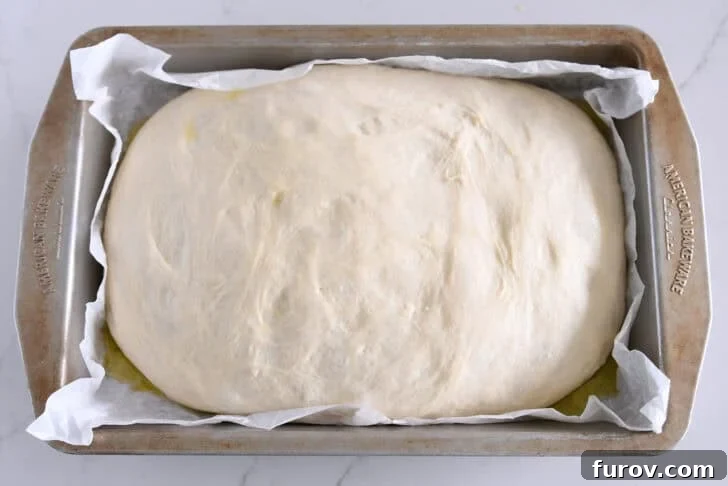
- Final Rise: Cover the pan and let the dough rise in a warm spot until it has spread to fill most of the pan and looks very puffy and jiggly, about 1 to 1.5 hours.
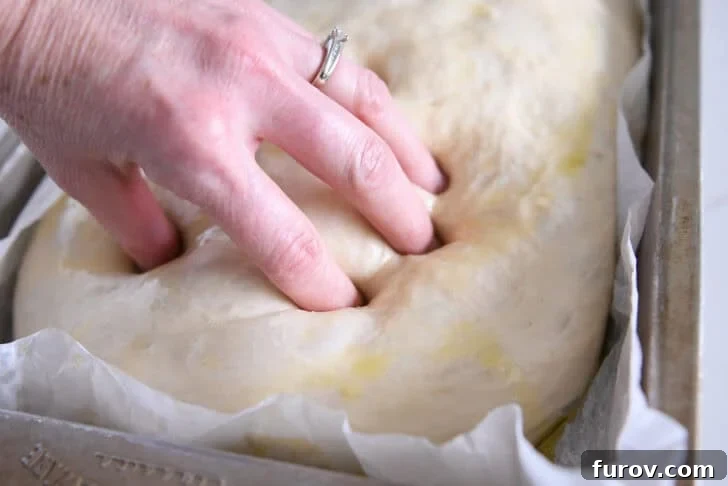
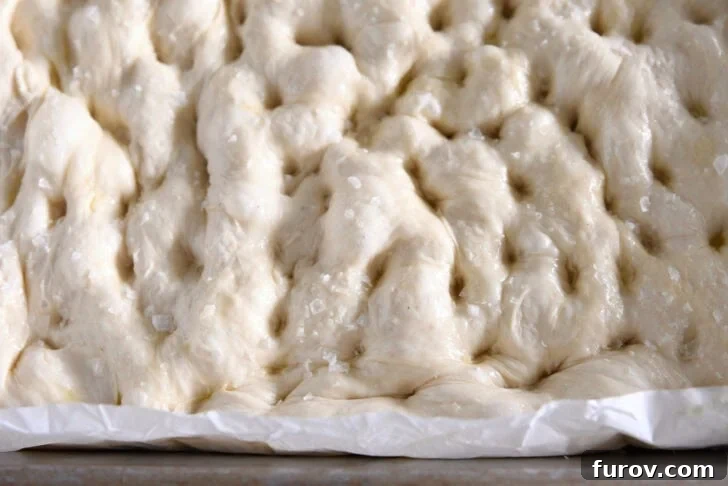
- Dimple the Dough: Drizzle the risen dough with more olive oil. Use your fingertips to slowly and gently press down into the dough, creating deep dimples all the way to the bottom of the pan. This creates focaccia’s signature texture.
- Bake to Golden Perfection: Sprinkle the top with flaky sea salt. Bake in a preheated oven until the top is a deep golden brown and the crust is crisp.
Parchment Paper Pro Tip: To make parchment paper fit perfectly into the corners of your pan, take a sheet that’s slightly larger than the pan, crumple it into a tight ball, and then unfold it. The crinkles will make it much more pliable and easier to press into the corners without springing back up.
The Magic of Stretching and Folding
The secret to a light and airy focaccia lies in its high hydration level. This recipe has a hydration of about 86%, meaning the dough is very wet and sticky. Traditional kneading would be a messy challenge.
This is where the “stretch and fold” technique comes in. Instead of kneading, we gently stretch sections of the dough up and fold them over the center. This process organizes and strengthens the gluten network, giving the soft, wet dough the structure it needs to trap air and create those beautiful, signature bubbles in the final bread.
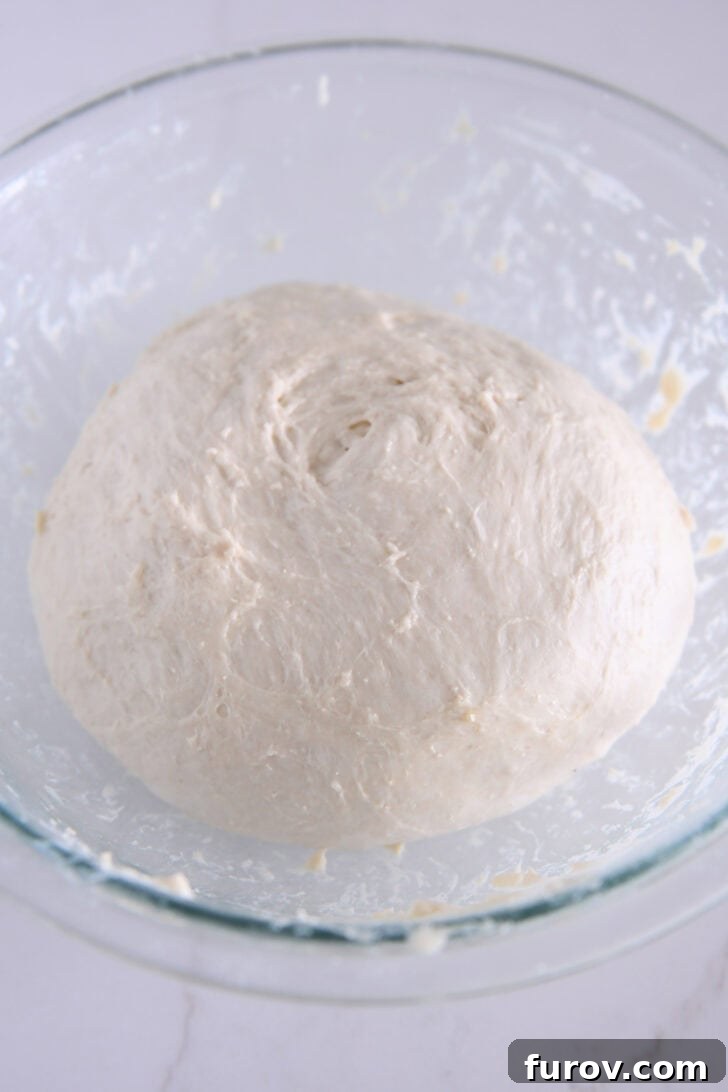
After just one set of folds, you’ll notice the dough transforming from a shaggy, shapeless mass into a more cohesive and smooth ball. My testing confirms that skipping this step results in a denser bread. The stretch and fold is the simple secret to a bakery-quality crumb.
Focaccia Toppings and Variations
While this focaccia is divine with just olive oil and sea salt, it’s also a wonderful canvas for toppings. Add your chosen toppings after drizzling with olive oil but before dimpling and baking.
- Classic Rosemary: Sprinkle fresh, chopped rosemary leaves over the top for that iconic aromatic flavor.
- Tomato and Herb: Press halved cherry tomatoes into the dough and sprinkle with dried oregano.
- Olive and Onion: Scatter Kalamata olives and thinly sliced red onion over the surface.
- Garlic Lover’s: Mix minced fresh garlic with the final drizzle of olive oil before spreading it over the dough.
- Cheesy Delight: Sprinkle generously with grated Parmesan or Asiago cheese before baking for a savory, cheesy crust.
Serving and Storing Your Homemade Focaccia
I can’t wait for you to experience the joy of pulling this golden loaf from your oven. The aroma alone is worth it! This bread is incredibly versatile and a welcome addition to any table.
Serve it alongside saucy pasta dishes, hearty soups, or simple sheet pan dinners. It’s also phenomenal when dipped in high-quality olive oil with a splash of balsamic vinegar. However, our absolute favorite way to enjoy it is by tearing off warm, fluffy pieces straight from the pan. The contrast between the crackly, salty crust and the pillowy interior is pure bliss.
To store: Keep the focaccia in an airtight container or zip-top bag at room temperature for up to 2 days. To refresh it, warm it in a 350°F (175°C) oven for 5-7 minutes to restore its crispy crust. Focaccia also freezes beautifully. Wrap it tightly in plastic wrap and then foil and freeze for up to one month. Thaw at room temperature and reheat in the oven.
Easy No-Knead Fluffy Focaccia Bread
Ingredients
- 3 ½ cups (497 g) bread flour (see note)
- 2 ½ teaspoons instant yeast (see note)
- 2 teaspoons table salt
- 1 ¾ cups plus 2 tablespoons (427 g) very warm water, 105 to 110 degrees F (see note)
- 6 tablespoons extra-virgin olive oil, divided
- Flaky sea salt, for sprinkling on top of dough
Instructions
-
In a large bowl, whisk together the bread flour, instant yeast, and table salt to combine.
-
Add the warm water and 2 tablespoons of the olive oil. Use a spatula to mix until a sticky, shaggy dough forms and no dry streaks of flour remain. Scrape down the sides of the bowl. Cover the bowl and let it rest for 30 minutes.
-
Lightly oil your hands or run them under cool water to prevent sticking. Grab one edge of the dough, stretch it upward, and fold it over to the opposite side. Rotate the bowl a quarter turn and repeat. Continue this process of stretching and folding 12 to 15 times, working your way around the bowl.
-
With oiled hands, gently flip the dough over so the folded seams are on the bottom, tucking the edges under to form a rough ball.
-
Cover the bowl again and let the dough rest for another 20 to 30 minutes to allow the gluten to relax.
-
Prepare a 9×13-inch baking pan (light-colored metal is preferred) by lining it with parchment paper. Use the crumpling trick mentioned in the post for a better fit.
-
Pour 2 tablespoons of olive oil onto the parchment paper and spread it to coat the bottom.
-
Gently transfer the dough into the center of the pan. Let it sit for a few minutes, then lightly stretch it into a rectangle. It will not fill the pan yet.
-
Cover the pan and let the dough rise in a warm place for 1 to 1.5 hours, or until it has expanded to fill most of the pan and is very puffy and jiggly.
-
Preheat your oven to 475°F (245°C) for a light-colored metal pan, or 450°F (230°C) for a glass pan. Position an oven rack in the center.
-
Once the oven is preheated, drizzle the top of the dough with the remaining 1 to 2 tablespoons of olive oil.
-
Using your fingertips, slowly and gently press down into the dough, touching the bottom of the pan to create deep dimples. Being gentle prevents deflating the dough. Repeat this all over the surface.
-
Sprinkle the top generously with flaky sea salt.
-
Bake for 16-18 minutes (metal pan at 475°F) or 18-20 minutes (glass pan at 450°F), until the top is a deep golden brown and crisp.
-
Let the focaccia cool in the pan for a few minutes, then use the parchment paper to lift it onto a wire rack to cool completely before slicing.
-
Cut into squares and serve. It’s perfect as a side dish or sliced horizontally for sandwiches.
Notes
Yeast: This recipe uses instant yeast. If using one standard packet, it will be about 2 1/4 teaspoons, which works perfectly.
Water: Accuracy matters! Weighing the water and flour is the best way to ensure the correct dough consistency. The water should feel very warm to the touch, but not hot enough to be uncomfortable.
Flaky Sea Salt: This is a key finishing ingredient for both texture and flavor. If you don’t have flaky salt, a coarse kosher salt can be used as a substitute.