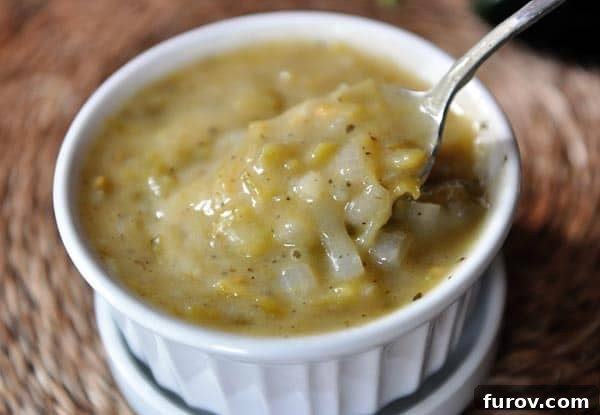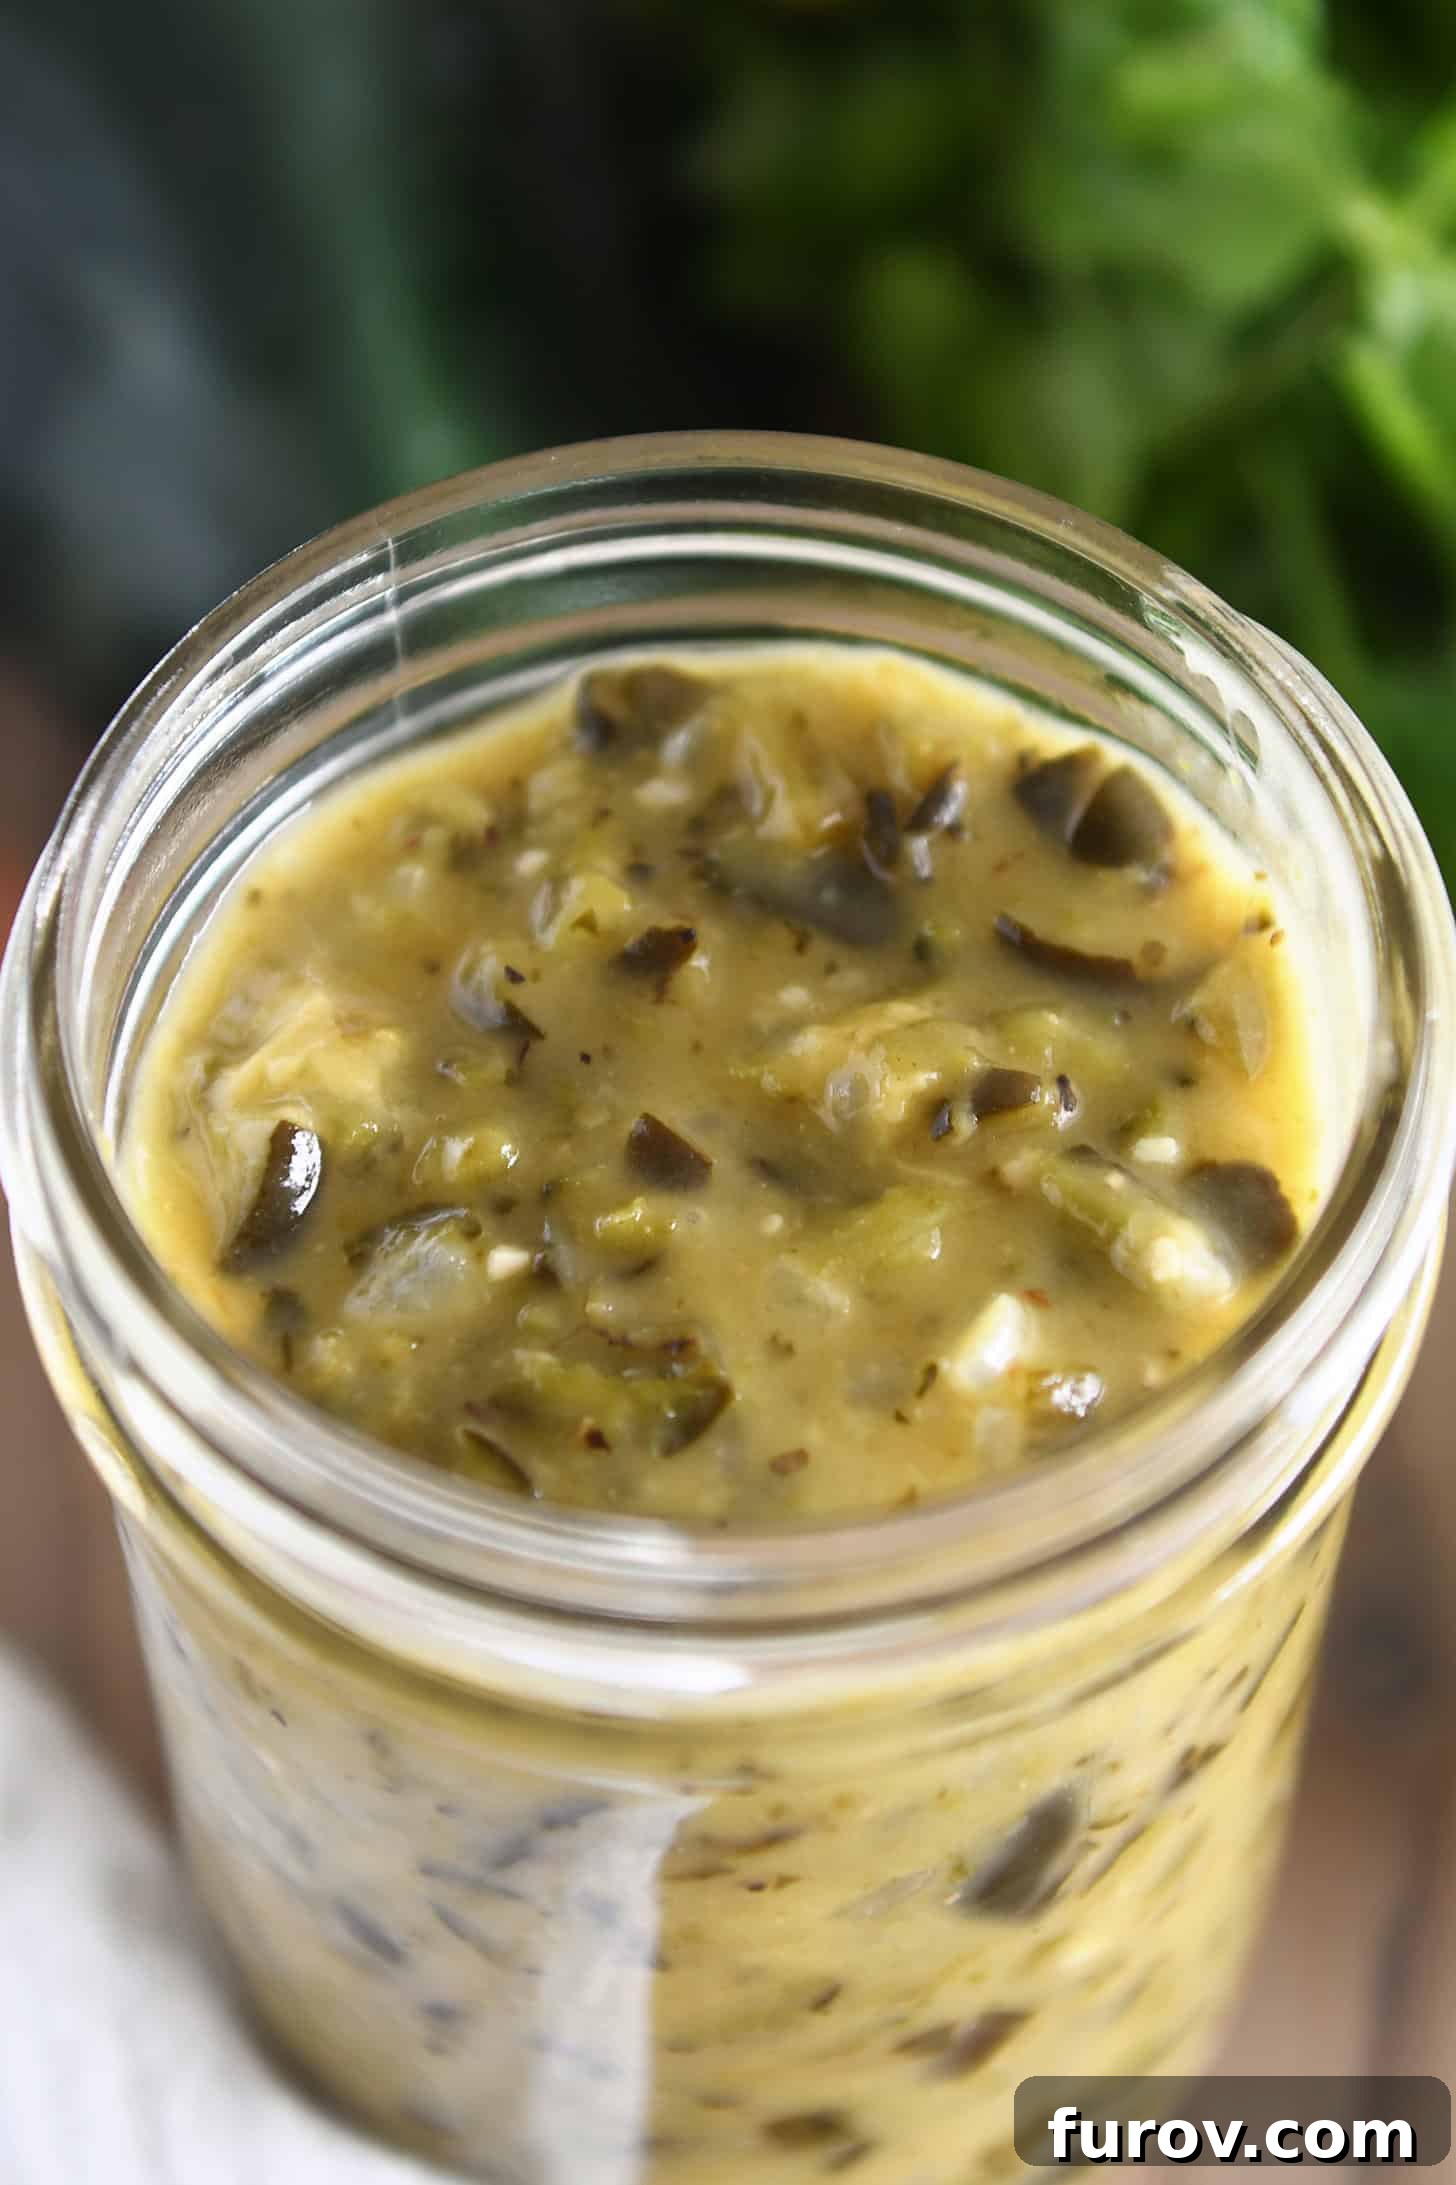
Experience the rich, authentic flavor of this homemade green enchilada sauce, crafted from beautifully roasted green chiles. This recipe is not just easy to make, it’s infinitely more delicious and vibrant than any store-bought alternative, promising to elevate your Mexican-inspired dishes to a new level.
Unlock the secret to incredible enchiladas with a vibrant green sauce that will truly impress. This comprehensive guide provides all the details you need, from selecting the perfect peppers and mastering the roasting technique to essential cooking tips, storage solutions, and even a selection of delightful recipes where this sauce shines. Get ready to transform your kitchen into a haven of aromatic, authentic flavors.
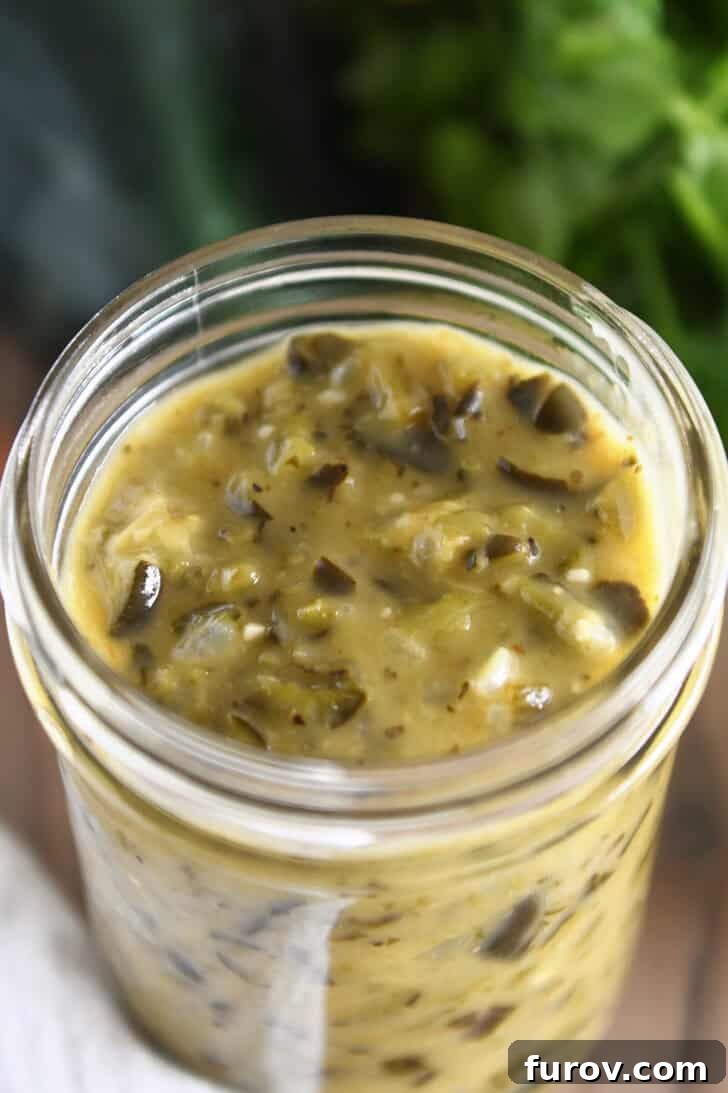
Choosing the Best Green Chiles for Your Enchilada Sauce
While this green enchilada sauce recipe boasts a delightful simplicity, the choice of peppers is paramount to achieving its signature depth and vibrant flavor. Using the right chiles ensures a perfect balance of earthy notes, subtle heat, and a fresh, authentic taste that store-bought sauces simply can’t replicate.
For the most outstanding homemade green enchilada sauce, we highly recommend these varieties:
- Anaheim Peppers: These long, mild to medium-heat peppers are a classic choice for green chile sauces. They offer a fruity, slightly sweet flavor with a gentle warmth, making them an excellent base that won’t overwhelm your palate. Anaheim peppers are widely available and a fantastic starting point for any green chile enthusiast.
- Poblano Peppers: Slightly darker and richer in flavor than Anaheims, Poblanos bring a more complex, earthy tone to the sauce. They typically have a mild to medium heat level, often comparable to or slightly spicier than Anaheims. Their robust flavor contributes significantly to the authenticity of Mexican cuisine.
- Hatch Chiles: Hailing from Hatch, New Mexico, these peppers are celebrated for their distinctive flavor, which can range from mild to extra hot. They possess a unique earthiness and often a smoky quality when roasted. If you can find fresh Hatch chiles, they are a phenomenal choice that will impart an unparalleled character to your sauce. Their season is usually late summer, so keep an eye out!
For those who enjoy a bit more kick, the recipe also includes finely chopped jalapeños. This addition is entirely optional, allowing you to customize the heat level. Jalapeños not only provide a welcome spice but also contribute a fresh, bright note that complements the roasted chiles beautifully. Feel free to adjust the quantity based on your preference for a milder or spicier enchilada sauce.
Beyond these primary recommendations, don’t shy away from experimenting with other green chiles like serrano peppers for an extra fiery punch, or even milder bell peppers if you prefer a very gentle sauce. The key is to start with fresh, quality produce to build a robust flavor foundation.
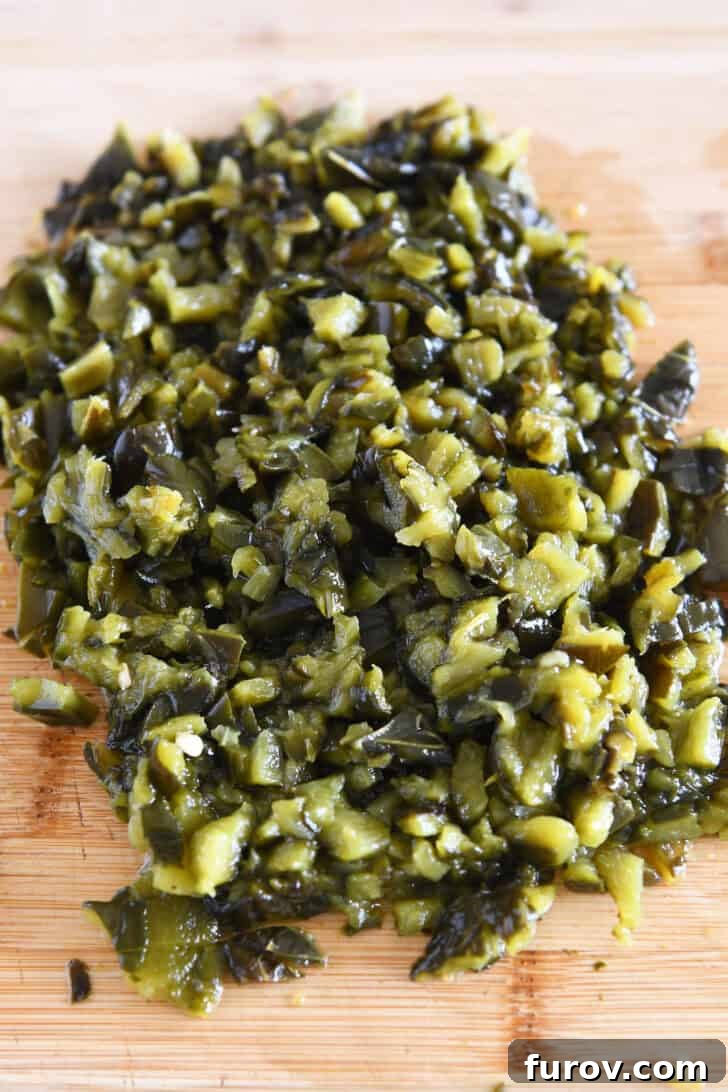
Mastering the Art of Roasting Fresh Chiles for Unbeatable Flavor
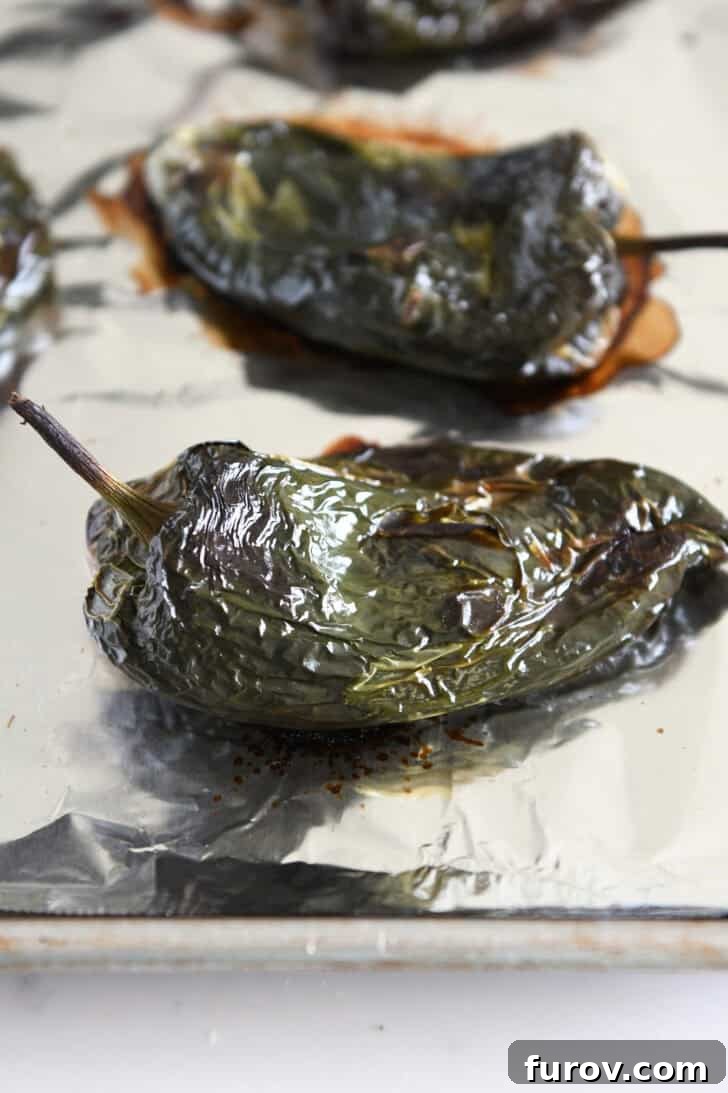
Roasting green chiles is arguably the most crucial step in crafting an exceptional green enchilada sauce. This simple technique not only tenderizes the peppers but also deepens their flavor, imparting a smoky sweetness that is the hallmark of truly authentic green chile dishes. It also makes peeling the skins incredibly easy, which is essential for a smooth, palatable sauce.
To perfectly roast fresh green chiles at home, follow these steps:
- Preparation: Begin by thoroughly washing and drying your chosen chiles. Ensure they are completely dry to allow for even roasting and to prevent steaming instead of charring.
- Arrangement: Place the clean, dry chiles on a foil-lined baking sheet. The foil helps with easy cleanup and ensures even heat distribution.
- Broiling Process: Position the baking sheet under your oven’s broiler. Broil the chiles for 5-7 minutes, watching them closely. Turn them once or twice with tongs, until their skins are visibly blackened, blistered, and slightly bubbly. This charring is what develops that desirable smoky flavor. Be careful not to burn them completely, as this can lead to bitterness.
- Steam and Peel: Immediately transfer the hot, roasted chiles into a Ziploc bag or a bowl covered tightly with plastic wrap. This creates a steamy environment that helps loosen the skins, making them much easier to peel. Let the peppers cool for 15-20 minutes, or until they are cool enough to handle.
- Clean-Up: Once cooled, remove the chiles from the bag or bowl. The skins should slip off easily. Discard the skins, then carefully remove the stems and seeds. For a milder sauce, remove all seeds and membranes; for more heat, you can leave some in.
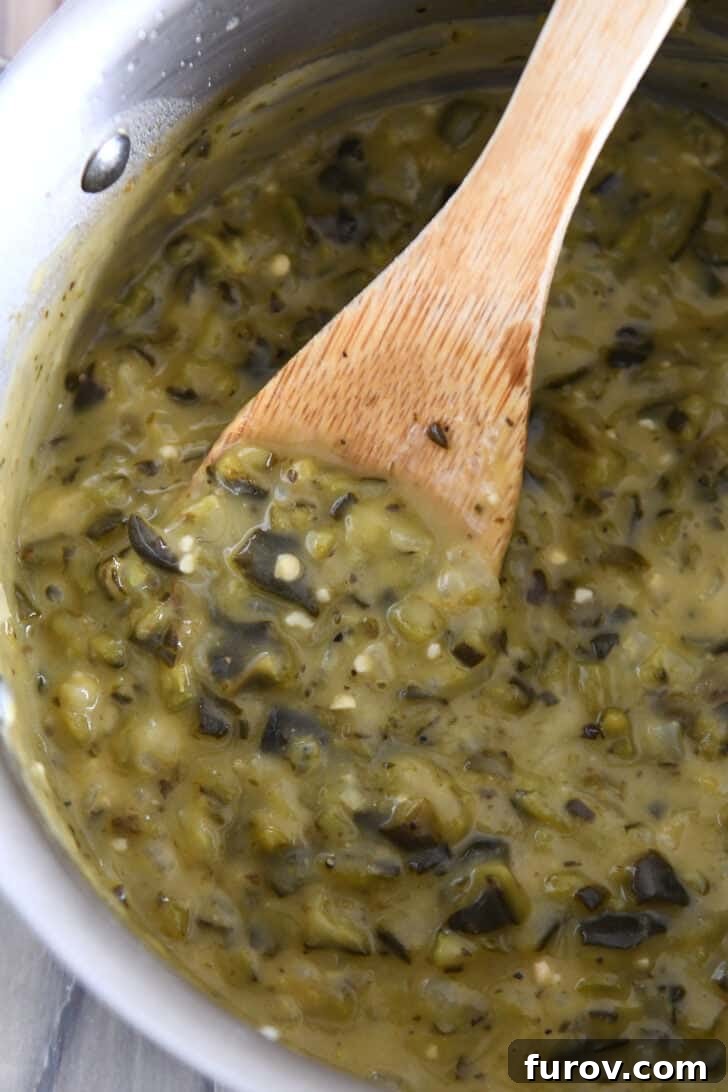
For this homemade green enchilada sauce recipe, after your peppers are beautifully roasted, peeled, and deseeded, it’s important to finely chop them. This ensures they integrate seamlessly into the sauce, providing pockets of rich chile flavor without overly chunky textures. While some recipes call for blending, finely chopping creates a sauce with a delightful rustic texture that we find truly superior.
Alternatively, if you have a gas stovetop, you can roast individual chiles directly over a low flame, turning them until charred. For outdoor enthusiasts, a grill also works wonderfully, adding an extra layer of smoky flavor. Whichever method you choose, the effort of roasting fresh chiles is always rewarded with an incomparably flavorful sauce.
Frequently Asked Questions for Crafting Your Perfect Green Enchilada Sauce
To help you perfect your homemade green enchilada sauce and make it a staple in your kitchen, here are detailed answers to some commonly asked questions, along with extra tips:
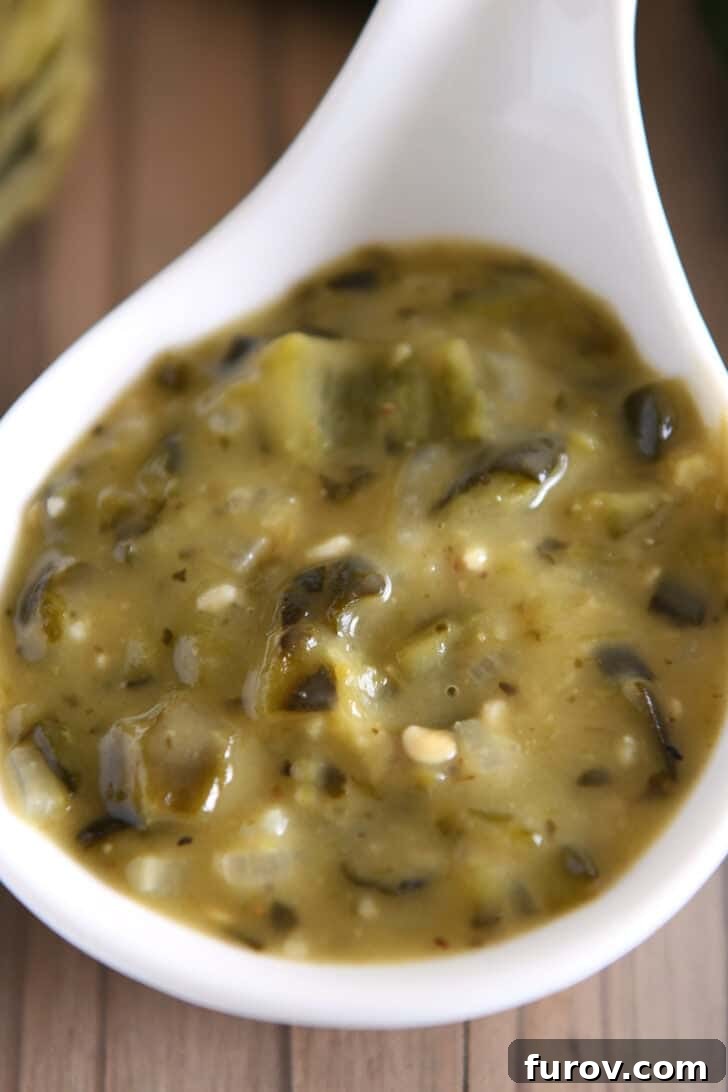
- How is the sauce thickened? Our green enchilada sauce achieves its silky, luxurious consistency through a classic roux. A roux is a mixture of fat (in this case, oil) and flour cooked together, which then acts as a thickening agent when liquid is added. It’s cooked until it perfectly coats the back of a spoon, indicating a rich, smooth texture without being overly gluey. The careful preparation of the roux is key to a stable and delicious sauce.
- Can I adjust the spices? Absolutely! The beauty of homemade cooking lies in customization. The spice blend in this recipe (cumin, black pepper, dried oregano, and salt) is a fantastic starting point, but feel free to alter it to your personal taste. Consider adding a pinch of coriander for an extra citrusy note, a touch of garlic powder or onion powder for more savory depth, or even a tiny amount of cayenne pepper if you desire an extra layer of heat beyond the jalapeños. Taste and adjust as you go – that’s the chef’s secret!
- Are other types of peppers suitable for experimentation? While Anaheim, Poblano, and Hatch chiles are our top recommendations for their superior flavor profile, don’t hesitate to experiment! If you’re looking for more heat, try adding a small amount of serrano or even a habanero (use with extreme caution!). For a milder flavor, you could include some roasted green bell peppers. Just remember that each pepper variety will contribute its unique characteristics to the final flavor, so start small when trying new combinations.
- Where can I find additional tips and serving ideas? The vibrant community of home cooks often shares fantastic insights! We encourage you to read through the comments section below the recipe. You’ll likely discover creative ways others have served or adapted this green enchilada sauce, from variations in spice levels to unique meal pairings. It’s a treasure trove of culinary inspiration!
- Is this recipe safe for canning? It’s crucial to note that this recipe has not been tested for canning safety. Therefore, it should not be processed or canned using traditional home canning methods for shelf stability. Canning requires very specific pH levels and processing times to prevent the risk of botulism. For safe long-term storage, we recommend refrigeration or freezing.
- How long does homemade green enchilada sauce last? When properly stored in an airtight container, your homemade green enchilada sauce will keep beautifully in the refrigerator for up to 2 weeks. For longer storage, it freezes exceptionally well. Portion it into freezer-safe bags or containers and it will maintain its quality for 1 to 2 months. Thaw overnight in the refrigerator before reheating gently on the stovetop.
- What if my sauce is too thin or too thick? If your sauce is too thin after simmering, you can continue to simmer it gently, uncovered, to reduce and thicken it further. Alternatively, you can make a small slurry of a teaspoon of cornstarch mixed with an equal amount of cold water and whisk it into the simmering sauce until it reaches your desired consistency. If it’s too thick, simply whisk in a little more chicken or vegetable broth, one tablespoon at a time, until it reaches the perfect pourable texture.
- Can I use vegetable broth instead of chicken broth? Absolutely! For a vegetarian or vegan version of this green enchilada sauce, a high-quality low-sodium vegetable broth works perfectly. Ensure your chosen broth has a good flavor profile as it forms a significant part of the sauce’s base.
Still making this almost 10 years later and still getting compliments every time! The best enchilada sauce there ever was.
—Anika
Delicious Recipes to Elevate with Your Homemade Green Enchilada Sauce:
This versatile green enchilada sauce is more than just a condiment; it’s a foundation for countless flavorful meals. Here are some of our favorite recipes where this sauce truly shines, transforming simple ingredients into memorable dishes:
- Crispy Enchilada Wraps: Experience a delightful crunch with every bite! These wraps are filled with savory chicken and cheese, then baked to crispy perfection under a blanket of your homemade green sauce.
- Easy Chicken Enchilada Casserole: A comforting family favorite, this casserole layers tender chicken, tortillas, and cheese, all generously smothered in your vibrant green sauce for an effortless weeknight meal.
- Honey Lime Chicken Enchiladas: A unique twist on classic enchiladas, featuring a hint of sweetness from honey and zest from lime, perfectly complemented by the tangy depth of the green enchilada sauce.
- Creamy Green Chile Chicken Enchiladas: Indulge in the rich and creamy goodness of these enchiladas, where the green sauce is blended with a creamy component for an extra luxurious texture and flavor.
- Slow Cooker Posole: This hearty Mexican stew benefits immensely from the fresh, robust flavor of green chile sauce, adding depth and warmth to hominy and tender pork or chicken.
- Cafe Rio Sweet Pork: Recreate the famous sweet pork from Cafe Rio at home, using this green enchilada sauce to complement its savory-sweet profile in burritos or salads.
- Smothered Sweet Pork Burritos: Wrap up tender sweet pork in tortillas and smother them in this delicious green sauce for an irresistible and satisfying meal.
- Skillet Chicken with Mexican Green Rice: Elevate your skillet chicken with a flavorful green rice dish, made vibrant and aromatic with a touch of your homemade green enchilada sauce.
- White Chicken Enchiladas: A classic comfort food, these enchiladas get a fresh upgrade when prepared with your homemade green sauce, offering a balance of creamy and zesty flavors.
- Honey Lime Chicken or Pork Enchiladas: Similar to our earlier honey-lime recipe, this versatile dish can feature either chicken or pork, enhanced by the bright notes of honey and lime, and the foundational flavor of your green sauce.
- Chicken Enchilada Pasta: A creative fusion dish that combines the best of Mexican and Italian flavors, featuring pasta coated in a creamy, spicy green enchilada sauce with tender chicken.
Each of these recipes demonstrates the incredible versatility of homemade green enchilada sauce. It’s not just for enchiladas; it can be a base for casseroles, a topping for burritos, or an ingredient to infuse other dishes with its distinct, mouth-watering flavor. Experiment and discover your own favorite ways to incorporate this amazing sauce!
Homemade Green Enchilada Sauce
Pin
Rate
Ingredients
- 2 tablespoons oil
- ½ cup finely chopped onion
- 1 to 2 cloves of garlic, finely minced
- 3 tablespoons all-purpose flour
- 1 ½ cups low-sodium chicken or vegetable broth
- 1 cup Anaheim, poblano, or Hatch chiles, roasted, peeled and finely chopped (see note to use canned chiles)
- 1 medium jalapeño, finely diced (optional)
- ½ teaspoon salt
- ¼ teaspoon cumin
- ¼ teaspoon black pepper
- ¼ teaspoon dried oregano
Instructions
-
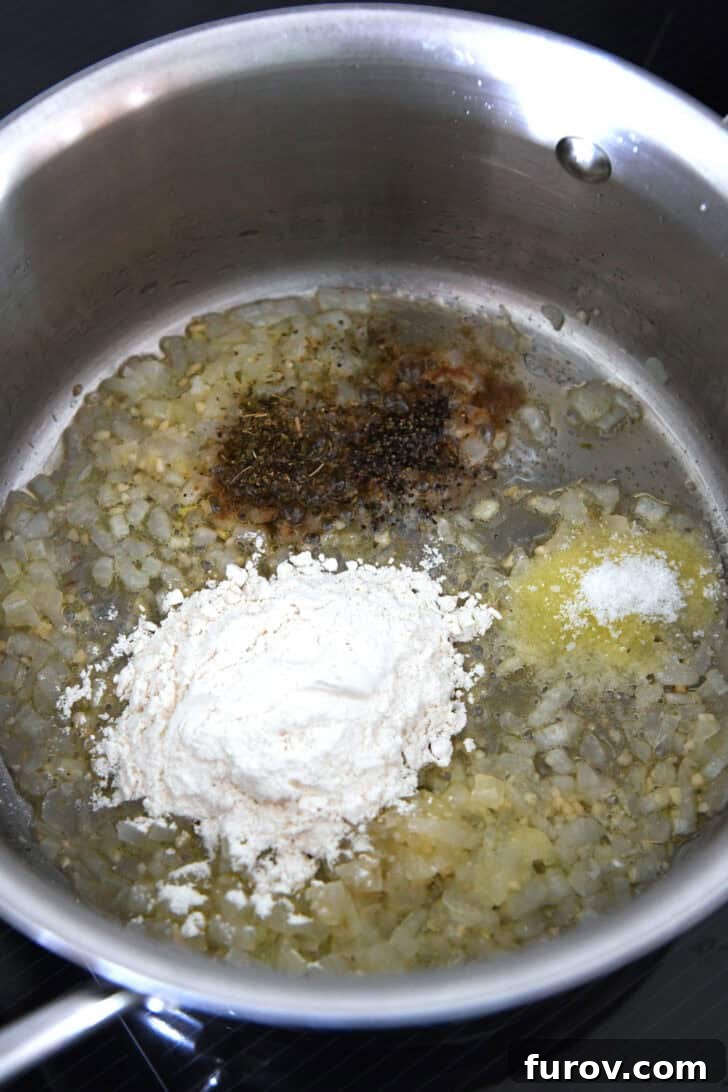
In a medium saucepan, heat the oil over medium heat until hot. Add the onion and garlic and cover.
-
Cook for 5-6 minutes, stirring once or twice to make sure the garlic and onions aren’t sticking (adjust the heat if they are). Cook until the onions are soft but not browned.
-
Stir in the flour and cook for 2-3 minutes, stirring constantly. It’s ok if the flour clumps around the onions, just keep stirring to let the flour get golden and toasty.
-
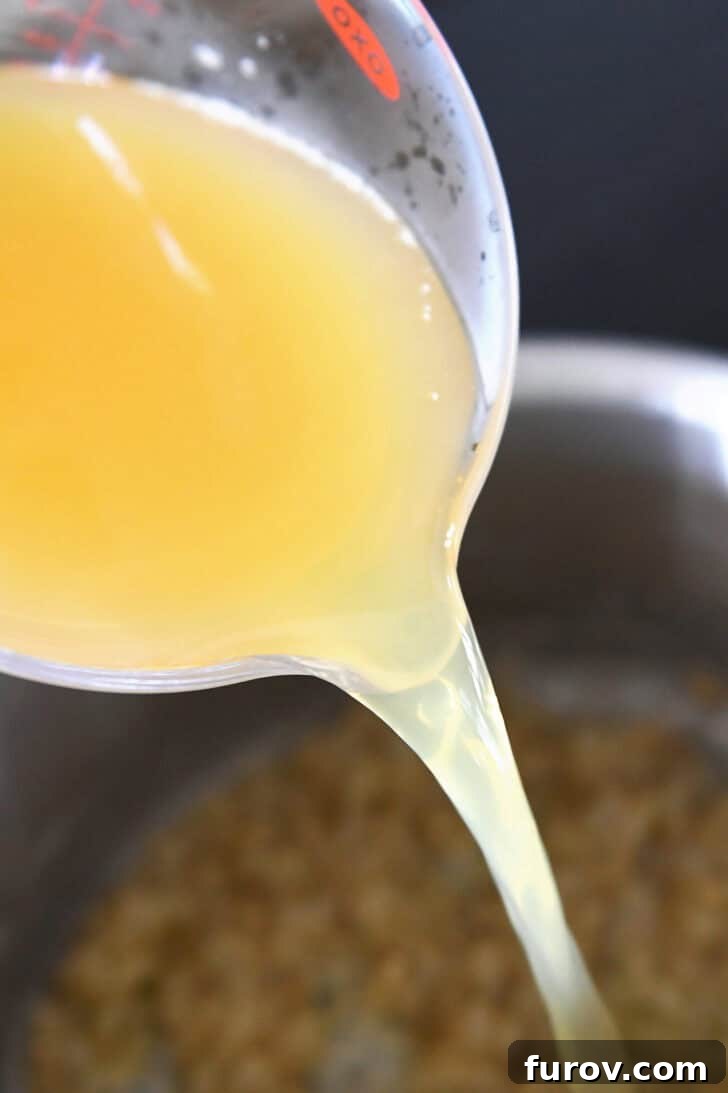
Gradually add the broth, whisking quickly and constantly to smooth out any lumps.
-
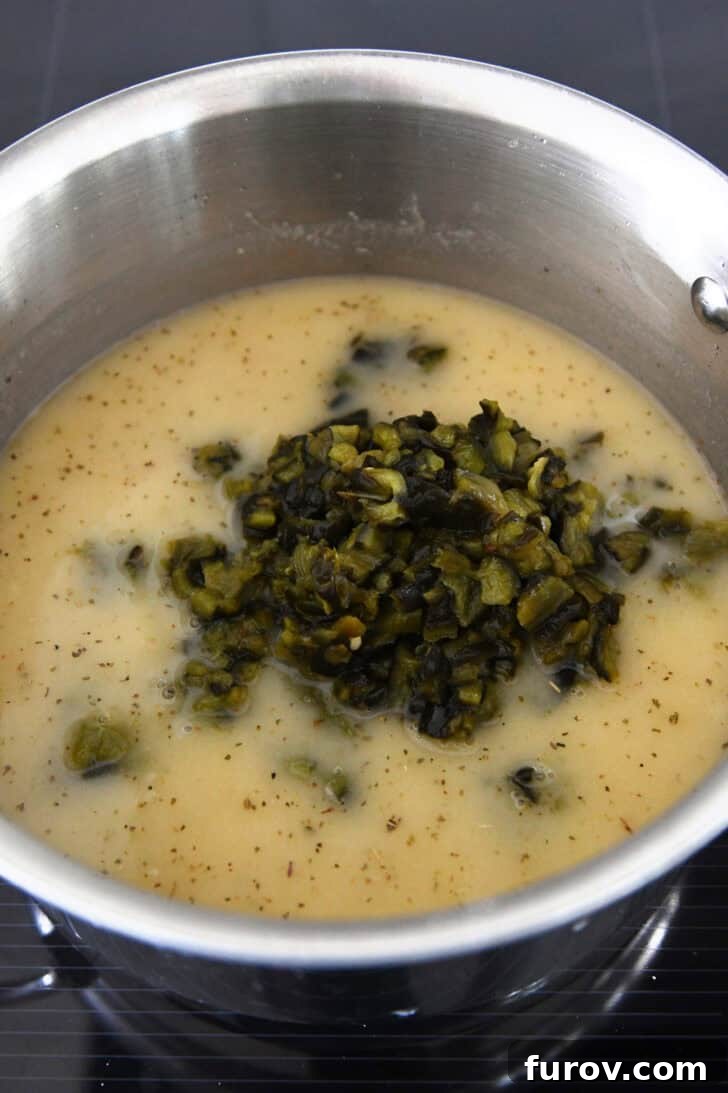
Add the chile peppers, jalapeños (if using), salt, cumin, black pepper, oregano and bring to a boil.
-
Reduce the heat to low and simmer for 30 minutes, stirring occasionally until the sauce is silky and thickened and coats a spoon while still dripping off. Add additional broth to thin, if needed.
-
Taste, and add additional salt, if needed.
-
The sauce can be processed in a blender for a smoother consistency. It will keep well in the fridge for up to 2 weeks. Otherwise, it can be frozen for 1 to 2 months in a well-sealed container.
Notes
To Roast the Chiles (Alternative Methods): For roasting, besides broiling, you can place the chiles directly on top of a low flame on a gas stovetop, rotating them with tongs until the skins are blackened all over. Alternatively, chiles can be grilled until their skins are bubbled and charred. Once blackened, immediately place the hot chiles in a bowl and cover tightly with plastic wrap or seal them in a Ziploc bag. This steaming process helps to loosen the skins for easier removal. Allow the peppers to cool completely before removing the skins, stems, and seeds, then proceed with the recipe.
Recommended Products
Recipe Source: This cherished recipe was generously shared by my dear friend, Liz K. (thank you, Liz, for this culinary gem!)
Recipe originally published October 2013; thoughtfully updated in August 2025 with fresh photos, enhanced recipe notes, and clearer instructions to help you create the best green enchilada sauce possible.