
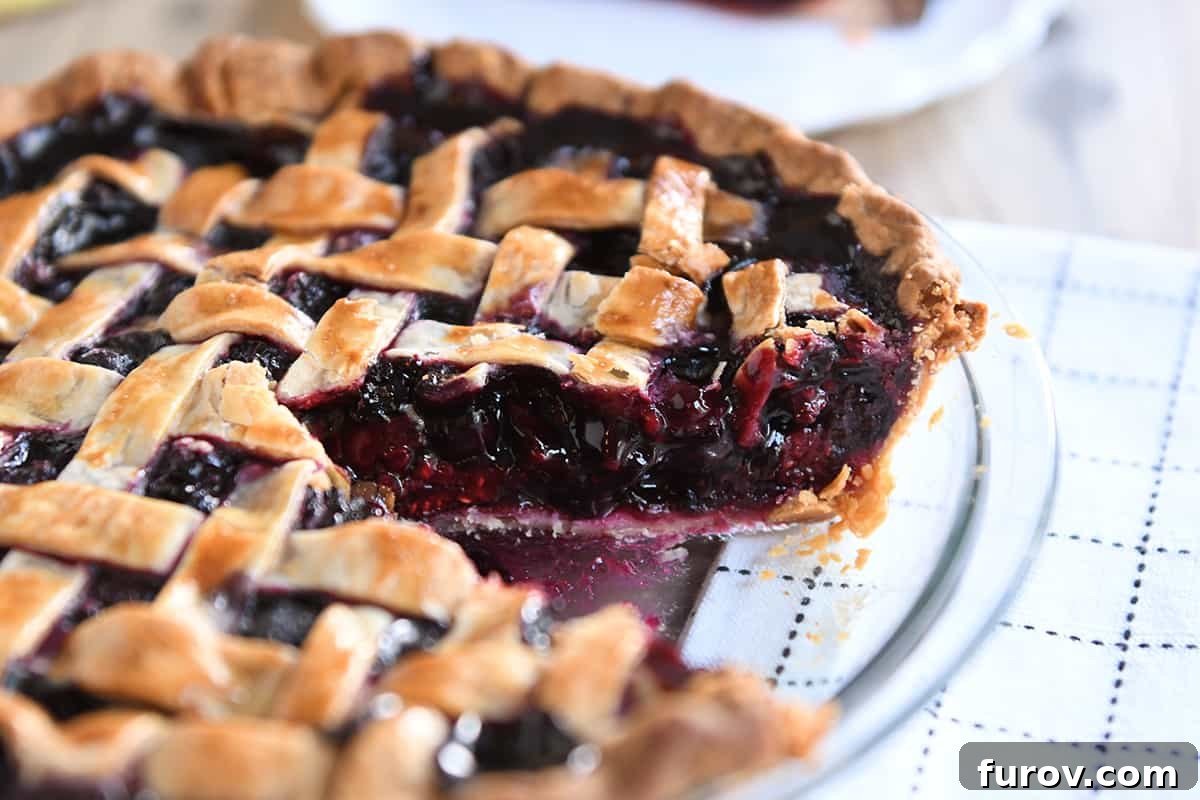
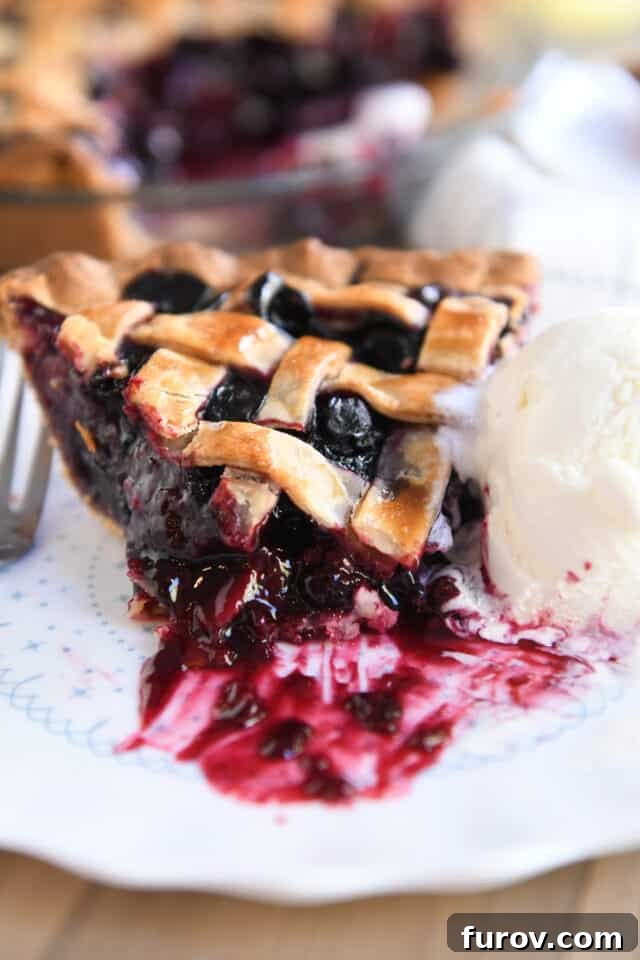
This triple berry pie is an absolute masterpiece, truly incredible from its golden, flaky crust to its vibrant, perfectly thickened filling bursting with sweet and tart berries.
Imagine a dessert that’s both comforting and exhilarating, a perfect balance of sweet and tangy flavors, encased in a buttery, tender crust that practically melts in your mouth. This triple berry pie is precisely that – the pie recipe you never knew you needed, but won’t be able to live without once you’ve tried it. It’s the ideal counterpoint to a lavish dessert spread, offering a refreshing and light alternative to richer, heavier cakes or pastries. Its bright, fruity notes cleanse the palate and leave everyone craving just one more slice.
What makes this berry pie truly exceptional is its incredible versatility. It tastes wonderfully refreshing, balancing the natural sweetness of ripe berries with a delightful tartness. Best of all, it can be made with either fresh, seasonal berries or a convenient blend of frozen berries, ensuring you can enjoy this delightful treat any time of year. Whether it’s the peak of summer or the chill of winter, a slice of this homemade triple berry pie brings a taste of sunshine to your table.
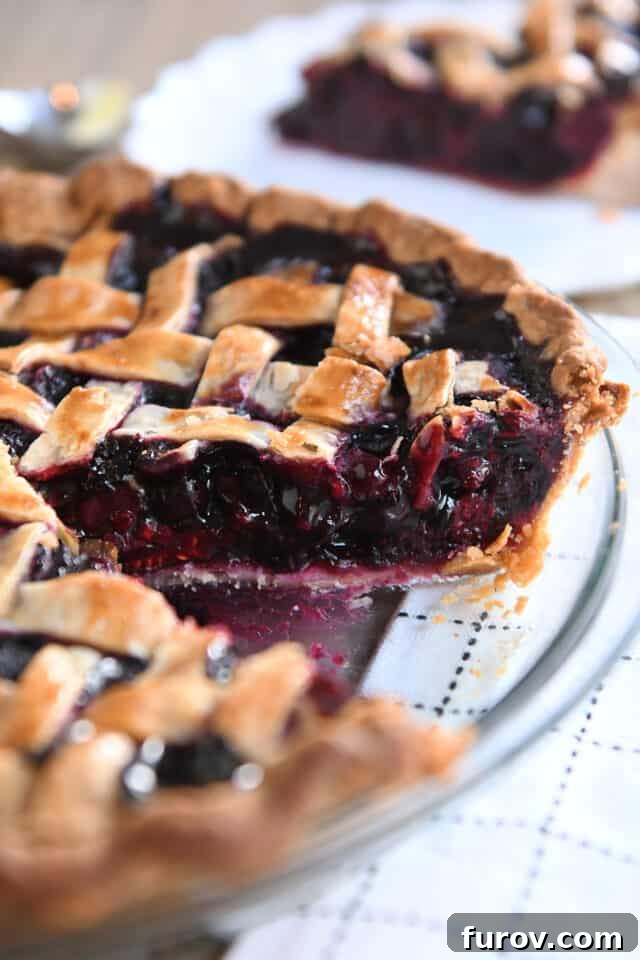
The Secret to a Flawless Triple Berry Pie Filling
One of the most common challenges in homemade pie baking is achieving a filling that’s perfectly set – thick, luscious, and syrupy, rather than a soupy, runny mess that spills out when you cut into it. This triple berry pie recipe eliminates that worry. It features a filling that thickens beautifully and reliably as it bakes, all without the extra step of pre-cooking the berries on the stovetop. This saves you time and effort, making the entire process more enjoyable and less intimidating, especially for novice pie makers.
Our filling uses a carefully balanced combination of ingredients to ensure that vibrant berry flavor shines through, while achieving that coveted firm yet juicy texture. Here’s what you’ll need for this truly spectacular triple berry pie filling:
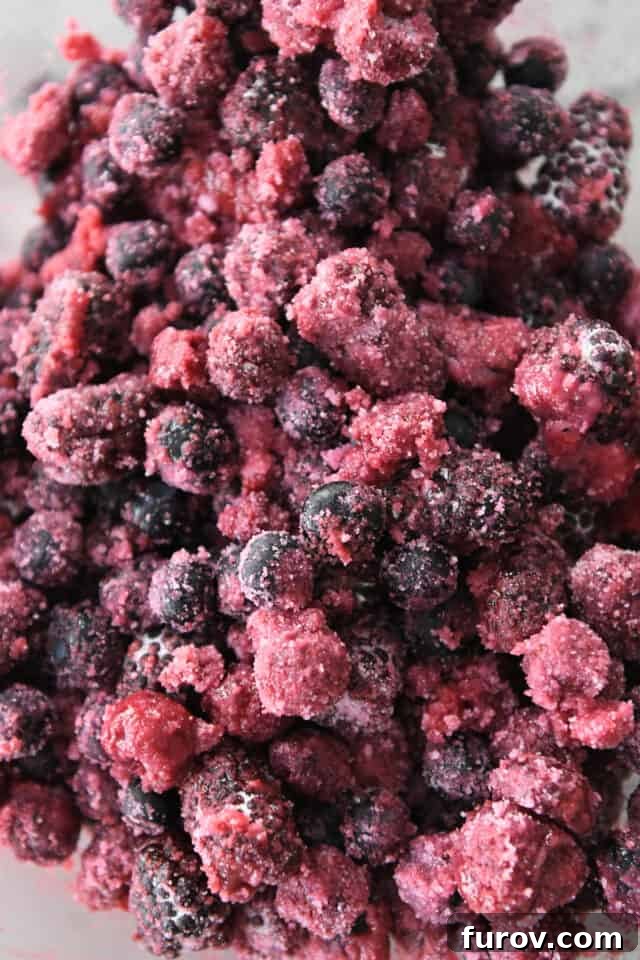
- 5 1/2 cups fresh or frozen mixed berries: We highly recommend a delicious blend of raspberries, blackberries, and blueberries for a complex flavor profile and appealing color. If using frozen berries, there’s no need to thaw them completely; a slight thaw helps the sugar and cornstarch adhere better.
- 1 cup granulated sugar: This sweetens the tart berries and helps create that wonderful syrupy texture as it melts and combines with the berry juices.
- 1/4 cup cornstarch*: The magic ingredient for thickening. Cornstarch creates a smooth, glossy filling without imparting any flavor when properly cooked.
- 1 tablespoon lemon juice: A crucial addition! Lemon juice brightens the berry flavors, adds a touch of acidity to balance the sweetness, and helps the cornstarch activate effectively.
- Pinch of salt: A tiny pinch of salt enhances all the other flavors, bringing out the best in the berries.
*Pro Tip for Cornstarch: The specified amount of cornstarch (1/4 cup or 4 tablespoons) is designed for a pie that will be cooled completely. Cooling allows the cornstarch to fully set and achieve its maximum thickening potential. If you prefer to serve your triple berry pie slightly warm (a classic choice for many!), increase the cornstarch to 5 tablespoons. However, remember that extending the baking time is essential if you use more cornstarch, or else the filling might have an undesirable starchy taste and still be runny. A longer bake ensures the cornstarch is fully cooked and the filling is thick and glossy.
Mastering the Art of a Beautiful Lattice Pie Top
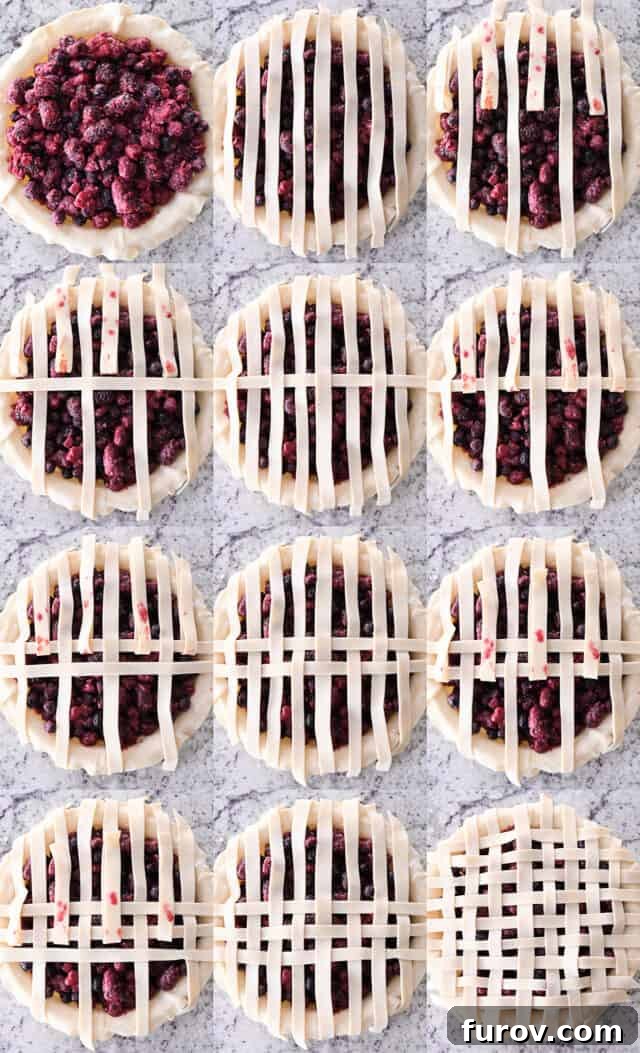
While a simple top crust with vents is perfectly delicious, a lattice top elevates the visual appeal of this triple berry pie to an art form. It’s not just beautiful; the open weave allows steam to escape, preventing a soggy top crust and ensuring the filling bubbles up beautifully. Don’t be intimidated by the idea of a lattice top; with a few simple steps, you can create a stunning and professional-looking crust.
To create a charming lattice top crust for your berry pie:
- Prepare your dough: Roll out one of your pie dough discs into a large circle, slightly larger than your pie plate. Using a sharp knife or a pastry wheel, cut the dough into uniform strips, about 1/4- to 1/2-inch wide. Consistency in width makes for a more even and attractive lattice.
- Lay the first set of strips: Carefully transfer roughly half of your dough strips onto the pie filling, laying them vertically across the pie. Arrange them with even spacing in between each strip. These will form the foundation of your lattice.
- Begin weaving horizontally: Now, gently fold back every other vertical strip (for example, strips 1, 3, 5, etc.) from one side, almost to the center of the pie. Take one of your remaining dough strips and lay it horizontally across the unfolded vertical strips. Make sure this new horizontal strip is positioned snugly against the folded-back strips.
- Unfold and repeat: Gently fold the vertical strips back down over the newly placed horizontal strip. You’ll immediately start to see the weaving pattern emerge!
- Continue the pattern: For the next horizontal strip, you’ll reverse the pattern. This time, lift up the *other* set of vertical strips (strips 2, 4, 6, etc.) that you didn’t fold in the previous step. Place another horizontal strip perpendicular to the vertical strips, again positioning it close to the previous horizontal strip.
- Fold down: Carefully fold the lifted vertical strips back down over the new horizontal strip.
- Repeat until complete: Continue this alternating pattern of folding and weaving with the remaining strips until your entire pie is covered with a beautiful lattice design. Take your time, adjusting strips as needed to ensure even spacing and a tight weave.
Lattice Crust Pro Tip: The absolute best tip for achieving a perfect, symmetrical lattice top is to *always* lift and fold the vertical strips *underneath* the perpendicular strip you are laying down. This consistent method ensures a proper weave and a sturdy, beautiful design.
Once your lattice is complete, it’s time to neaten the edges and prepare your pie for baking. Carefully trim the excess dough from the edges of the pie, leaving a consistent overhang of about 1/2-inch. Then, gently fold this bottom crust overhang up and over the ends of the lattice strips. Press firmly but delicately all around the circumference of the pie to seal the edges, creating a unified and secure crust.
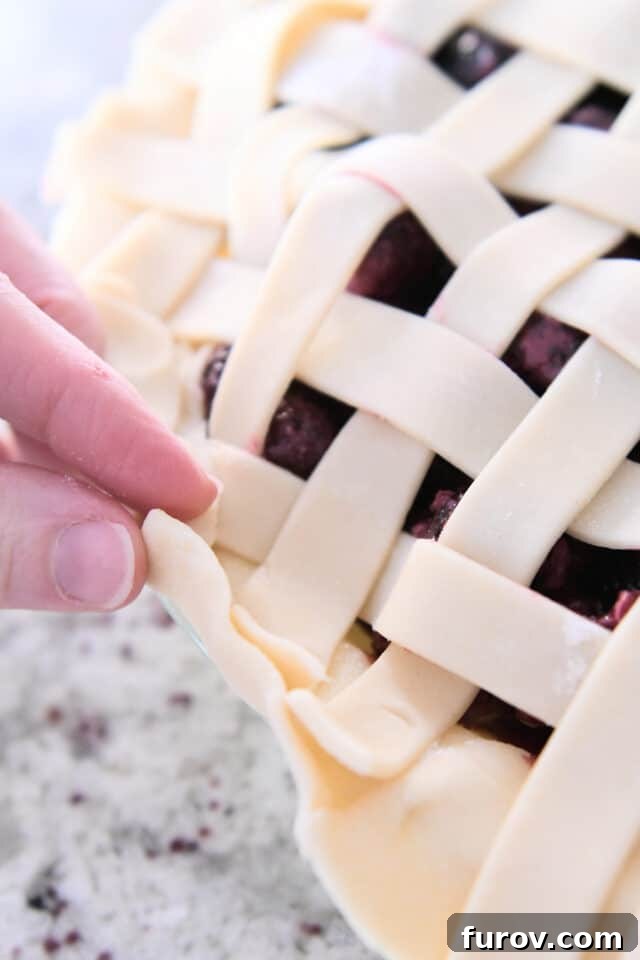
Finally, with the edges secured, you can flute them. This adds another layer of decorative elegance and helps to further seal the crust, preventing the filling from bubbling out. Use your fingers to crimp the edges, or a fork for a simpler, rustic look. Step back, and admire your gorgeous, unbaked triple berry pie. The intricate lattice work and carefully fluted edges make it a true masterpiece even before it hits the oven! At this stage, you have the option to brush the top crust with an egg wash (a whisked egg with a splash of water or milk). This simple step will give your pie a beautiful, glossy, and extra-golden finish once baked, enhancing its already stunning appearance.
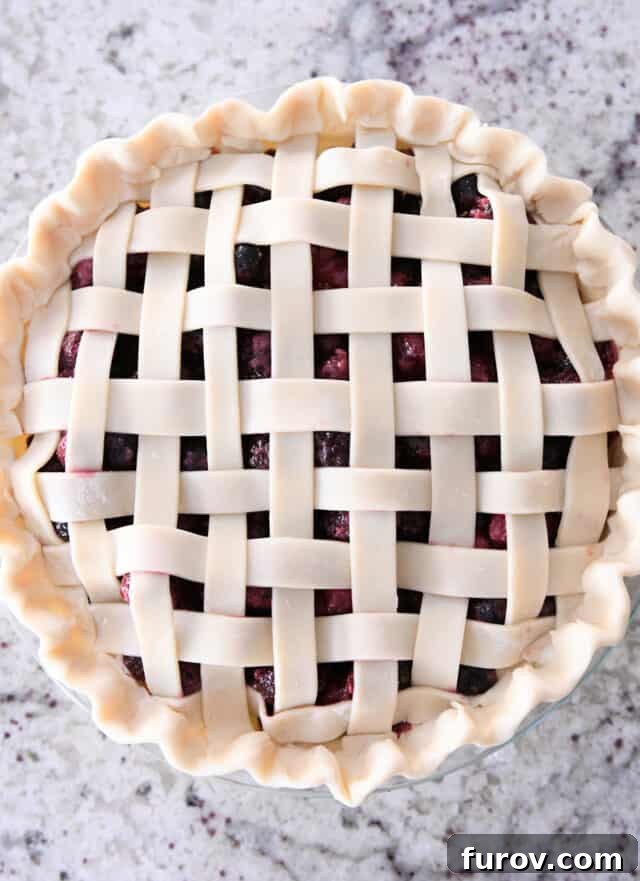
The Critical Importance of Baking This Pie Long Enough
I cannot stress this enough: for a perfectly set filling and a beautifully golden crust, **it is absolutely crucial to bake this triple berry pie for an adequate amount of time!** Many bakers tend to underbake pies, resulting in a runny filling and a pale crust. For this berry pie, you should plan on baking it for longer than you might initially think.
Start checking your pie after about 45-60 minutes in the oven. If you notice the edges of the crust or the top of the lattice beginning to brown too quickly, don’t panic! Simply tent the pie loosely with aluminum foil or use a dedicated pie crust shield. This protective measure will prevent the crust from burning while allowing the filling to continue cooking thoroughly. In my oven, this triple berry pie typically requires a full 75-80 minutes to bake completely. The tell-tale sign of a perfectly baked pie is when the filling is actively bubbling vigorously all the way through, and these bubbles appear thick and syrupy, not thin or watery. If the filling is bubbling but still seems thin and runny, it absolutely needs more time in the oven for the cornstarch to fully activate and thicken.
Keep in mind that oven temperatures can vary significantly. Your pie may require slightly more or less time than what’s suggested. The best approach is to watch your pie carefully, preferably through the oven window to avoid heat loss from opening the door repeatedly. Trust the visual cues: a deep golden-brown crust and a thick, vigorously bubbling filling are your indicators of perfection.
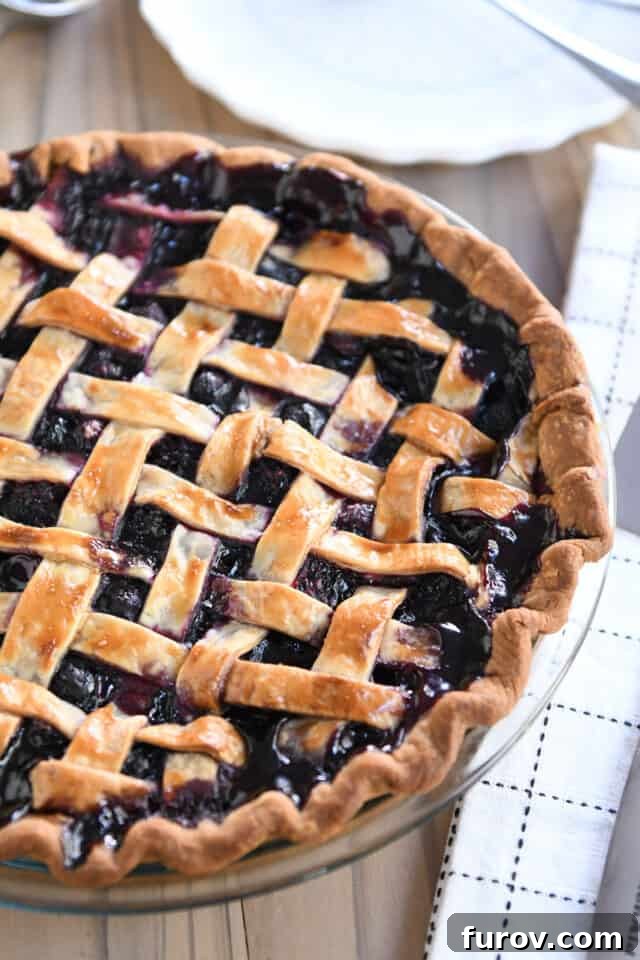
To Cool or Not to Cool: The Ultimate Pie Dilemma
Ah, the age-old debate among pie enthusiasts: to serve warm or to cool completely? I completely understand the allure of warm berry and apple pie, a highly cherished experience for pie lovers worldwide. I, too, appreciate a slice of warm pie. However, to truly achieve the best possible texture for this triple berry pie, it benefits immensely from cooling completely. This extended cooling period allows the cornstarch-based filling to fully set and solidify, ensuring that each slice holds its shape beautifully and the filling is perfectly firm and luscious.
If you absolutely must have that warm pie sensation, fear not! You can easily warm individual slices for a few seconds in the microwave just before serving. This will give you that comforting warmth without compromising the structural integrity of the entire pie. Remember, if you simply cannot resist serving the pie while it’s still slightly warm, make sure you followed the earlier recommendation to adjust the cornstarch amount in the recipe notes (using 5 tablespoons instead of 4). This extra thickener will help the filling set better even when warm.
Troubleshooting Tip: If you find your pie filling is runny when you serve it, the cause is almost certainly one of three things: it needed more time in the oven for the cornstarch to activate fully, it needed more time to cool down and allow the filling to set, or you needed to add a bit more cornstarch to the filling mixture in the first place, especially if serving warm.
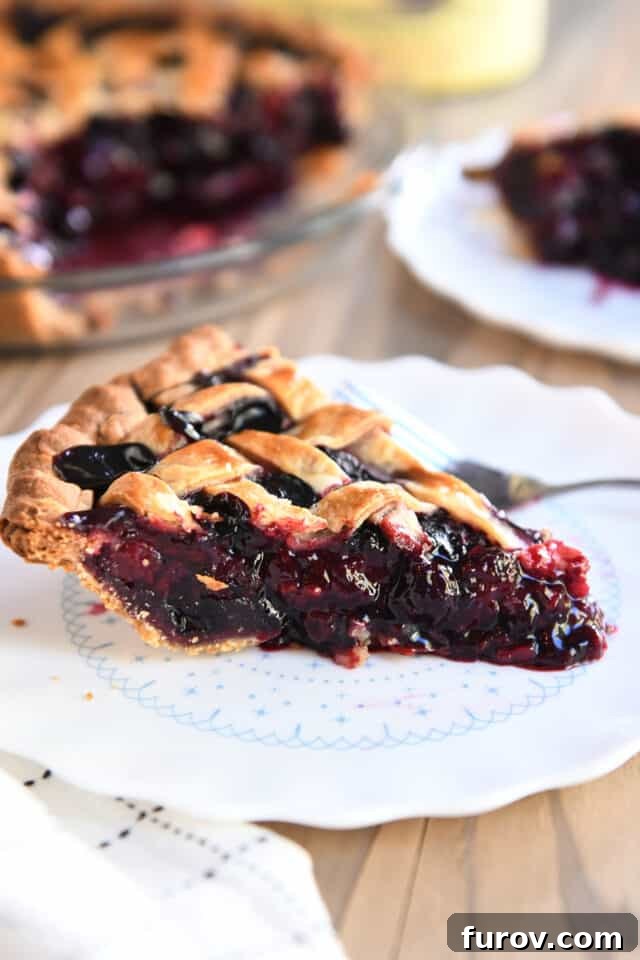
A Perfect Pie, Every Time
This triple berry pie truly is perfection in every sense. It’s not just remarkably simple to prepare, requiring no laborious pre-baking of pie crusts or pre-cooking of the berry filling, which makes it an accessible recipe for bakers of all skill levels. But beyond its ease, it is an absolute stunner, both in its exquisite visual appeal and its undeniably delightful taste. The vibrant hues of the berries peeking through the golden lattice, coupled with the intoxicating aroma that fills your kitchen, make it an irresistible centerpiece for any gathering.
For those adventurous foragers and huckleberry enthusiasts out there, I often like to include a small handful of precious huckleberries with the other berries. This subtle addition adds a unique, wild “wow factor” that truly elevates the flavor profile to something extraordinary and unforgettable. Regardless of your berry blend, this pie promises a delightful experience.
Happy pie baking! I sincerely hope this recipe becomes a cherished favorite in your kitchen, bringing joy and deliciousness to your family and friends. Enjoy every sweet, tangy, and flaky bite! 💗
One Year Ago: Easy No-Knead Peasant Bread
Two Years Ago: A Lazy Girl’s Guide to Sourdough
Three Years Ago: Perfect Homemade Caramel Apples
Four Years Ago: Perfect Small Batch Cinnamon Rolls
Five Years Ago: Easy Homemade French Bread
Six Years Ago: Harvest Pasta Sauce {Trader Joe’s Copycat}
Seven Years Ago: Peanut Butter Cup Cheesecake with Chocolate Cookie Crust
Eight Years Ago: Easy Homemade Egg Noodles
Nine Years Ago: Black Bean and Butternut Enchilada Skillet
Ten Years Ago: Peanut Butter Oatmeal Chocolate Chip Cookies
Triple Berry Pie
Pin
Ingredients
- 2 unbaked pie crusts (see note)
- 5 ½ cups (780 g) fresh or frozen triple berry blend (raspberries, blackberries, blueberries)
- 1 cup (212 g) granulated sugar
- 4 tablespoons (37 g) cornstarch (see note!)
- 1 tablespoon lemon juice
- Pinch of salt
- 1 large egg, for egg wash (optional)
Instructions
- Preheat oven to 375 degrees F (190°C).
- Roll out your bottom pie crust and carefully place it into your pie pan. Gently ease the crust into the edges of the pie plate without stretching it, which can cause shrinkage during baking. Trim the excess dough, leaving about a 1/2-inch overhang around the rim.
- In a large bowl, combine the mixed berries. If using frozen berries, let them sit at room temperature for 5-10 minutes. This slight thaw helps the sugar and cornstarch combine more effectively, ensuring the filling thickens properly while baking.
- Add the granulated sugar, cornstarch, fresh lemon juice, and a pinch of salt to the berries. Stir gently with a spatula, taking care not to crush the delicate berries, until they are evenly coated and there are no visible pockets of dry or unmixed ingredients.
- Scrape the prepared berry filling into the pie plate, spreading it out evenly across the bottom crust.
- Roll out your second pie crust and cut it into strips for the lattice top (refer to the detailed instructions and pictures in the blog post above for guidance). Lay half of the strips vertically across the pie, leaving space between them. Fold back every other vertical strip, then place a horizontal strip perpendicular to the unfolded strips. Fold the vertical strips back down. Next, lift the alternate set of vertical strips and place another horizontal strip. Repeat this weaving pattern until the lattice top is complete.
- Trim the lattice strips so they are even with the overhang of the bottom pie crust. Fold and press the bottom crust overhang up and over the edges of the lattice strips all around the pie. Flute the edges decoratively to seal them securely.
- Place the unbaked pie on a foil-lined baking sheet (to catch any potential drips) and bake in the preheated oven for 75-90 minutes. The pie is fully baked when the filling is vigorously bubbling throughout, and the bubbles appear thick and syrupy, not thin and watery. Around 60-65 minutes, check the pie; if the crust is browning too quickly, loosely tent the top with aluminum foil to prevent burning. Remember, baking the pie long enough is critical for the filling to set properly.
- Once baked, remove the pie from the oven and allow it to cool on a wire rack for at least 2-3 hours. For the firmest and most perfectly set filling, let the pie cool completely to room temperature. If you prefer a warm slice, individual servings can be reheated briefly (just a few seconds) in the microwave.
Notes
Pie Crust Recipe: You can use your favorite homemade pie crust recipe or a quality store-bought one. For excellent results, I often alternate between a flaky all-butter pie crust and a tender sour cream pie crust. Both yield fantastic results in this triple berry pie.
Cornstarch: My preferred amount is 4 tablespoons (1/4 cup) of cornstarch. This quantity ensures a perfectly set filling if the pie is cooled completely. If you plan to serve the pie while it’s still slightly warm, increase the cornstarch to 5 tablespoons. However, ensure you bake the pie for a longer duration to cook the extra cornstarch thoroughly, preventing a starchy taste and a runny filling. You can substitute cornstarch with 1/3 cup of tapioca flour if preferred.
Runny Filling: If your pie filling is runny upon serving, it’s most commonly due to one of three factors: insufficient baking time, not allowing enough time for the pie to cool and set, or needing a slightly increased amount of cornstarch in the filling.
Nutrition Facts
Calories: 364kcal
Carbohydrates: 64g
Protein: 3g
Fat: 12g
Saturated Fat: 3g
Sodium: 175mg
Fiber: 4g
Sugar: 35g