
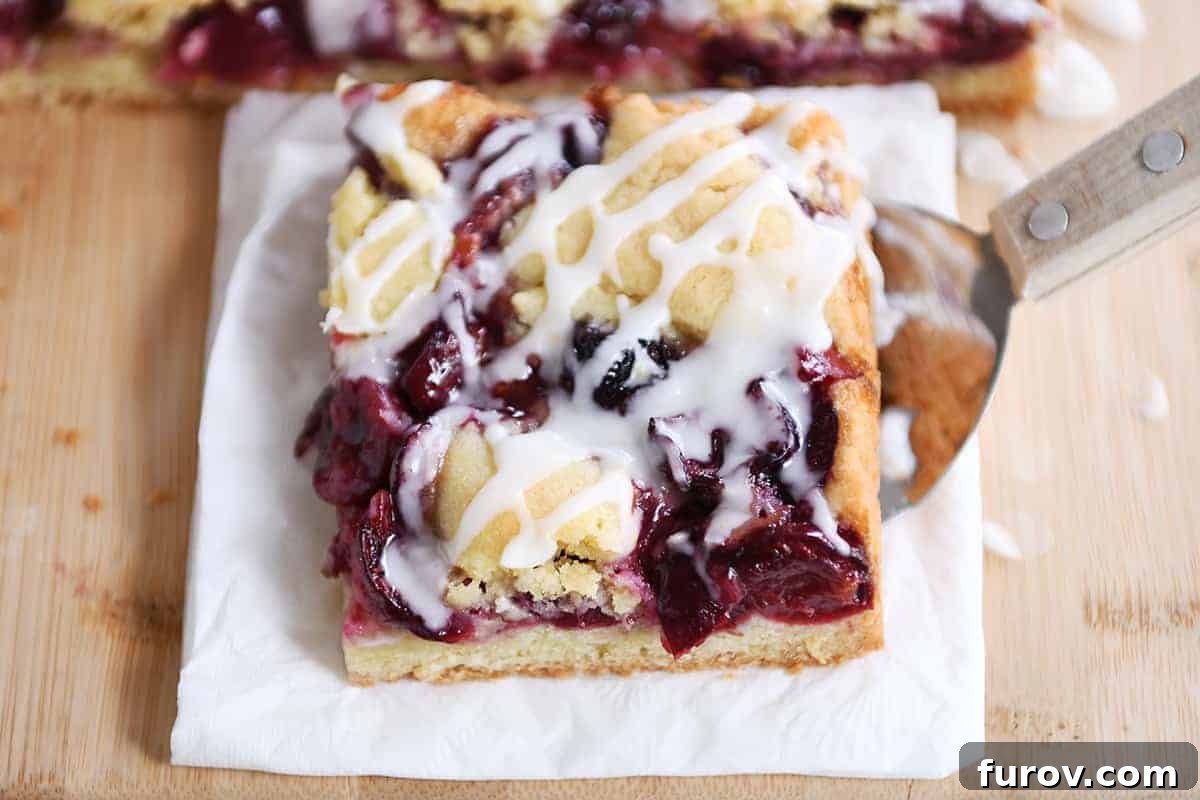
Get ready to discover your new favorite dessert: Cherry Pie Cookie Bars! Imagine the rich, comforting taste of a classic cherry pie, but baked into convenient, handheld bar form. These delightful treats combine a buttery, soft cookie crust with a vibrant, sweet-tart cherry filling, all topped with an optional, zesty lemon glaze. Perfect for any occasion, from casual family gatherings to elegant summer potlucks, these bars are an absolute sensation.
For years, I’ve dreamed of a cherry pie bar recipe that perfectly captures the essence of fresh cherry pie without the fuss. This recipe is the culmination of that dream, a true revelation that will have you eagerly anticipating fresh cherry season every single year. When those fleeting moments arrive each summer, bringing with them an abundance of ripe, juicy cherries, you’ll know exactly what to do with them.
The Irresistible Allure of Fresh Cherries
It’s a curious thing, isn’t it? I have a strong aversion to anything “cherry-flavored” – the artificial taste often falls flat and disappoints. But fresh cherries? That’s an entirely different story. The natural sweetness, the slight tang, and the juicy burst of real cherries are utterly addictive. During peak season, I find myself completely unable to stop enjoying them.
This past summer, we were fortunate enough to live near several u-pick cherry orchards. My family and I embarked on a delightful cherry-picking adventure, and as often happens, we returned home with an enthusiastic surplus – more cherries than we initially knew what to do with! After enjoying handfuls upon handfuls of these ruby gems, I considered simply preserving them. However, with last year’s bottled cherries still gracing our pantry shelves, inspiration struck. There was only one truly sensible path forward: to create the ultimate homemade cherry pie cookie bar recipe, complete with a luscious, from-scratch cherry filling.
Crafting the Perfect Cherry Pie Bar: The Stars of the Show
The Homemade Cherry Filling: A Burst of Freshness
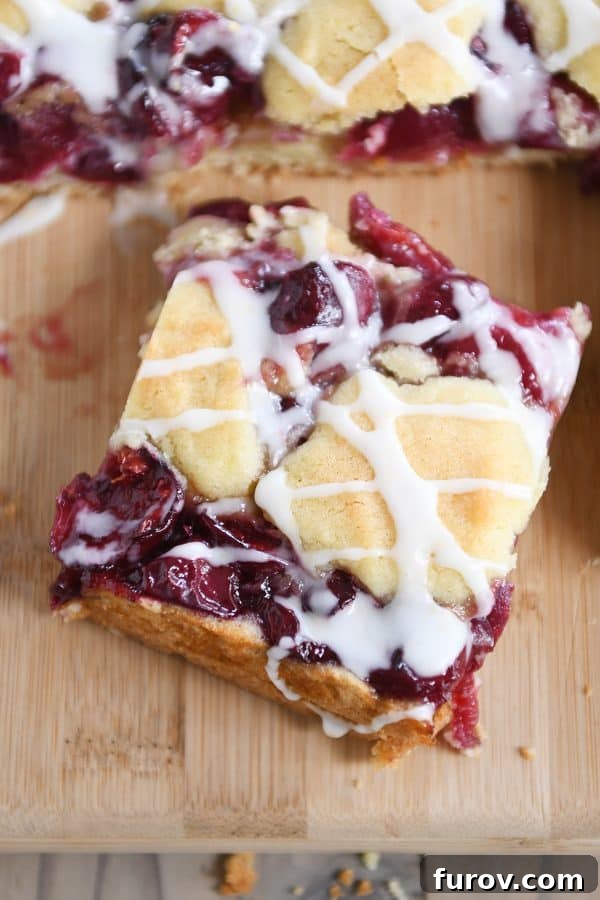
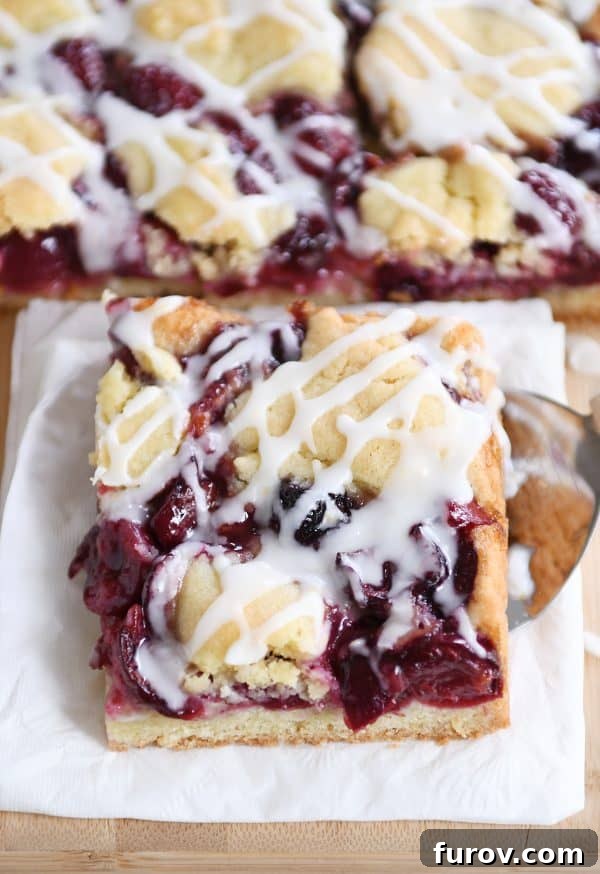
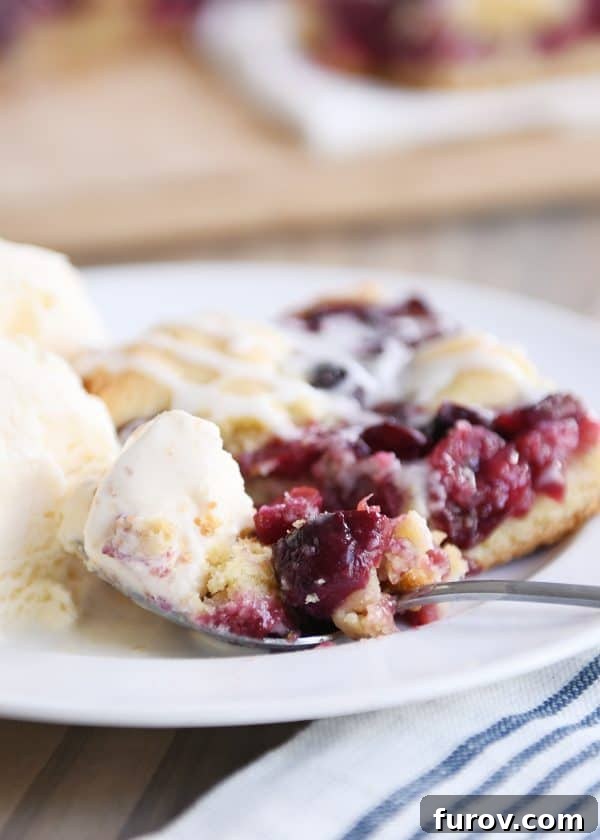
The undisputed star of these cookie bars is, without a doubt, the homemade cherry filling. Forget those overly sweet, gelatinous store-bought fillings. Our recipe calls for fresh Bing or other sweet cherries, creating a filling that is both sweet and wonderfully tart, with an authentic fruit flavor that truly shines. As it bakes, the filling transforms into a delectable, jam-like consistency, bubbling up through the nooks and crannies of the buttery cookie dough, creating pockets of pure cherry bliss. This rich, concentrated cherry goodness is what elevates these bars from good to absolutely extraordinary.
The Buttery Cookie Dough Crust: A Foundation of Flavor
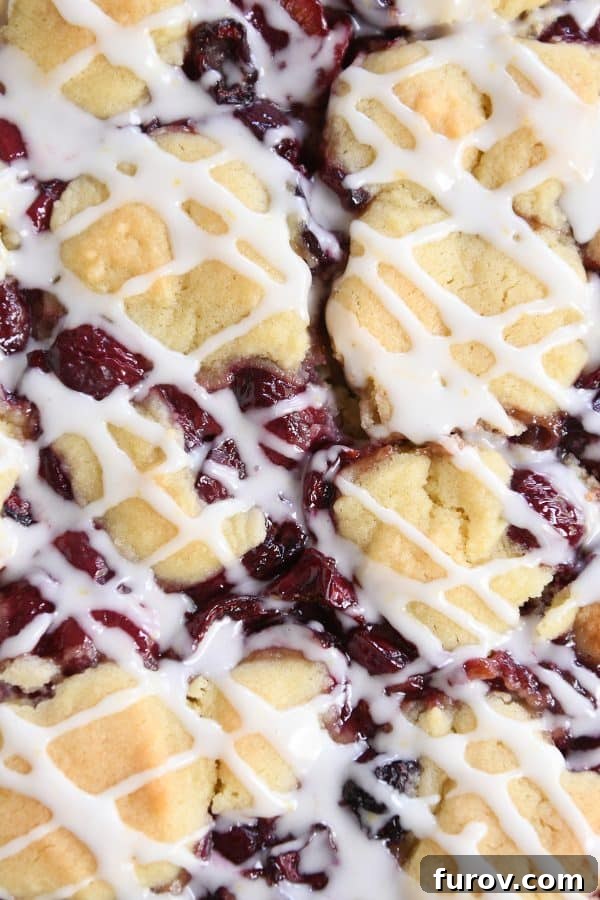
Complementing the vibrant cherry filling is a super soft, buttery cookie dough crust. This isn’t just any crust; it’s a rich, flavorful foundation that perfectly balances the tartness of the cherries. Made with simple, wholesome ingredients like softened butter, granulated sugar, and a hint of milk, this dough comes together easily. It provides a tender, melt-in-your-mouth texture that makes every bite a luxurious experience. The crust acts as both the base and a delicate lattice-like topping, ensuring a perfect ratio of cookie to cherry in every square.
Fresh vs. Frozen Cherries: Your Options Explored
I can already hear the question: “Can I use frozen cherries?” While my initial experiments were driven by an abundance of fresh cherries, I firmly believe that frozen cherries are a perfectly viable option for these delightful bars. If you opt for frozen, there’s a key step to ensure success: thaw them completely before incorporating them into the recipe. Once thawed, it’s crucial to drain off any excess liquid. This prevents the filling from becoming too watery and ensures that jam-like consistency we’re aiming for. Fresh cherries will always offer that peak seasonal flavor, but don’t let their absence deter you from making these incredible treats!
The Optional, Yet Highly Recommended, Lemon Glaze
While these cherry cookie bars are undeniably delicious on their own, a light drizzle of the sweet, zesty lemon glaze takes them to an entirely new level. To be completely honest, I consider this glaze optional, especially if you prefer a less sweet dessert. However, the bright hint of lemon zest in the glaze provides a wonderful counterpoint to the rich cherries and buttery cookie dough. It adds a touch of sophistication and a burst of fresh flavor that truly enhances the overall experience. It’s incredibly tasty and beautifully complements the fruit.
Serving Suggestions: Elevating Your Dessert Experience
These bars are wonderfully versatile. They are incredibly tasty cooled and cut into neat squares, perfect for packing into lunchboxes, bringing to picnics, or enjoying as an afternoon treat. But if you want to elevate the experience by a hundred notches, serve them at room temperature or, even better, slightly warmed. And for the ultimate indulgence? A generous scoop of creamy vanilla ice cream melting slowly over the warm cherry bars. Seriously, it’s an incredible combination that transforms a simple bar into a gourmet dessert experience.
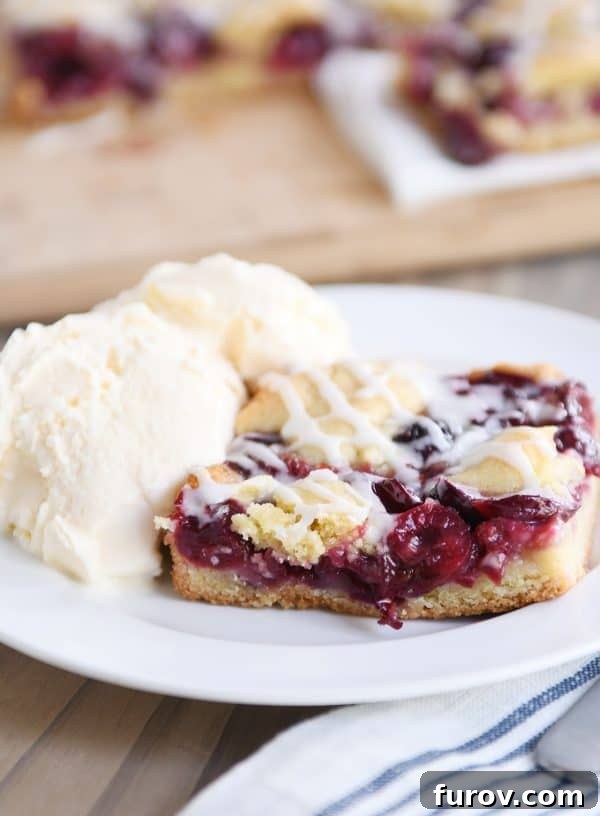
Why Cherry Pie Cookie Bars? The Convenience Factor
Cherry pie is, without a doubt, one of my absolute favorite desserts in the entire world. However, traditional cherry pie can be a labor of love, requiring a perfectly rolled crust and careful handling. That’s where these cherry pie cookie bars truly shine. They offer all the beloved flavors of cherry pie with significantly less effort and added convenience. No intricate lattice work, no tricky crimping – just press, fill, dot, and bake! The bar format makes them incredibly easy to portion, serve, and transport, making them an ideal choice for gatherings, potlucks, or simply satisfying that cherry pie craving whenever it strikes.
The Secret Ingredient: A Touch of Almond Extract
Confession time: I’m generally not a fan of almond extract. More often than not, I omit it from recipes because it can easily overpower other delicate flavors. However, in this specific recipe, a tiny amount – precisely 1-2 drops – is pure perfection. Almond and cherries are a classic pairing, and that small, nuanced hint of almond extract here truly highlights the natural sweetness and depth of the cherries without being intrusive. Trust me on this one; don’t be tempted to leave it out! Those few drops will make both you and these cherry bars incredibly happy.
So, whether you’re looking for the perfect little summer dessert for upcoming holidays, a crowd-pleasing dish for potlucks, or if you, like me, simply happened to pick way too many cherries this season, look no further. These easy cherry pie cookie bars are worthy of your precious fresh cherries, and that’s saying a lot, especially if fresh cherries at your local market are as much of an investment as they are at mine.
One Year Ago: Best Italian Pasta Salad {With Quick Homemade Italian Dressing}
Two Years Ago: Double Chocolate Oatmeal Chocolate Chip Cookies
Three Years Ago: Whole Grain Pumpkin Blueberry Muffins
Four Years Ago: My Favorite Breakfast Smoothie
Five Years Ago: Chipotle Chicken Skewers with Creamy Dipping Sauce
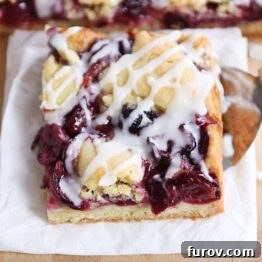
Cherry Pie Cookie Bars
Pin
Rate
Save
Saved!
Ingredients
Cherry Pie Filling:
- 5 cups fresh Bing/sweet cherries, pitted and halved (about 1 1/2 to 2 pounds) – see note
- ⅓ cup (71 g) granulated sugar
- 1 tablespoon cornstarch, use more for a thicker filling
- 1-2 drops almond extract
Cookie Dough:
- 1 cup (227 g) salted butter, softened
- 1 cup (212 g) granulated sugar
- 2 tablespoons milk or buttermilk
- 1 teaspoon baking powder
- ½ teaspoon baking soda
- ¼ teaspoon salt
- 1 large egg
- 1 large egg yolk
- 2 ¼ cups (320 g) all-purpose flour
Glaze:
- 1 cup (114 g) powdered sugar
- Zest of 1 lemon, about a teaspoon
- 1 tablespoon milk, plus more as needed
Instructions
-
Preheat the oven to 350 degrees F (175°C). For easier cleanup, line a 9×13-inch baking pan with aluminum foil, extending it slightly over the edges to create “handles.” Lightly grease the foil with nonstick cooking spray and set aside.
-
In a medium bowl, combine the pitted and halved cherries, granulated sugar, cornstarch, and almond extract. Stir gently to ensure the cherries are evenly coated. Set this mixture aside to allow the flavors to meld while you prepare the cookie crust.
-
To make the cookie dough, use an electric mixer (either a handheld mixer or a stand mixer fitted with the paddle attachment). Cream together the softened salted butter, granulated sugar, milk (or buttermilk), baking powder, baking soda, and salt. Beat on medium speed for 2-3 minutes until the mixture is light and fluffy.
-
Add the large egg and egg yolk to the creamed mixture. Mix until thoroughly combined, scraping down the sides of the bowl as needed to ensure everything is incorporated.
-
Gradually add the all-purpose flour to the wet ingredients. Mix on low speed until the flour is just combined and no dry streaks remain. Be careful not to overmix the dough.
-
Take approximately two-thirds of the cookie dough (you can adjust this amount slightly) and press it evenly into the bottom of the prepared 9×13-inch baking pan. It’s often easiest to drop small pieces of dough across the bottom and then use your hands to gently spread and press it into a uniform layer.
-
Give the cherry filling another good stir, then carefully pour it over the bottom cookie crust, spreading it evenly. Next, pinch off quarter-sized pieces of the remaining cookie dough and drop them strategically over the cherry filling. The dough will not completely cover the filling, but it will puff up and spread beautifully during baking, creating a rustic, appealing top layer.
-
Bake the bars in the preheated oven for 30-35 minutes, or until the cherry filling is visibly bubbling, and the edges of the cookie dough are lightly golden brown. Once baked, remove the pan from the oven and allow the bars to cool completely on a wire rack before proceeding. Cooling completely is essential for the bars to set properly.
-
While the bars are cooling, prepare the glaze. In a small bowl, whisk together the powdered sugar, fresh lemon zest, and 1 tablespoon of milk until smooth and thick enough to drizzle. If the glaze is too thick, add a tiny bit more milk, a half-teaspoon at a time, until it reaches the desired pourable consistency.
-
Once the bars are completely cool, drizzle the lemon glaze generously over the top. Allow the glaze to set for a few minutes before slicing. Serve the bars at room temperature, or for an extra special treat, warm them slightly and serve with a scoop of vanilla ice cream. Enjoy!
Notes
Recommended Products
Recipe Source: Adapted from a cherished recipe found in The Pioneer Woman’s Magazine, Summer 2018 edition.