
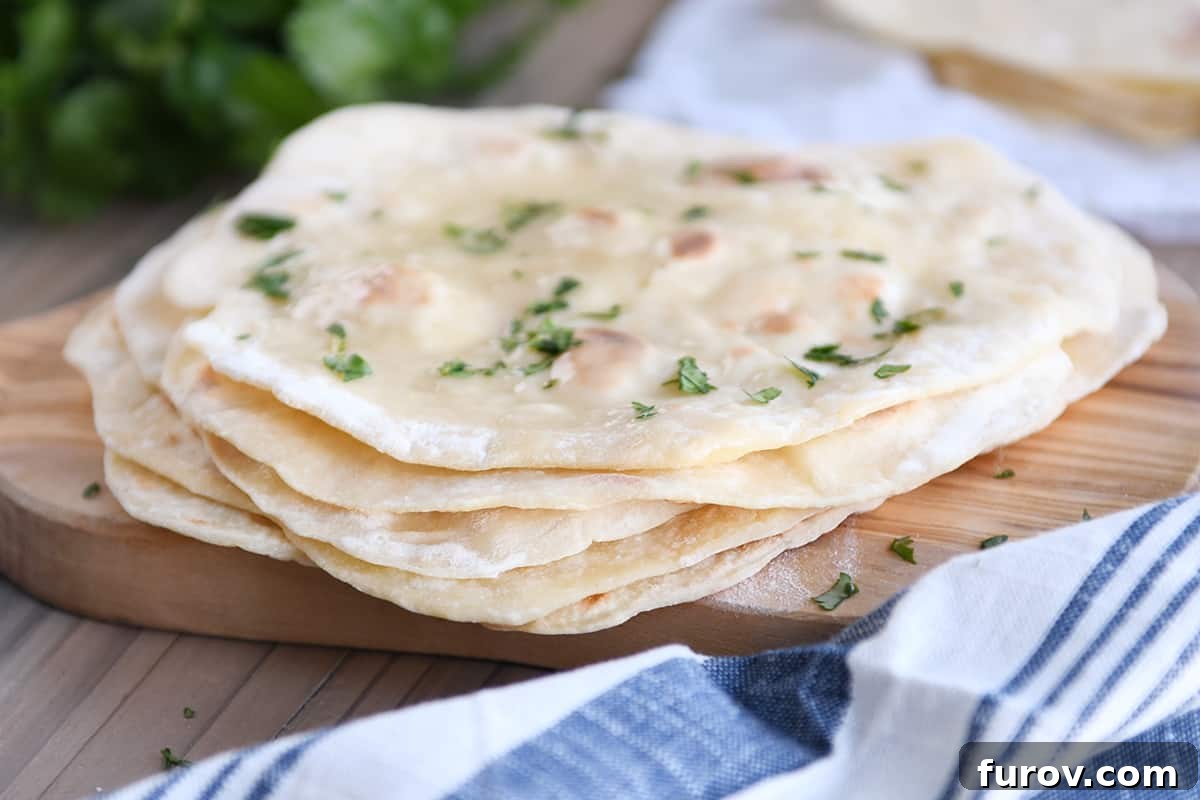
Get ready to revolutionize your kitchen with this incredibly simple and absolutely delicious **easy yogurt flatbread recipe**! If you’ve been searching for a **no yeast flatbread** that requires absolutely **no kneading**, your quest ends here. This recipe delivers soft, tender, and perfectly chewy flatbreads with just a handful of ingredients, making it an ideal choice for busy weeknights or spontaneous gatherings.
Many home cooks shy away from making bread from scratch, intimidated by yeast activation, lengthy proofing times, and the rigorous process of kneading. This **4-ingredient flatbread** eliminates all those barriers, proving that homemade bread can be both effortless and immensely rewarding. It’s a game-changer for anyone who loves fresh bread but lacks the time or patience for traditional methods.
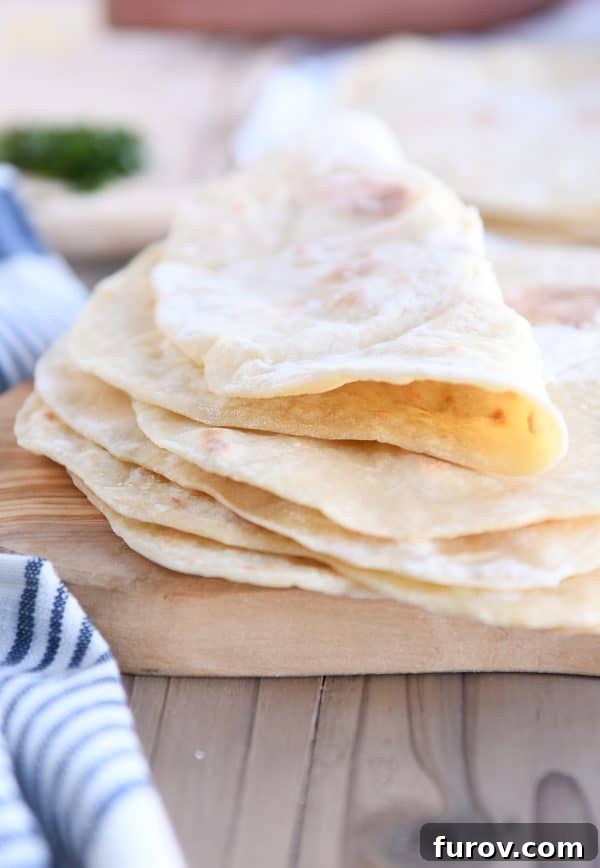
Once you taste these homemade **yogurt bread**, you’ll likely find yourself making them a regular staple. The recipe is so straightforward, you might even consider doubling it! These flatbreads freeze exceptionally well, meaning you can always have a fresh batch on hand. Because, let’s be honest, can you ever truly have too much amazing flatbread?
The Magic of Yogurt: Why it’s Key to This Flatbread
The secret weapon in this **quick flatbread recipe** is plain yogurt. It’s not just for flavor; yogurt plays a crucial role in both the texture and leavening of the flatbread. The acidity in the yogurt reacts with the baking powder, creating gas bubbles that give the bread its airy, soft interior without the need for yeast.
Choosing the Right Yogurt Consistency
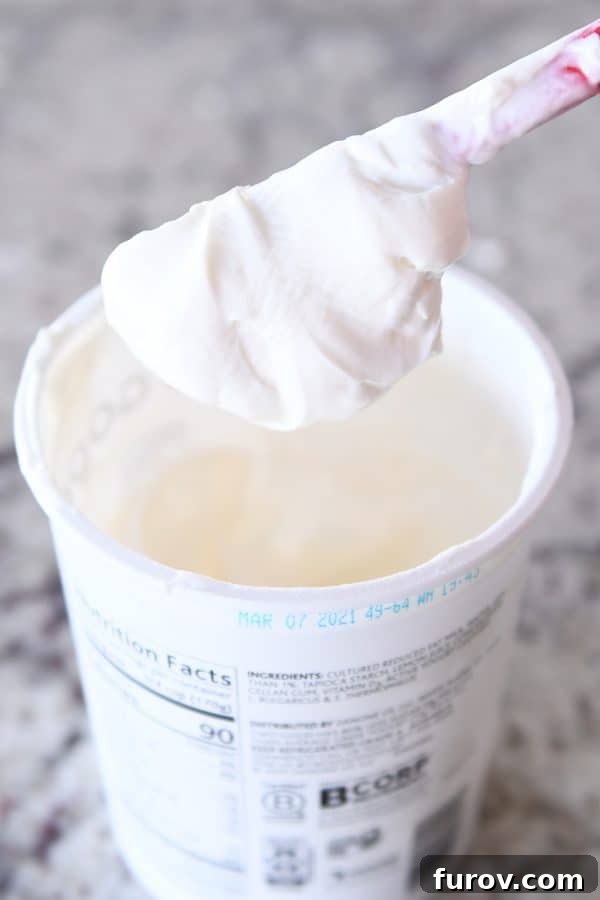
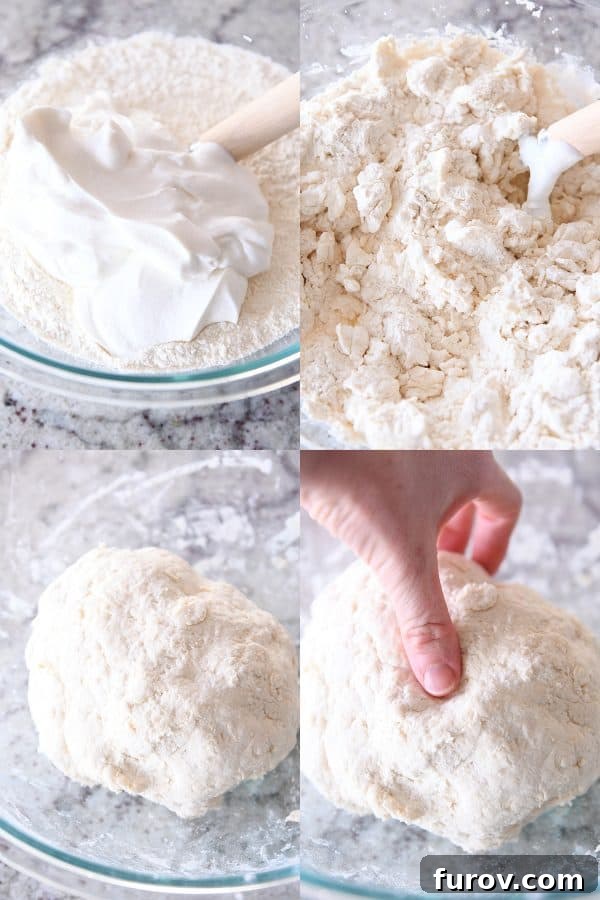
Whether you opt for **Greek yogurt flatbread** or use regular plain yogurt, consistency is paramount. When stirred, your yogurt should be thick and easily scoopable, similar to a soft-serve ice cream. This ideal consistency ensures the dough comes together perfectly.
- If your yogurt is too thin or runny: You’ll likely need to gradually add a little extra flour to achieve the right dough texture.
- If your yogurt is exceptionally thick or stodgy: A couple of tablespoons of water can help the dough become more pliable and cohesive.
I typically use low-fat or full-fat plain yogurt, which yields fantastic results every time. However, feel free to experiment with non-fat yogurt if that’s your preference; the chemical reaction with baking powder should still occur beautifully, though the fat content can influence the final tenderness.
Crafting the Perfect Yogurt Flatbread Dough
Making the dough for this **no-knead flatbread** is surprisingly simple. You won’t need any special equipment beyond a large bowl and your hands. The entire process takes just minutes of active work!
Step-by-Step Dough Preparation:
- Combine Dry Ingredients: In a spacious mixing bowl, whisk together your all-purpose flour, salt, and baking powder. Ensure they are well combined to distribute the leavening agent evenly.
- Add Yogurt: Pour in the plain yogurt.
- Mix the Dough: Begin mixing with a rubber spatula or a dough hook. As the ingredients start to clump together and become shaggy, switch to using your hands. Mash and press the dough until it comes together to form a soft, cohesive ball. The dough should be slightly tacky but not excessively sticky; you should be able to press into it without leaving a lot of residue on your fingers.
- Rest the Dough: This is a crucial, yet often overlooked, step. Cover the bowl and let the dough rest for at least 30-45 minutes at room temperature. This resting period allows the gluten in the flour to relax, making the dough much easier to roll out smoothly into perfect circles without springing back.
The beauty of this dough is its forgiving nature. It’s designed to be simple, so don’t stress about perfection at this stage.
Shaping and Rolling Your Flatbreads
Once your dough has rested, it’s time for the fun part: shaping your individual flatbreads. This process is quick and adaptable to your desired thickness.
Dividing and Shaping the Dough:
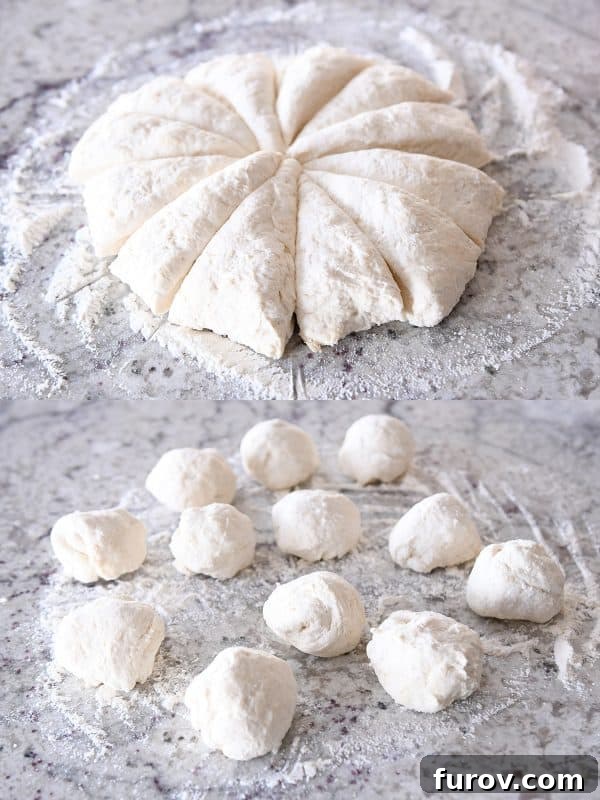
- Divide the Dough: Lightly flour your work surface. Gently press the dough into a thick, round disc. Using a sharp knife or a dough cutter, divide this disc into 12 equal wedges.
- Form into Balls: Take each wedge and roughly shape or fold it into a small ball. Precision isn’t necessary here; a rough ball is perfectly fine. Let these small dough balls rest briefly while you prepare your cooking surface.
Rolling to Perfection:
Now, grab your rolling pin and get ready to create beautiful flatbreads:
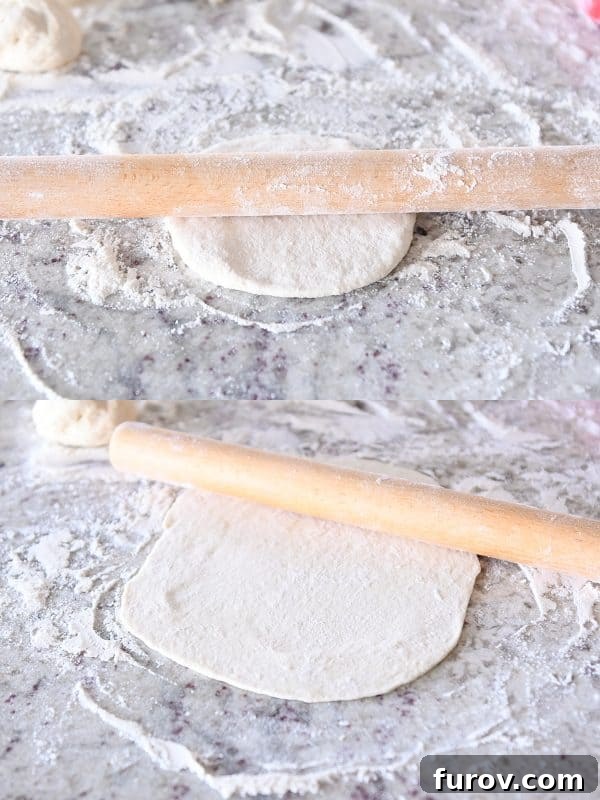
- Roll Each Ball: On your lightly floured counter, roll each dough ball into a thin, approximately 6-inch circle. Flour your rolling pin and the counter as needed to prevent sticking.
- Adjust Thickness: You have full control over the thickness. For a lighter, more pliable flatbread, roll them out thinly, a bit thicker than a typical flour tortilla. If you prefer a chewier, more substantial bread, you can leave them a little thicker.
Cooking Your Homemade Flatbread to Golden Perfection
The final step is cooking these delightful discs on a griddle or skillet. This is where the magic happens, and you’ll see those beautiful bubbles and golden spots emerge.
Griddle or Skillet Cooking:
- Preheat: Preheat a griddle or heavy-bottomed skillet over medium heat. For an electric griddle, aim for a temperature between 350-375 degrees F (175-190°C). Ensuring the surface is adequately hot is crucial for the flatbreads to cook quickly and puff up.
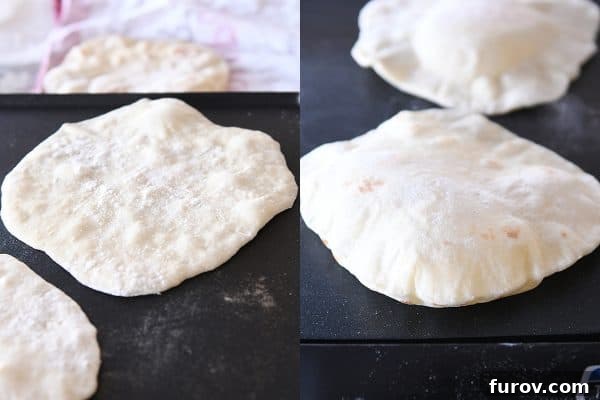
- First Side Cook: Place a rolled flatbread onto the preheated surface. Cook for about 2-3 minutes, or until you see small bubbles beginning to form on the surface of the dough and the bottom is lightly golden with a few darker spots.
- Second Side Cook and Puff: Flip the flatbread. Continue to cook on the second side for another 2-3 minutes. This is often when the flatbread will wonderfully puff up, creating a charming display. These delightful puffs will gently deflate as the flatbread cools, leaving behind an irresistible flaky, soft, and chewy texture.
- Keep Warm: As each flatbread finishes cooking, transfer it to a clean kitchen towel. Stack the hot flatbreads on top of each other and cover them with the towel. This helps to keep them warm and soft while you cook the remaining dough.
Serving and Enjoying Your Versatile Yogurt Flatbread
The moment these golden, soft flatbreads come off the griddle, they’re ready to be devoured. Their versatility makes them perfect for almost any meal or snack.
Customizing Your Flatbread:
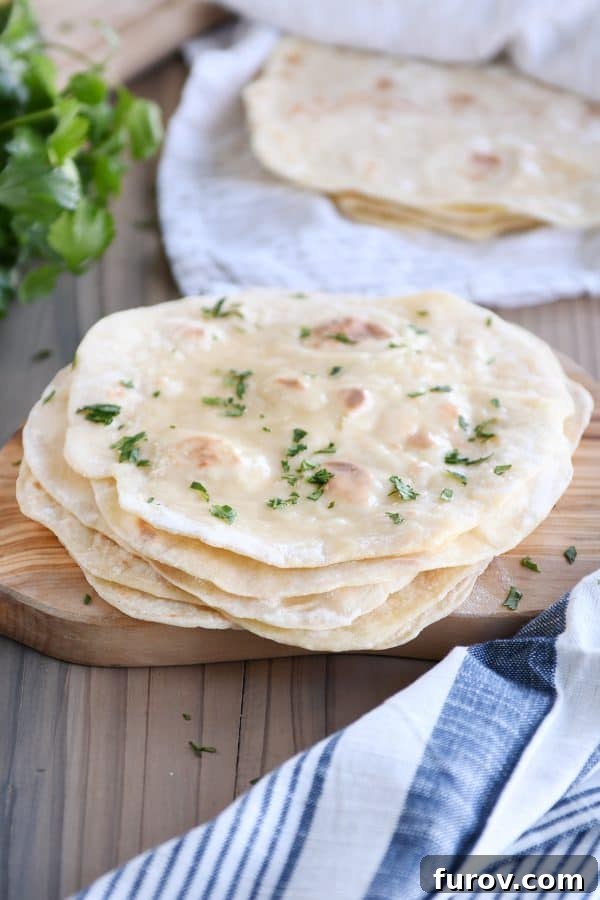
- Simple & Savory: Brush with melted butter and sprinkle with fresh herbs like parsley, cilantro, or chives. A dash of garlic powder can also elevate the flavor.
- Sweet Treat: A little butter and a sprinkle of cinnamon sugar turns them into a delightful dessert or breakfast item.
- Plain Perfection: Honestly, these flatbreads are so good straight off the griddle that they need no embellishment.
In many households, these flatbreads don’t even make it to the dinner table. There’s something undeniably alluring about grabbing a piping hot, fresh flatbread directly from the griddle. Don’t be surprised if little (or big!) hands reach for them immediately, foregoing butter, herbs, or even the main course. It’s a flatbread free-for-all, and the irresistible taste is apparently worth any gently roasted fingertips!
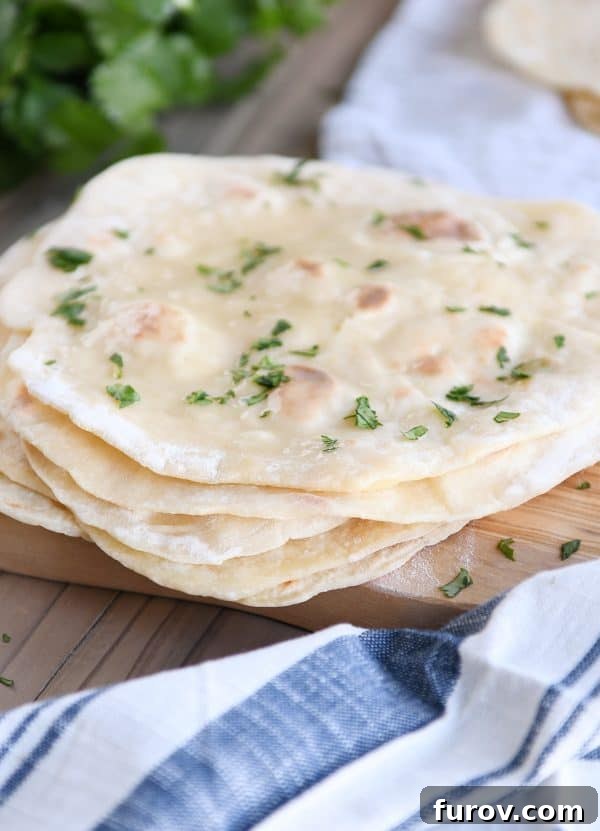
And who could blame them? This **easy yogurt flatbread** is truly amazing. The yogurt imparts a subtle yet intriguing tanginess, complementing the soft, chewy texture beautifully. It’s perfect for:
- Wraps and Sandwiches: Create quick and delicious rollup sandwiches with your favorite fillings.
- Dipping: An excellent accompaniment to curries, hummus, tzatziki, or any sauce you love.
- Mini Pizzas: Use them as a quick base for individual pizzas.
- Soups and Stews: A comforting side to soak up every last drop.
Here are a few favorite recipes this yogurt flatbread would be perfect for:
Sheet Pan Chicken Tzatziki Wraps
Crazy Good Korean Beef Tacos with Quick Slaw and the Sauce to End All Sauces
Quick and Easy Egg Roll Skillet Meal
Easy Chicken Shawarma
Chicken Curry in a Hurry
Basil Chicken in Coconut Curry Sauce
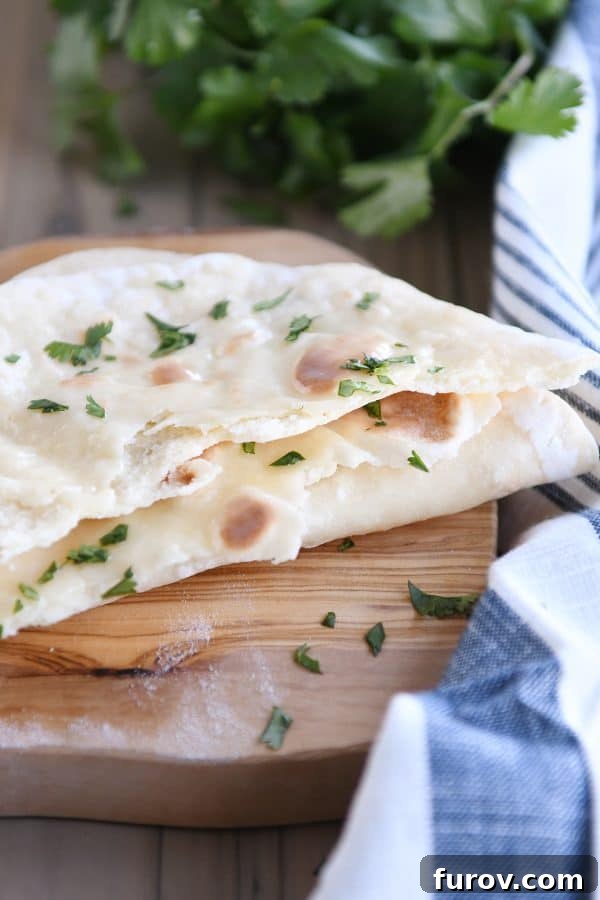
Troubleshooting Common Flatbread Issues
Even though this recipe is incredibly simple, a few tips can help you achieve perfect results every time:
- Dough too Sticky: If your dough is too wet and sticky after mixing, add flour one tablespoon at a time until it’s cohesive but still soft. Remember, different brands and types of yogurt can have varying moisture levels.
- Dough too Stiff: If your dough feels dry and hard to work with, add water or milk one teaspoon at a time until it becomes soft and pliable.
- Flatbreads Not Puffing: Ensure your griddle or skillet is hot enough. The quick, intense heat helps create steam inside the dough, leading to those desirable puffs. Don’t overcrowd the pan, as this can lower the surface temperature.
- Tough Flatbreads: Overworking the dough can develop too much gluten, resulting in a tougher texture. Mix only until just combined, and let the dough rest adequately. Rolling too thinly can also sometimes lead to a less tender result.
Storage and Reheating Tips
These flatbreads are best enjoyed fresh, but they store beautifully, allowing you to enjoy them for days.
- Room Temperature: Store cooled flatbreads in an airtight container or a Ziploc bag at room temperature for up to 2-3 days.
- Refrigerator: For longer storage, keep them in the refrigerator for up to a week.
- Freezing: This is a fantastic option for meal prep! Once cooled, stack the flatbreads with parchment paper in between (to prevent sticking) and place them in a freezer-safe bag. They can be frozen for up to 2-3 months. Thaw at room temperature or reheat directly from frozen.
- Reheating: For best results, reheat flatbreads on a dry skillet over medium heat for about 1-2 minutes per side until warmed through and slightly crisp. You can also pop them in a toaster oven or microwave briefly, though a skillet yields the best texture.
Recipe: Easy Yogurt Flatbread
Easy Yogurt Flatbread
Yield: 12 flatbreads
Prep Time: 50 mins
Cook Time: 25 mins
Total Time: 1 hr 15 mins
Ingredients
- 3 cups (426 g) all-purpose flour (see note)
- 1 teaspoon salt
- 2 teaspoons baking powder
- 2 ½ cups (568 g) thick plain yogurt (see note)
Instructions
- In a large bowl, whisk together the flour, salt, and baking powder.
- Add the yogurt and stir with a rubber spatula or dough hook to combine. When it starts looking crumbly, use your hands to mash and press the dough together until it forms a cohesive ball. Cover and let the dough rest for 30-45 minutes.
- On a lightly floured counter, divide the dough into 12 pieces and roll each piece into a ball. Let rest briefly while the griddle preheats.
- Preheat a griddle or skillet to medium heat (350-375 degrees F / 175-190°C on an electric griddle).
- Roll each ball of dough into about a 6-inch circle, flouring the rolling pin and counter as needed. The flatbreads can be as thin or thick as you like. I roll them a little thicker than a flour tortilla.
- Cook the flatbreads on the hot griddle or skillet until the dough starts to bubble up on the uncooked side, 2-3 minutes. Flip and cook on the other side until puffy, golden, and cooked through, another 2-3 minutes. The exact time will depend on your equipment and temperature.
- Transfer cooked flatbread to a clean towel, stacking the hot flatbread as it comes off the griddle to keep it warm and soft. Optional: butter the flatbread immediately after removing from the griddle.
- Serve warm or at room temperature (the flatbread keeps well covered in the refrigerator and can be warmed up prior to serving).
Notes
Flour: I haven’t tried this recipe with whole wheat flour. If doing so, I’d suggest using white whole wheat flour (for a lighter texture), measuring lightly, and maybe starting with half whole wheat flour/half all-purpose flour.
Yogurt: Regular or Greek plain yogurt works for this recipe. The consistency of yogurt varies by type and brand. I tested this recipe using a thick but soft plain yogurt. See the pictures in the post for a visual. If you are using runny yogurt, you’ll probably need to add a bit more flour (on the flipside, if you are using an extra thick yogurt, you may need to add a couple tablespoons of water to the dough for a soft, pliable dough). I have only ever made this flatbread with low fat or full fat yogurt (but feel free to experiment with nonfat yogurt!).
Author: Mel
Course: Bread
Cuisine: American
Method: Stovetop
Serving: 1 flatbread, Calories: 145kcal, Carbohydrates: 26g, Protein: 5g, Fat: 2g, Saturated Fat: 1g, Cholesterol: 7mg, Sodium: 289mg, Fiber: 1g, Sugar: 2g
Recommended Products
Recipe Source: This amazing recipe was inspired by creative approaches found at Smitten Kitchen, Bigger Bolder Baking, and Rock Recipes.