
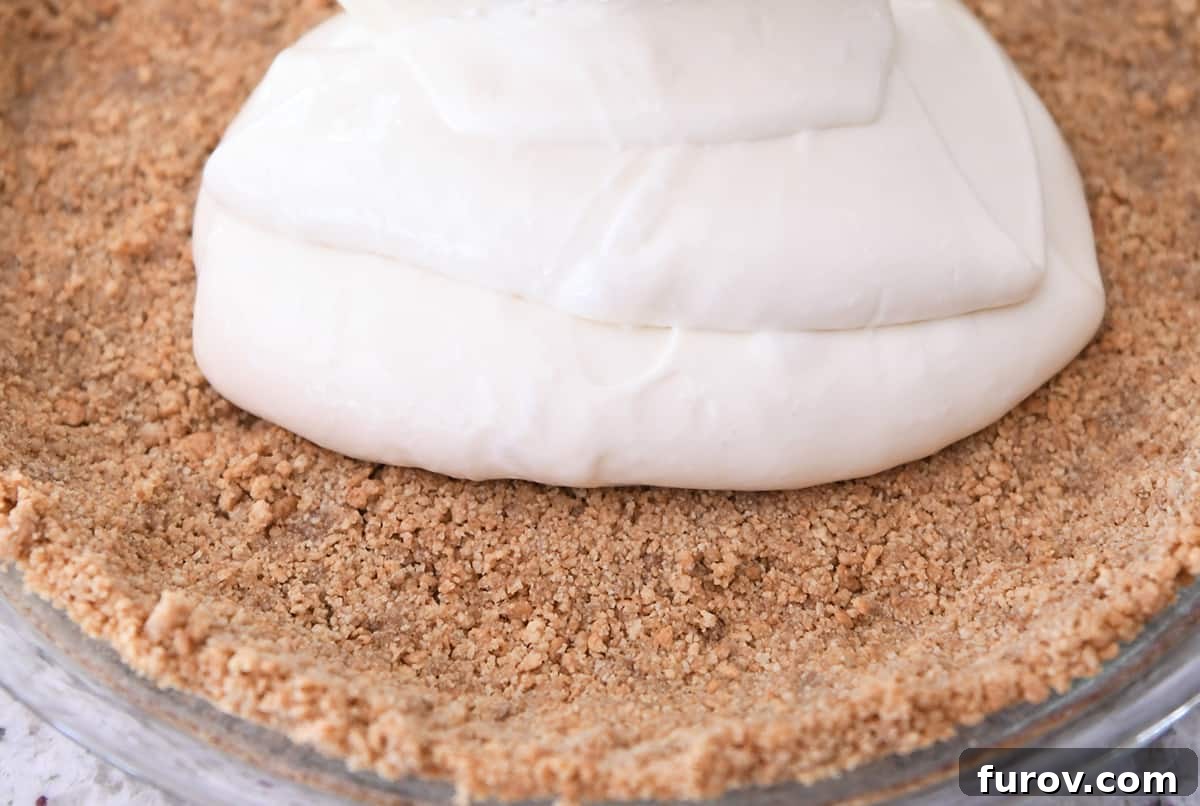
Imagine a dessert base that’s not only incredibly buttery and lightly sweet but also perfectly sturdy, never crumbling into a mess when sliced. This is the ultimate dream for any home baker, and with our definitive guide, it’s easily achievable. Welcome to the world of the perfect graham cracker crust—a simple yet profound recipe designed to elevate every cheesecake, pie, and dessert bar you create. We’ll dive deep into the nuances of preparation, ensuring your crust is always a triumph, offering that ideal balance of delicate crunch and rich flavor.
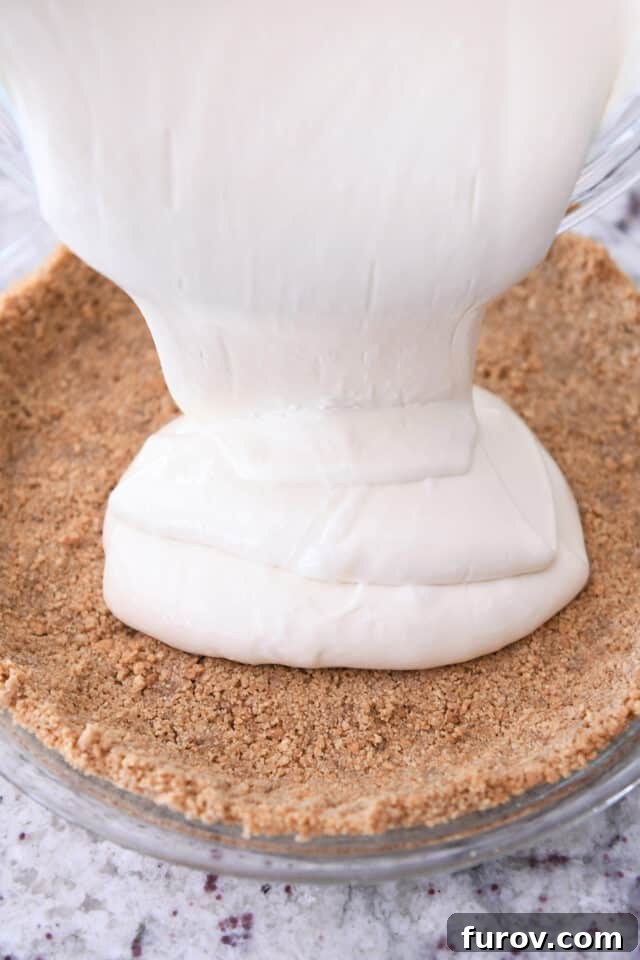
Why Homemade Graham Cracker Crumbs Are Essential for Perfection
The journey to the perfect graham cracker crust begins not with just any crumbs, but with those you make yourself. While convenience often dictates reaching for pre-packaged, store-bought graham cracker crumbs, I strongly advocate for a hands-on approach. This recipe calls for 1 1/2 cups of graham cracker crumbs, and the quality of these crumbs will significantly influence the texture and overall success of your crust.
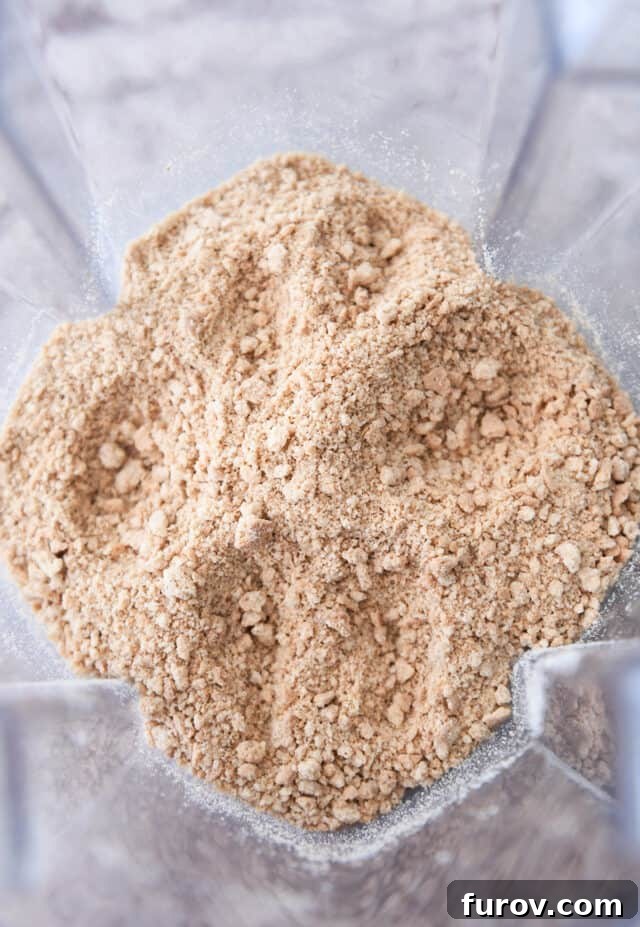
Store-bought crumbs are typically ground to a very fine, almost sandy consistency. While this might seem desirable, it often leads to a crust that is either too dense and hard or surprisingly brittle. The magic of a homemade crust lies in its varied texture: a delightful blend of fine particles and slightly coarser, more substantial bits. This nuanced texture not only provides a more satisfying bite but also creates a more robust structure that binds together firmly, ensuring your crust stands strong without falling apart when filled and served.
Achieving this ideal crumb texture is surprisingly simple and requires minimal effort. Your goal is a consistency that is coarse yet cooperative, avoiding anything resembling pure sawdust or overly large, unyielding pieces. If the crumbs are too fine, the crust might become too compact; too coarse, and it might lack cohesion. The sweet spot is a happy medium where the crumbs retain some character while still being small enough to press into a solid layer.
Methods for Making Your Own Perfect Graham Cracker Crumbs
You have a few excellent options for transforming whole graham crackers into the perfect crumb consistency:
- The Classic Rolling Pin Method: This time-honored technique offers unparalleled control. Place about 8-10 graham cracker sheets in a sturdy, re-sealable plastic bag, expelling as much air as possible. Lay the bag flat on a counter and use a rolling pin, the bottom of a heavy skillet, or even a meat tenderizer to crush the crackers. Apply gentle, even pressure at first, then increase as needed. Periodically check the crumbs until you achieve that desired mix of fine and coarse textures.
- Food Processor for Speed and Efficiency: For a faster approach, a food processor is incredibly effective. Break your graham cracker sheets into smaller pieces and add them to the food processor bowl. Pulse in short bursts, typically 5-10 seconds at a time, checking the consistency frequently. It’s crucial not to over-process, as this can quickly turn your crumbs into a fine powder. Stop when you see a mix of fine and small pebble-like pieces.
- Blender for a Smooth Process: A blender can also work wonders. Add your broken graham crackers to the blender jar. Use the “pulse” setting, again in short bursts, to control the crumb size. The key is to avoid continuous blending, which will result in an overly fine, flour-like texture.
Why Freshness Counts: Beyond texture, freshly crushed graham cracker crumbs offer a superior aroma and flavor profile. The subtle honeyed sweetness and hint of spice are more pronounced, contributing significantly to the overall deliciousness of your homemade crust.
The Simple Yet Powerful Supporting Ingredients
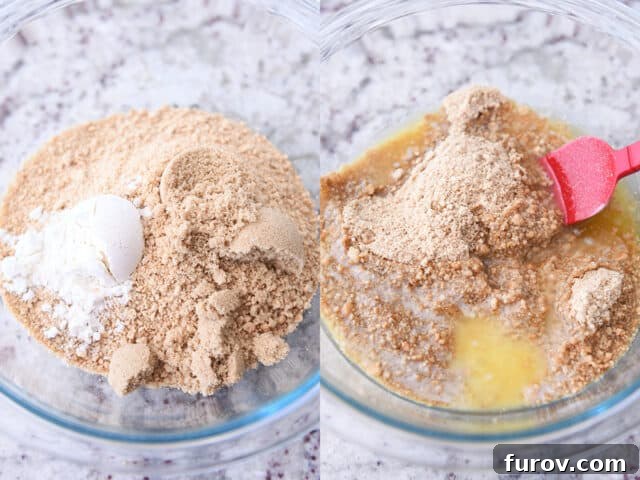
Once you’ve mastered the art of homemade graham cracker crumbs, the rest of the ingredients are straightforward yet indispensable. Each component plays a crucial role in creating the buttery, flavorful, and structurally sound crust you desire. Combine your freshly made crumbs in a medium-sized mixing bowl and prepare to add these essential elements:
- Brown Sugar: This isn’t just for sweetness; brown sugar brings a unique depth of flavor and moisture to the crust. Its subtle molasses notes impart a delightful caramel-like taste that enhances the graham crackers, creating a richer, more complex base than white sugar alone could offer. This recipe is intentionally designed for a lightly sweet crust, allowing the star filling of your dessert to truly shine. However, if you have a sweeter palate, feel free to adjust by adding an extra tablespoon or two of brown sugar.
- All-Purpose Flour: A secret weapon for baked crusts! A single tablespoon of all-purpose flour acts as a binding agent, providing crucial structural integrity when the crust is baked. It helps to absorb some of the butter, creating a firmer, more cohesive base that is much less likely to crumble when you slice into your finished dessert. Think of it as the invisible scaffolding that keeps everything together beautifully.
- Melted Butter: The true heart of any great graham cracker crust. Melted butter is what coats each individual crumb, binding them together into a compact, cohesive layer. It infuses the entire crust with its rich, savory-sweet flavor, which is absolutely irresistible. For optimal flavor contrast, I personally prefer to use salted butter, as the slight saltiness perfectly balances the sweetness of the graham crackers and brown sugar. If you opt for unsalted butter, a tiny pinch of fine salt (about 1/4 teaspoon) can be added to achieve a similar depth of flavor. Ensure your butter is fully melted but not boiling hot, as this helps it to evenly coat the crumbs without overcooking them.
Critical Flour Note: The flour specified in this recipe is specifically for a *baked* graham cracker crust. If your dessert calls for a *no-bake* crust, you absolutely must omit the flour. Without the baking process to activate its binding properties, flour can make an unbaked crust taste somewhat raw or gritty.
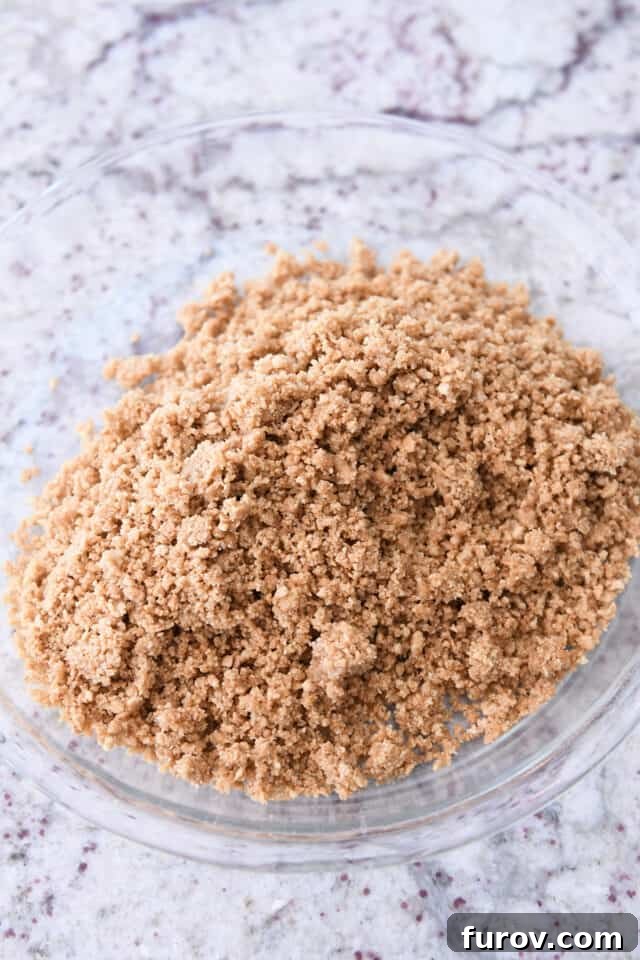
Once all ingredients are in the bowl, stir diligently with a spoon or your hands until every graham cracker crumb is uniformly coated and moistened. The mixture should feel like damp sand and hold together easily when gently squeezed in your palm, indicating it’s ready to be pressed into your pie plate.
Mastering the Art of Pressing a 9-Inch Pie Crust
This recipe is meticulously portioned to fit a standard 9-inch pie plate, creating a perfectly balanced crust that is neither too thin nor too thick. The technique for pressing the crumbs is key to achieving a uniformly sturdy base, regardless of your pan size. If you’re working with larger pie plates, a springform pan, or even individual tartlets, simply adjust the ingredient quantities proportionally to ensure you have enough mixture to form a robust crust. For a more generous crust in a 9-inch pan, consider increasing all ingredients by a quarter or a half.
Step-by-Step Guide to a Flawlessly Pressed Crust:
- Even Distribution: Begin by carefully pouring all of your prepared graham cracker crumb mixture into the center of your 9-inch pie plate. Avoid dumping it all on one side, as an even initial distribution helps with uniform thickness.
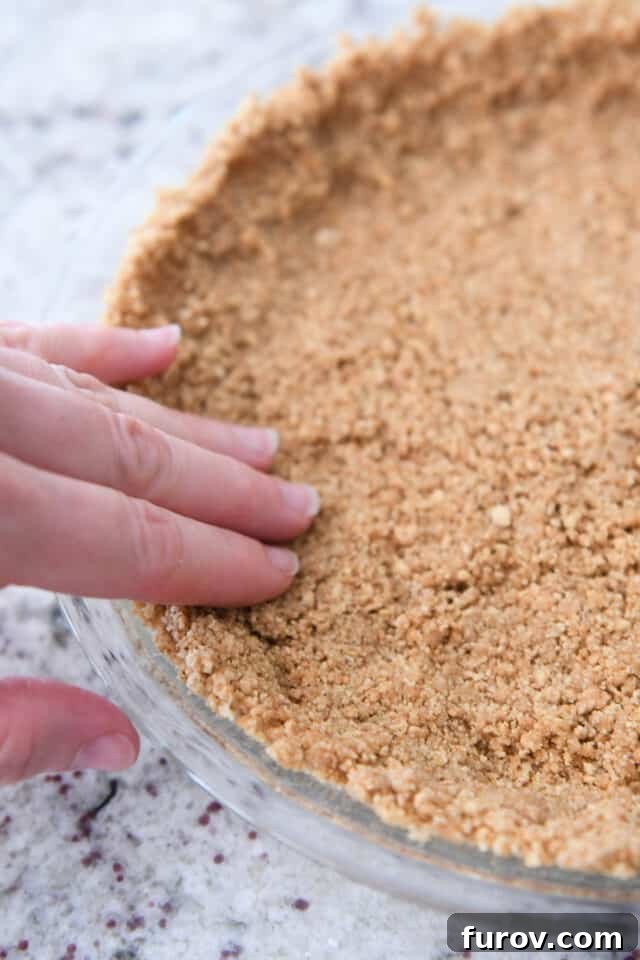
- Initial Shaping with Fingers: Start by using your clean fingertips to gently spread the crumbs. Work them outwards from the center, guiding them up the sides of the pie plate to form the rim, and then pressing them lightly across the bottom. At this stage, you’re merely establishing the general shape and ensuring there are no bare spots. Don’t worry about firm compaction just yet; the goal is simply an even, consistent layer.
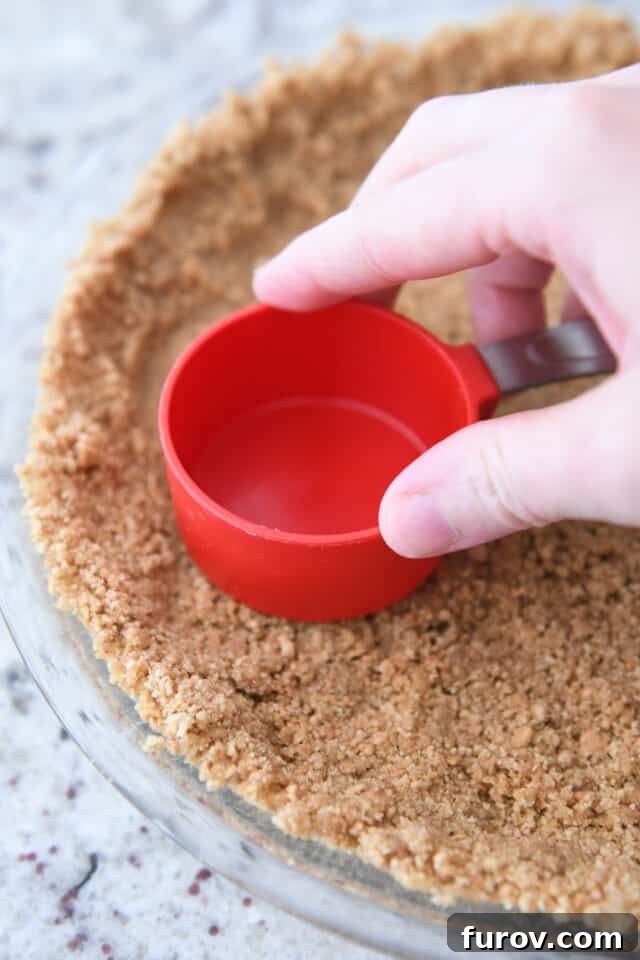
- The Compaction Secret – Using a Tool: This is arguably the most critical step for a crust that holds its shape. Grab a flat-bottomed measuring cup (a 1/3-cup or 1/2-cup size works wonderfully) or a smooth-bottomed glass. Use the flat surface of your chosen tool to firmly and steadily press the crumbs. Start with the bottom of the pie plate, applying consistent, strong pressure across the entire surface. Then, move to the sides, pressing the crumbs firmly against the glass or ceramic. This intense compaction eliminates air pockets and creates a dense, sturdy layer that will not crumble. Pay particular attention to the crease where the bottom meets the sides, and along the very top edge of the rim, to create clean, defined lines.
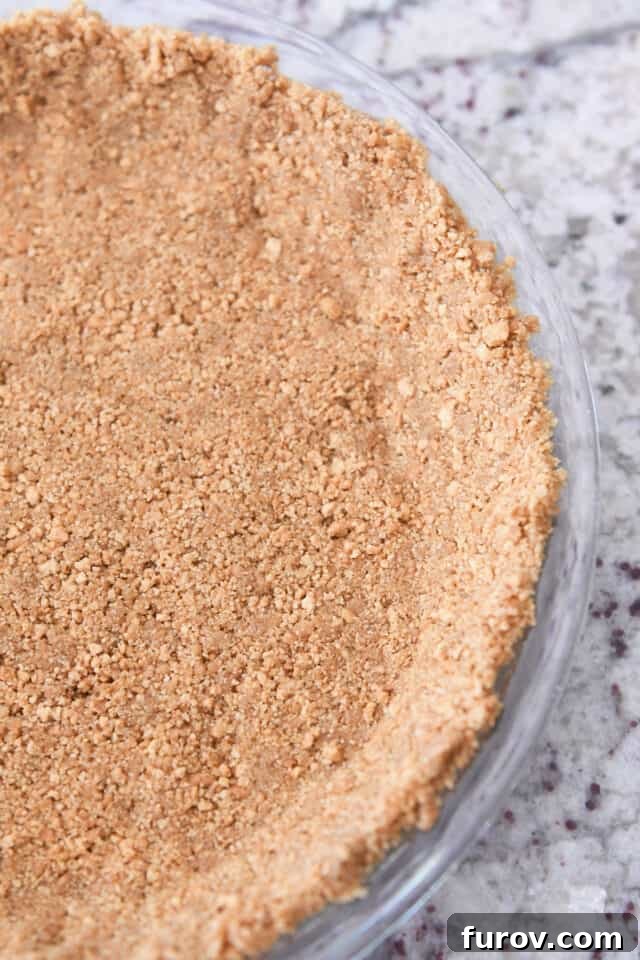
Remember, the tighter you pack the crumbs, the more resilient your final crust will be. This meticulous pressing ensures that your crust maintains its integrity, offering a beautiful presentation and a satisfying texture with every forkful. Take your time with this step; it truly makes all the difference.
The Crucial Choice: Baked or No-Bake?
Deciding whether to bake your graham cracker crust is a pivotal step that can significantly impact the final outcome of your dessert. While the recipe is adaptable for both, I almost invariably recommend baking this particular graham cracker crust for a truly superior result. Baking offers distinct advantages that contribute to its “perfect” designation:
- Unrivaled Stability and Durability: A baked crust achieves a remarkable sturdiness. The heat from the oven helps the flour and butter to create a strong, cohesive bond among the crumbs. This results in a firm, rigid base that holds its shape flawlessly, making it easy to slice and serve neat, beautiful portions without the worry of crumbling.
- Enhanced Flavor and Aroma: Baking subtly toasts the graham crackers, butter, and brown sugar. This process develops deeper, richer flavors, bringing out a nutty aroma and a caramelized sweetness that an unbaked crust simply cannot achieve. The difference in taste is noticeable and adds a layer of sophistication to your dessert.
- Protection Against Soggy Bottoms: For fillings with higher moisture content, such as custards, cheesecakes, or certain fruit pies, a baked crust acts as a protective barrier. It prevents the moisture from seeping into the crumbs and turning your beautifully crunchy base into a soggy disappointment, especially after chilling for an extended period.
Instructions for Both Baked and No-Bake Options:
For a Baked Crust: Preheat your oven to a precise 350 degrees F (175 degrees C). Once your crust is firmly pressed into the pie plate, bake it for 8-10 minutes. Watch it carefully; you’re looking for a fragrant aroma and a set crust with a very subtle golden hue around the edges. Avoid over-baking, which can make the crust too hard. Once baked, allow the crust to cool completely on a wire rack before adding any filling. This cooling period is crucial for setting the structure.
For a No-Bake Crust: If your dessert recipe explicitly calls for an unbaked crust, it’s essential to remember to omit the tablespoon of flour from the ingredient list entirely. After you’ve firmly pressed the crust into your pie plate, transfer it to the refrigerator for at least 30-60 minutes, or for an even firmer set, place it in the freezer for 15-20 minutes. This chilling time allows the melted butter to solidify and bind the crumbs together, providing a degree of stability, though it will not be as robust as its baked counterpart.
The Ultimate Graham Cracker Crust for Any Dessert Masterpiece
This “perfect graham cracker crust” recipe isn’t just a claim; it’s a promise of versatility and consistent excellence. It truly is the ultimate foundation for an impressive array of desserts, offering a reliable and delicious base that complements nearly any filling. From rich and creamy concoctions to light and fruity delights, this crust is your go-to for ensuring your homemade treats are nothing short of spectacular.
Endless Dessert Possibilities with This Versatile Crust:
- Chocolate Cream Pudding Pie: The rich, buttery crunch of this crust is an exquisite contrast to the silky smoothness of chocolate pudding, creating a harmonious textural and flavor experience.
- No-Bake Cheesecakes: Even for recipes that don’t require baking the crust (remember to omit the flour!), this recipe guarantees a flavorful and stable base that sets beautifully after chilling.
- Magnolia Lemon Pie: The subtle sweetness and wholesome flavor of the graham cracker crust provide an ideal counterpoint to the bright, tangy zest of lemon fillings.
- Classic Key Lime Pie: An iconic pairing where the graham cracker crust is absolutely indispensable for balancing the intense tartness of a key lime filling.
- Cream Pies of All Kinds: Whether it’s banana, coconut, or vanilla cream pie, this crust offers the perfect foundation for cool, creamy fillings.
- Fresh Fruit Tarts: A baked version of this crust provides a beautiful, sturdy shell for vibrant fresh fruits and a delicate pastry cream, making for a stunning presentation.
- Pumpkin or Sweet Potato Pie (with a Twist): For a delightful alternative to traditional pastry crusts, this graham cracker base introduces a comforting, spiced texture that pairs wonderfully with autumnal fillings.
- Custom Dessert Bars: Easily adaptable for square or rectangular baking pans, this crust is ideal for crafting any variety of dessert bars, from s’mores bars to lemon squares, holding its shape for easy serving.
This homemade graham cracker crust consistently outperforms store-bought alternatives in both texture and flavor, solidifying its place as a pantry staple for any baking enthusiast. As someone who truly appreciates the comforting embrace of a well-made, buttery graham cracker crust, I’m genuinely excited to share this perfected method with you. It’s the culmination of countless dessert adventures, finally resting on a recipe that delivers consistent excellence.
Elevate Your Crust with Flavor Enhancements: Don’t be afraid to personalize your crust! A pinch of ground cinnamon, a dash of nutmeg, or even a tablespoon of unsweetened cocoa powder can be added to the crumb mixture to create custom flavor profiles that perfectly complement your chosen filling. A cinnamon-infused crust is heavenly with apple or pumpkin pies, while cocoa powder adds a sophisticated touch to chocolate or coffee-based desserts.
And for those kindred spirits who wholeheartedly believe there’s no such thing as “too much crust” (you know who you are!), embrace your indulgence! Feel empowered to increase all the ingredient quantities by a quarter or even a half. This creates a thicker, more prominent crust that adds an extra layer of texture and flavor, transforming your favorite pie or cheesecake into an even grander affair. In your kitchen, the crust is always king!
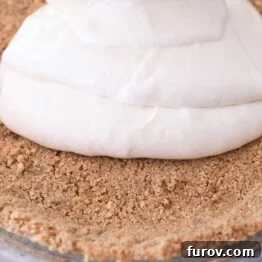
Perfect Graham Cracker Crust
1 9-inch crust
15 mins
10 mins
25 mins
Pin Recipe
Ingredients
- 1 ½ cups (150-158 g) graham cracker crumbs (about 12-13 rectangle graham crackers) – see note
- 3 tablespoons (40 g) brown sugar
- 1 tablespoon (9 g) flour (see note)
- 6 tablespoons (85 g) butter, melted (I use salted)
Instructions
- Preheat the oven to 350 degrees F (175°C).
- Combine the graham cracker crumbs, brown sugar, and flour in a medium bowl. Stir well to combine all dry ingredients evenly.
- Pour in the melted butter and stir vigorously until the graham cracker crumbs are thoroughly and evenly moistened. The mixture should resemble wet sand and hold together when squeezed.
- Transfer the crumb mixture to a 9-inch pie plate. Use your fingers to gently press the crumbs into an even layer across the bottom and up the sides of the pie plate.
- For a tighter, more cohesive crust, use the bottom of a 1/3-cup or 1/2-cup measuring cup to firmly press the crumbs into place, ensuring they are tightly packed against the bottom and sides.
- Bake the crust for 8-10 minutes in the preheated oven, or until it becomes fragrant and the edges are lightly golden. Do not over-brown. Let cool completely before filling.
Notes
Graham Cracker Crumbs: For the best texture and flavor, I highly recommend crushing whole graham crackers yourself instead of using store-bought crumbs. This allows for a mix of fine and coarse textures, contributing to a superior crust. Approximately 12-13 rectangular graham crackers yield 1 1/2 cups of crumbs.
Sugar: This recipe creates a lightly sweet crust. If you prefer a sweeter base, simply increase the brown sugar by 1-2 tablespoons.
Flour: The tablespoon of flour is a binder and is crucial only if you are baking the crust. If you are preparing a no-bake crust, omit the flour entirely.
Mel Gunnell
Dessert
American
Bake
Recommended Products
Recipe Source: This perfect graham cracker crust recipe is lovingly adapted from Mel’s Kitchen Cafe, a cherished online destination for reliable, delicious, and family-approved recipes.