
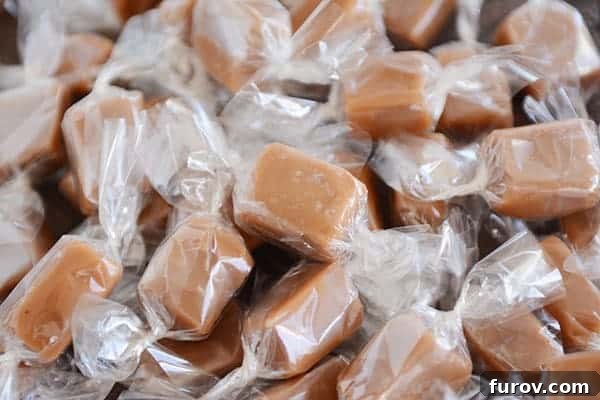
Get ready, because this recipe for soft, chewy, and truly foolproof vanilla bean caramels is destined to become your new holiday favorite. With a comprehensive step-by-step tutorial, making gourmet homemade caramels has never been easier or more rewarding!
Discover the Best Vanilla Bean Caramels for the Holidays
Of all the delightful recipes shared this December, these particular vanilla bean caramels stand out. While every creation holds its own charm, there’s something uniquely special and utterly irresistible about this batch of caramels that has everyone buzzing.
THESE CARAMELS! They are truly a game-changer.
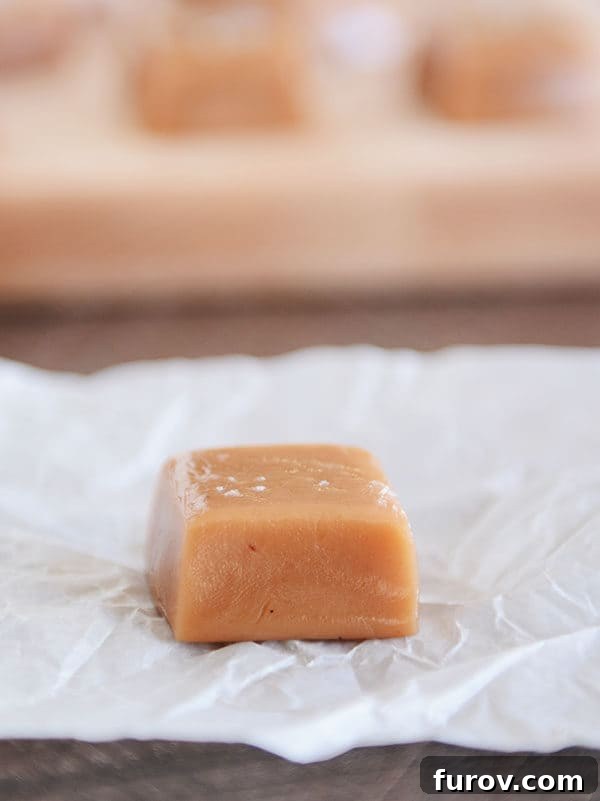
A New Favorite Among Caramel Classics
You might think, as I once did, that my collection of caramel recipes was complete. I already had a cherished repertoire, including my mom’s legendary old recipe, the incredibly popular foolproof no-stir caramels, distinctive black licorice caramels, aromatic cinnamon caramels, and even rich chocolate caramels. I wasn’t actively searching for another, yet this extraordinary vanilla bean caramel recipe quite literally demanded my attention, compelling me to give it a try.
What immediately captured my interest was its utterly unique preparation method, unlike any caramel recipe I had ever encountered. It was intriguing enough to warrant an experiment, and I’m incredibly glad I took the plunge.
Instead of starting small, I decided to go big, preparing a massive batch of 600 caramels for my presentations at BYU last month. This meant I was quite literally elbow-deep in caramel-making for an entire week. A huge thank you to my amazing family, who tirelessly helped wrap hundreds of these delectable treats!
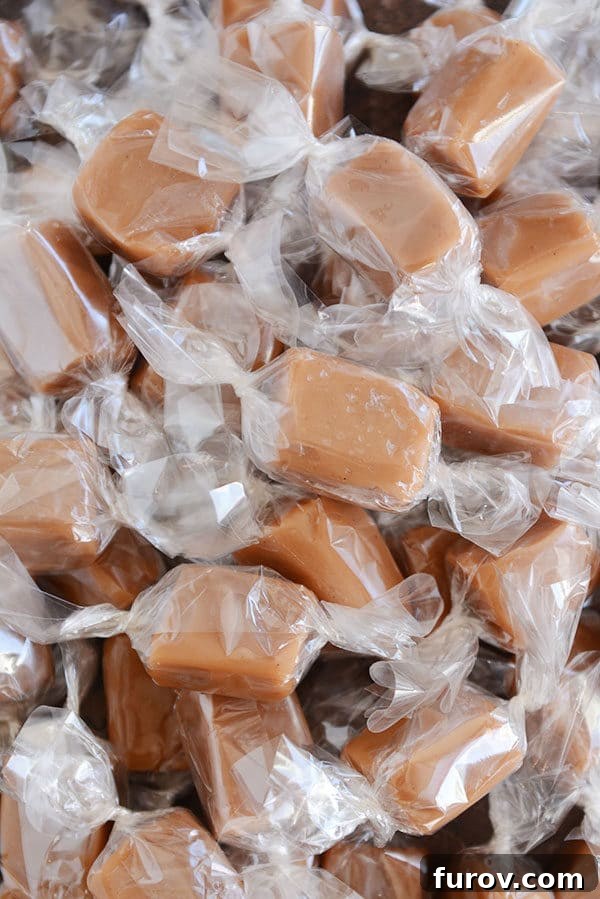
Unanimous Praise: The “Blog Worthy” Caramels
I knew I might not get such a large and diverse test audience in one place again, so I seized the opportunity. My goal was to get definitive confirmation: were these vanilla bean caramels truly “blog worthy”? I specifically asked attendees, many of whom are loyal readers, to provide their honest feedback.
The response was overwhelming! My inbox was inundated with nearly a hundred emails, all asking when the recipe would be posted. The consensus was clear: these caramels were absolutely amazing. A few enthusiastic (and humorously aggressive) individuals even suggested they might track me down if I didn’t share the recipe ASAP. Talk about rave reviews!
Since that initial large-scale test, I’ve made this vanilla bean caramel recipe at least another 8-10 times. Through these numerous repetitions, I’ve practically navigated every potential issue that could arise during the caramel-making process. The consistently positive feedback from hundreds of BYU attendees, combined with the glowing reviews from friends and family I’ve shared them with, should give you immense confidence in trying this recipe yourself.
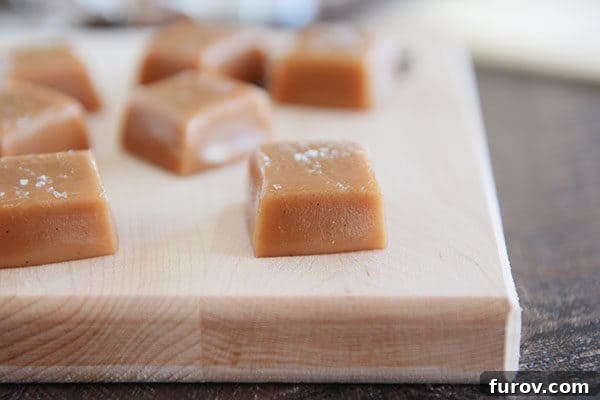
The Secret to Foolproof Caramels: A Revolutionary Cooking Method
The truly fantastic news is that these are the most foolproof caramels I’ve ever made, all thanks to that innovative cooking method I mentioned earlier. Unlike most traditional caramel recipes, which involve boiling all the ingredients together and risking scorching (especially with delicate ingredients like cream and sweetened condensed milk), this method begins differently.
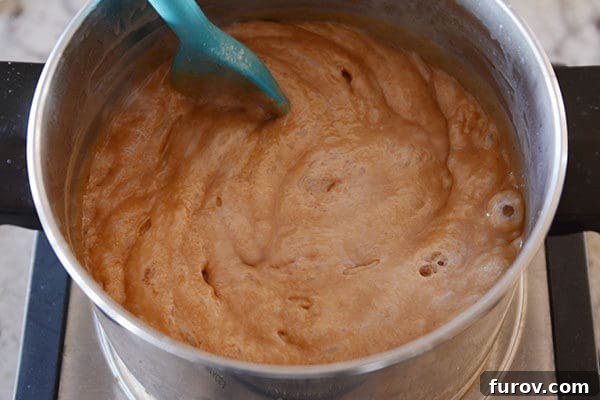
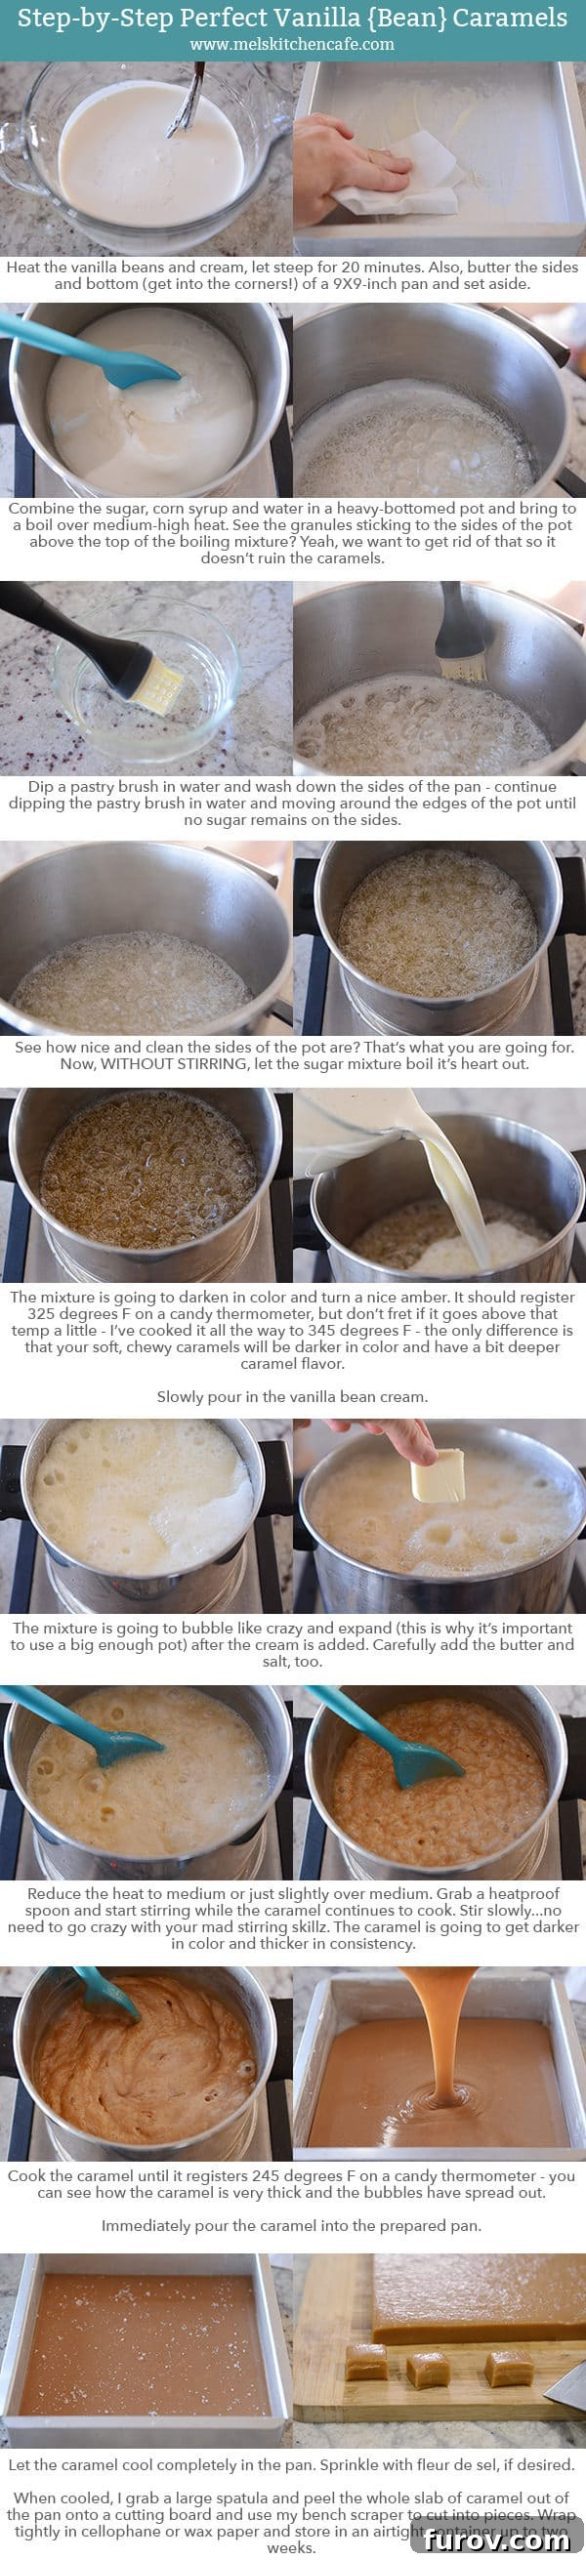
First, a simple sugar syrup is boiled on its own. This initial stage allows the sugar to reach a precise temperature of 325 degrees Fahrenheit, creating a stable foundation. Only once this critical temperature is achieved are the cream and butter carefully added to the mixture. This addition naturally lowers the overall temperature of the caramel, making the subsequent cooking stage much more manageable.
From this point, the mixture is gently but constantly stirred for approximately 10 minutes until it reaches its ideal caramel temperature. For a perfectly soft and chewy caramel, I aim for 245 degrees Fahrenheit. However, you have the flexibility to customize the texture: for a slightly firmer caramel, aim for 248 degrees, or for an extra soft and gooey confection, stop cooking between 238 and 240 degrees. This method provides remarkable control, allowing you to achieve your desired consistency with confidence.
My extensive experience with these vanilla bean caramels has also taught me something truly reassuring: you can even overshoot the initial 325-degree temperature by up to 20 degrees, and the recipe will still turn out beautifully! I speak from personal experience, having once walked away from the boiling candy to assist a child with homework, only to return and find the thermometer shockingly at 345 degrees. Yet, the caramels were still soft and chewy, provided the final temperature in the second stage didn’t exceed 245 degrees.
Interestingly, cooking the initial sugar syrup to a higher temperature (above 325F) doesn’t just offer forgiveness; it also deepens the caramel flavor, resulting in a richer, more intense taste. The higher the initial temperature, the darker and more complex the finished caramels will be.
Demystifying Candy Making: A Recipe for Every Skill Level
I understand that candy thermometers and precise cooking temperatures can seem daunting, especially if you’re new to making caramels or have had less-than-successful attempts in the past. But I genuinely promise you, this is the recipe to try. Whether you’re a complete novice caramel maker or an experienced confectioner who believes they already possess “The Only Caramel Recipe You’ll Ever Need,” this recipe will surprise and delight you.
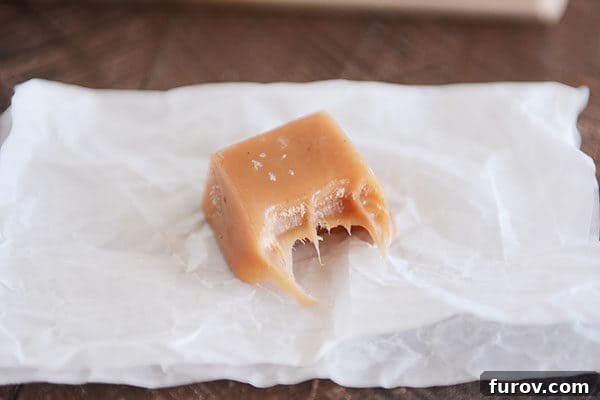
Not only is the cooking method for these caramels inherently simpler and more forgiving, in my humble opinion (and yes, I’ve even tried the popular microwave caramel recipes, which, while good, simply don’t compare to the rich, authentic flavor of this properly cooked version), but the caramels themselves are outrageously delicious. They offer a perfect chewiness, a velvety, creamy, and subtly buttery texture that melts in your mouth. These vanilla bean caramels are, hands-down, my ultimate favorite.
In the often-exaggerated world of food blogging (a world in which I, too, am sometimes guilty of hyperbole), it can be difficult to discern if a “new, best-ever” recipe truly lives up to its hype. I can assure you, with complete confidence, that these vanilla bean caramels are unequivocally “best-ever” in my culinary book. Their rich flavor, perfect texture, and forgiving method truly set them apart.
To ensure your success and alleviate any potential concerns or questions, I’ve included an exceptionally detailed step-by-step tutorial below the recipe. And while the recipe instructions might appear lengthy, that’s only because I’ve meticulously included every single detail I could think of. My aim is to provide you with absolute peace of mind, comfort, and joy as you embark on making these truly exceptional homemade caramels.
Essential Caramel-Making Tips & FAQs
Here are a few more caramel notes and answers to common questions I receive about caramel making:
What do you use to wrap your caramels?
For years, I relied on good old wax paper, which certainly does the job well. However, my world changed when I discovered pre-cut (yes, PRE-CUT!) cellophane wrappers. There’s simply no going back! My friend Melissa introduced me to some from Orson Gygi, where they are readily available (though shipping can be around $8). You can also find them conveniently on Amazon Prime. Since they usually come in packages of 1,000, it’s a fantastic idea to call up your caramel-loving friend and offer to split a pack of these game-changing wrappers!
Which candy thermometer do you recommend?
I’ve relied on this style of candy thermometer for years, and it’s my absolute favorite. I’ve gone through a couple of them—one was unfortunately dunked in a sink full of water by a child who shall remain nameless, and another (by that very same child, ahem) became an impromptu science project. In contrast, I’ve had the worst luck with the long, thin (like Taylor brand) or bulb-style candy thermometers; their numbers fade, and their temperature readings are often highly inaccurate. To ensure maximum accuracy, I always use a very precise instant-read thermometer alongside my primary candy thermometer. It acts as a crucial second line of defense, confirming that my main thermometer is providing correct readings. Usually, they align perfectly, but if there’s a degree or two difference, I simply make a mental adjustment to ensure the caramels cook to the ideal temperature. Feel free to ask in the comments if you’d like more explanation on this technique.
What kind of pot should I use for caramel?
When making candy, whether it’s caramels, toffee, or any other confection, selecting the right pot is paramount. It is absolutely crucial to use a heavy-bottomed pot. What exactly does that mean? It means the base of the pot should not be thin or flimsy. Ideally, it should feature a thick metal lining on the bottom to provide excellent insulation and prevent the delicate caramel from scorching. I personally use a very old, but still reliable, set of Farberware pans made of 18/10 stainless steel, which work wonderfully and are quite affordable. The key takeaway is to ensure your pot is sturdy and has a substantial, thick bottom.
What is the best tool for cutting caramels?
Without a doubt, the absolute best tool for cutting caramels into neat, uniform squares is a sturdy bench knife. This versatile tool is not only fantastic for caramels but also incredibly useful for countless other kitchen tasks. It works wonders for cutting through the dense caramel, making the process fast and easy, and ensuring your fingers stay safe from sharp knife blades. It’s an investment you won’t regret.
Is the pastry brush “water wash” step really necessary?
Yes, yes, it truly is. Wiping down the sides of the pot with a wet pastry brush during the initial sugar syrup boiling stage is incredibly important. Any stray sugar granules clinging to the sides of the pot can act as nucleation points, causing the entire batch to crystallize, separate, or turn grainy. I admit, I often resisted this step in other candy recipes, but for these caramels, it’s a simple yet critical step that guarantees a smooth, silky texture. I use this particular pastry brush (and you’ll see it in action in the step-by-step tutorial). If you don’t have a pastry brush, a clean, wet cloth can serve as an alternative. Carefully drip water onto the sides and gently wipe off any sugar, rinsing the cloth a couple of times for thorough cleaning. This vital step only needs to be done once, so don’t let it deter you from making these incredible caramels.
What about vanilla beans? Are there alternatives?
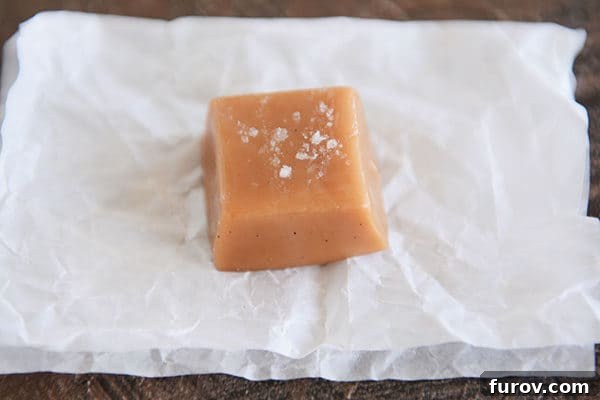
Absolutely! While real vanilla beans infuse the caramels with an exquisite, nuanced flavor and create those undeniably beautiful speckles, you can certainly achieve delicious results by omitting the beans and using pure vanilla extract instead. I’ve provided all the necessary details and variations for both options within the recipe notes below.
So there you have it! I’ve included several other important notes within the recipe itself and in the detailed step-by-step tutorial. Please, MAKE SURE YOU READ THROUGH THE ENTIRE RECIPE thoroughly before you begin making these vanilla bean caramels. A little preparation will help prevent any mid-recipe surprises or anxiety, ensuring a smooth and enjoyable cooking experience.
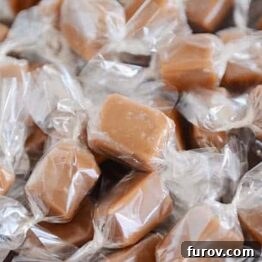
I truly, deeply hope you make these vanilla bean caramels. I want everyone to experience the joy and deliciousness I find in every single bite! There’s nothing quite like the warmth and sweetness of homemade caramels to truly capture the spirit of the holiday season.
One Year Ago: Decadent Double Chocolate Mint Cookies
Two Years Ago: White Chocolate Pecan Brownies
Three Years Ago: Homemade Peppermint Patties
Perfect Vanilla Bean Caramels
60
Caramels (9X9-inch pan)
10 mins
1 hr
15 mins
1 hr
25 mins
Pin
Rate
Ingredients
- 1 to 2 vanilla beans, split and scraped (see note)
- 2 cups heavy cream
- 2 ½ cups (530 g) granulated sugar
- ½ cup light corn syrup
- ½ cup water
- 6 tablespoons (85 g) salted butter, cut into tablespoon-size pieces
- ¼ teaspoon coarse, kosher salt
- Fleur de sel or coarse sea salt for sprinkling, optional
Instructions
-
Butter the bottoms and sides (ensure you get into the corners!) of a 9×9-inch square baking pan. Set aside.
-
Place the vanilla bean and scraped seeds in a saucepan and pour in the heavy cream. Heat the mixture over medium heat until it is steaming. Remove from heat, cover, and let sit for at least 20 minutes to allow the vanilla cream to steep. You can begin preparing the caramels while it steeps.
-
For the caramels, in a large, heavy-bottomed pot (at least 5- or 6-quarts), stir together the granulated sugar, corn syrup, and water. Be careful not to splash the mixture up the sides of the pot.
-
Clip a reliable candy thermometer onto the side of the pan, ensuring the tip is submerged but not touching the bottom.
-
Bring the sugar mixture to a boil over medium-high heat. It is crucial NOT to stir or move the pan during this stage. As soon as it begins to boil, fill a cup with water and use a pastry brush to carefully wash down the sides of the pan. This removes any sugar granules that might stick and prevent crystallization. You typically won’t need to repeat this step once the sides are clean.
-
The sugar mixture will bubble and gradually begin to darken. If you haven’t already, remove the vanilla bean pod from the steeped cream mixture so it’s ready for the next step.
-
Continue cooking until the thermometer registers 325 degrees F, which usually takes about 25-30 minutes. For a darker, more intensely flavored but still chewy caramel, you can cook the sugar mixture higher (I’ve gone as high as 345 degrees for very rich, dark caramels, but be aware that the next step will produce significantly more steaming and bubbling at higher initial temperatures).
-
Slowly and very carefully pour the steeped vanilla cream mixture into the hot caramel. Be prepared for it to bubble vigorously and produce a lot of steam. Immediately add the cut butter pieces and salt. The mixture will expand significantly but will then settle back to a lower level as the added ingredients cool it down.
-
Stir the caramel with a clean, heatproof spoon or spatula (if using the same utensil from step 3, ensure it’s thoroughly washed to avoid introducing sugar granules). Stir constantly and slowly, avoiding scraping the edges of the pan, until the mixture reaches 245 degrees F. This usually takes about 10-15 minutes. For a firmer yet still chewy caramel, you can cook it to 248 degrees F. For a softer caramel, you can remove it slightly earlier; 245 degrees F is generally perfect for a balanced texture.
-
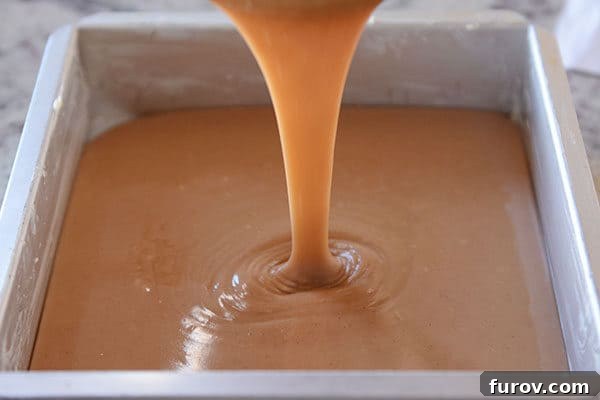
Immediately pour the hot caramel mixture into your prepared pan.
-
Allow the caramels to cool completely at room temperature. If desired, sprinkle with fleur de sel for a delicious salty contrast. Once cooled, use a large metal spatula to gently peel the entire slab of caramel out of the pan and transfer it to a cutting board.
-
Cut the caramel into desired squares using a sharp knife or a bench scraper. Wrap each individual caramel piece in cellophane or wax paper and store them in an airtight container at room temperature for up to two weeks.
Notes
General Tips: This recipe is designed to be one of the easier caramel recipes available. However, to ensure your absolute success, here are a few additional important notes:
Pastry Brush: It is genuinely important to start with clean pan sides. I use a pastry brush (this is the one I have) dipped in water, as detailed in the recipe. If you don’t own a pastry brush, a clean washcloth or rag dipped in water can work just as well. Simply wash down the sides of the pot, rinsing the cloth once or twice to ensure all sugar is effectively removed.
Vanilla Options: While this recipe truly shines with the rich flavor of vanilla beans, it is also incredibly delicious when made with just vanilla extract. I’ve successfully prepared it both ways. If you choose to use vanilla beans, follow the recipe exactly and then decide if you’d like to stir in an extra touch of vanilla extract at the very end for an enhanced flavor. If you are NOT using vanilla beans, you should still heat the cream to steaming and let it cool slightly before incorporating it into the recipe. Once the caramel mixture reaches 245 degrees F, simply stir in 1/2 to 1 tablespoon of pure vanilla extract before pouring the caramels into the pan.
Salt: I consistently use coarse kosher salt for this recipe. If you opt for regular table salt, I recommend reducing the amount slightly, as it has finer crystals and can taste saltier. The optional sprinkling of fleur de sel on top is a personal preference; the caramels are delicious with or without it.
Vanilla Bean/Cream Mixture Shortcut: When I’m short on time, I sometimes take a lazy shortcut for the vanilla bean/cream mixture. Instead of heating it on the stove, I microwave it for about three minutes to achieve the steaming temperature, which also works effectively.
Wrapping the Caramels: As mentioned, I used to use wax paper for wrapping, which is perfectly fine. However, for the past year or so, I’ve switched to these pre-cut cellophane pieces, and I honestly can’t imagine going back to anything else due to their incredible convenience.
Doubling the Recipe: I have successfully doubled this recipe many, many times to fill a 9×13-inch pan. Just be sure to use a very large 10-quart pot to prevent the caramel from boiling over as it expands during cooking!
Mel
Dessert
American
Stovetop
Serving:
1
Caramel
,
Calories:
78
kcal
,
Carbohydrates:
11
g
,
Protein:
1
g
,
Fat:
4
g
,
Saturated Fat:
3
g
,
Cholesterol:
14
mg
,
Sodium:
25
mg
,
Sugar:
11
g
Recommended Products
Recipe Source: Adapted and enhanced from an original recipe featured in Cuisine at Home December 2016 issue. This version includes increased quantities for richer caramels and detailed notes for using vanilla extract as an alternative to vanilla beans.