
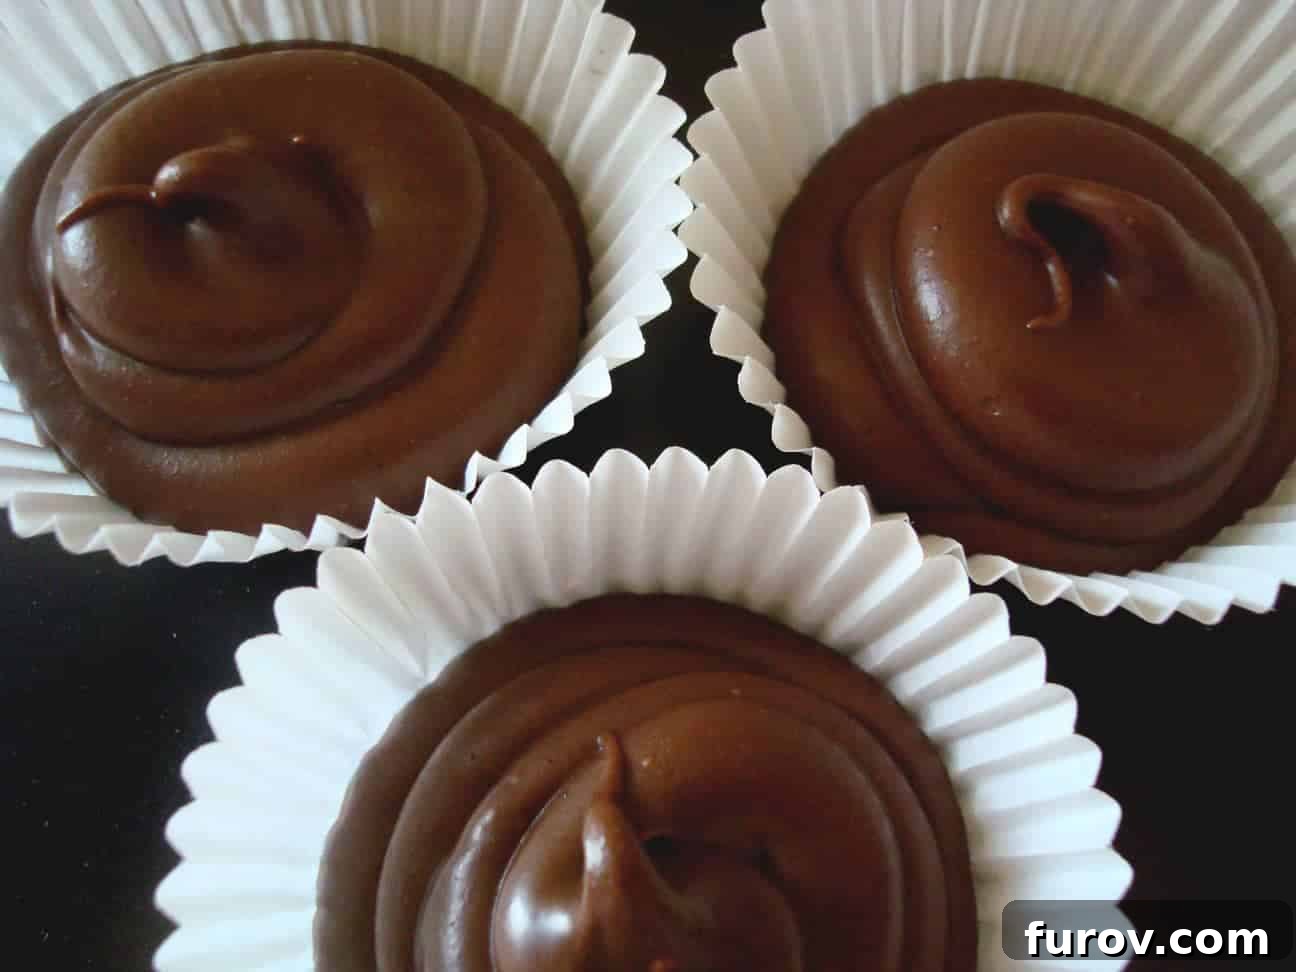
Discover the ultimate recipe for homemade solid peanut butter cups. Boasting a remarkably soft and creamy texture, these treats deliver the perfect harmony of rich peanut butter and decadent chocolate in every bite. Forget the store-bought versions – this recipe will change your dessert game forever!
There are some culinary memories that simply stick with you. For me, it was a batch of homemade peanut butter cups delivered by a dear friend years ago, right after I welcomed a new baby into the world. My friend’s reputation for baking preceded her; her treats were nothing short of legendary, and receiving a personal delivery felt like an immense honor. Little did I know, these particular peanut butter cups would embark me on a quest to recreate perfection.
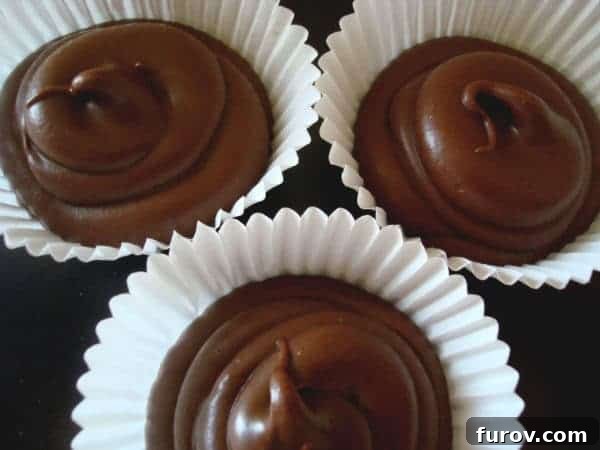
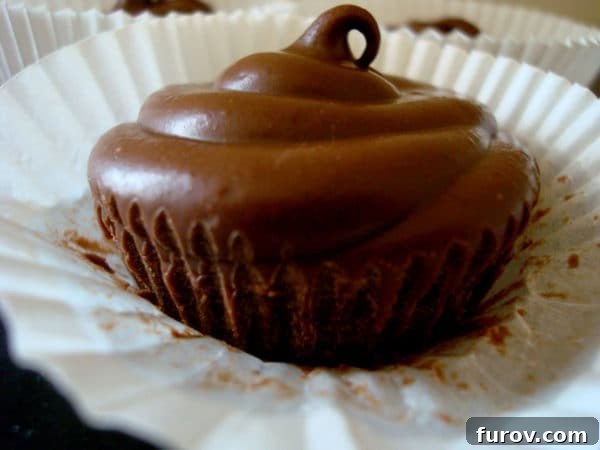
With eager anticipation, I took my first bite, and a delightful surprise awaited me: there was no separate peanut butter filling! Instead, the entire chocolate cup was infused with the lusciousness of peanut butter, creating an intensely creamy, melt-in-your-mouth experience that was utterly delicious and unlike any peanut butter cup I’d ever tasted. It was a revelation – a solid block of chocolate and peanut butter bliss, rather than a distinct shell and filling.
The Quest for a Secret Recipe
Naturally, I immediately asked my friend for the recipe, practically begging for her secret. She promised to bring it over, a promise that, despite numerous gentle reminders (I probably inquired at least ten times), never materialized. Her famous recipe remained tightly guarded. After two years of polite persistence and eventual resignation, I realized if I wanted these extraordinary treats again, I’d have to take matters into my own hands.
And so, my culinary detective work began. I meticulously experimented with different ratios and techniques, determined to unlock the magic behind those legendary solid peanut butter cups. The journey was filled with delicious (and sometimes not-so-delicious) trials, but the reward was immense. I am incredibly proud to say that I succeeded! Dare I say, my recreated homemade solid peanut butter cups are even better than the original I first tasted. (That’s what you get for not sharing, right? An improvement on her legendary cups, indeed!). What I adore most about these beautiful confections is their consistently soft and creamy texture, achieved through a seamless blend of high-quality peanut butter and rich chocolate.
Why These Solid Peanut Butter Cups Are Unforgettable
Unlike traditional peanut butter cups that feature a distinct chocolate shell encasing a crumbly or gooey peanut butter filling, our solid peanut butter cups offer a unique, uniform consistency. The peanut butter is thoroughly integrated with the chocolate, creating a dense, rich, and velvety treat that melts beautifully in your mouth. This isn’t just a dessert; it’s an experience. The simplicity of the ingredients belies the incredible depth of flavor and luxurious texture.
They are also incredibly easy to make, requiring no baking whatsoever. This makes them a perfect last-minute dessert, a fun activity with kids, or a thoughtful homemade gift. Plus, controlling the quality of your ingredients means you can tailor them exactly to your taste, ensuring a superior product every time. Whether you’re a devout chocolate lover, a peanut butter enthusiast, or simply someone who appreciates a truly satisfying sweet treat, these solid peanut butter cups are guaranteed to become a new favorite.
Solid Peanut Butter Cups Recipe
12
peanut butter cups
15
mins
15
mins
Pin Recipe
Rate This Recipe
Ingredients
-
12 ounces
(340 g)
melted chocolate, I used 9 ounces semi-sweet squares and 3 ounces white chocolate squares for a balanced flavor and color. -
1 cup
(255 g)
creamy peanut butter (ensure it’s not a natural, oil-separated variety for best texture) -
½ cup
(57 g)
confectioner’s sugar (also known as powdered sugar) -
½ teaspoon
vanilla extract (pure vanilla for the best flavor)
Instructions
-
Prepare your chocolate: Melt your chosen chocolate according to package directions. You can use a microwave in short bursts (30 seconds at a time, stirring well after each) or a double boiler. Be careful not to overheat the chocolate, as this can cause it to seize or burn. For optimal flavor and appearance, I recommend melting the semi-sweet and white chocolate separately before gently combining them. This allows for better control over the melting process for each type. Allow the melted chocolate mixture to cool slightly but remain pourable.
-
Combine ingredients: To the slightly cooled melted chocolate, add the creamy peanut butter, confectioner’s sugar, and vanilla extract. Mix thoroughly until all ingredients are fully incorporated and the mixture is smooth, consistent, and lump-free. The mixture should be thick but still easy to work with. If it seems too stiff, you can gently warm it for a few seconds (microwave on low power) to soften it slightly, but avoid making it too runny.
-
Fill the cups: Line a mini muffin pan with small paper baking cups. Spoon or pipe the chocolate-peanut butter mixture into each baking cup. A decorating bag with a large round tip can help create neat, professional-looking cups. Alternatively, two spoons can work just as well. Fill each cup almost to the brim. For an extra smooth top, gently tap the muffin pan on the counter a few times to release any air bubbles and level the surface.
-
Chill and set: Carefully transfer the muffin pan with the filled cups to the refrigerator. Chill for at least 30-60 minutes, or until the peanut butter cups are completely firm and set. This chilling process is crucial for achieving their solid, creamy texture. Once set, they can be stored at room temperature or in the refrigerator, depending on your preference for firmness. Enjoy these delightful homemade treats!
Notes & Tips for Success
Peanut Butter Choice: For the creamiest texture and easiest mixing, use a processed, creamy peanut butter (like Jif or Skippy) rather than a natural, oil-separated variety. Natural peanut butter can alter the consistency and make the mixture more oily.
Preventing Seized Chocolate: When melting chocolate, ensure no water gets into it, as this will cause it to seize and become grainy. Melt slowly and stir continuously. If using a microwave, stir every 15-30 seconds.
Tempering (Optional, but recommended for shine): While not strictly necessary for this recipe, tempering chocolate can give your peanut butter cups a beautiful shine and a snappier texture. If you’re new to tempering, look up simple microwave tempering methods for beginners.
Flavor Variations: Feel free to experiment! A pinch of sea salt sprinkled on top before chilling enhances the chocolate and peanut butter flavors beautifully. You could also add a touch of cinnamon or a tiny dash of cayenne pepper for a subtle kick.
Serving and Storage: These peanut butter cups are best served chilled or at cool room temperature. Store them in an airtight container in the refrigerator for up to 2 weeks, or in the freezer for up to 2 months. If freezing, allow them to thaw slightly at room temperature before enjoying for the best creamy texture.
Mel
Dessert
American
No-Bake
Nutrition Information (Per Serving)
Approximate values:
- Serving: 1 Peanut Butter Cup
- Calories: 290kcal
- Carbohydrates: 26g
- Protein: 7g
- Fat: 21g
- Saturated Fat: 8g
- Sodium: 103mg
- Fiber: 3g
- Sugar: 21g
Recommended Products for This Recipe
Frequently Asked Questions about Solid Peanut Butter Cups
Q: What’s the difference between solid and traditional peanut butter cups?
A: Traditional peanut butter cups typically have a distinct chocolate shell filled with a separate, often crumbly or soft, peanut butter mixture. Solid peanut butter cups, like this recipe, blend the chocolate and peanut butter together uniformly, creating a single, creamy, dense texture throughout the entire cup, without a separate filling.
Q: Can I use natural peanut butter for this recipe?
A: It is generally recommended to use creamy, processed peanut butter (like Jif or Skippy) for this recipe. Natural peanut butter, which often separates, can result in a more oily or less consistent texture in the final product. If you do use natural peanut butter, ensure it’s thoroughly stirred and as smooth as possible.
Q: How can I make these peanut butter cups vegan or dairy-free?
A: To make these treats vegan or dairy-free, simply use dairy-free chocolate chips or bars (ensure they are certified vegan) and a vegan-friendly creamy peanut butter. The other ingredients (confectioner’s sugar, vanilla) are typically already vegan.
Q: What if my chocolate mixture becomes too stiff to work with?
A: If the mixture cools too much and becomes stiff, you can gently reheat it. Place the bowl back over a double boiler or microwave it in very short bursts (5-10 seconds), stirring well after each interval, until it returns to a workable consistency. Be careful not to overheat.
Q: How long do these solid peanut butter cups last?
A: When stored in an airtight container in the refrigerator, these peanut butter cups can last for up to two weeks. They can also be frozen for up to two months. If frozen, let them sit at room temperature for a few minutes before eating to enjoy their creamy texture.