
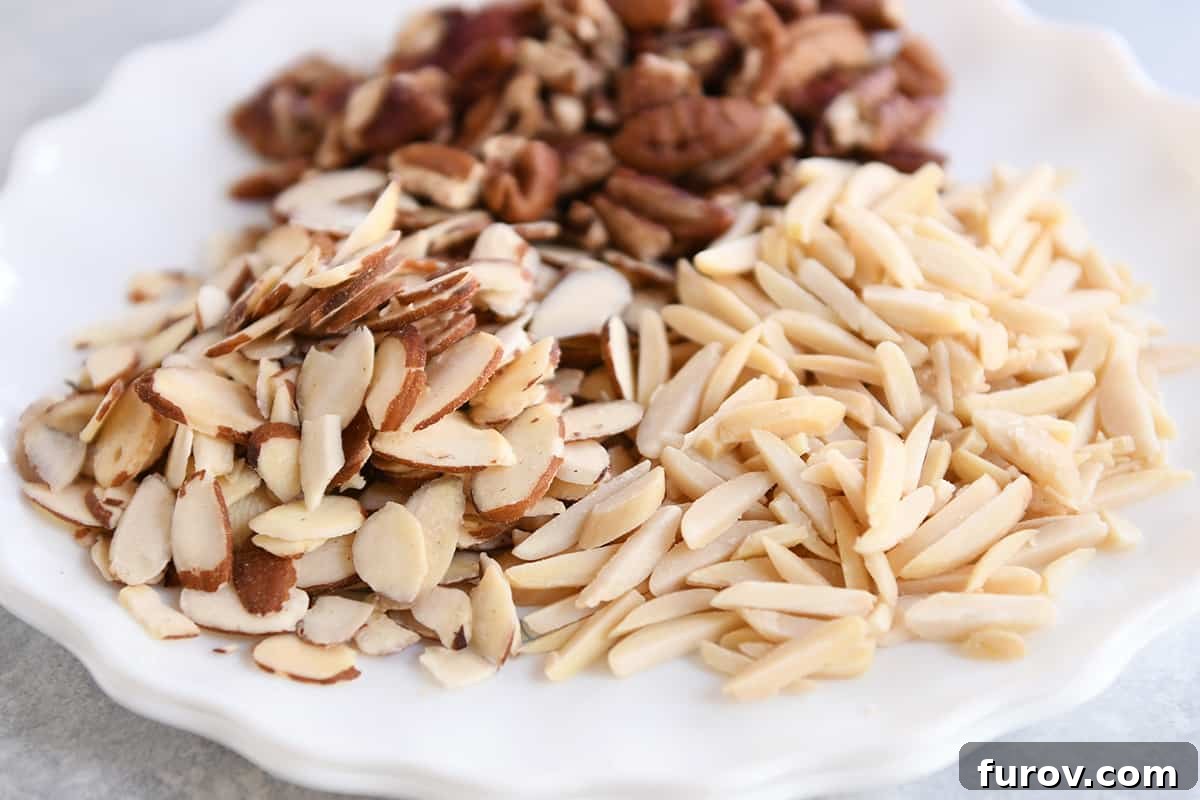
Mastering the Microwave: Your Ultimate Guide to Perfectly Toasted Nuts Every Time
Have you ever dreamed of perfectly toasted nuts without the stress and the risk of burning? If so, you’re in the right place! Discover how to achieve beautifully golden, flavorful nuts in minutes using just your microwave. Prepare for your kitchen routine to be revolutionized!
For many home cooks, the idea of toasting nuts can be a source of unexpected anxiety. The delicate balance between raw and perfectly golden, or worse, completely incinerated, often feels like a tightrope walk. Whether it’s almonds, pecans, pine nuts, or walnuts, it’s all too easy to walk away for a moment and return to the tell-tale scent of scorched nuts, ruining not just the batch but often lingering in the air for days.
This common kitchen mishap leads to wasted ingredients and a sense of defeat. But what if there was a method that offered consistent results, minimal effort, and significantly reduced the chance of burning? A method so simple, yet so effective, that it changes the way you approach nut preparation forever? Well, get ready, because that method exists, and it’s right there in your kitchen appliance: the microwave.
The revelation that nuts can be toasted in the microwave, not just adequately but perfectly, often comes as a surprise to many. It certainly did to me! A kind reader shared this ingenious tip, and it genuinely transformed my cooking. Gone are the days of constant vigilance over a hot skillet or repeatedly opening an oven door to check on fragile nuts. The microwave method offers unparalleled convenience and impressive results that even discerning palates, like those of children in a blind taste test, couldn’t differentiate from conventionally toasted nuts.
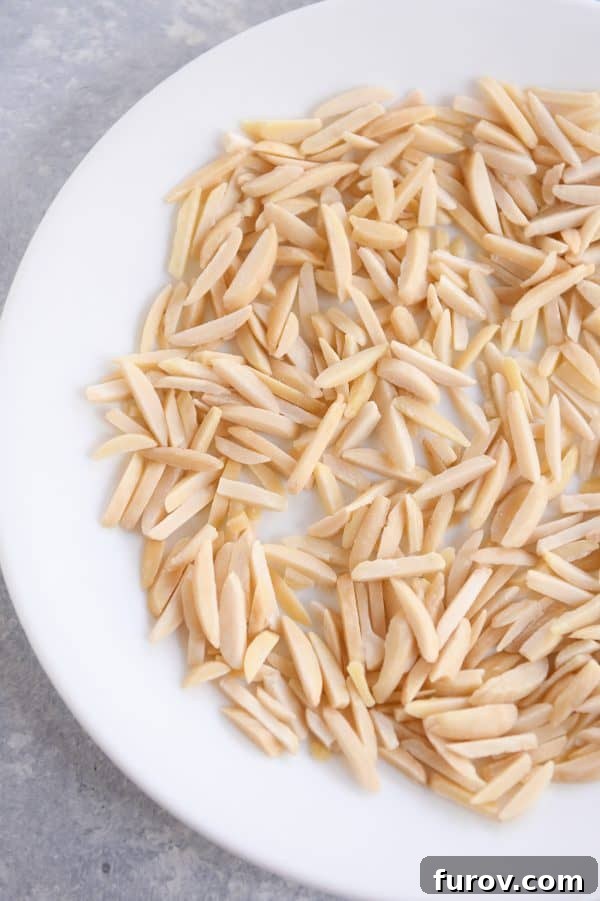
This simple technique is a true game-changer. Imagine spreading your favorite nuts in a single, even layer on a microwave-safe plate and zapping them in short bursts until they reach a state of aromatic, golden perfection. No strange textures, no off-flavors – just pure, delicious toasted nuts ready to enhance your culinary creations. If you’ve never considered this before, prepare to be amazed. This quick and easy hack is something you simply must try!
Why Toast Nuts in the First Place? Unlocking Deeper Flavor and Texture
Before diving into the “how-to,” let’s briefly discuss the “why.” Toasting nuts isn’t just an extra step; it’s a crucial process that dramatically elevates their flavor and texture. Raw nuts, while healthy, often have a milder, sometimes slightly bitter taste. Heat, especially dry heat, helps to:
- Intensify Flavor: Toasting brings out the natural oils in nuts, deepening their inherent nutty flavor and making them more aromatic. It transforms subtle notes into rich, complex tastes.
- Improve Aroma: The warmth releases fragrant compounds, filling your kitchen with a delightful scent that hints at the deliciousness to come.
- Enhance Texture: Toasting adds a satisfying crunch that’s absent in raw nuts. This textural contrast is especially appealing in salads, baked goods, and savory dishes.
- Boost Visual Appeal: The golden-brown hue of toasted nuts makes them more appealing as a garnish or ingredient.
Whether you’re sprinkling them over a salad, stirring them into granola, baking them into cookies, or just enjoying them as a snack, toasted nuts are undeniably superior. And with the microwave method, achieving this superior quality has never been easier or faster.
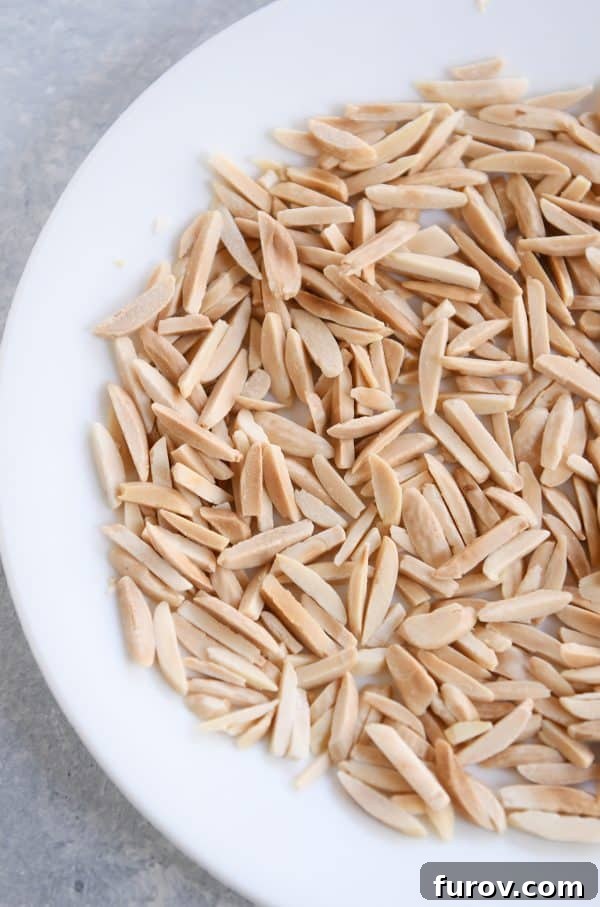
The Microwave Method: A Revolution in Nut Preparation
The microwave offers a significant advantage over traditional methods like stovetop or oven toasting, especially for smaller batches and busy schedules. Here’s why it’s so revolutionary:
- Speed: No preheating required! The microwave heats nuts incredibly quickly, often taking only 5-10 minutes from start to finish. This is perfect when you need a handful of toasted nuts for a recipe right now.
- Convenience: It’s a hands-off approach for most of the cooking time, only requiring brief interruptions for stirring. You don’t need to constantly watch a skillet or wait for an oven to preheat.
- Reduced Risk of Burning: While still possible to burn nuts in a microwave (if neglected completely), the 1-minute interval approach makes it much harder to over-toast them compared to a skillet where they can go from perfect to charcoal in seconds. The ability to stir frequently helps ensure even heating and prevents scorching.
- Even Toasting: Microwaves work by exciting water molecules within the food, generating heat from the inside out. When nuts are spread in an even layer and stirred, this method can lead to remarkably uniform toasting.
Forget the days of smoke alarms and the lingering scent of burnt nuts. This simple, efficient method will forever change your approach to adding that perfect nutty crunch to your dishes.
Step-by-Step Guide: How to Toast Nuts in the Microwave
Ready to experience the magic? Here’s a detailed, foolproof guide to toasting any type of nut in your microwave:
Ingredients:
- ½ cup shelled nuts (chopped or whole – almonds, pecans, walnuts, pine nuts, cashews, etc.)
Equipment:
- Microwave-safe plate or dish (a glass pie plate or a large dinner plate works perfectly)
- Oven mitts or pot holders
Instructions:
- Prepare Your Nuts: Start with raw, unsalted nuts for the best flavor control. While you can toast salted nuts, unsalted allows you to add seasoning after toasting if desired. Ensure your nuts are dry.
- Choose Your Dish: Select a microwave-safe plate or shallow dish. A wider, flatter surface is ideal as it allows for a single, even layer of nuts, which is crucial for uniform toasting. Avoid deep bowls or piling nuts high.
- Spread Evenly: Arrange about 1/2 cup of nuts in a single, even layer on your chosen plate. It’s important that the nuts are not piled on top of each other. If you have more nuts, toast them in separate batches. Overcrowding will lead to uneven toasting.
- Microwave in Intervals: Place the plate in the microwave and microwave for 1-minute intervals. The exact time will vary greatly depending on your microwave’s wattage and the type/size of nuts.
- Stir and Observe: After each 1-minute interval, carefully remove the plate (it will be hot, so use oven mitts!). Give the nuts a good stir or toss them to ensure they heat evenly and prevent hot spots. Return to the microwave for another minute.
- Monitor for Doneness: Repeat the 1-minute microwaving and stirring process. Pay close attention to the nuts after about 3-4 minutes. You’ll start to notice a few key signs:
- Aroma: A rich, nutty fragrance will begin to fill your kitchen.
- Color Change: The nuts will develop a slightly golden hue. This can be subtle, so look closely.
- Sizzling: As the nuts warm up, you might hear a faint sizzling sound as their natural oils heat.
The nuts are done when they are fragrant, lightly golden, and have a slight crunch when cooled. They will continue to crisp up as they cool.
- Cool Down: Once toasted to your liking, remove the plate from the microwave. Spread the nuts out on a clean, cool surface (another plate or a cutting board) to stop the cooking process quickly and allow them to crisp up. Let them cool completely before storing or using.
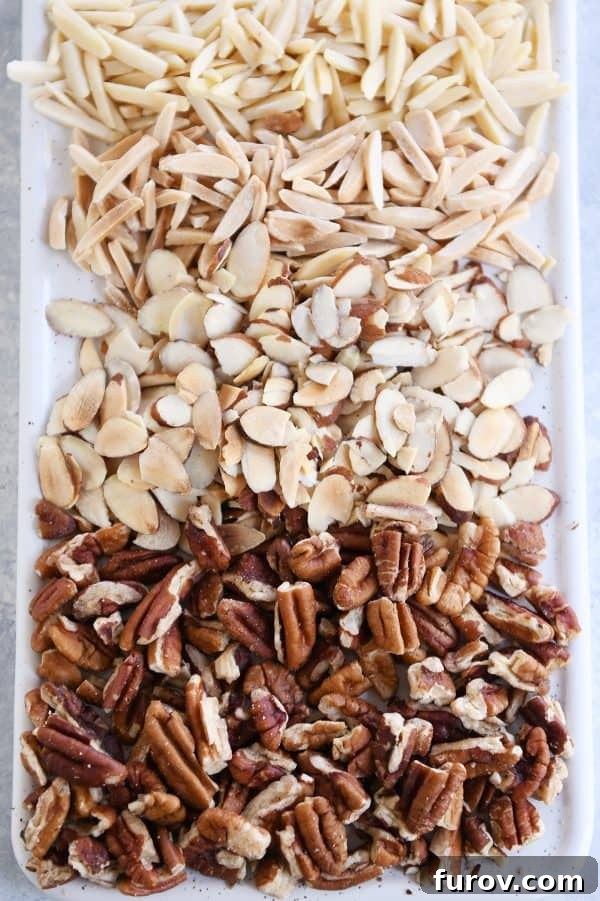
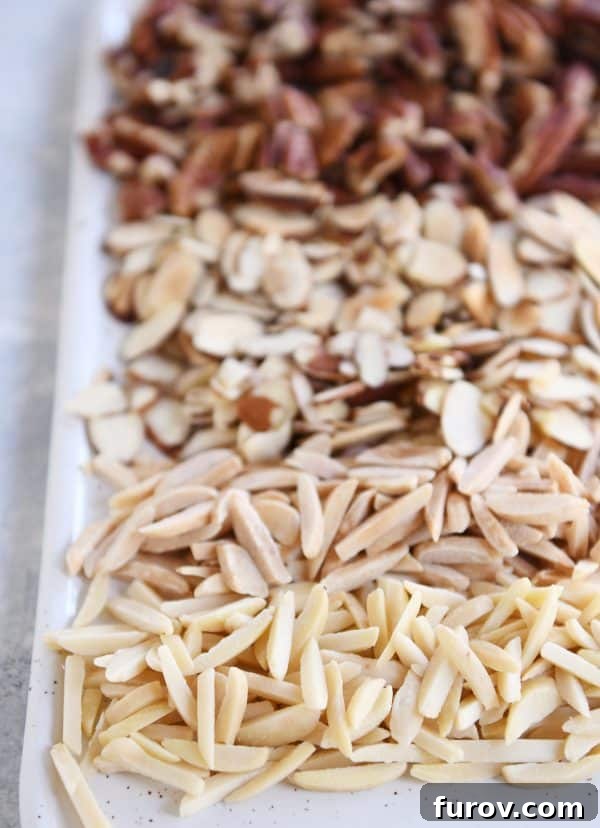
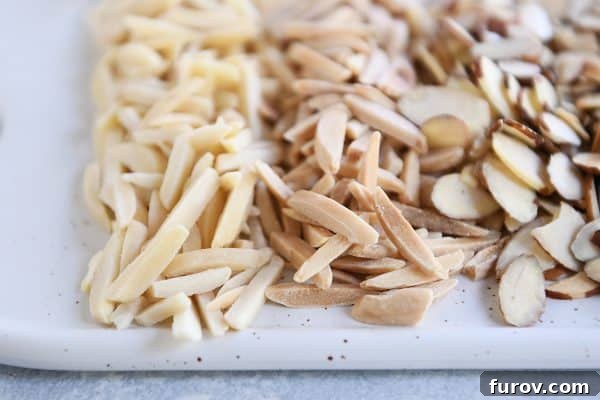
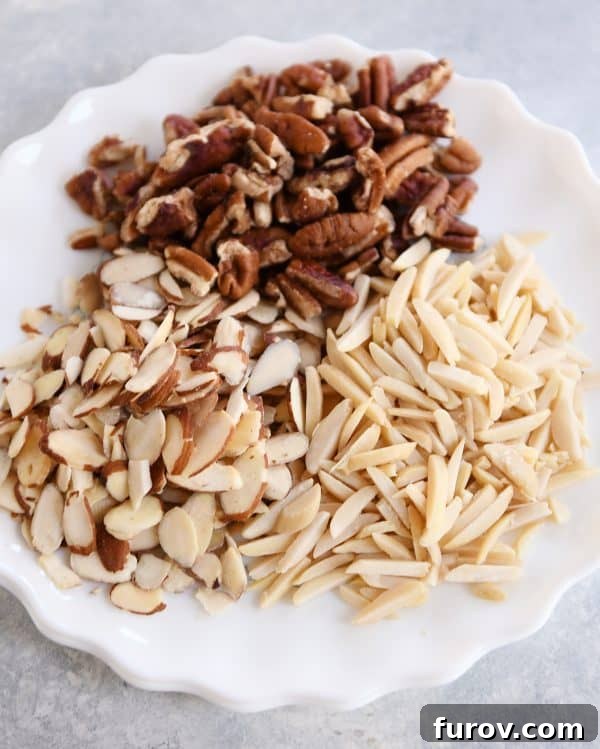
Notes: In my 1000W microwave, slivered almonds and pecan pieces usually take about 6-7 1-minute intervals (totaling 6-7 minutes), while sliced almonds may take slightly less time. Always watch closely, as every microwave is different!
Essential Tips for Microwave Toasting Success
While the microwave method is straightforward, a few key considerations will ensure perfect results every time:
- Microwave Wattage Matters: Not all microwaves are created equal. A higher wattage microwave (e.g., 1000W-1200W) will toast nuts faster than a lower wattage one (e.g., 600W-800W). The first time you try this, stay extra vigilant and note down the optimal timing for your specific appliance.
- Nut Type and Size: Different nuts have different densities and moisture levels, affecting their toasting time.
- Smaller, thinner nuts (like pine nuts, slivered almonds, sliced almonds): Toast faster, require closer monitoring.
- Larger, denser nuts (like whole pecans, walnuts, cashews, hazelnuts): May take slightly longer.
Adjust your intervals accordingly, always erring on the side of shorter bursts initially.
- Avoid Overcrowding: This cannot be stressed enough. A single, even layer is paramount. If nuts are stacked, they will steam rather than toast, and the ones on the bottom or center will remain untoasted while the outer ones might burn.
- Listen and Smell: Your senses are your best tools. The moment you start to smell that rich, nutty aroma, and perhaps hear a faint crackling or sizzling, the nuts are likely very close to being done. Don’t wait until they look dark brown in the microwave, as they continue to cook from residual heat.
- The “Life on the Edge” Trick (Use with Caution): For those who are confident in their microwave’s power and their ability to react quickly, you can try starting with a 2-minute interval for larger batches of whole nuts, followed by 1-minute intervals and tossing. However, this significantly increases the risk of burning, so only attempt if you are prepared to potentially sacrifice a batch of nuts. For beginners, stick to 1-minute intervals.
- Cool Completely: Always let your toasted nuts cool completely before adding them to a recipe or storing them. This allows them to crisp up properly and prevents them from getting soggy.
Troubleshooting Common Microwave Nut Toasting Issues
Even with the most foolproof methods, sometimes things go awry. Here’s how to troubleshoot common issues:
- Nuts Not Toasting Evenly:
- Solution: Ensure a single, even layer. Use a wider plate. Stir more frequently (every 30 seconds if necessary). If you’re toasting a large amount, divide it into smaller batches.
- Nuts Burning:
- Solution: You likely microwaved them for too long in a single burst or didn’t stir often enough. Reduce your interval times, watch them like a hawk, and remove them immediately when they show signs of doneness. Unfortunately, burnt nuts cannot be salvaged; discard and start fresh with a shorter time.
- Nuts Not Getting Golden Enough:
- Solution: Your microwave might be lower wattage, or the nuts might be particularly dense. Simply continue microwaving in 1-minute intervals, stirring in between, until you achieve the desired color and aroma. Patience is key.
Storing Your Perfectly Toasted Nuts
Once your nuts are beautifully toasted and completely cooled, proper storage is key to maintaining their fresh flavor and crisp texture:
- Airtight Container: Always store toasted nuts in an airtight container to prevent them from absorbing moisture and going stale.
- Room Temperature: For short-term use (a few days to a week), they can be kept in a cool, dark pantry.
- Refrigerator: For longer storage (up to a month), store them in the refrigerator. This helps to prevent the oils from turning rancid.
- Freezer: For extended freshness (several months), transfer them to a freezer-safe bag or container and freeze. They can be used directly from the freezer in most recipes.
Creative Uses for Your Microwave-Toasted Nuts
Now that you’re a microwave nut-toasting master, the culinary possibilities are endless! Here are just a few ideas to inspire you:
- Salads: Add a delightful crunch to green salads, fruit salads, or grain bowls.
- Baked Goods: Incorporate into cookies, muffins, breads, cakes, and brownies for added flavor and texture.
- Breakfast Boost: Sprinkle over oatmeal, yogurt, granola, or pancakes.
- Savory Dishes: Use as a topping for roasted vegetables, pasta dishes, stir-fries, or even in homemade pesto.
- Snacks: Simply enjoy them on their own as a healthy, satisfying snack.
- Dessert Topping: Garnish ice cream, sundaes, or fruit crisps.
Beyond Nuts: Toasting Other Items in the Microwave
The wonders of microwave toasting don’t stop at nuts! This same method can be applied to other ingredients, expanding your repertoire of quick kitchen hacks:
- Coconut: Just like nuts, shredded or flaked coconut can be toasted in the microwave using short intervals and frequent stirring. It’s fantastic for adding tropical flavor and crunch to desserts or curries.
- Seeds: Smaller seeds like sesame seeds, sunflower seeds, or pumpkin seeds can also be lightly toasted. They may require even shorter intervals and more constant attention due to their size.
This technique truly opens up a world of quick flavor enhancements, saving you time and effort in the kitchen.
How to Toast Nuts in the Microwave
Ingredients
- ½ cup shelled nuts, chopped or whole
Instructions
-
Place the nuts in an even layer on a microwave-safe plate or dish (a glass pie plate works well).
-
Microwave for 1-minute intervals, removing the plate and tossing in between (plate will be hot so take care!), until the nuts are sizzling, golden, and toasted. The exact time will depend on microwave power/watts as well as the type/size of the nuts.
Notes
Recipe Source: Idea inspired by a reader, Ashley!
Beyond the Microwave: Other Kitchen Essential Guides
If this microwave nut toasting hack has changed your life, you’ll love these other simple kitchen tips and recipes designed to make your cooking experience easier and more enjoyable. From perfectly cooked grains to make-ahead baking, these guides will help you master more everyday culinary challenges.