
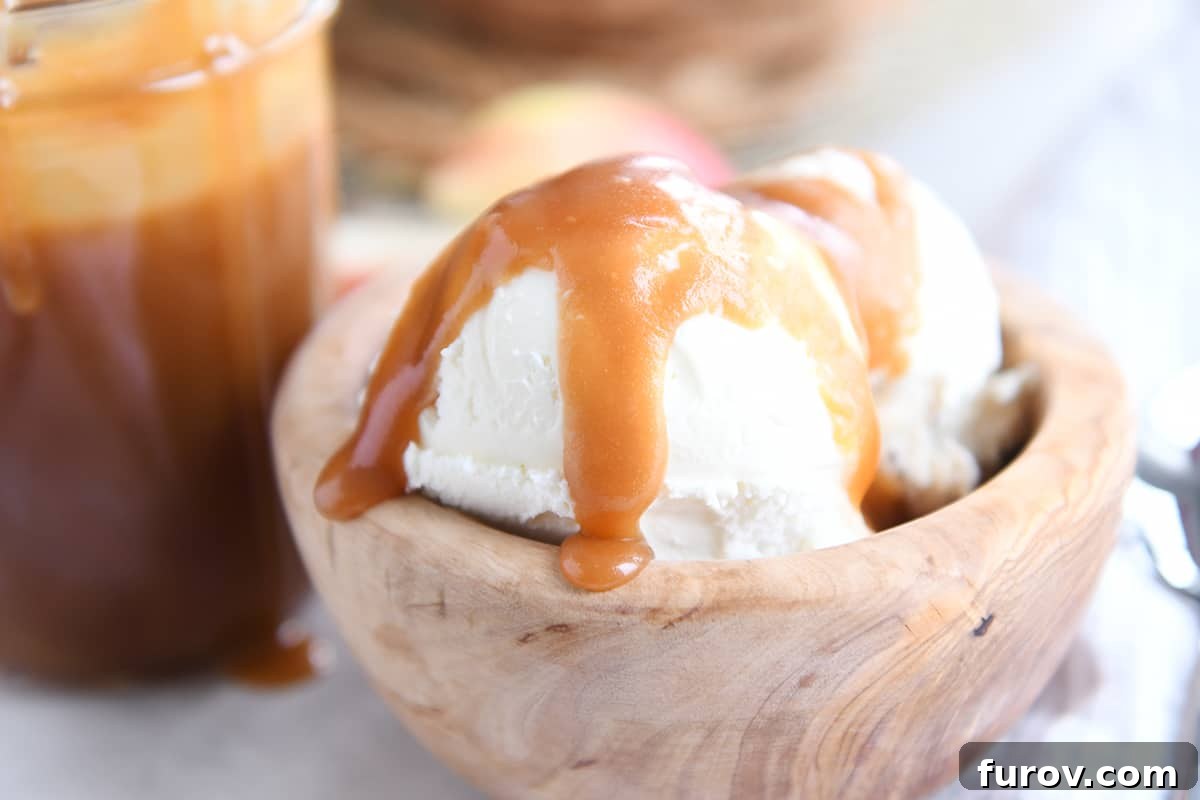
Sweet, buttery, and perfectly balanced with a hint of salt, this homemade caramel sauce is an absolute game-changer. Elevate everything from a simple scoop of ice cream to gourmet apples with this divinely smooth, rich, and utterly irresistible concoction.
There are certain culinary skills that transform a good home cook into a truly exceptional one, and mastering homemade caramel sauce is undoubtedly among them. It’s more than just a sweet topping; it’s a versatile staple that opens up a world of decadent possibilities in your kitchen. Forget about reaching for the store-bought versions; once you experience the deep, nuanced flavor and silky texture of authentic, scratch-made caramel, there’s simply no going back.
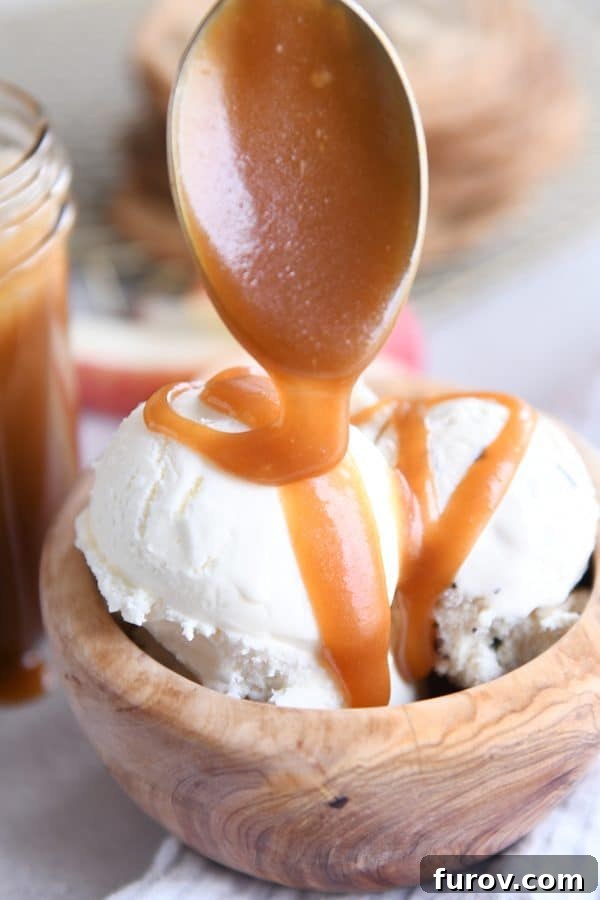
Making caramel from scratch is one of those gratifying culinary achievements that makes you feel like a true kitchen rock star. The process, while requiring attention, is surprisingly straightforward and yields a reward that far surpasses any shortcut. While there’s a time and place for simpler, quicker caramel recipes, today we’re diving into the art of creating a truly exceptional, cooked-sugar caramel sauce that boasts unparalleled depth of flavor, richness, and that signature buttery silkiness. And despite its gourmet appeal, I promise you, it's not nearly as difficult as you might imagine.
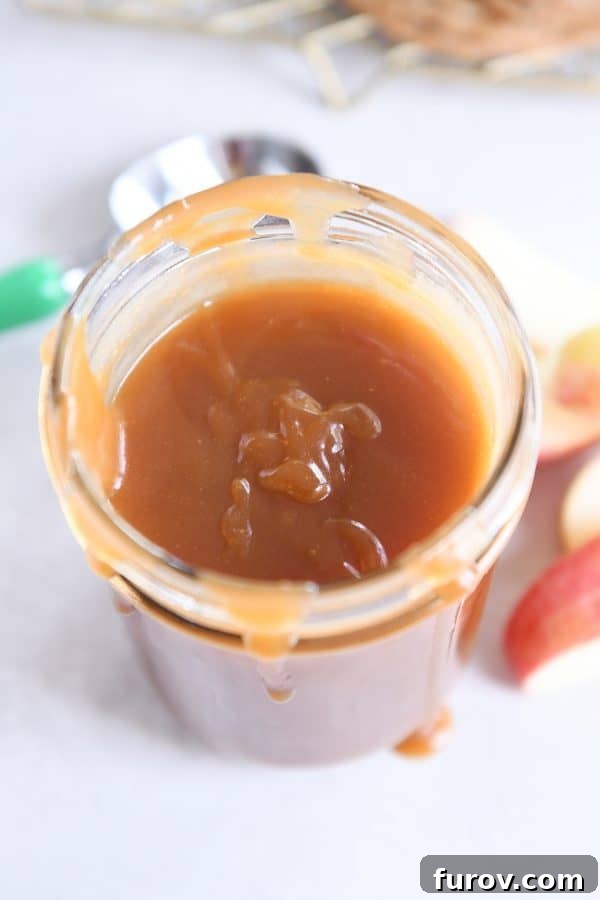
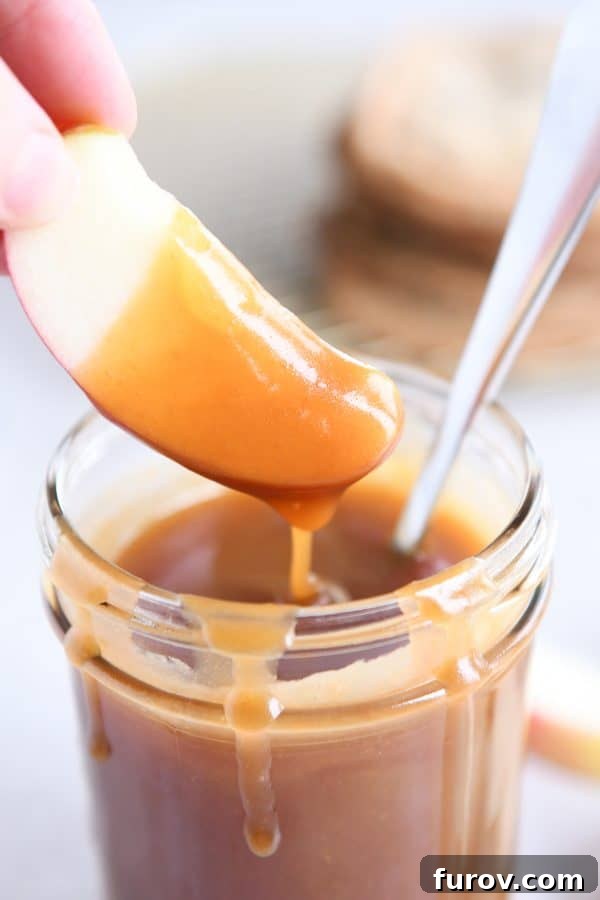
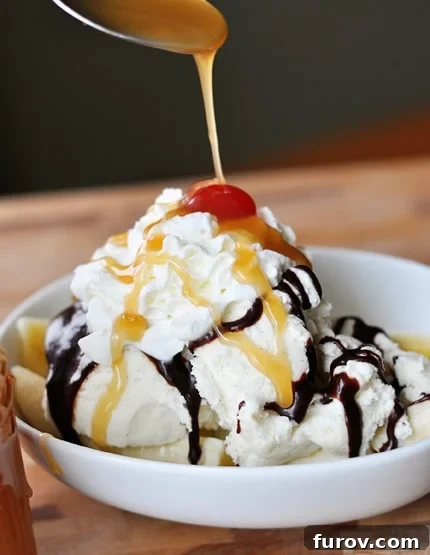
This luxuriously amazing homemade caramel sauce is your secret weapon for countless desserts. Imagine it cascading over a generous scoop of vanilla bean ice cream, enhancing the rich layers of a cheesecake, or transforming crisp apple slices into an elegant treat. Beyond these classic pairings, it’s also perfect for drizzling into your morning coffee, stirring into milkshakes, or simply enjoying by the spoonful straight from the jar – it's truly irresistible.
Always Have Homemade Caramel Sauce On Hand
Once you make a batch of this incredible caramel sauce, it’s almost guaranteed you’ll want to keep a jar in your refrigerator at all times. This sauce keeps remarkably well, making it ideal for meal prepping deliciousness or having on standby for unexpected dessert cravings. While it has an impressive shelf life in the fridge, typically several weeks, in our household, it rarely lasts that long! It's so delicious and versatile that it tends to disappear long before its expiration date.
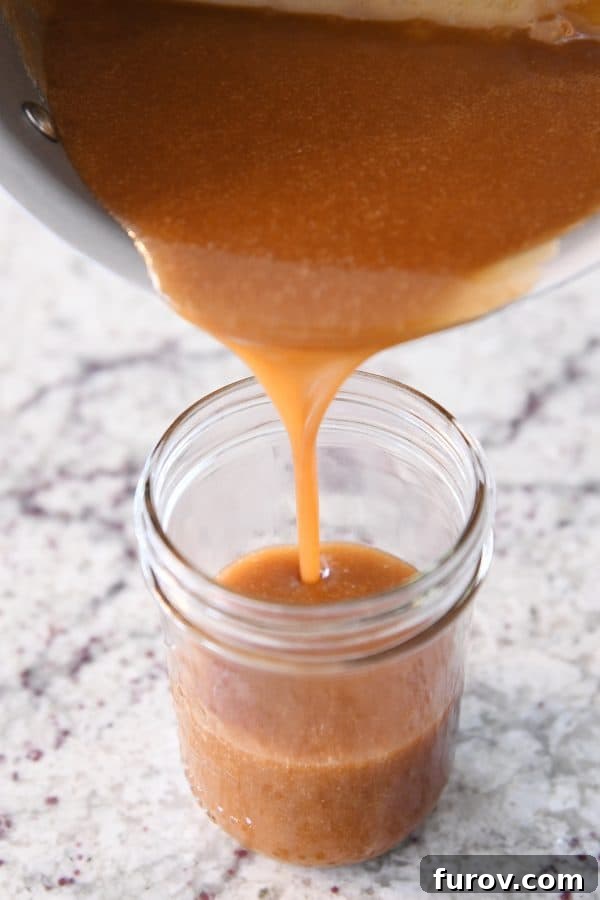
For storage, simply pour the warm caramel sauce into clean, airtight jars – mason jars work perfectly – and allow it to cool completely before sealing and transferring to the refrigerator. When it comes to reheating, a gentle warm-up on the stovetop over low heat or quick bursts in the microwave will bring it back to its pourable, silky consistency. I haven't personally tried freezing this particular caramel sauce, as its refrigerated shelf life is usually sufficient, but many caramel sauces freeze well for longer storage, if needed. Just ensure it's in a freezer-safe container, leaving a little headspace for expansion.
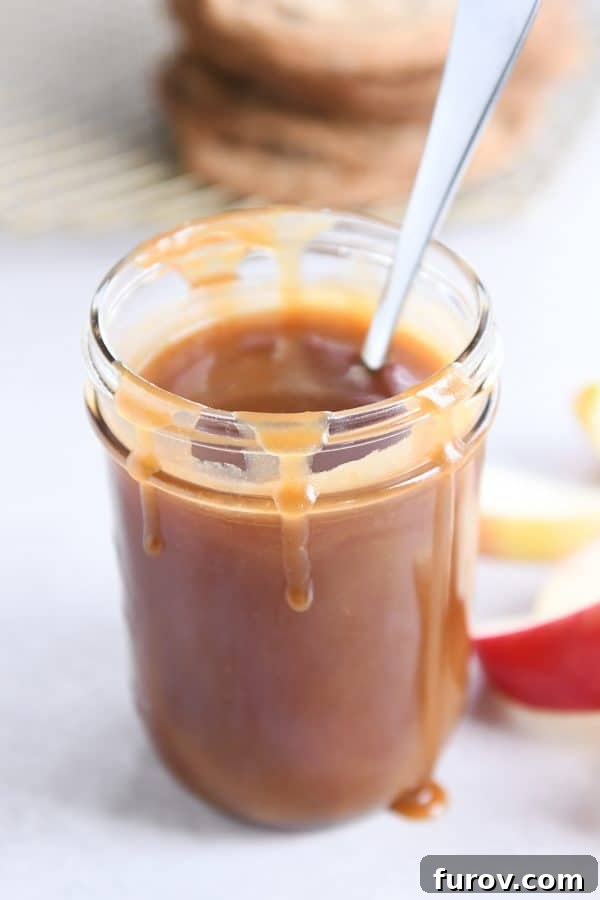
The Art of Making Homemade Caramel Sauce: A Step-by-Step Guide
Many homemade caramel recipes begin with just sugar, which, while traditional, can be quite challenging. Melting sugar on its own requires precise temperature control and can easily burn, leading to a bitter, unusable batch. Our recipe takes a gentler, more forgiving approach, starting with a simple mixture of sugar and water. This method significantly reduces the risk of burning and helps prevent crystallization, ensuring a smooth and successful caramel every time.
Getting Started: Sugar and Water
In a small, heavy-bottomed saucepan – the heavy bottom is crucial for even heat distribution, preventing hot spots that can scorch the sugar – combine the granulated sugar and water. Stir gently over low heat until the sugar has almost completely dissolved. It's important to stir slowly and carefully at this stage to avoid splashing sugar crystals onto the sides of the pan. These rogue crystals can act as "seeds" for crystallization later, turning your smooth caramel grainy.
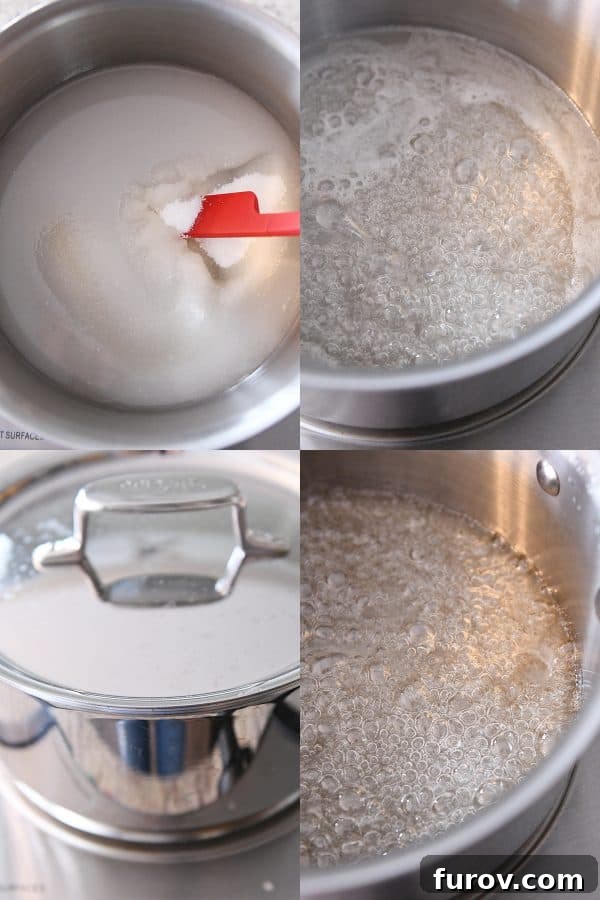
The Boiling Phase and Preventing Crystallization
Once the sugar is mostly dissolved, increase the heat to medium and bring the syrup to a boil. Now, here's a crucial tip: cover the saucepan with a lid and let the syrup boil vigorously for about 2 minutes. The steam created by covering the pot will wash down any sugar crystals that might have splashed onto the sides of the pan, effectively preventing them from falling back into the syrup and causing crystallization. This simple trick is a game-changer for achieving a perfectly smooth caramel.
After the initial covered boil, remove the lid. You’ll notice the syrup is clear and bubbly. Continue to cook, without stirring, over medium heat. At this stage, your focus shifts to watching the color change. As the water evaporates, the sugar will begin to caramelize. If you observe any hardened sugar crystals forming on the sides of the pan above the liquid, use a clean, wet pastry brush to gently wash them back down into the syrup. This is your primary defense against a grainy caramel.
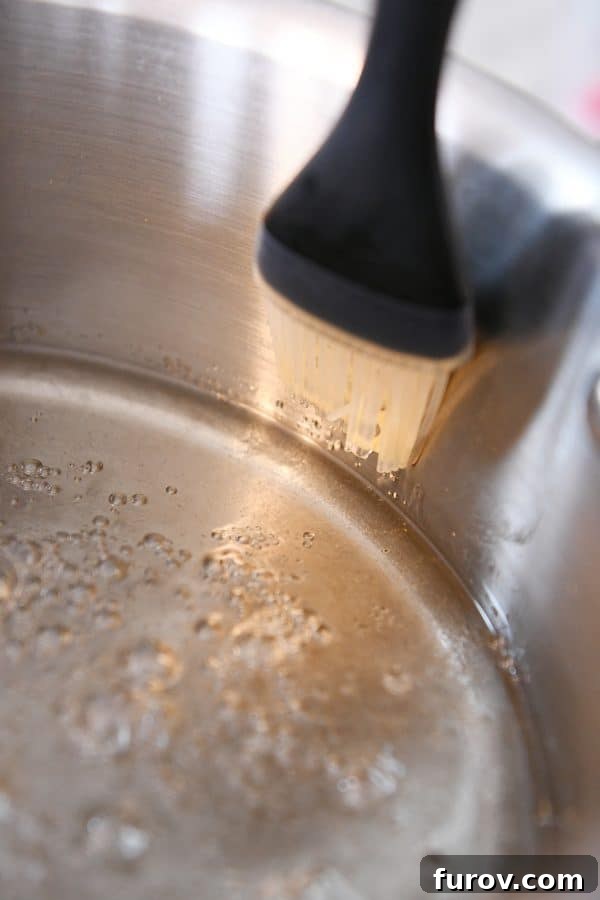
The Transformation: Color and Flavor
Maintain a moderate, steady medium heat. You’ll start to see the color slowly transform. It will progress from a clear syrup to a pale golden hue, then deepen into a rich honey or amber color. This color change indicates the sugar molecules are breaking down and forming new flavor compounds. The longer you cook it, the deeper the flavor becomes – from a subtle, sweet note to a rich, complex, almost nutty profile. This stage typically takes around 5-7 minutes, but stove heats vary, so vigilance is key.
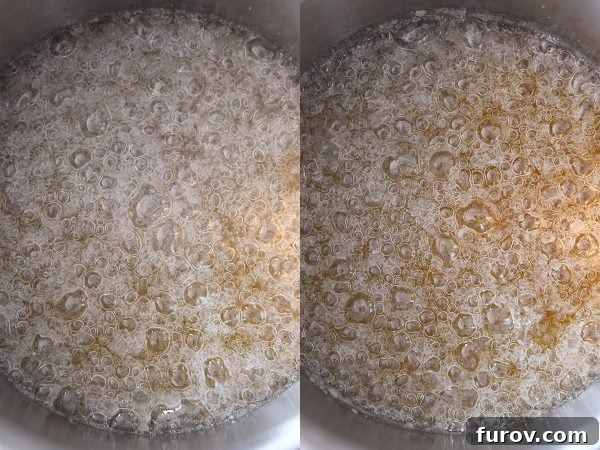
Continue cooking until the syrup reaches a deep amber, resembling the color of a dark copper penny or a rich maple syrup. This is the sweet spot for a well-balanced, flavorful caramel. However, a fair warning: caramel can transition from perfect amber to burnt very quickly. The difference between delicious and bitter can be a matter of seconds. Therefore, keep a very close eye on it during this final stage. It’s always better to err on the side of caution and pull it off the heat slightly too early than to risk burning it. A burnt caramel cannot be salvaged.
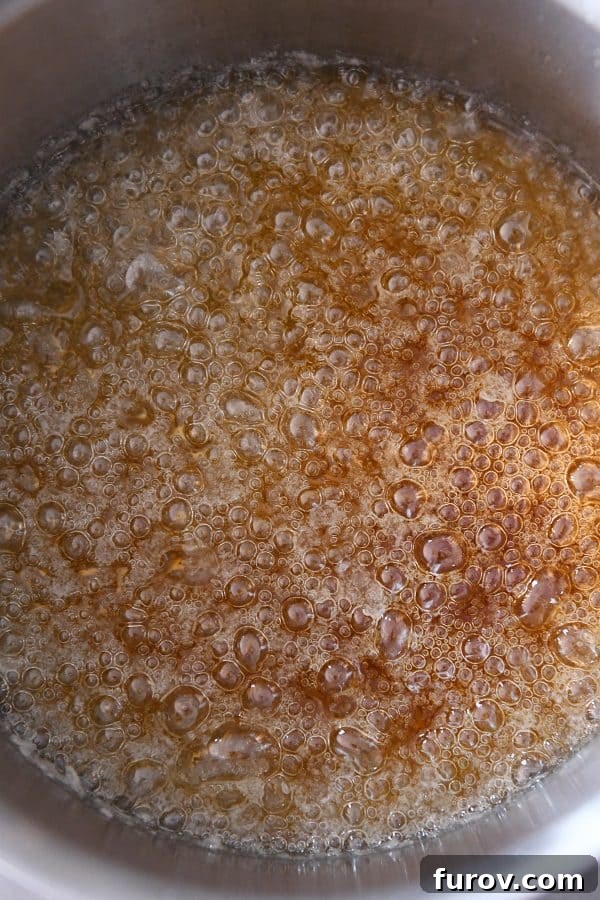
Enriching the Caramel: Butter, Cream, and Flavor
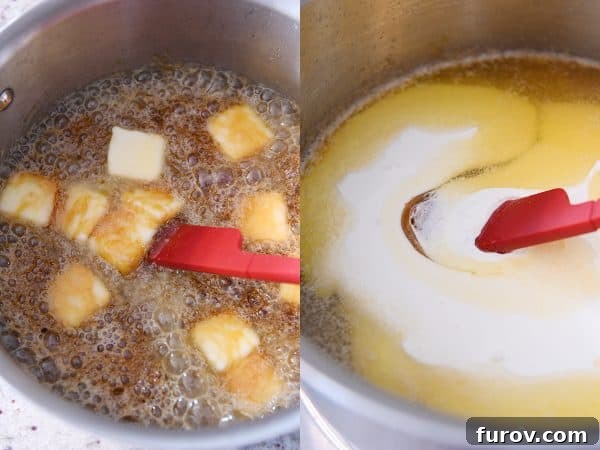
Once your sugar has reached that beautiful deep amber color, immediately remove the pan from the heat. Carefully add the butter, cut into pieces, and stir gently until it's completely melted and incorporated. The butter adds richness and a wonderful chewiness to the finished caramel. Next, slowly pour in the heavy cream. Be prepared for a vigorous bubbling and steaming reaction – this is normal! The cooler temperature of the cream will cause the hot sugar to bubble excitedly. Continue to stir until the mixture is smooth and fully combined. If the sauce appears a bit lumpy or resistant to whisking together, you can return it to very low heat for a moment, stirring constantly until it smooths out.
Finally, stir in the vanilla extract and a pinch of salt. The vanilla adds an aromatic depth, while the salt balances the sweetness and enhances all the other flavors, making the caramel truly pop. If you love salted caramel, feel free to add a bit more salt or even a sprinkle of flaky sea salt at the end for texture and a bolder salty kick.
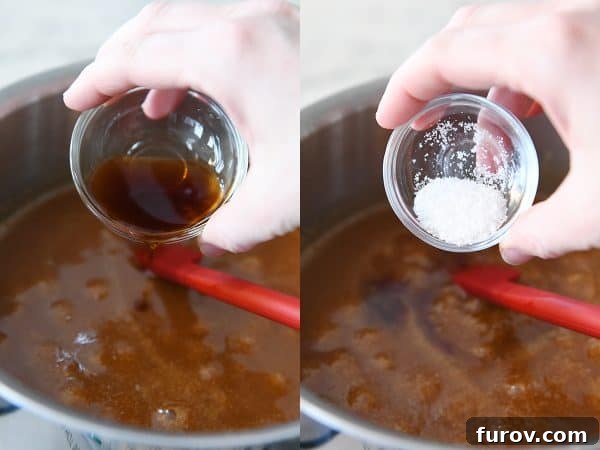
The sauce will bubble again after the vanilla is added. Continue stirring until everything is thoroughly combined and the caramel is uniformly smooth and luscious.
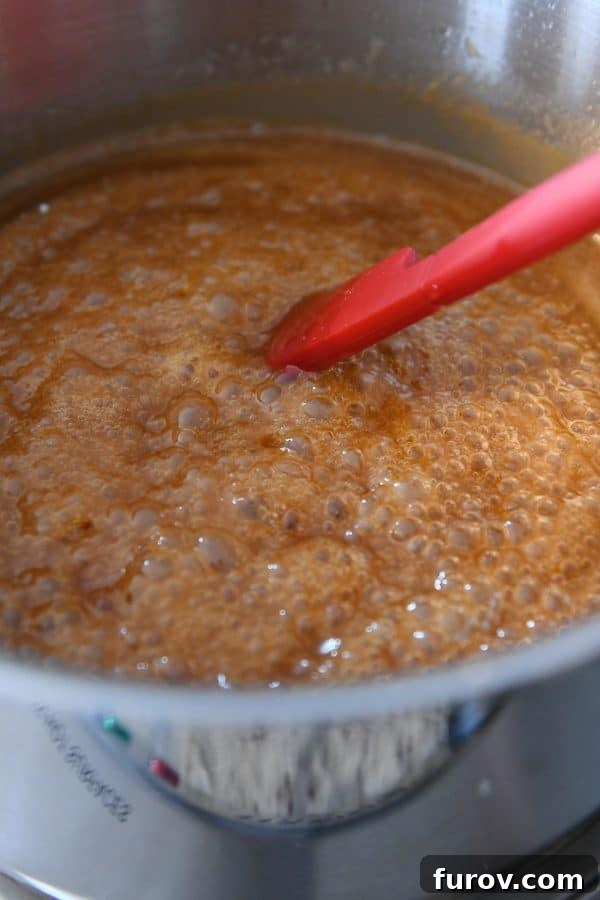
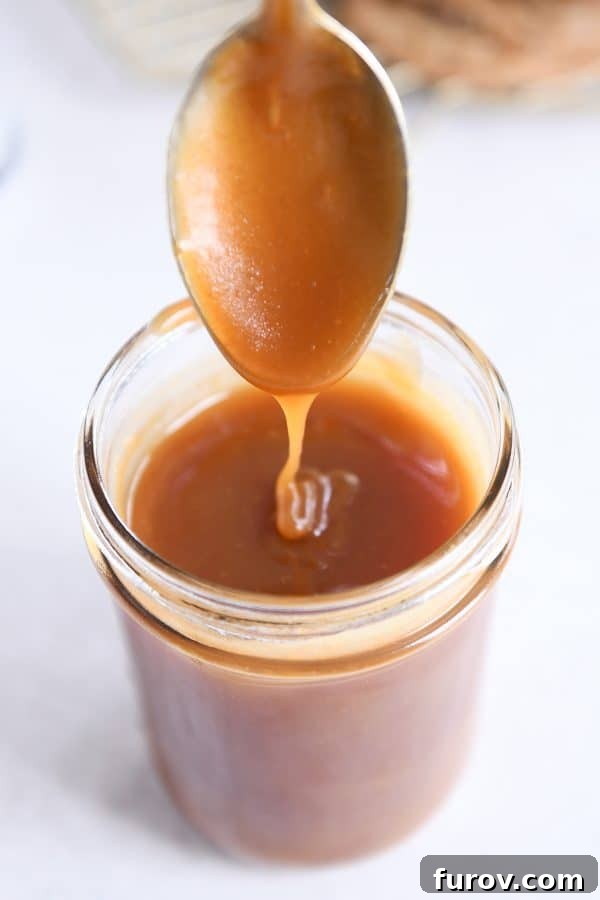
Allow the caramel sauce to cool in the pan, stirring occasionally, until it reaches a warm room temperature. As it cools, it will continue to thicken to that perfect pourable consistency. Once it's cooled, transfer it to a clean jar or an airtight container. If you plan to use or serve the sauce within the next 4-6 hours, it can happily rest on the counter. For longer storage, always refrigerate it.
Endless Ways to Enjoy Your Divine Caramel Sauce
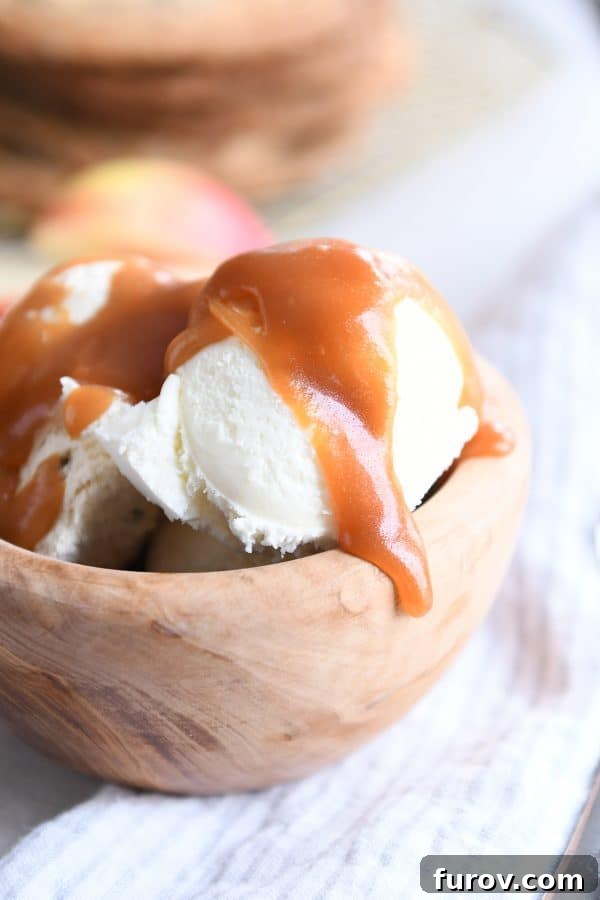
This homemade caramel sauce truly is divine. It’s our absolute favorite for building custom ice cream sundaes, offering a superior flavor to anything store-bought. It's also fantastic for swirling into milkshakes for an extra layer of decadence, or for elevating your morning coffee into a café-quality beverage. Beyond these, consider drizzling it over pancakes, waffles, or French toast for an indulgent breakfast treat. It pairs beautifully with baked goods like these caramel apple cheesecake bars, brownies, or even as a sophisticated topping for fruit tarts. Try it as a dip for pretzels, a glaze for cakes, or stirred into popcorn for a sweet and salty snack. Seriously, there's no wrong way to savor this incredible creation!
If the thought of making homemade caramel sauce has intimidated you in the past, I wholeheartedly encourage you to give this recipe a try! Following these clear, step-by-step instructions, it’s not nearly as daunting as it seems, and it comes together surprisingly fast. Much faster, in fact, than spending hours on a big batch of holiday caramels, making it a perfect quick-fix for a luxurious treat.
I recall one particularly memorable year when I made batch after batch of this very caramel sauce. I poured it into smaller, charming jars and gifted them to friends and neighbors as a unique alternative to the traditional Christmas cookie plate. It was an absolute hit, wildly accepted and appreciated by everyone who received it. To this day, I still get nostalgic requests from friends wondering if I'll be making "that amazing caramel sauce" again in December! It’s a testament to how truly special and beloved this recipe is.
One Year Ago: Kitchen Tip: Menu Planning 101
Two Years Ago: Peanut Butter Crunch Snack Balls
Three Years Ago: Chiang Mai Noodles
Recipe Source: from Joy of Cooking
Recipe originally published Jan 2011; updated May 2020 with new photos, recipe notes, etc.
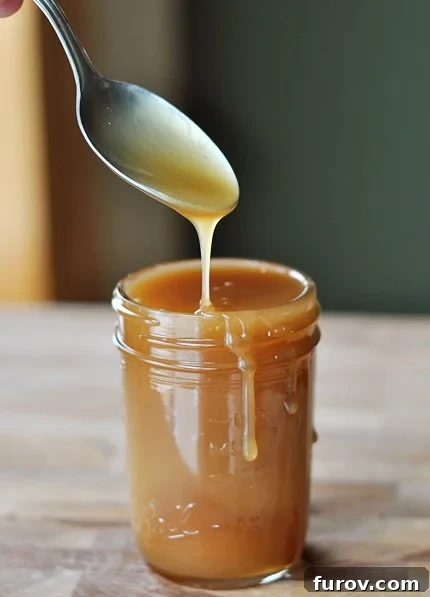
For a quick visual overview of the process, here's a step-by-step tutorial for the caramel sauce:
Homemade Caramel Sauce
Pin
Rate
SaveSaved!
Ingredients
- ¼ cup water
- 1 cup (212 g) granulated sugar
- ½ cup (113 g) salted butter, cut into 8 pieces
- ½ cup heavy cream
- 1 teaspoon vanilla
- Pinch of salt
Instructions
-
In a small, heavy saucepan, slowly combine the sugar and water, taking care not to let any of the mixture splash up onto the sides of the pan.
-
Cook the mixture over low heat until the sugar is mostly dissolved, stirring slowly (so sugar crystals don’t splash up the sides of the pan).
-
Increase the heat to medium and bring the syrup to a boil. Cover the saucepan and let the syrup boil for 2 minutes.
-
Uncover, reduce the heat to medium, and continue to boil, without stirring, until the edges start to turn golden brown. If there are hardened sugar crystals on the sides of the pan above the sugar mixture, wash them down with a wet pastry brush.
-
Continue cooking until the syrup turns a deep amber brown (see the pictures in the post), about 5-7 minutes. It will take more or less time depending on the heat of the stove, so watch closely.
-
Remove from the heat and add the butter. Gently stir until the butter is fully melted. Stir in the cream. If the sauce becomes lumpy and isn’t whisking together, set the pan over low heat and stir until smooth. Stir in the vanilla and salt. It will bubble when the vanilla is added.
-
Let the sauce cool until warm before transferring to a jar or other container to store in the refrigerator. Reheat on low on the stove or in the microwave as needed.