
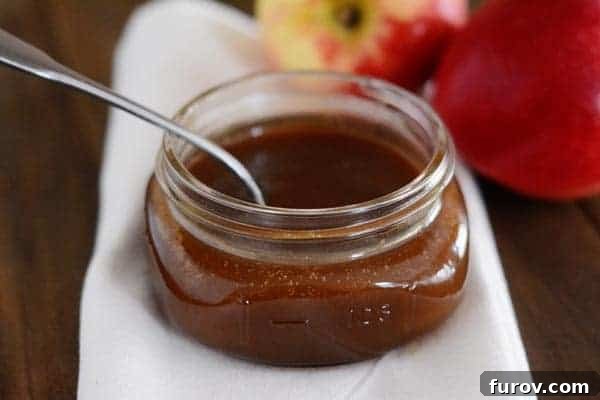
No tricky steps or candy thermometers needed! This decadent, silky caramel sauce takes only 10 minutes and is as good as any I’ve ever made! Say goodbye to store-bought and hello to homemade bliss.
Effortless 10-Minute Caramel Sauce: Your New Go-To Recipe for Decadent Sweetness
Prepare to have your dessert game revolutionized! Last week, I offered a tantalizing peek at this incredibly simple and utterly delicious caramel sauce nestled within my delectable caramel pear crisp. While it shone brightly there, I truly believe this versatile sauce deserves its own moment in the spotlight. It’s destined for a mission far greater than just enhancing fruit desserts—it’s here to elevate every sweet craving you have.
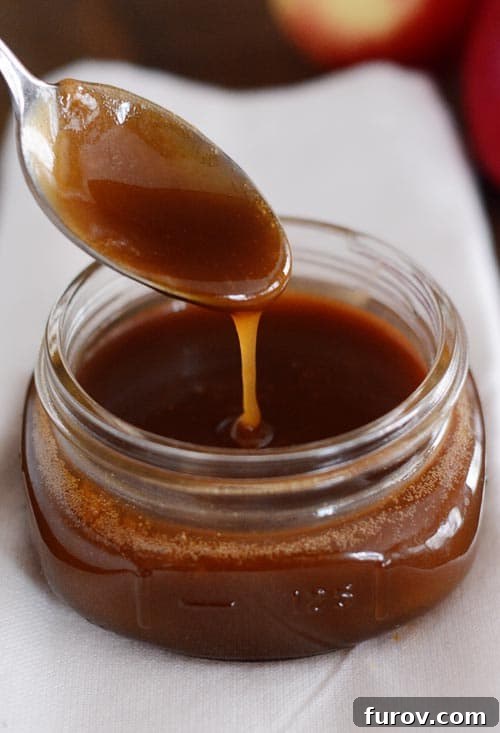
Why This Easy Caramel Sauce Will Change Your Dessert Life
I confess, I have another caramel sauce recipe that I adore (this divine version; and yes, it is truly divine). I’m certainly not abandoning it, not by a long shot. However, I must admit that this much simpler, quicker version gives my classic recipe a serious run for its money. If the thought of caramelizing sugar on the stovetop makes you a bit nervous, perhaps because of fears of burning, crystallization, or the need for a candy thermometer, then this foolproof, easy caramel sauce is absolutely made for you.
It’s always a surprise how often I find myself wishing I had a batch of luscious caramel sauce at the ready, only to realize I don’t. But thanks to this game-changing recipe, homemade caramel sauce is pretty much guaranteed to appear anytime, anywhere, as long as I can spare just 10 quick minutes. The best part? Most of that time requires no frantic stirring or fretting over temperatures, making it a stress-free experience from start to finish. This super simple, unbelievably silky caramel sauce has earned a permanent, cherished place in my kitchen and my heart.
Endless Ways to Enjoy Your Homemade Caramel Sauce
Once you whip up a batch of this glorious 10-minute caramel sauce, you’ll find the options for enjoyment are truly endless. Here are just a few irresistible suggestions:
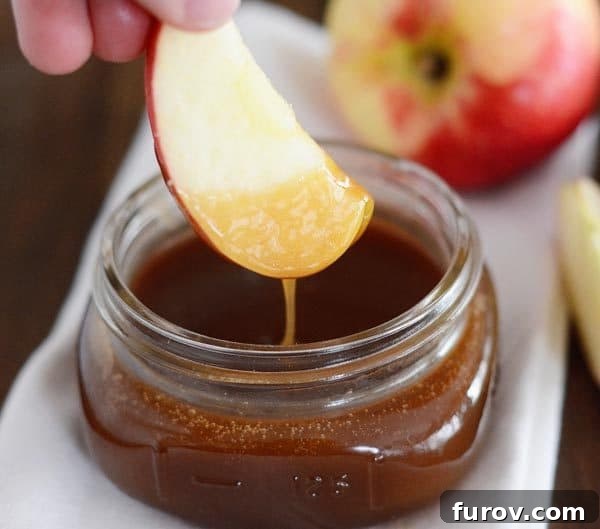
- Apples, Apples, Apples: The classic pairing! Once slightly cooled, this caramel sauce becomes luxuriously thick, making it absolutely perfect for dipping apple slices, pear wedges, or any other favorite fruit. It’s an ideal autumn treat or a healthy-ish snack with a gourmet twist.
- Ice Cream Extravaganza: This one might seem obvious, but a generous drizzle over vanilla, chocolate, or even salted caramel ice cream transforms a simple scoop into a gourmet dessert. Create your own sundaes with whipped cream, nuts, and a river of homemade caramel.
- Drizzle Over Desserts: Take your favorite baked goods to the next level. Imagine this sauce cascading over Banana Pudding Caramel Cream Trifles, adding a sticky-sweet layer to a Candy Apple Pie, or as the crowning glory for 30-Second Chocolate Turtle Cookie Ice Cream Sundaes. It’s also phenomenal on cheesecakes, brownies, or simple pound cake.
- By the Spoonful: Let’s be honest, some days just call for a direct dip into the caramel sauce jar. No judgment here – it’s that good! This is your ultimate comfort food for those moments when only pure, unadulterated sweetness will do.
- Elevate Bars and Floats: Use it as a luscious base or topping for Outrageous Eskimo Bars, transforming them into an even more decadent treat. Or, swirl it into these Caramel Apple Cider Floats, turning my favorite fall drink into an extraordinary indulgence.
- Coffee and Hot Drinks: Stir a tablespoon or two into your morning coffee, latte, or hot chocolate for a homemade caramel macchiato experience. It’s a delightful way to add warmth and sweetness to any beverage.
- Pancakes, Waffles, and French Toast: Forget maple syrup for a day! Drizzle warm caramel sauce over your breakfast or brunch favorites for a truly indulgent start to your day.
Simple Ingredients, Unforgettable Flavor
The magic of this easy 10-minute caramel sauce lies not just in its speed, but also in the simplicity of its ingredients. You likely have most of these pantry staples on hand already, ready to be transformed into liquid gold. Each component plays a crucial role in creating that rich, smooth, and utterly delicious flavor profile:
- Salted Butter: The foundation of our caramel, providing rich flavor and a smooth texture. The touch of salt in salted butter also helps to balance the sweetness, enhancing the overall taste.
- Packed Light Brown Sugar: Unlike recipes that start with granulated sugar and require careful caramelization, light brown sugar brings a wonderful molasses depth and a more forgiving cooking process. Packing it ensures you get the right amount for that perfect consistency.
- Salt: A small but mighty ingredient! Just a quarter teaspoon helps to cut through the sweetness, making the caramel more complex and irresistible. Don’t skip it!
- Heavy Whipping Cream: This is what gives our caramel its incredibly silky, decadent texture. It emulsifies with the butter and sugar, preventing graininess and creating a lush mouthfeel.
- Vanilla Extract: Added at the end, vanilla provides a warm, aromatic finish that rounds out the caramel’s flavor beautifully.
It’s truly amazing what these basic ingredients can achieve with just a few minutes of your time.
One Year Ago: Salt Crusted Potatoes with Fresh Rosemary
Two Years Ago: Pumpkin Blondies with Chocolate Chips
Three Years Ago: Spooky Eats: Monster Pudding Cups
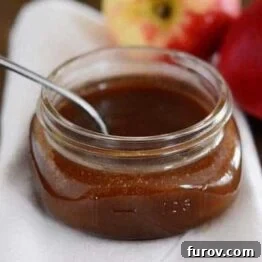
Easy 10-Minute Caramel Sauce
Ingredients
- ½ cup (113 g) salted butter
- 1 ½ cups (318 g) packed light brown sugar
- ¼ teaspoon salt
- 1 cup heavy whipping cream
- 1 tablespoon vanilla extract
Instructions
- In a medium, heavy-bottomed saucepan, combine the butter, brown sugar, salt, and heavy cream. Begin melting these ingredients over low heat, stirring slowly and gently until everything is fully melted and incorporated.
- Once all ingredients are melted and the mixture is smooth, increase the heat to medium and bring the mixture to a full boil. Allow it to boil for exactly 10 minutes without stirring. It’s crucial to watch the heat closely during this boiling phase. If it appears as though the mixture might be burning on the bottom (which can sometimes happen with pans that aren’t heavy-bottomed), reduce the heat slightly as needed to prevent scorching.
- After 10 minutes of boiling, remove the caramel sauce from the heat. Carefully stir in the vanilla extract. It’s important to stir gently at this point; stirring vigorously or scraping down the sides of the pan can cause the caramel sauce to develop a grainy texture.
- The sauce is now ready to use immediately for warm applications, or you can allow it to cool slightly before pouring it into an airtight container for refrigeration. This homemade caramel sauce can be refrigerated for several weeks, ready whenever a craving strikes!
Nutrition Information (per serving, approx.):
- Serving: 1 Serving
- Calories: 244 kcal
- Carbohydrates: 28g
- Protein: 1g
- Fat: 15g
- Saturated Fat: 9g
- Cholesterol: 48mg
- Sodium: 131mg
- Sugar: 27g
Recommended Products for Caramel Making
Recipe Source: Adapted from Mel’s Kitchen Cafe (after extensive experimenting to achieve a quicker, fuss-free version).
Tips for Caramel Perfection Every Time
While this recipe is incredibly forgiving, a few pointers can ensure your homemade caramel sauce turns out perfectly silky and smooth every single time:
- Choose Your Pan Wisely: A heavy-bottomed saucepan is your best friend here. It distributes heat evenly, significantly reducing the risk of your caramel burning on the bottom, which is a common caramel-making pitfall.
- Gentle Start, Steady Boil: Don’t rush the initial melting phase. Keep the heat low and stir gently until all ingredients are dissolved. Once you raise the heat to medium and achieve a boil, maintain that steady boil for the full 10 minutes.
- Resist the Urge to Stir (During Boil): This is perhaps the most crucial tip! Once the caramel mixture is boiling, step away from the spoon. Constant stirring during the boiling phase can introduce air and encourage sugar crystals to form, leading to a grainy texture. Let it boil undisturbed.
- Watch for Burning: While you shouldn’t stir, do keep an eye on the edges of the pan. If you notice any browning or burning, slightly reduce the heat to prevent scorching, but try to maintain a gentle boil.
- Add Vanilla Off Heat: Vanilla is delicate. Adding it after removing the sauce from the heat preserves its vibrant flavor and aroma. Stir it in gently, just enough to combine.
- Cooling & Thickening: Don’t panic if your caramel seems a bit thin when it’s hot. Caramel sauce naturally thickens as it cools. For a thicker consistency, allow it to cool completely at room temperature or in the refrigerator.
Troubleshooting Common Caramel Issues:
- Grainy Caramel: This usually happens if sugar crystals form during cooking. To fix it, you can try returning the sauce to low heat, adding a tablespoon or two of water, and stirring gently until the crystals dissolve. Prevention is key: don’t stir during the boil and ensure your pan is clean.
- Caramel is Too Thin: If your cooled caramel is thinner than desired, it likely didn’t boil long enough. Return it to the stovetop, bring it back to a boil, and cook for an additional 2-3 minutes, stirring constantly to avoid burning.
- Caramel is Too Thick/Hard: If it’s too thick, add a tablespoon of heavy cream or milk and gently reheat on low, stirring until it reaches your desired consistency.
Storing and Reheating Your Homemade Caramel Sauce
One of the many perks of this easy caramel sauce is how well it stores, ensuring you always have a touch of sweetness at your fingertips. Once cooled, transfer your homemade caramel sauce to an airtight container. It can be safely refrigerated for up to 2-3 weeks, or even frozen for several months (thaw in the refrigerator overnight before use).
When you’re ready to indulge, reheating is a breeze:
- Microwave Method: For small portions, microwave in 15-30 second intervals, stirring well after each, until warmed through and smooth.
- Stovetop Method: For larger quantities or a gentler reheat, warm the caramel in a small saucepan over low heat, stirring occasionally, until it reaches your desired consistency. You can add a splash of milk or cream if it seems too thick.
With such simple storage and reheating, you’ll never be far from a spoonful of this luscious treat!
Explore More Sweet Treats: Other Recipes Like This