
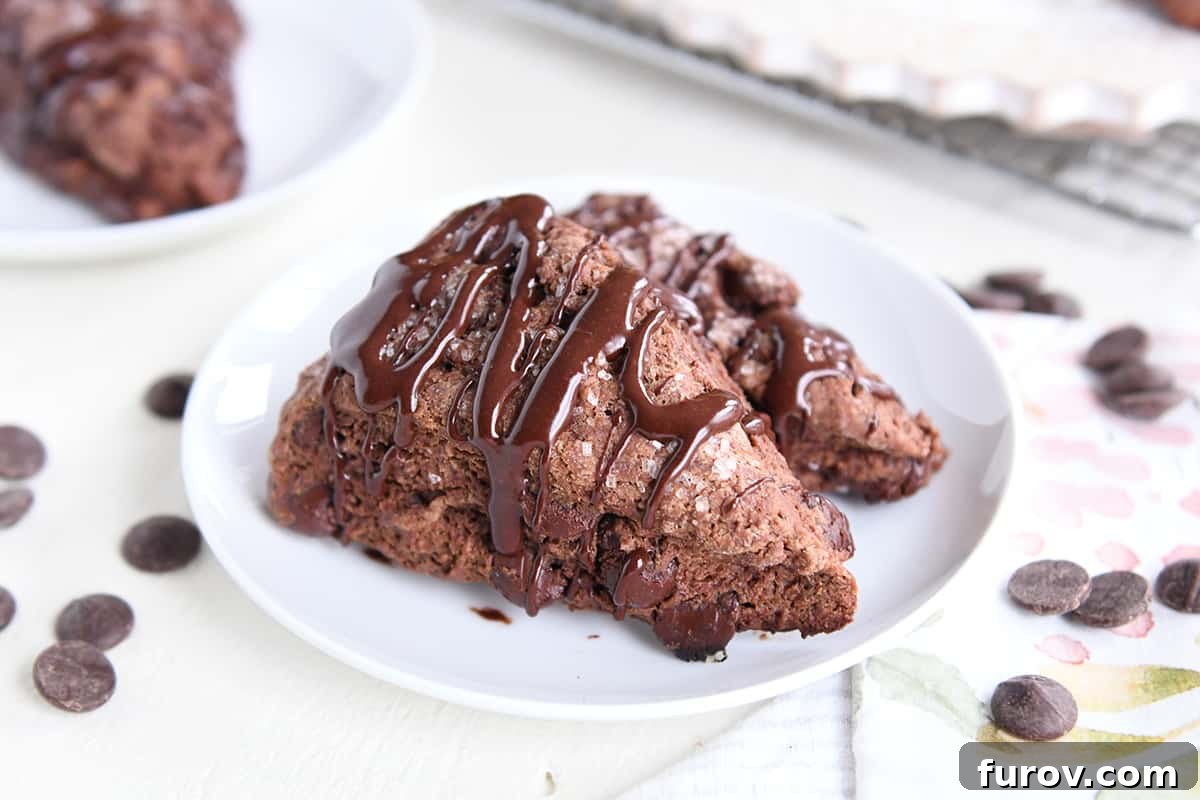
Experience the ultimate chocolate indulgence with these triple chocolate scones. Incredibly flaky, tender, and bursting with rich cocoa flavor, these treats are surprisingly easy to make and guaranteed to delight any chocolate lover.
There’s a special kind of magic that happens when chocolate, butter, and flour come together in perfect harmony. And when it comes to these Triple Chocolate Scones, that magic is undeniable. Crafted to deliver an ultra-chocolatey experience with every tender, flaky bite, these scones have been perfected over countless test runs – a labor of love that no one around here complained about! The heavenly chocolate drizzle on top is the crowning glory, making them absolutely irresistible.
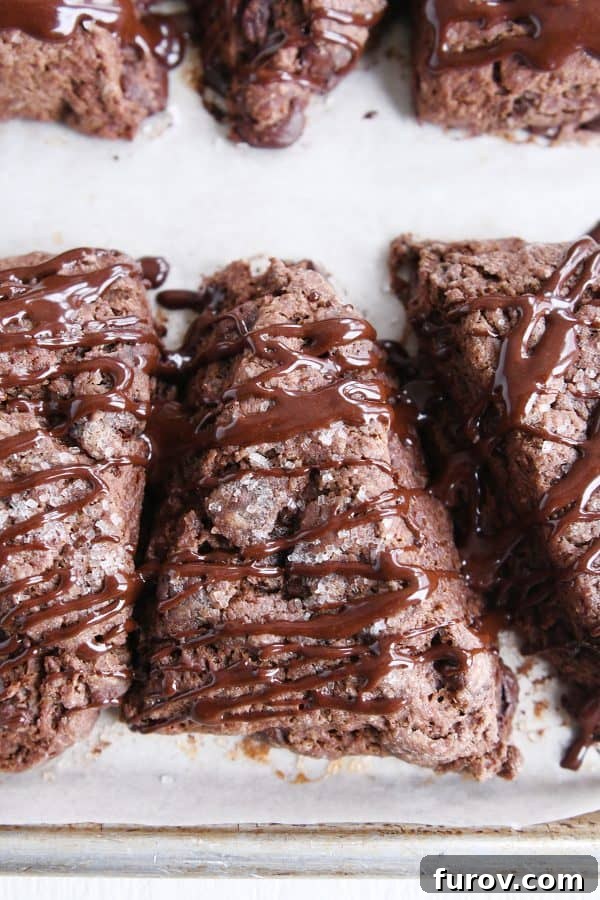
Inspired by our beloved basic scone recipe, achieving this level of triple chocolate perfection took some dedication. But the result? A triumph of rich cocoa, melty chocolate chips, and a decadent chocolate glaze that will have you reaching for another before you’ve even finished the first. If the thought of baking homemade scones feels daunting, let me assure you: these are incredibly straightforward. They’re a one-bowl wonder that comes together quickly, making them the perfect treat to whip up for breakfast, brunch, or an afternoon pick-me-up. Seriously, why don’t we all make scones more often?
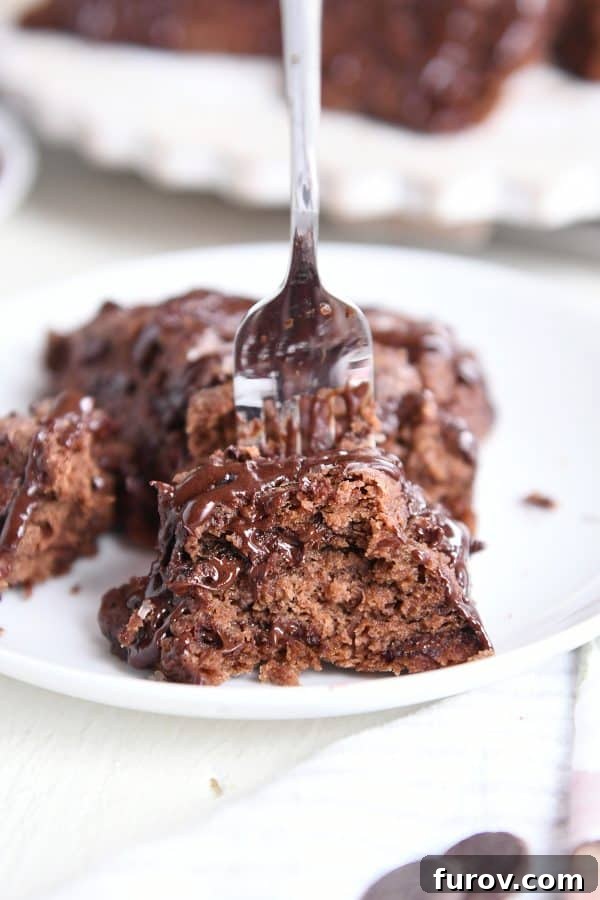
The Tale of Two Scones: Understanding the Perfect Baked Scone
For many years, my understanding of a “scone” was limited to a specific regional variation: a piece of flat bread dough, deep-fried and generously slathered with butter and honey, or perhaps cinnamon and sugar. It wasn’t until I was in my twenties that I discovered the elegant, baked scone, a revelation that expanded my culinary horizons. I vividly recall spirited debates with college roommates, who, with their East Coast upbringing and sophisticated tastes, championed the baked scone, while I stubbornly defended my “hillbilly scone theories.” Unsurprisingly, they prevailed, and I’m sure their eye-rolls were well-deserved.
Despite my initial resistance and a touch of intimidation, I soon fell head over heels for the simplicity and delightful texture of the traditional baked scone. These Triple Chocolate Scones embody everything I’ve come to love about them: a light, tender crumb, beautifully flaky layers, and a rich flavor that makes them an instant classic. They offer a comforting yet refined experience, a world away from my fried bread perception, and are a testament to how truly wonderful a well-made scone can be.
The Secret to Flakiness: Mastering the Art of Cutting in Butter
Achieving truly flaky scones hinges on one critical step: properly incorporating cold butter into the dry ingredients. These triple chocolate scones are remarkably easy, requiring just one bowl and coming together swiftly. After you’ve whisked your dry ingredients, it’s time for the butter. Traditionally, this is a step many home bakers dread, but I’m here to share two game-changing hacks that make it a breeze:
- Food Processor Magic: For the quickest method, a food processor can cut in the butter in mere seconds. Just pulse the cold butter with the dry ingredients until it forms pea-sized crumbs.
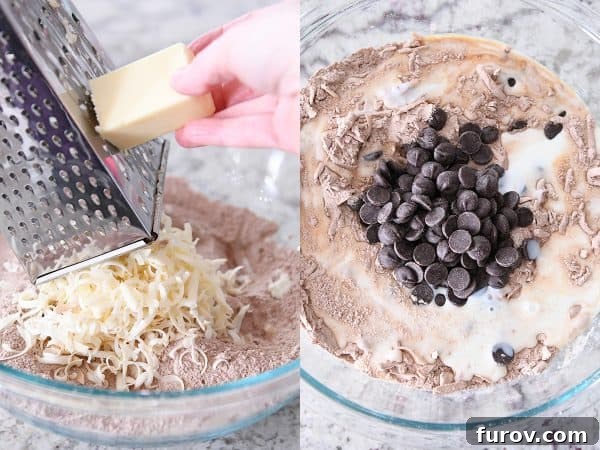
- The Grating Trick: My personal favorite involves a simple box grater. Grate the very cold butter directly into the flour mixture using the large holes. If you work quickly, the butter won’t melt in your fingers, and you’ll end up with perfect little butter strands that are ideal for creating those coveted flaky layers.
Of course, the classic pastry blender or two butter knives are still effective tools, but the goal remains the same: incorporate the butter into small, pea-sized pieces. This ensures that as the scones bake, the butter melts, creating pockets of steam that puff up, resulting in that wonderfully tender and flaky texture we all crave. Don’t underestimate the power of cold butter – it’s the foundation of a great scone.
Mixing for Success: The Gentle Approach to Scone Dough
Once your cold butter is beautifully coated with the dry ingredients, it’s time to add the “triple” in triple chocolate! Toss in a generous cup of semi-sweet or dark chocolate chips – the darker, the better for that deep, rich flavor. Then, introduce the buttermilk and vanilla extract. The buttermilk is key here; its acidity reacts with the baking soda to create lift, while its thick texture contributes to the scones’ tender crumb.
Begin mixing the dough with a rubber spatula, bringing it together until it forms shaggy, cohesive pieces. This is where patience and a light hand are crucial: resist the urge to overmix! The entire mixing process should ideally take under a minute. Overmixing scone dough develops the gluten too much, leading to tough, dry scones, which is the exact opposite of what we want for these decadent chocolate delights. A few minimal dry spots are perfectly acceptable, as the dough will continue to hydrate slightly as it rests.
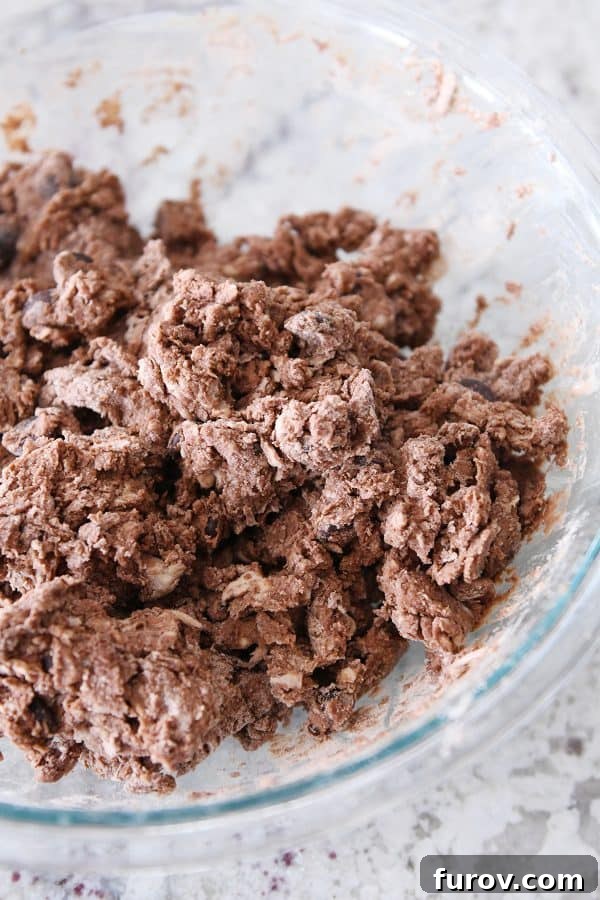
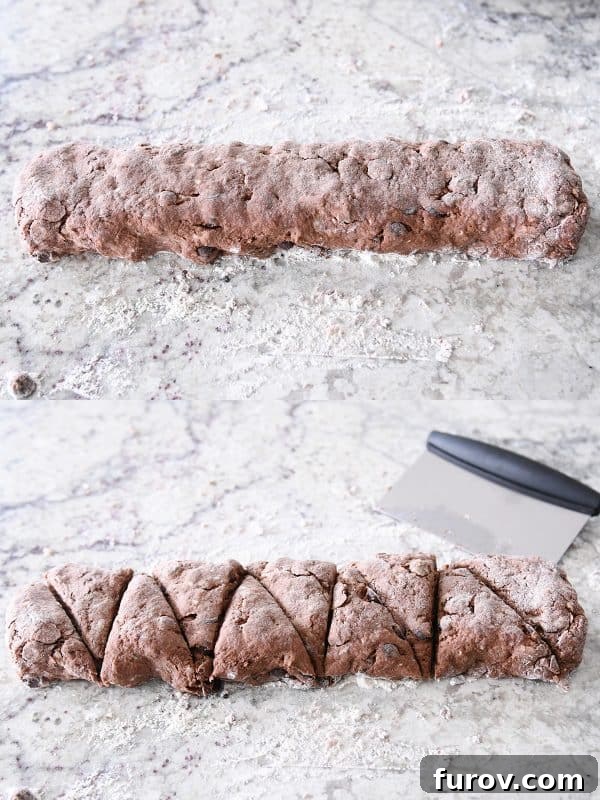
Once your dough looks clumpy but holds together when pressed, turn it out onto a lightly floured surface. Gently pat it into a long rectangle, about 15×3 inches. Now for shaping: grab a sharp knife or a bench knife (one of my all-time favorite kitchen tools for its versatility). Cut the rectangle into 10-12 triangle wedges. There’s no magic number here; you can cut them smaller for bite-sized treats or honkin’ big for a truly indulgent experience. Follow your heart and your cravings!
The Golden Rule of Baking: Don’t Overbake Your Scones
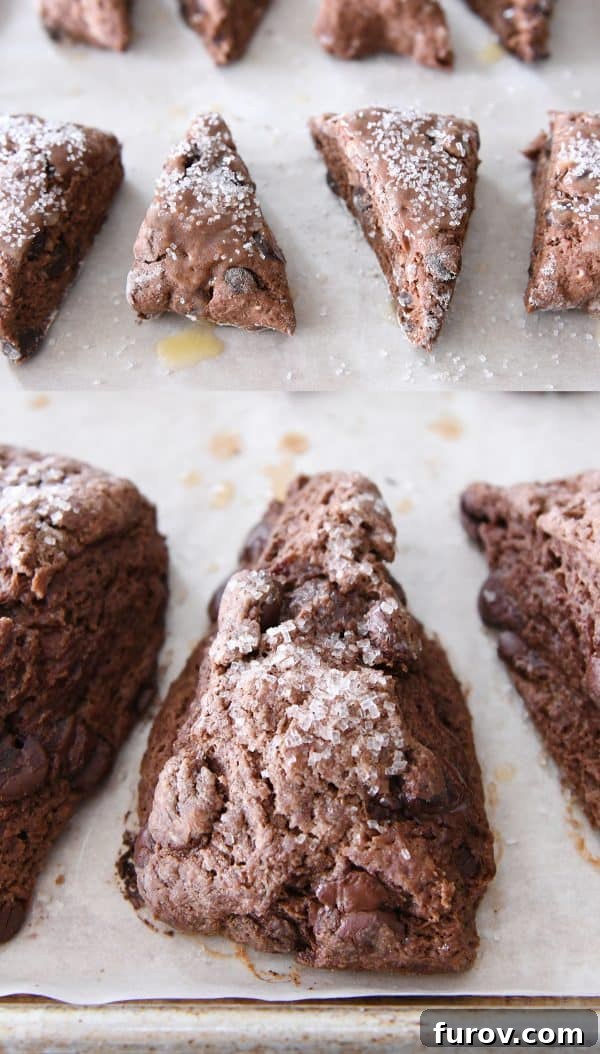
Arrange your freshly cut scone triangles on a parchment-lined half sheet pan, leaving about half an inch between each. Before they hit the oven, brush the tops generously with melted butter. This not only promotes a beautiful golden-brown crust but also helps the sugar adhere. Then, sprinkle with sugar. If you have coarse granulated sugar or turbinado sugar, use it! It creates the most wonderfully delightful crunchy sweetness on top, adding another layer of texture and flavor to these already incredible chocolate scones. If not, regular granulated sugar will work just fine.
Bake the scones in a preheated oven until they are just set and no longer doughy. This typically takes 12-15 minutes, but keep a close eye on them as oven temperatures can vary. When in doubt, it’s always better to err on the side of slightly underbaking. A slightly underbaked scone will be moist and tender, while an overbaked one can quickly become dry and crumbly, losing its signature appeal. You’re looking for a firm touch and a hint of golden color, not a hard, rock-like texture. Trust your senses – and your oven – to guide you to scone perfection.
The Irresistible Finishing Touch: Decadent Chocolate Glaze
Once your triple chocolate scones emerge from the oven, allow them to cool to room temperature, or at least until they are just slightly warm. This is the perfect canvas for the grand finale: a luscious, decadent chocolate glaze. The glaze adds an extra layer of chocolatey goodness and a beautiful sheen that makes these scones truly showstopping.
Preparing the glaze is as simple as whisking together cocoa powder, powdered sugar, and a few tablespoons of milk or cream. Start with two tablespoons of liquid and add more, a teaspoon at a time, until you achieve a thick yet pourable consistency. I often just go for the “whisk and drizzle” method, letting the glaze cascade off the whisk in satisfying ribbons. But if you’re feeling fancy, you can transfer the glaze to a piping bag (or a Ziploc bag with a snipped corner) and create intricate designs. However you apply it, this rich chocolate glaze transforms an already amazing scone into an absolute masterpiece, adding that final touch of sweetness and moisture that makes every bite unforgettable.
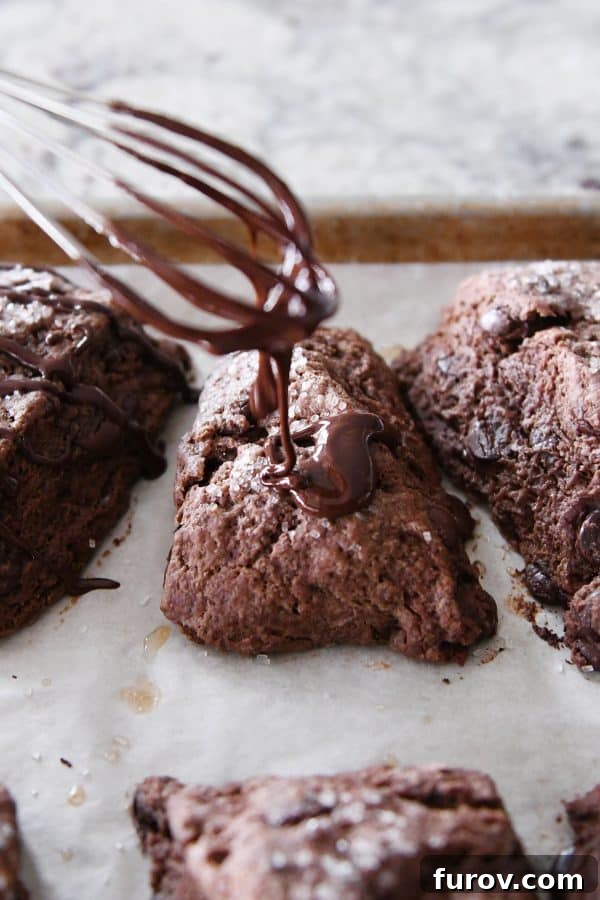
Addressing the Scone Tilt: Why Your Scones Might “Tip”
Baking can sometimes be a bit of a mystery, and if your scones happen to “tip” or “warp” slightly while baking, don’t fret! This is a common occurrence and can be attributed to several factors. It might be due to the way the dough was mixed, slight variations in how wet and dry ingredients were measured, or even the oven’s heat distribution. In the case of this particular scone recipe, and the one it was adapted from, we use a slightly higher butter-to-flour ratio.
Why the extra butter? Because I firmly believe that the best scones are ultra-flaky, incredibly soft, and wonderfully tender. This generous amount of butter is what creates those desirable layers and contributes to the scone’s melt-in-your-mouth quality. While it might sometimes cause a slight twist or tilt during baking, I consider it a small, acceptable trade-off for achieving the perfect scone texture and taste. A little lean adds character! Plus, this scone dough performs beautifully whether baked as traditional triangles or in a mini or regular scone pan, providing flexibility for your desired presentation.
Sidenote: this scone dough works great baked in a mini or regular scone pan.
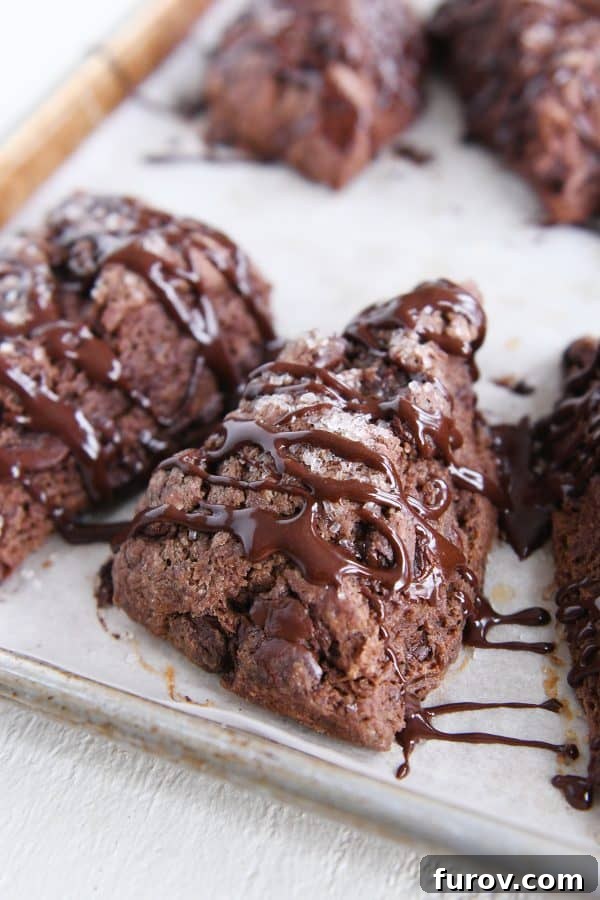
Serving and Storage: Maximizing Your Scone Enjoyment
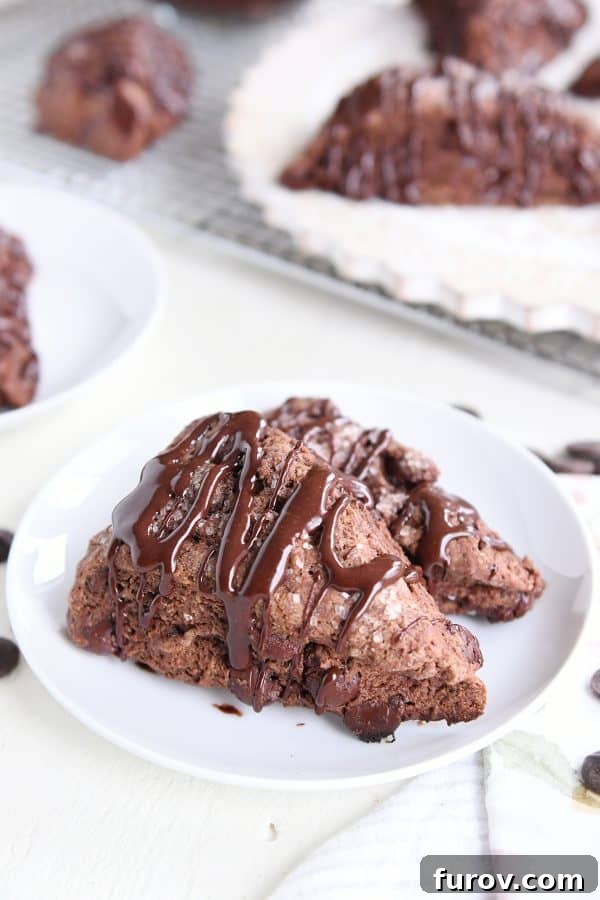
These triple chocolate scones are truly divine, especially when served fresh. However, if you have any leftovers (a rare occurrence!), my absolute favorite way to enjoy them is to pop one (or more!) into the microwave for just 15-20 seconds. This brief warming creates a sultry, melty vibe for both the glaze and the chocolate chips within, making them utterly irresistible. This trick makes even two-day-old scones taste as fresh and delectable as the moment they came out of the oven. You’ll either love me or hate me for this delightful revelation!
For longer storage, airtight containers at room temperature will keep them fresh for a couple of days. If you want to extend their life, freezing is an excellent option. Place cooled, unglazed scones in an airtight freezer bag for up to 2-3 months. When ready to enjoy, thaw them at room temperature, then warm gently and glaze as desired. This ensures you can always have a taste of chocolatey heaven ready whenever the craving strikes.
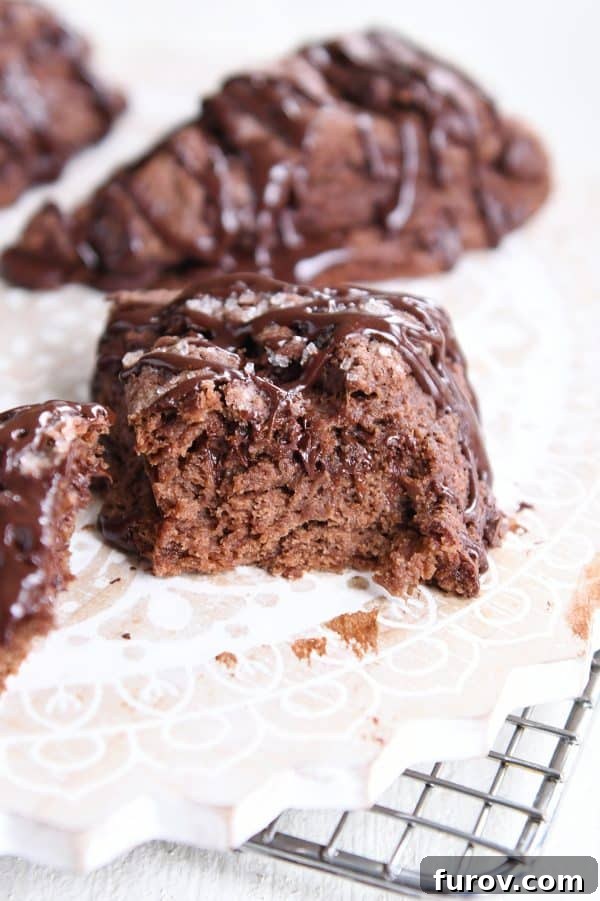
One Year Ago: Easy Sugar Cookie Bars
Two Years Ago: Quick and Easy Egg Roll Skillet Meal
Three Years Ago: One-Bowl Fudgy Brownie Cookies
Four Years Ago: White Velvet Sugar Cookies
Five Years Ago: Russian Cream with Berries
Six Years Ago: Classic Strawberry Shortcake {With a Decadent Chocolate Version}
Seven Years Ago: No-Bake Berry Yogurt Cheesecakes
Triple Chocolate Scones
12 scones
40 mins
15 mins
55 mins
Pin Recipe
Ingredients
Scones:
- 3 cups (426 g) all-purpose flour
- ½ cup (43 g) natural unsweetened cocoa powder (see note)
- ¾ cup (159 g) granulated sugar
- 2 teaspoons baking powder
- ½ teaspoon baking soda
- ½ teaspoon salt
- ¾ cup (170 g) cold salted butter
- 1 cup (170 g) semisweet or dark chocolate chips, regular or mini size
- 1 ¼ cups buttermilk (see note)
- 1 teaspoon vanilla extract
- 2 tablespoons (28 g) butter, melted
- Coarse sugar, for sprinkling (see note)
Glaze:
- ¼ cup (21 g) cocoa powder
- ¾ cup (86 g) powdered sugar
- 2-3 tablespoons milk or cream
Instructions
- Preheat the oven to 400 degrees F (200°C). Line a half sheet pan with parchment paper and set aside.
- For the scones: In a large bowl, whisk together the flour, cocoa powder, sugar, baking powder, baking soda, and salt. Using the large holes of a box grater, grate the cold butter into the dry ingredients. Toss lightly to combine so the butter pieces are evenly coated.
- (Alternatively, cut the butter into small pieces, add to the dry ingredients, and cut in with a pastry blender or two butter knives until the butter is pea-sized. The dough can also be mixed in a food processor.)
- Add the chocolate chips; toss gently to combine. Add the buttermilk and vanilla extract.
- Mix with a rubber spatula until the dough just starts to come together. Do not overmix! A few dry spots are okay. To test, press a handful of dough together; if it clumps, it’s ready. If it’s too crumbly, add a few more tablespoons of buttermilk.
- Turn the dough onto a lightly floured surface and pat into a long rectangle, about 15×3 inches. Cut into 10-12 triangle wedges.
- Place the scones on the prepared baking sheet, about ½ inch apart. Brush with melted butter and sprinkle generously with coarse sugar (if using).
- Bake for 12-15 minutes, or until just set and no longer doughy. Err on the side of slightly underbaking for a moister scone.
- Let the scones cool until lightly warm or room temperature.
- For the glaze: Whisk together the cocoa powder and powdered sugar in a small bowl. Add 2 tablespoons of milk or cream and whisk until a thick but pourable glaze forms. Add additional milk, 1 teaspoon at a time, if a thinner consistency is desired.
- Drizzle the cooled or slightly warm scones with the chocolate glaze. Serve immediately or at room temperature.
Notes
Cocoa Powder: These scones are fantastic with natural unsweetened cocoa powder (like Hershey’s). You could also try half natural and half Dutch-process cocoa (like Hershey’s Special Dark or Droste) for a deeper, darker chocolate flavor. The acidity of natural cocoa works with the baking soda in the recipe.
Buttermilk: Store-bought buttermilk is generally thicker and works better than homemade versions (milk + lemon juice). If you need a homemade alternative, whisking together half sour cream and half milk can provide a similar consistency and tang. Cream can also be used in place of buttermilk for a richer scone.
Sugar: Coarse granulated sugar or raw turbinado sugar adds a delightful crunchy texture to the top of the scones. If these aren’t available, regular granulated sugar works perfectly well.
Mel
Bread
American
Bake
Nutrition Information
Serving: 1 scone,
Calories: 412kcal,
Carbohydrates: 57g,
Protein: 6g,
Fat: 19g,
Saturated Fat: 7g,
Cholesterol: 4mg,
Sodium: 380mg,
Fiber: 4g,
Sugar: 27g
Recommended Products
Recipe Source: Adapted from Mel’s Kitchen Cafe’s favorite basic scone recipe.