
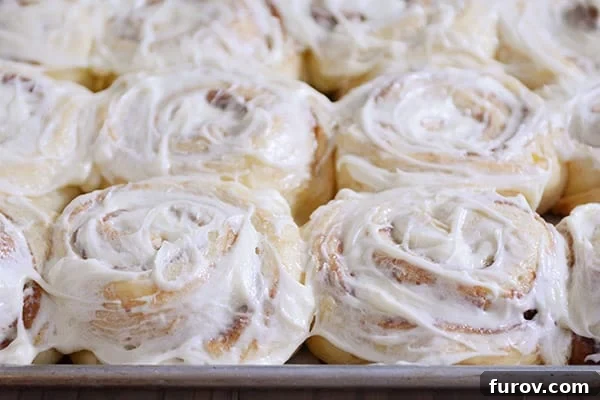
Imagine waking up to the irresistible aroma of freshly baked cinnamon rolls, without having to set your alarm for the crack of dawn. This comprehensive guide will show you how to prepare those delicious, fluffy treats ahead of time, ensuring a stress-free morning indulgence.
One of the most frequently asked questions, especially as holidays approach or when planning a special breakfast, is undeniably this:
Can I prepare my favorite cinnamon roll recipe in advance?
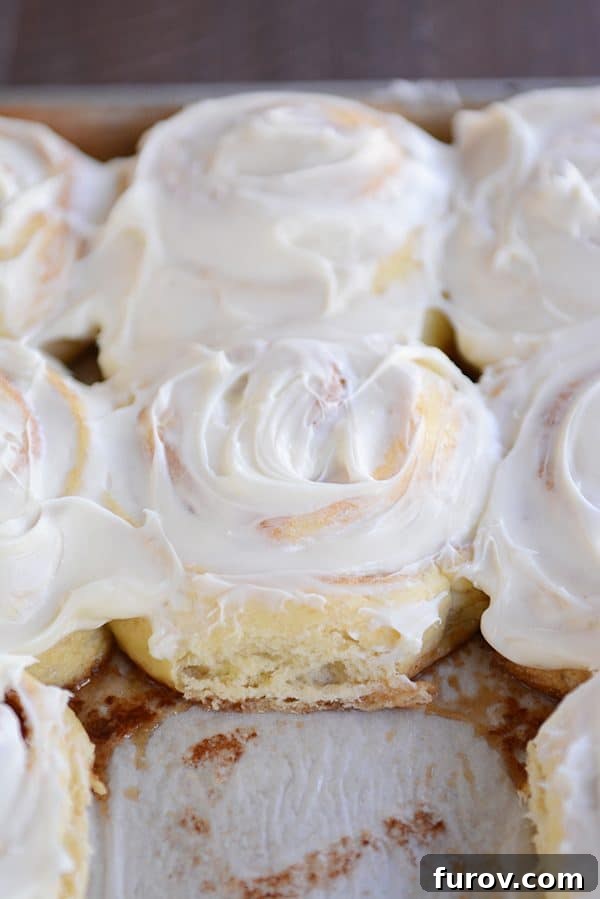
Whether you’re wondering if you can prepare them overnight or even months ahead, the answer is a resounding YES! And today, I’m here to walk you through every detail, ensuring you achieve perfectly fluffy, delectable cinnamon rolls the morning of, with minimal fuss.
This tutorial is designed to demystify the process of making cinnamon rolls ahead of time. You might be pleasantly surprised by the simplicity and effectiveness of these techniques, which will transform your breakfast routine.
It’s important to note that the overnight and make-ahead methods shared here are incredibly versatile. They can be applied to nearly any yeasted roll recipe, regardless of whether it’s sweet or savory.
Think beyond just cinnamon rolls! This method works wonders for:
Monkey Bread: Prepare the dough and shape it the night before for an effortless morning treat.
Divine Breadsticks: Have them ready for baking to accompany an impromptu dinner.
Fluffy Dinner Rolls: Impress your guests with warm, homemade rolls straight from the oven, without the last-minute rush.
With just a few essential tricks and tips up your sleeve, you’ll be effortlessly pulling out piping hot, incredibly fluffy cinnamon rolls and other baked goods from your oven in the morning. Say goodbye to late-night baking sessions and hello to looking like a culinary rock star, every time.
Step One: Prepare Your Chosen Cinnamon Roll Dough
The foundation of any great cinnamon roll is a fantastic dough. Begin by preparing your favorite cinnamon roll recipe exactly as instructed, up to the point of shaping the rolls. This includes mixing, kneading, and allowing the dough to complete its first rise. A well-rested, properly risen dough is crucial for the light and airy texture we all crave.
If you’re looking for inspiration or need a reliable recipe, here are some of my top recommendations. Many of these recipes include detailed step-by-step photos, making the dough preparation and shaping process a breeze:
Step Two: Shape and Arrange Rolls for Optimal Rising
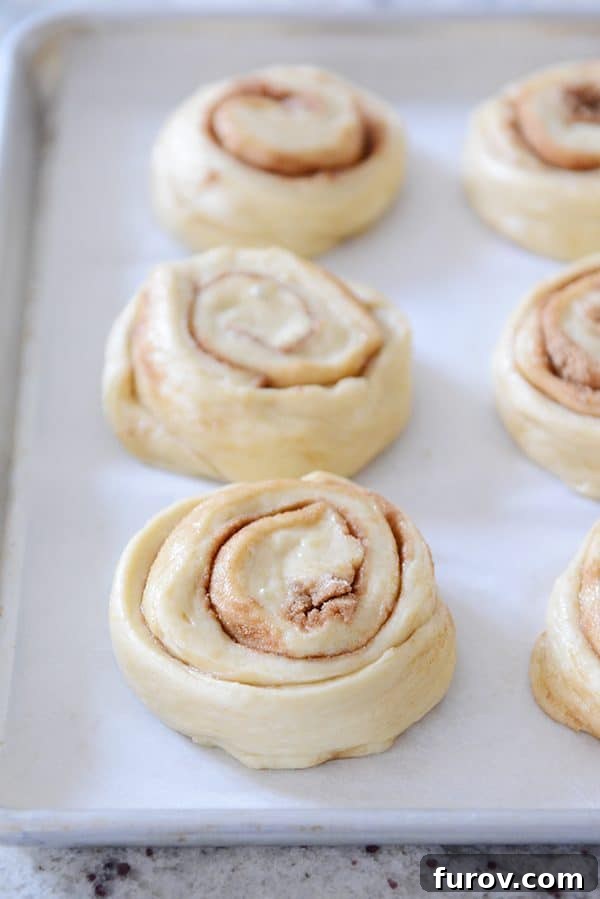
Once your dough has completed its first rise, it’s time to shape your cinnamon rolls according to your recipe’s instructions. After shaping, carefully place the rolls onto the baking pan specified in your recipe. I consistently achieve excellent results using large, rimmed baking sheets, lined with parchment paper and lightly greased with cooking spray. This setup prevents sticking and makes cleanup a breeze.
For standard-sized cinnamon rolls, I typically arrange about 12 rolls per pan. Ensure there’s adequate space between each roll to allow for expansion during rising, but place them close enough so that their sides gently touch as they bake. This contact helps them maintain their soft, fluffy texture and creates those coveted tender edges.
A crucial tip I often share: after shaping, gently tuck the end of each cinnamon roll underneath its base. This small but significant detail helps the rolls maintain their beautiful spiral shape and prevents them from unraveling during baking, ensuring a visually appealing and perfectly structured treat.
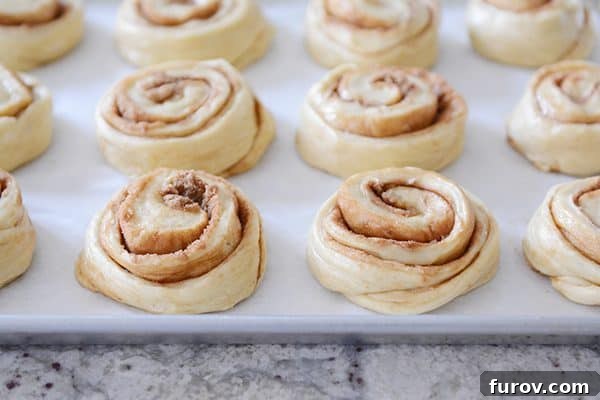
Now, here’s the most critical instruction for making them ahead: Do NOT allow the rolls to rise at room temperature at this stage, as you would for a conventional, same-day recipe! This immediate refrigeration is key to slowing down the yeast activity and controlling the proofing process overnight.
Step Three: Cold Proofing – Cover and Refrigerate Promptly
Immediately after arranging your shaped cinnamon rolls on the baking sheet, lightly grease a piece of plastic wrap and use it to tightly cover the pan. This greased surface prevents the plastic wrap from sticking to the dough as it may expand slightly. Once covered, promptly place the entire pan into the refrigerator.
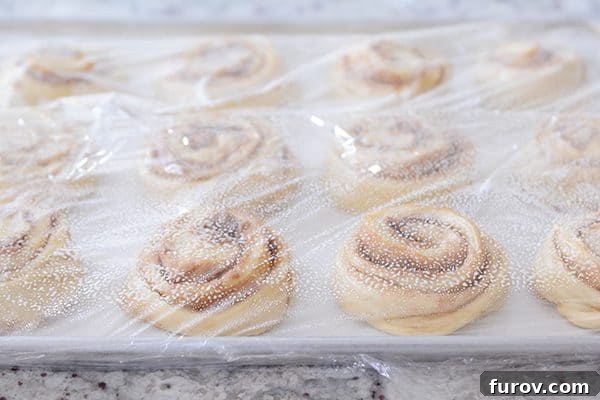
The rolls can safely remain in the refrigerator for up to 24 hours. This “cold proofing” process allows the yeast to work slowly, developing deeper flavors while preventing over-proofing. You might observe a minor amount of the filling liquifying and seeping out of the rolls during this time. This is a normal occurrence, especially over longer refrigeration periods, so there’s no need to panic if you see a bit of sugary syrup at the bottom of the pan.
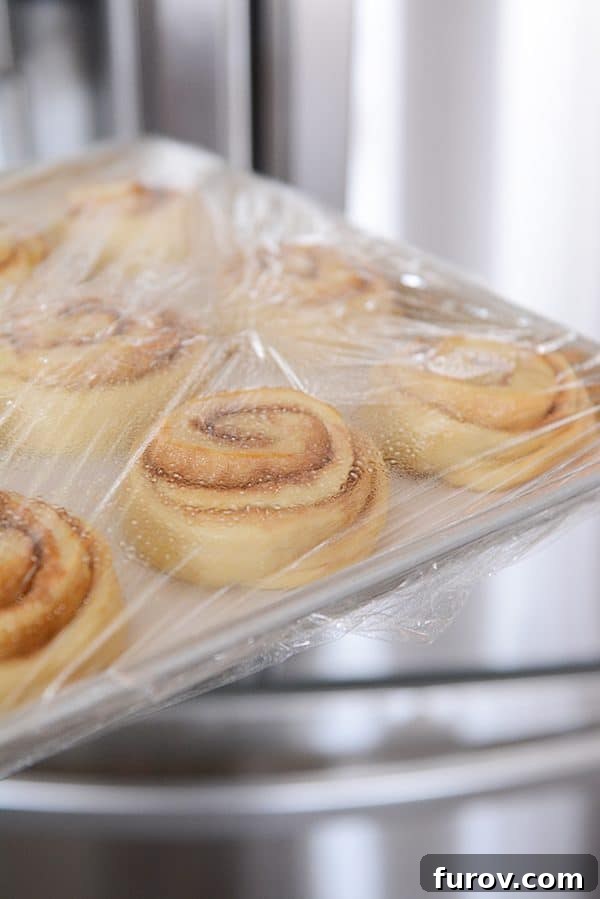
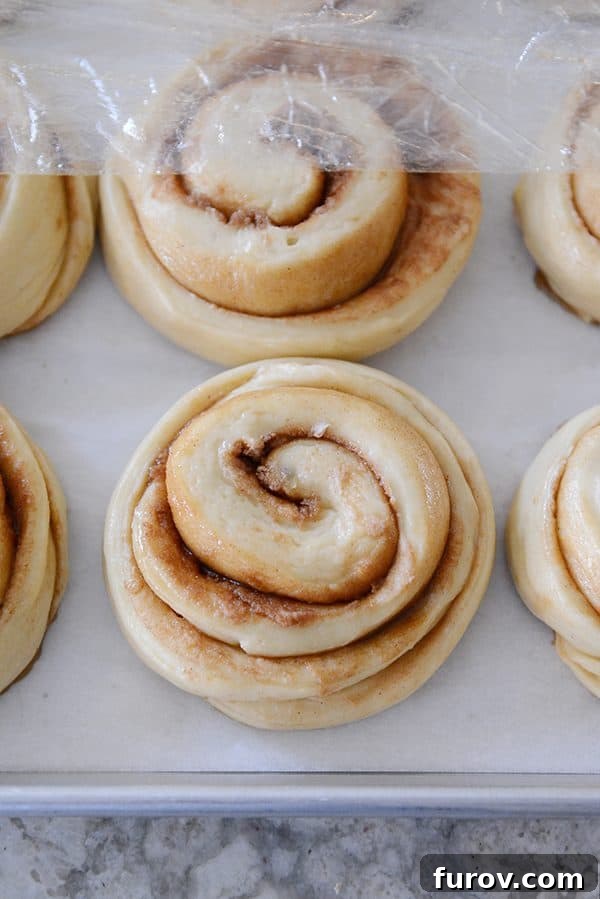
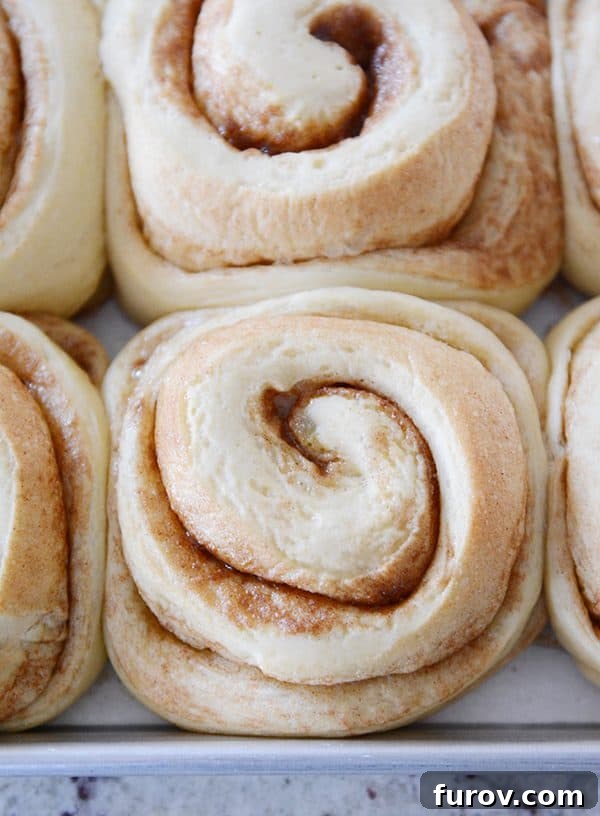
Upon taking the rolls out of the refrigerator for baking, you’ll likely notice they appear puffier and more risen than when you first put them in. This is perfectly normal and a sign that the cold proofing has worked its magic! The degree of rise can vary depending on several factors: the specific recipe used, the initial warmth of the dough, the exact duration of refrigeration, and even the ambient temperature of your fridge. All these variables contribute to how much the yeast activates during its extended rest.
Step Four: The Final Rise and Baking for Perfect Fluffiness
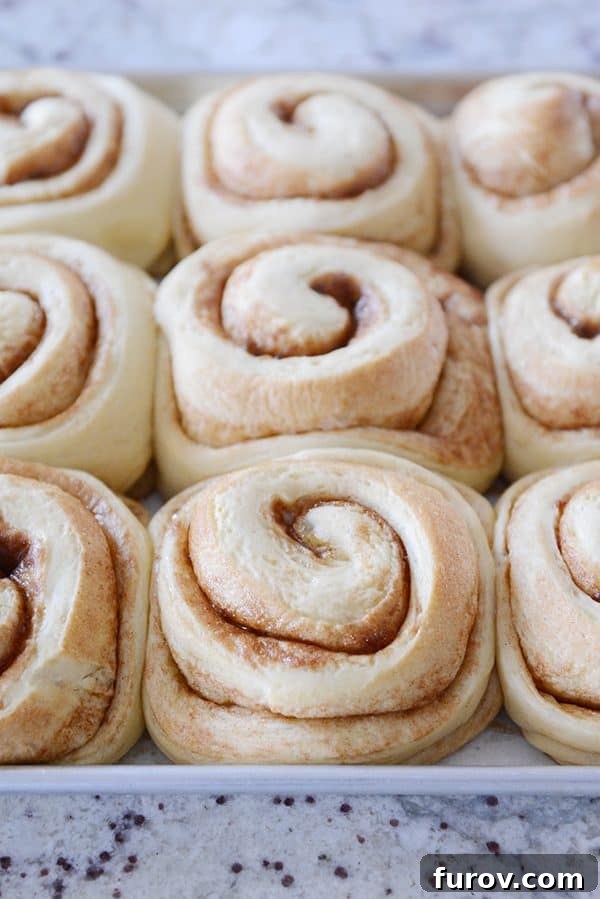
On baking day, the key to achieving ultimate fluffiness is allowing your cinnamon rolls adequate time to come to room temperature and complete their final rise. This typically means the rolls should approximately double in size from their original shaped form (before refrigeration) before they are placed in the oven.
In most kitchens, this final proofing stage takes roughly 2-3 hours after the rolls are removed from the refrigerator, though this can vary. Factors like the ambient temperature of your kitchen and the specific yeast activity will influence the exact timing. Look for visual cues: the rolls should appear significantly larger, feel light, and be visibly puffed up, with edges touching where they were previously spaced.
Once your rolls have reached this ideal state, gently remove the plastic wrap and bake them according to the temperature and time specified in your chosen recipe. The wait will be well worth it when you pull out golden-brown, aromatic perfection!
Bonus Tip: The “Cold Oven” Hack for Early Mornings
For those mornings when you absolutely need cinnamon rolls ready by 7:30 or 8:00 a.m., but the thought of a 4 a.m. alarm is unbearable, I have a convenient hack that’s saved me more than once. This method is perfect for situations where you need to expedite the process slightly.
Instead of the standard 2-3 hour room temperature rise, you can perform a “quick rise” directly from the fridge. Here’s how:
Take the pan of rolls straight out of the refrigerator, remove the plastic wrap, and place them directly into a cold oven. Then, turn on your oven to the specified preheat temperature. As the oven slowly preheats, the rolls will gently come to room temperature and begin their final rise. The gradual increase in warmth provides a surprisingly effective environment for the yeast to activate.
Once the oven reaches its target temperature, bake the rolls as directed in your recipe. You’ll typically bake them for roughly the same amount of time, counting from when the oven is fully preheated. However, if you’re new to this “cold oven” method, I highly recommend checking on them a minute or two earlier than usual, as oven temperatures can vary and affect baking times slightly.
While this “lazy method” isn’t entirely foolproof, it’s remarkably effective for everyday occasions. Its success largely depends on your specific oven; ovens with a “rapid preheat” function may not work as well, as the quick temperature spike can shock the yeast. It also might not produce the exact same ethereal lightness as a slow, deliberate room temperature rise. However, the differences are often negligible, and in my experience, my family has never noticed a thing! (A true testament to its convenience!)
For truly special, “I-need-to-look-like-a-rockstar” occasions, I usually stick to the traditional method of setting an early alarm and allowing for the full rise. But for those mornings when sleep is a priority, or time is simply too tight, this easy hack has proven to be a delightful shortcut.
A Note About Freezing Cinnamon Rolls
Beyond refrigeration, you also have the excellent option of freezing your unbaked cinnamon rolls for longer-term storage. This is a fantastic strategy for having homemade treats ready whenever a craving strikes or for unexpected guests.
To freeze unbaked rolls, follow these steps:
- After shaping and arranging the rolls on a baking sheet as in Step Two, place the entire tray directly into the freezer.
- Once the rolls are solidly frozen (this typically takes a few hours), you have two options:
- Option A: Keep them on the tray in the freezer, especially if your freezer space allows and you plan to bake the entire batch at once.
- Option B: For more flexible baking, pop the frozen rolls off the tray and transfer them into a large, freezer-safe ziploc bag or an airtight container. This saves space and allows you to bake just a few at a time.
When you’re ready to bake frozen rolls, transfer them from the freezer to a greased baking pan. Cover them loosely with greased plastic wrap and let them thaw and rise at room temperature until doubled in size. This can take anywhere from 4-6 hours, or even longer, depending on your kitchen’s temperature. Alternatively, you can thaw them overnight in the refrigerator (this acts as a very slow second rise), then let them come to room temperature and finish rising for 1-2 hours before baking.
A word of caution regarding freezing unbaked yeast dough: I’ve found that sometimes the yeast flavor can become more pronounced after freezing, thawing, and baking. While still delicious, it might be a subtle difference. For best quality, I generally don’t recommend keeping unbaked rolls in the freezer for longer than 3-4 weeks.
Pro Tip: Freezing Baked and Frosted Cinnamon Rolls! I actually prefer to freeze baked and frosted sweet breads or rolls because of an ingenious hack my Aunt Marilyn taught me. This method is a game-changer for ultimate convenience:
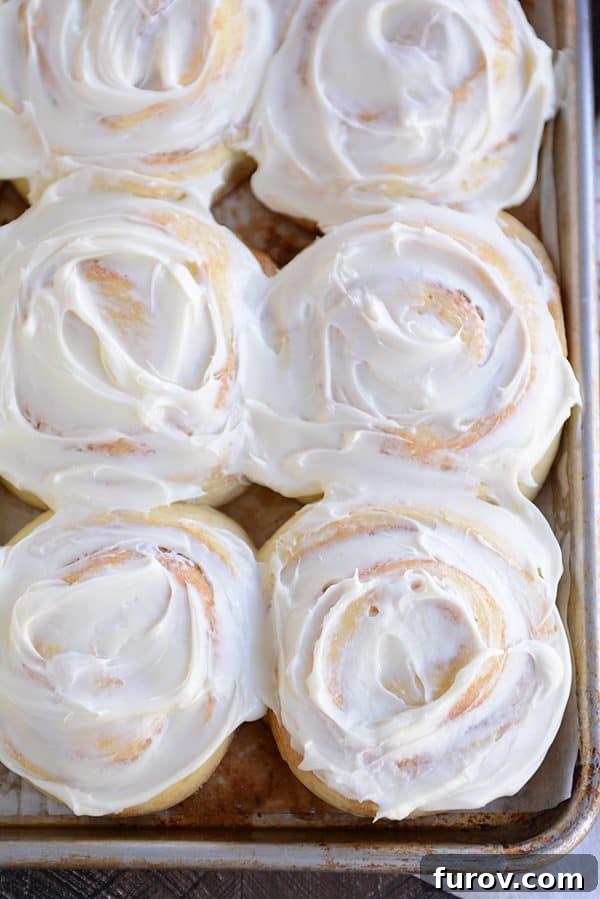
First, bake and frost your cinnamon rolls completely according to your recipe. Let them cool down fully. Once cooled, individually place each frosted roll into a quart-sized freezer bag. Close the bag, pressing out as much air as possible (yes, it can be a little messy with the frosting, but it’s worth it!). Freeze the individual rolls.
When you’re ready to enjoy a warm, fresh cinnamon roll, simply remove a single roll from its bag (it’s easier than it sounds – the frozen roll will pop right out!). Place it on a microwave-safe plate and warm it in the microwave for 1-2 minutes, or until heated through and the frosting is deliciously melty. This method yields hot, fresh, single-serve cinnamon rolls whenever you desire. It’s dangerously convenient!
I understand that the information shared here about making cinnamon rolls ahead of time might not revolutionize the culinary world. Many experienced bakers likely employ similar strategies. However, my goal is to provide a clear, easy-to-follow, and reliable tutorial that serves as a go-to resource.
Whether you’re a novice baker venturing into make-ahead doughs for the first time, or a seasoned pro simply looking for a quick refresher, this guide aims to be a helpful companion. When questions arise, or when you simply ponder the profound connection between life’s joys and a warm cinnamon roll, you’ll have a straightforward reference point.
So, what are you waiting for? Embrace the convenience and joy of preparing ahead!
Go Make Some Cinnamon Rolls!
Please feel free to leave any additional questions or comments below. Your insights and queries help improve these tutorials for everyone. I’ll gladly update and expand this guide as new questions come up!
And for your convenience, here’s that fantastic list of my favorite sweet roll recipes, perfect for trying out these make-ahead methods: