
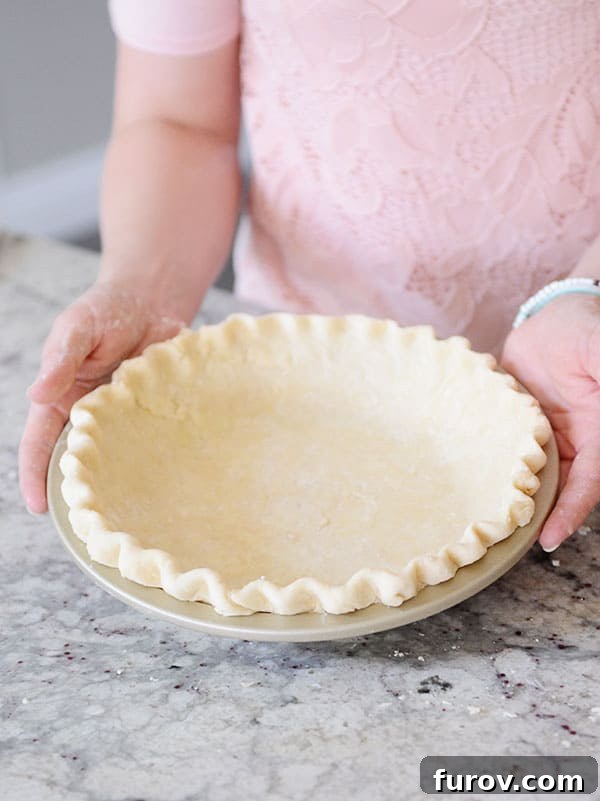
Achieve the Perfect Flaky Homemade Pie Crust Every Time: Your Ultimate Guide
Unlock the secrets to a truly unforgettable pie with this simple, no-fail flaky homemade pie crust recipe. Ideal for beginners and cherished by seasoned bakers, it’s destined to become your go-to!
Every home baker deserves a reliable, go-to pie crust recipe in their arsenal. And today, we’re sharing one that consistently delivers remarkable results. This recipe is not just incredibly simple to prepare, but also exceptionally easy to handle, yielding a tender, buttery, and impressively flaky crust that will elevate any pie filling to new heights.
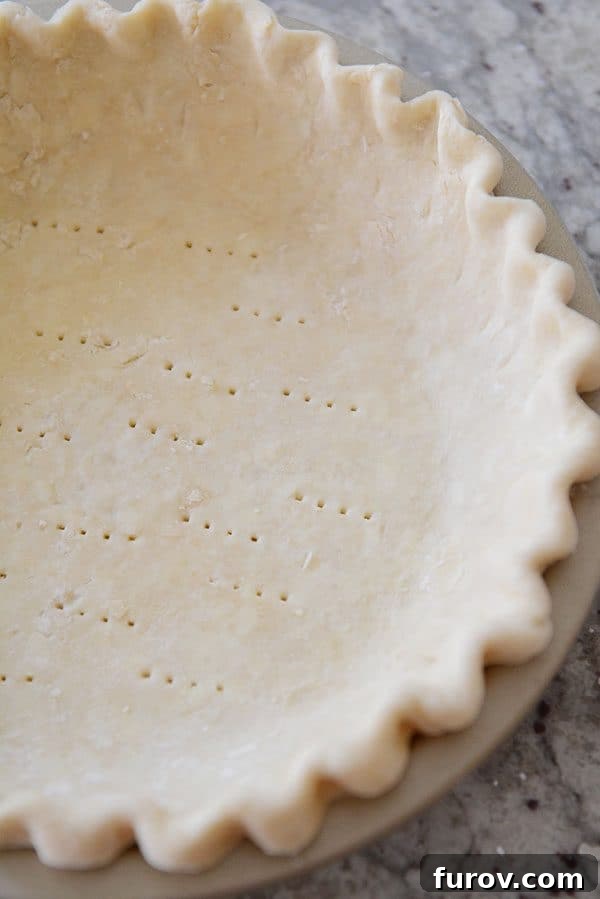
While I also adore my sour cream pie crust for its slightly richer flavor, this classic butter-and-shortening combination offers a unique blend of ease and perfection, making it an excellent starting point for anyone looking to master the art of pie making.
To truly illustrate the magic of this recipe, I even sacrificed a perfectly baked crust to reveal its incredible structure. Just look at those distinct, delicate layers!
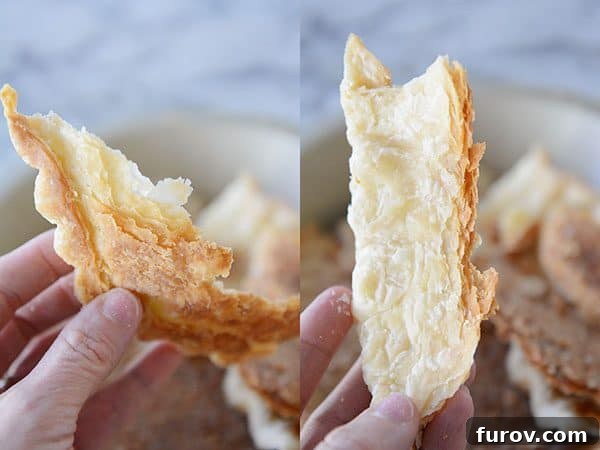
That incredible flakiness is within your reach, and I’m here to show you exactly how to achieve it. While a food processor can certainly make quick work of pie dough (and I use one often!), this detailed guide focuses on making pie crust entirely by hand. You’ll be amazed at how straightforward it is!
Why This Pie Crust Recipe Works: The Science of Flakiness
The secret to a truly flaky pie crust lies in the fat. When cold pieces of butter and shortening are incorporated into the flour and then baked, they create steam as they melt. This steam pushes apart the layers of dough, resulting in those beautiful, airy pockets that define a perfect flaky crust. Our specific combination of butter for flavor and shortening for tenderness and workability creates a harmonious balance that’s hard to beat.
The Golden Rule: Keep Everything Cold!
Before we dive into the steps, remember this crucial tip: the colder your ingredients and dough remain throughout the process, the flakier your pie crust will be. Warm fats melt into the flour too quickly, leading to a tough, crumbly crust instead of a light, layered one. Aim for a cool kitchen environment, ideally between 68-72 degrees F (20-22 degrees C). If you’re starting to sweat, your pie dough will too!
Essential Ingredients & Preparation
To set yourself up for success, begin by preparing your fats:
- Butter: Place 10 tablespoons (142g) of cold, salted butter in the freezer for at least 20-30 minutes. Freezing makes it easier to grate, which helps distribute the fat evenly without overworking the dough.
- Shortening: Chill 2 tablespoons of shortening in the refrigerator for several hours. For a quick cheat, scoop the shortening onto a lightly greased plate with a cookie scoop and freeze it for 15-20 minutes. Shortening provides tenderness and prevents excessive gluten development, contributing to a wonderfully tender crumb.
Gather Your Dry Ingredients
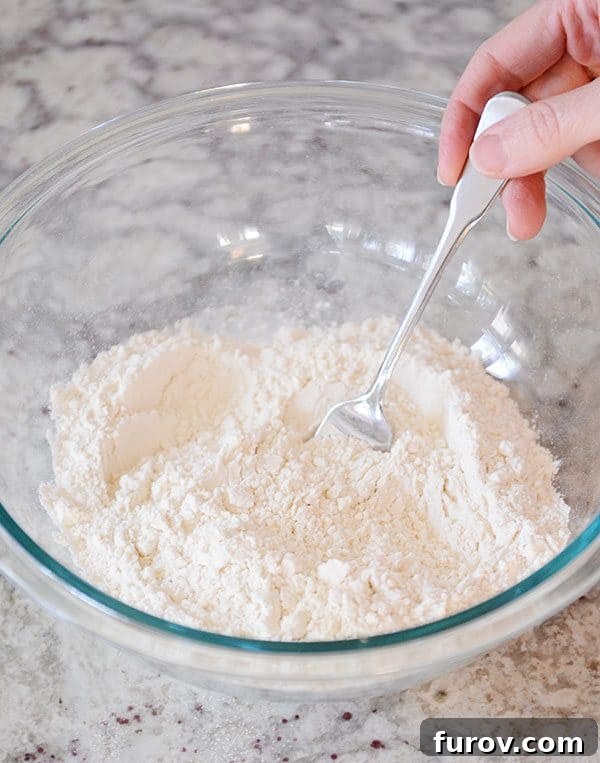
In a medium-sized bowl, combine 1 1/2 cups (213g) of all-purpose flour, 2 tablespoons of granulated sugar (for a touch of flavor and browning), and 1/4 teaspoon of salt. Give this mixture a quick stir with a fork to ensure everything is well distributed.
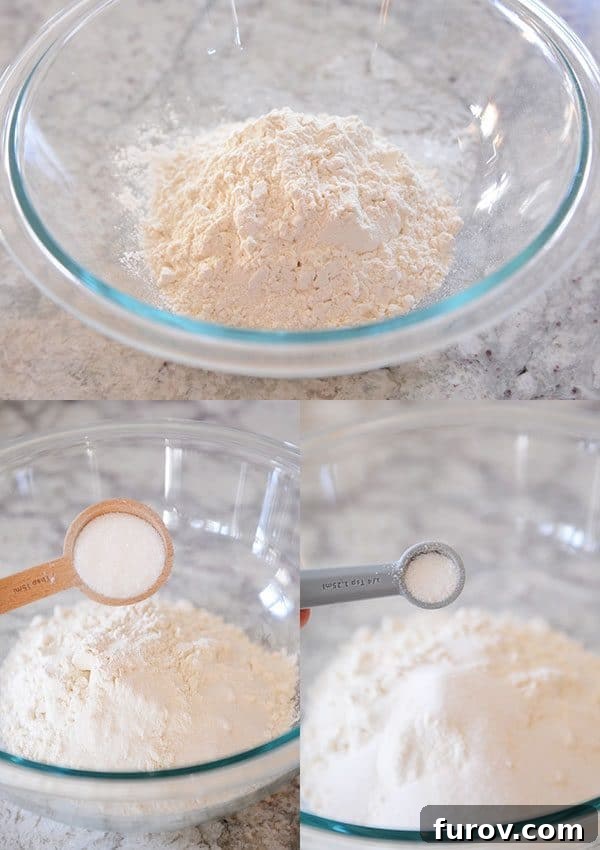
A simple whisk with a fork prepares the canvas for your fats.
Step-by-Step: Crafting Your Flaky Pie Dough
1. Incorporating the Shortening
Now, add the chilled two tablespoons of shortening to your dry ingredients. You might be wondering why we’re using shortening. While I generally prefer butter, a small amount of shortening in pie crust is a game-changer, especially for beginners. It’s less finicky than butter and contributes a delightful tenderness and lightness that can be challenging to achieve with 100% butter. This recipe strikes the perfect balance, delivering rich butter flavor complemented by shortening’s structural benefits.
Using a pastry blender, begin cutting the shortening into the flour mixture. This step should only take a minute or two. Work quickly until the shortening pieces are about the size of small peas.
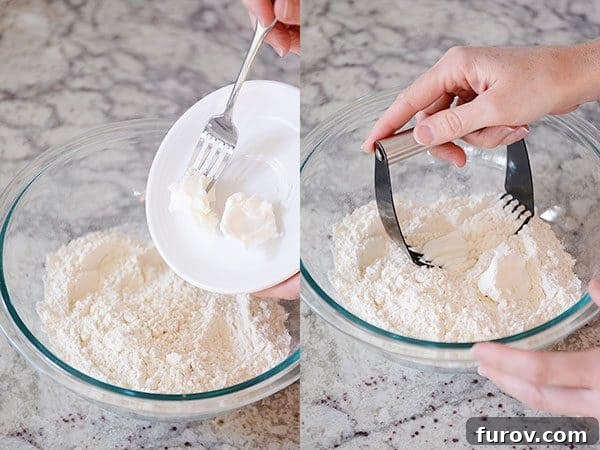
Troubleshooting Tip: No Pastry Blender? No problem! You can achieve the same result using two butter knives or a sturdy fork to cut the shortening into the dry ingredients. Remember, those small pieces of fat are crucial; they melt during baking to create steam, forming those coveted flaky layers.
2. Grating the Frozen Butter
Next, grab your box grater and grate the frozen butter directly into the bowl with the flour and shortening mixture. This method is far easier and more efficient than trying to cut in cold butter chunks, and it ensures an even distribution of butter throughout the dough. (Note: shortening doesn’t grate well like frozen butter, which is why we cut it in separately).
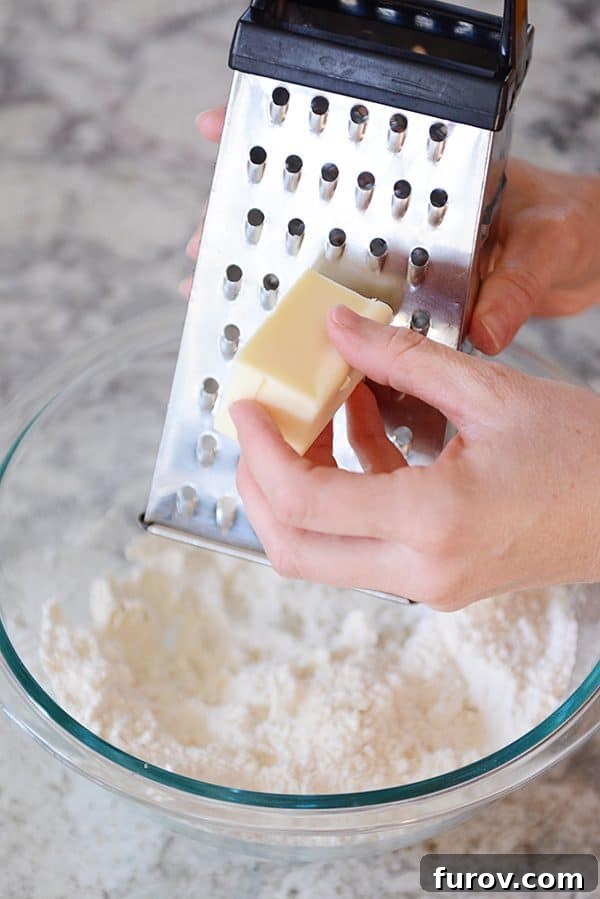
I usually grate half the butter, gently toss the mixture, then grate the remaining half. Once all the butter is in, lightly toss the mixture with your hands or a fork until the butter strands are coated with the dry ingredients. Be careful not to overwork the dough; excessive handling warms the butter, which is exactly what we want to avoid.
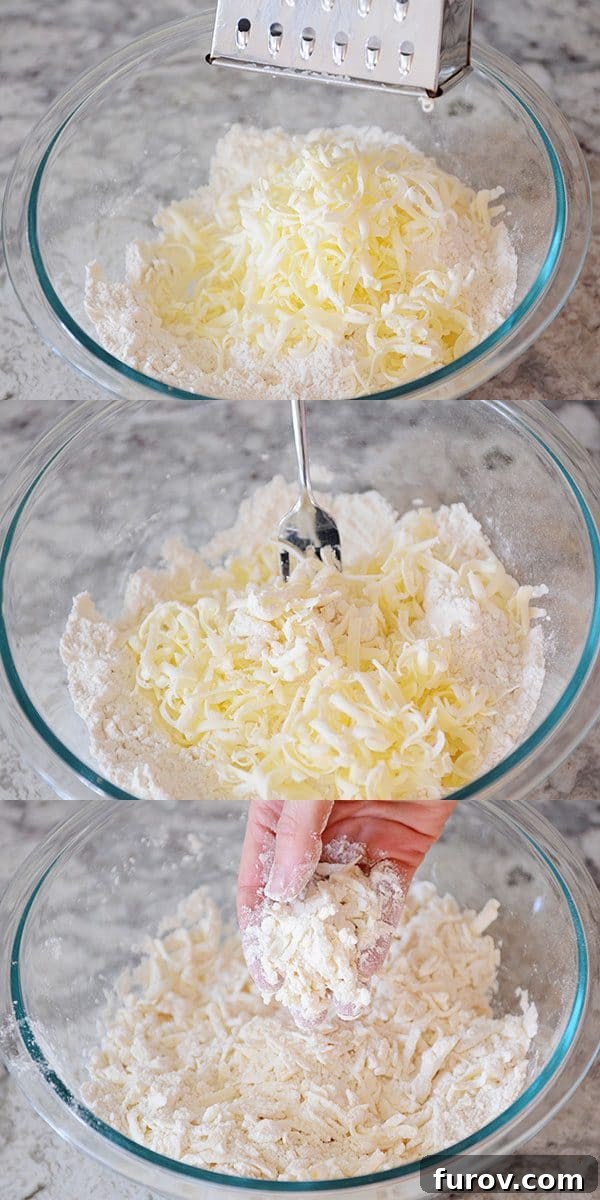
Troubleshooting Tip: No Box Grater? If you don’t have a grater, ensure your butter is very well-chilled (not frozen). Cut it into small 1/4-inch pieces, add them to the dry ingredients, and cut them in with a pastry blender, two forks, or butter knives until the mixture is coarse and the butter pieces are pea-sized.
3. Adding the Ice Water
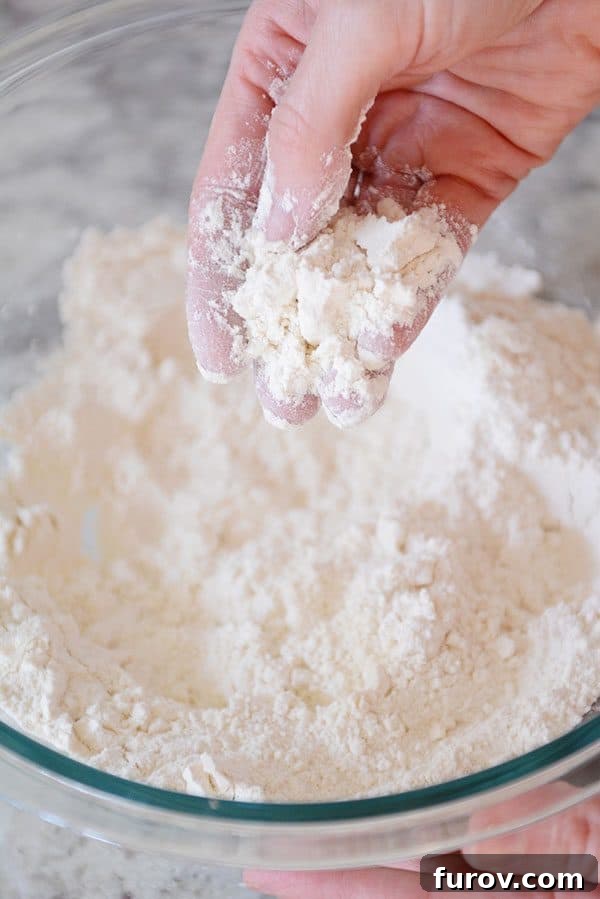
Now, it’s time to introduce the ice water. Drizzle in 1/4 cup of ice water, and use a fork to start moistening the ingredients. The goal is to add just enough water to bring the dough together, but no more. Gradually, you’ll find it easier to abandon the fork and gather the mixture with your hands.
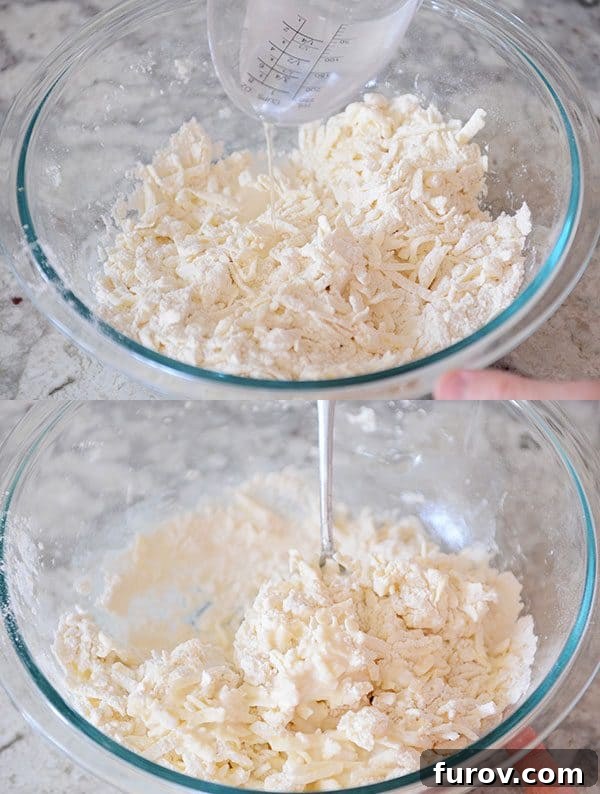
The dough should look shaggy and appear slightly dry and patchy. This is perfectly normal! You’ll know you’ve added enough water when you can press a handful of the mixture together, and it mostly holds its shape in a clump. Resist the urge to add more liquid if it feels slightly dry; overly wet dough leads to a tough crust. It’s always better to have slightly dry dough than overly wet dough.
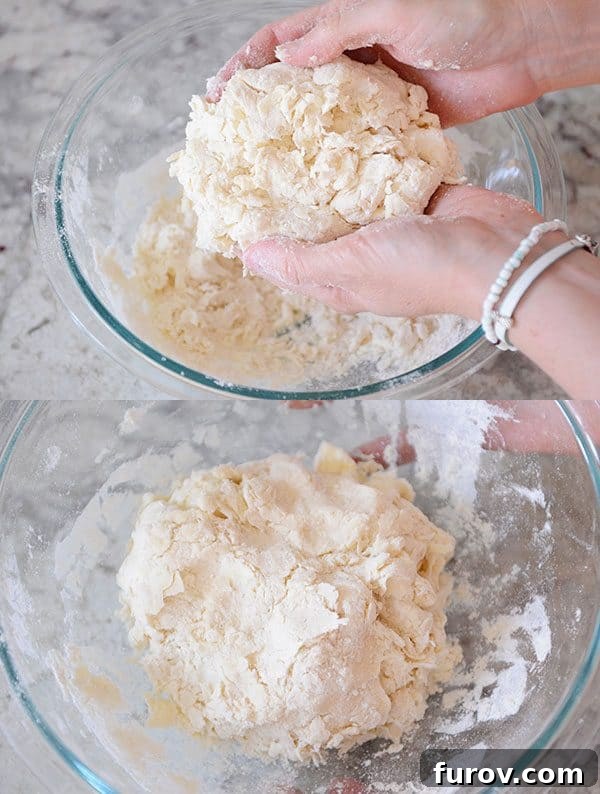
4. Forming and Chilling the Dough Disc
Once the dough begins to clump, gather all the mixture from the bottom of the bowl and press it into a lumpy ball. Transfer this ball onto a long piece of plastic wrap. Gently mold it into a thick, uniform disc.
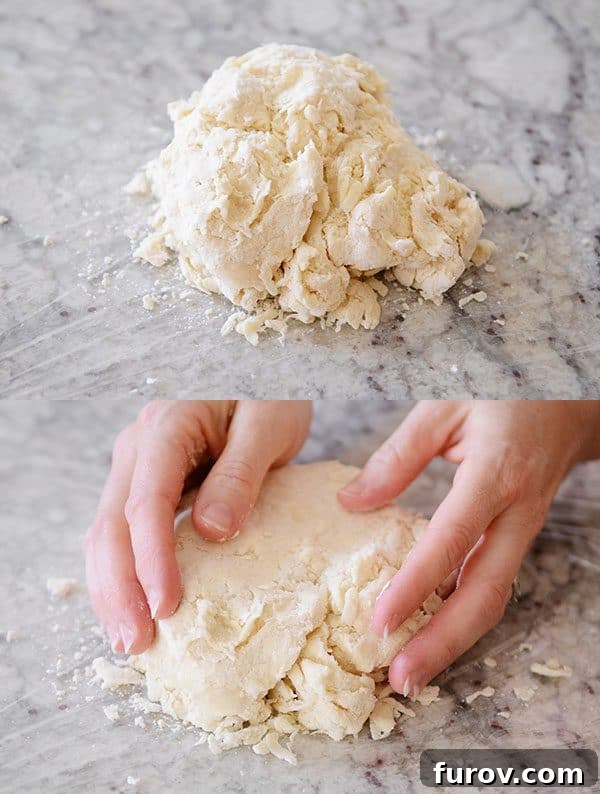
Wrap the pie dough completely in the plastic wrap, ensuring it’s sealed. Refrigerate the dough for at least one hour, or up to several days. This chilling period is crucial: it allows the flour to fully hydrate, the butter to firm up again, and the gluten to relax, all contributing to a more tender and manageable crust.
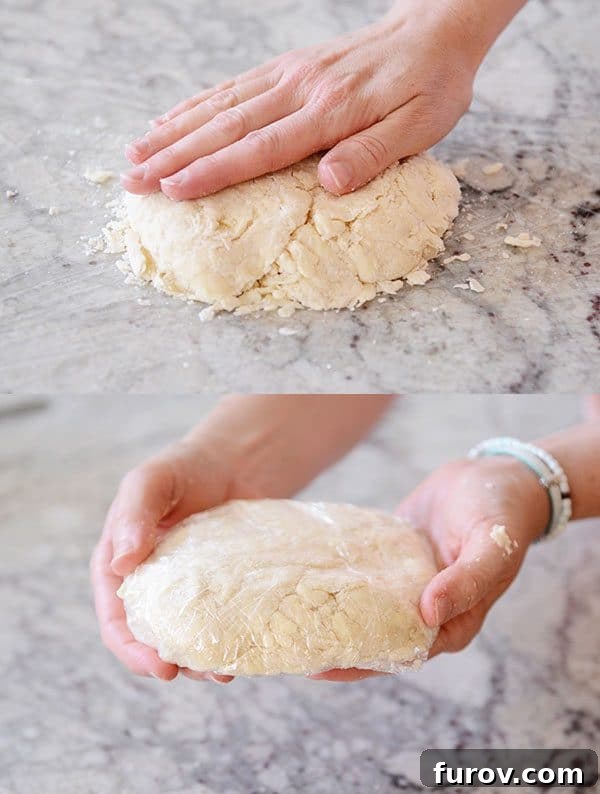
Troubleshooting Tip: Dough Too Dry After Chilling? If your dough crumbles excessively when you try to roll it out, very lightly mist the outside with cold water using a spray bottle. Gently pat any dry ingredients back into the disc shape. The dough will absorb this extra moisture as it rests in the fridge, making it more pliable.
Rolling Out Your Pie Dough Like a Pro
When you’re ready to roll out your pie dough, a canvas board is an invaluable tool. I wholeheartedly recommend one, as it significantly improved my pie-making experience. Its lightly floured surface prevents sticking while allowing the dough to glide smoothly.
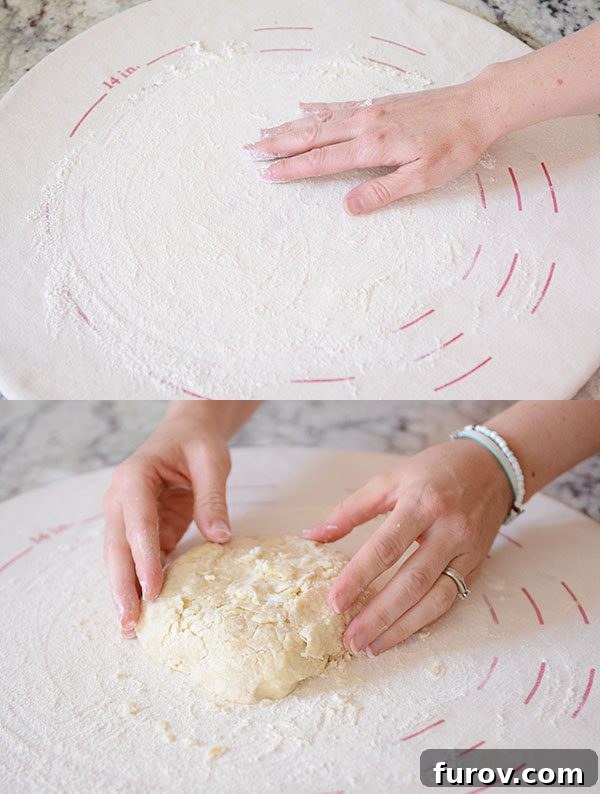
Troubleshooting Tip: No Canvas Board? A lightly floured countertop works perfectly! The key is to lift and turn the dough frequently, adding a light dusting of flour underneath as needed to prevent it from sticking.
Rolling Technique
Using a rolling pin, press firmly on the center of the dough and roll outward once. Rotate the dough a quarter turn, and repeat the process: roll from the center outward. Continue this motion of rolling from the middle and turning the dough until you achieve a thin, even layer. I like to invert my pie plate over the dough to gauge if it’s wide enough – generally, you want the dough to be about 2 inches wider than the outer rim of your pie plate.
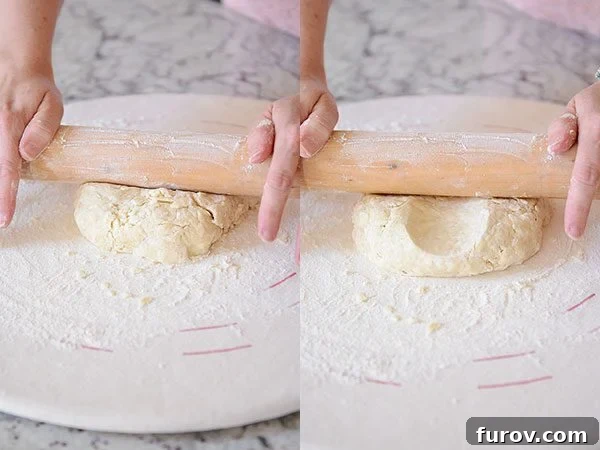
Roll the dough out with as few strokes as possible; overworking it can develop gluten, leading to a tough crust, and warm up the butter, compromising flakiness.
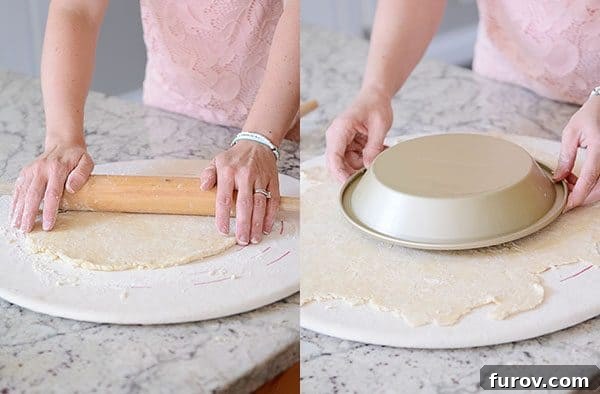
Transferring to the Pie Plate
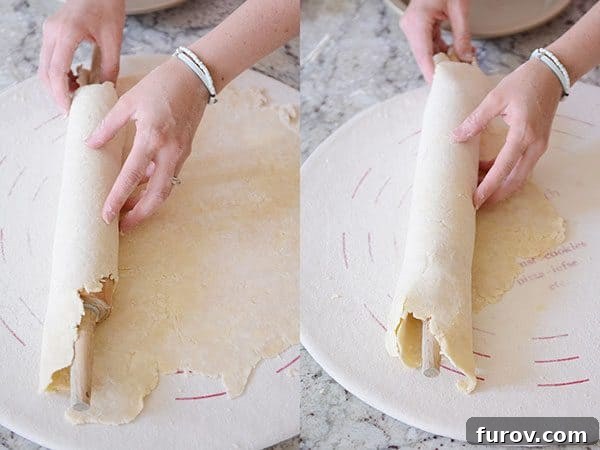
Lightly flour your rolling pin and gently roll the dough around it, starting from one edge. If the dough feels sticky, lightly sprinkle flour on top and ensure all sides lift easily from your work surface before rolling.
Unroll the dough over your pie plate, carefully centering it. The goal is to avoid stretching or moving the dough excessively once it’s in place. Stretching the dough is a common culprit for crust shrinkage during baking, and we want a beautiful, stable crust.
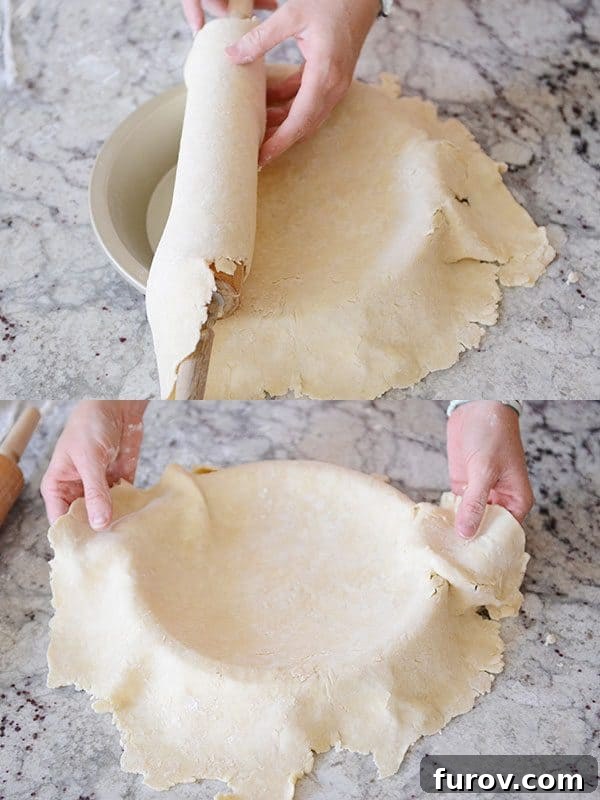
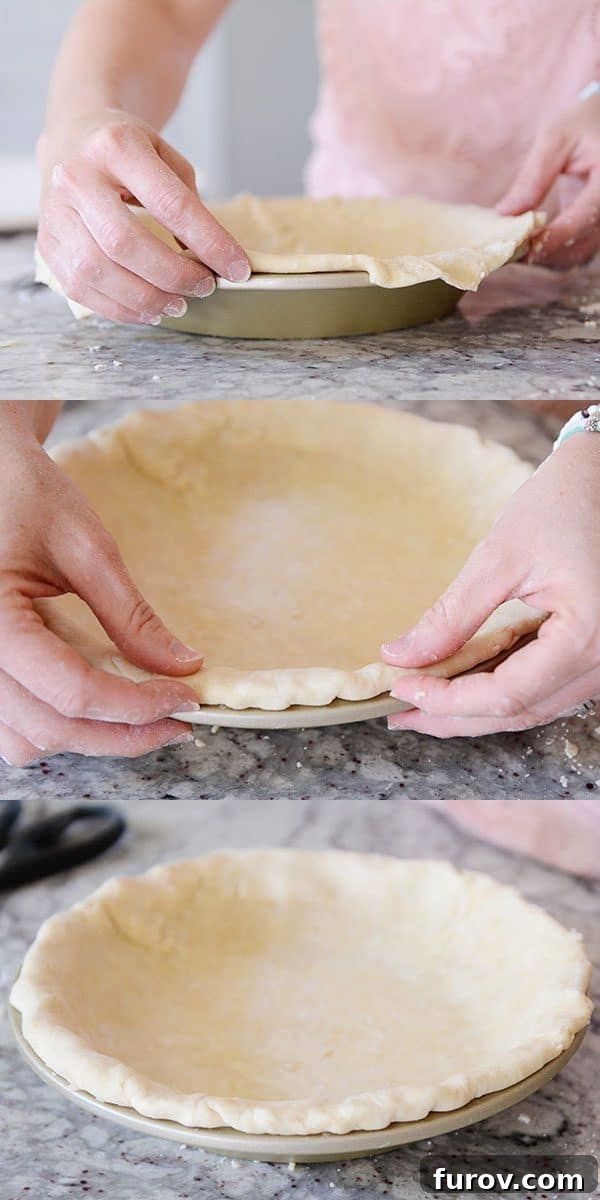
To nestle the dough perfectly into the pie plate’s shape, resist the urge to push it down into the corners. Instead, gently lift the edge of the pie dough to create slack, then use your other hand to guide it down into the corner. The mantra here is “lift and fit,” not “stretch and pull.” This technique prevents the dough from wanting to shrink back during baking, ensuring your pie crust holds its shape beautifully.
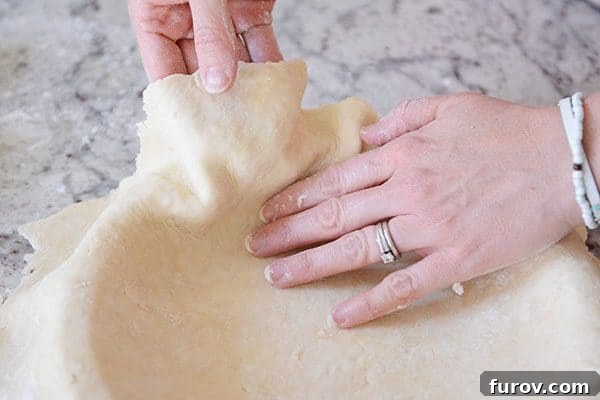
There we have it: perfectly lifted and fitted pie dough, ready for its final touches.
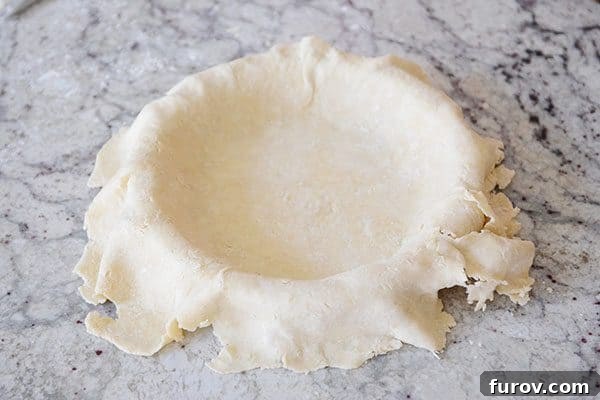
Troubleshooting Tip: Cracks or Tears During Rolling/Unrolling? Don’t panic! Simply spray the affected area with a tiny drop of cold water and press a small piece of dough from the excess overhang onto the crack. The cold water helps it adhere, and the patch will blend seamlessly once baked.
Trimming and Crimping for a Beautiful Finish
For neat trimming, I find kitchen scissors to be the ideal tool. Snip the dough, leaving about a 1/4-inch overhang around the rim of the pie plate.
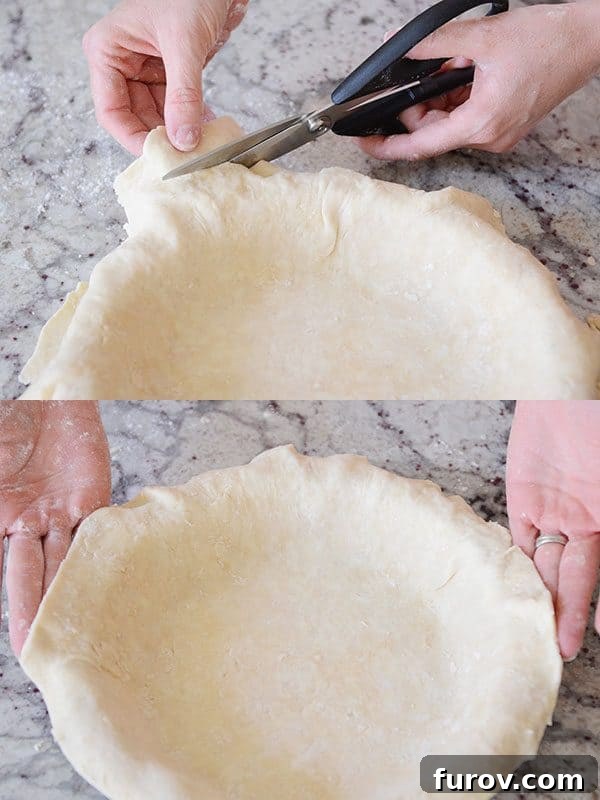
Take that 1/4-inch overhang and gently fold it underneath itself, so it becomes flush with the edge of the pie plate. This creates a thicker edge, which not only looks more elegant when crimped but also provides additional support to prevent shrinking during baking.
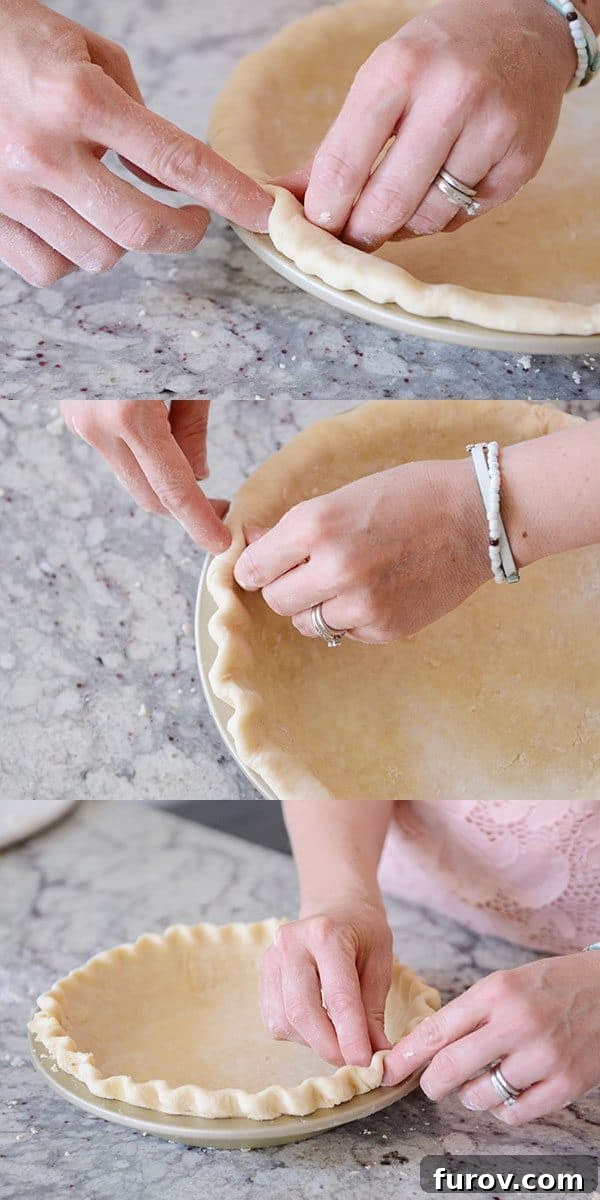
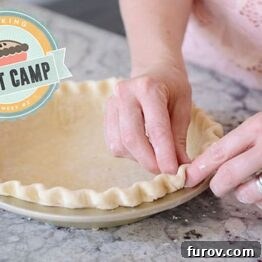
Now, your edges are ready for crimping! For a classic pie crust look, use the thumb and forefinger of one hand on the inside of the pie plate and the forefinger of your other hand on the outside edge, pressing them together to create a decorative fluted edge.
Final Chill Before Baking
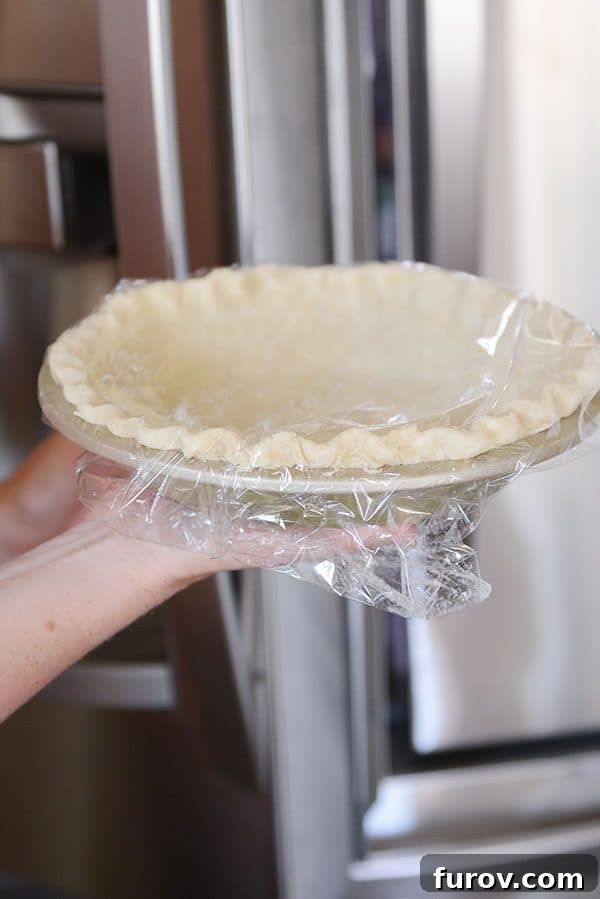
With your pie crust beautifully formed and crimped, the safest next step is to lightly cover it with plastic wrap and return it to the refrigerator for about an hour. This final chilling period is incredibly beneficial, firming up the fats and relaxing the gluten one last time, significantly reducing the chance of dreaded shrinkage in the oven. A well-chilled crust is a happy crust!
This perfect flaky homemade pie crust is designed to turn out beautifully every single time, making your pie baking endeavors a joy rather than a challenge.
Perfect Flaky Pie Crust
Pin
Rate
SaveSaved!
Ingredients
- 1 ½ cups (213 g) all-purpose flour
- 2 tablespoons granulated sugar
- ¼ teaspoon salt
- 2 tablespoons shortening, frozen for 15-20 minutes or well-chilled
- 10 tablespoons (142 g) salted butter, frozen (see note)
- ¼ to ⅓ cup ice water
Instructions
-
In a medium bowl, combine the flour, sugar, and salt. Whisk briefly with a fork until thoroughly mixed.
-
Add the chilled shortening to the dry ingredients. Using a pastry blender, two butter knives, or a fork, cut the shortening into the mixture until it resembles coarse crumbs with pea-sized pieces of shortening. Work quickly to keep the fats cold.
-
Using a box grater with large holes, grate the frozen butter directly into the bowl. Gently toss the mixture with a fork or your hands until the grated butter strands are evenly coated with the dry ingredients. Avoid overmixing or handling the dough too much, as the warmth from your hands can melt the butter.
-
Drizzle in 1/4 cup of ice water. Begin mixing the dough with a fork. If necessary, switch to using your hands to gather the dough into a loose mass. The dough will appear dry and shaggy, with some patchy spots – this is ideal. Squeeze a handful of dough; if it mostly holds together, do not add more water. If it remains very dry and crumbles, add 1-2 more tablespoons of ice water, mixing lightly and quickly until the dough just comes together into a cohesive, shaggy ball.
-
Transfer the dough (gathering any loose pieces) onto a sheet of plastic wrap. Gently press and mold it into a thick disc shape. Wrap it tightly in the plastic wrap and refrigerate for at least one hour, or up to several days. For longer storage, the pie dough can be frozen for up to several months.
-
When ready to use, roll out the chilled dough as directed by your specific pie recipe.
Notes
Recommended Products
Recipe Source: This recipe is adapted from Dorie Greenspan’s “Good for Almost Everything” pie dough, with slight modifications to the shortening amount, use of salted butter, and overall salt content, as well as minor adjustments to the water.