
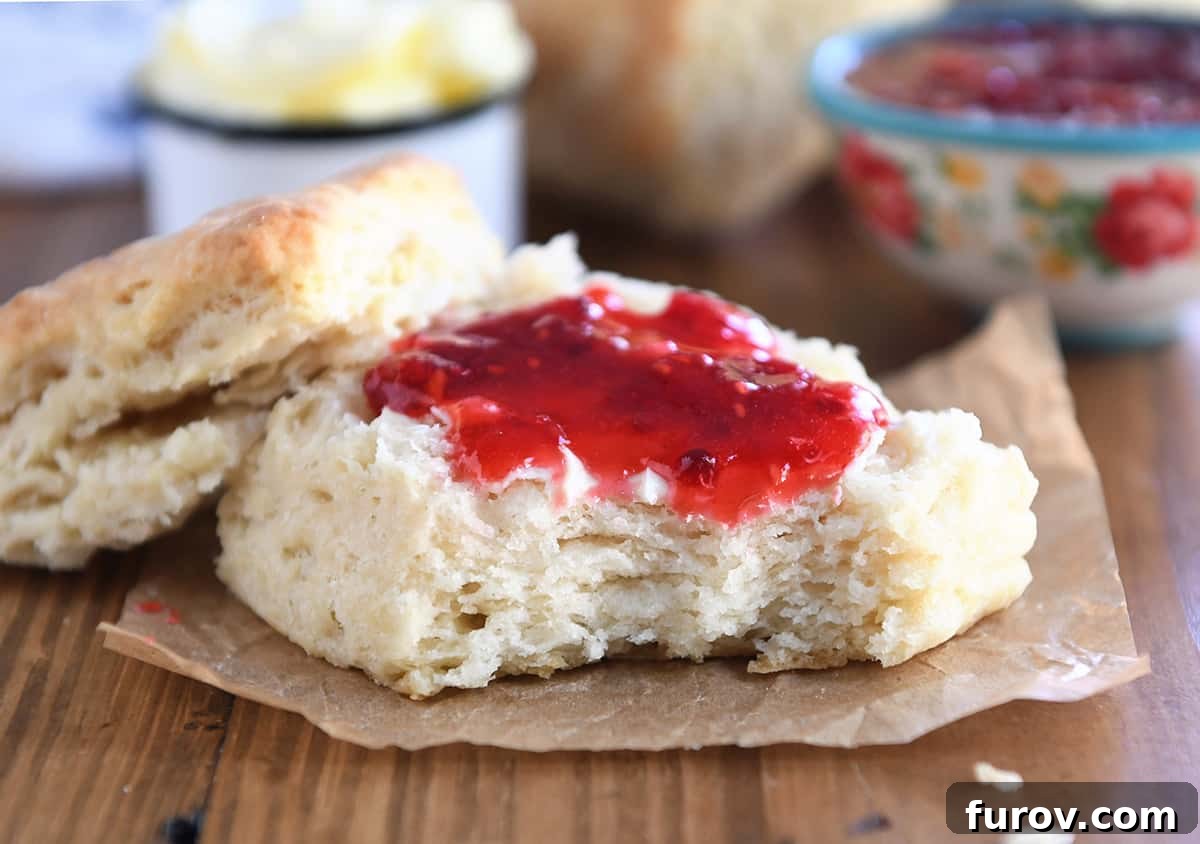
Welcome to the ultimate guide for crafting the most incredible Easy Sourdough Biscuits you’ll ever taste! These aren’t just any biscuits; they’re soft, incredibly flaky, and boast a subtle tang from sourdough that elevates them to a truly divine level. Whether you’re a seasoned sourdough enthusiast or just beginning your baking journey, this recipe is designed to be straightforward and rewarding. The best part? You can use either a vibrant, fed sourdough starter or your ready-to-use discard, making it a flexible addition to your baking repertoire.
Imagine tall, sturdy biscuits, perfectly golden brown, with distinct layers that practically melt in your mouth. The unique flavor profile from the sourdough adds a depth that complements rather than overpowers the tender texture, ensuring every bite is a delightful experience. Get ready to transform your breakfast table or dinner spread with these spectacular homemade biscuits!
Crafting Your Perfect Sourdough Biscuits: A Step-by-Step Guide
As a devoted baker, I’m constantly seeking innovative ways to utilize my sourdough starter, especially methods that don’t require me to meticulously plan a feeding schedule. This sourdough biscuit recipe is a dream come true, offering exceptional flavor and texture whether you use an active, fed starter or a mature, flavorful discard. The process is remarkably simple, focusing on key techniques that ensure flaky, tender results every time.
Here’s a detailed breakdown of how to prepare these extraordinary biscuits:
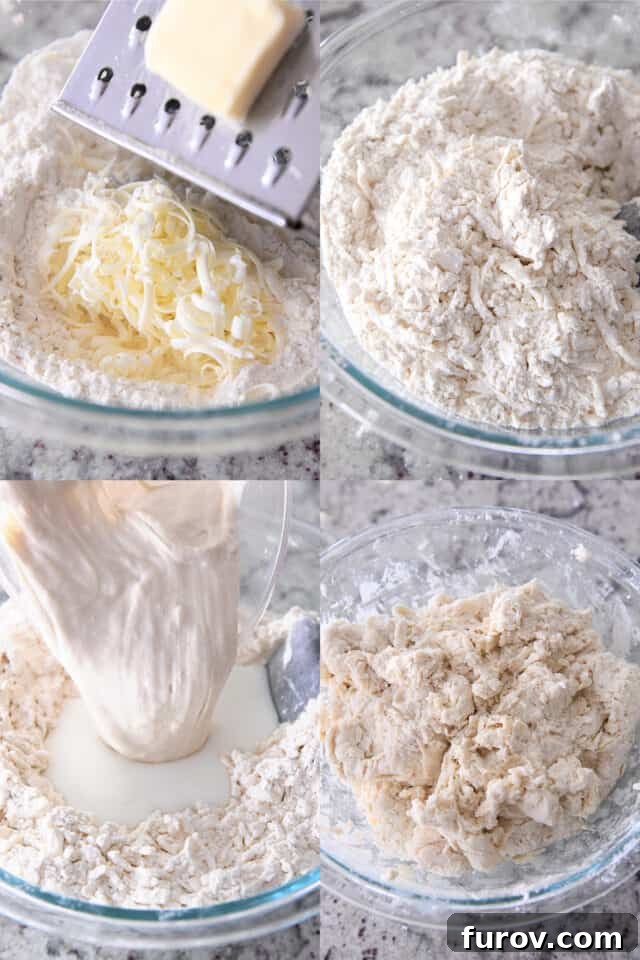
- Prepare the Dry Ingredients: Begin by whisking together your all-purpose flour, baking powder, granulated sugar, salt, and baking soda in a large bowl. This ensures that the leavening agents and seasonings are evenly distributed throughout the dough, contributing to an even rise and consistent flavor.
- Incorporate the Cold Butter: This step is crucial for achieving those coveted flaky layers. Using a box grater, grate very cold or frozen salted butter directly into your dry ingredient mixture. Grating the butter creates small, uniform pieces that are easily coated by the flour, preventing overmixing and ensuring pockets of steam form during baking. If you prefer, a pastry blender or food processor can also be used, but grating is surprisingly quick and effective.
- Toss and Distribute: Gently toss the grated butter with the dry ingredients. The goal is to lightly coat each piece of butter with flour. This prevents the butter from clumping together and ensures it’s evenly dispersed, which is essential for developing the flaky texture. Work quickly to keep the butter as cold as possible.
- Add the Wet Ingredients: Pour in your sourdough starter (fed or discard) and cold buttermilk. The acidity of the buttermilk reacts with the baking soda and baking powder, aiding in the leavening process, while the sourdough starter adds its signature flavor and contributes to the rise.
- Gently Combine the Dough: Using a spatula or your hands, gently fold and mix the ingredients until they just come together to form a shaggy, rough ball. It’s important not to overmix at this stage; a few dry streaks are perfectly fine. Overmixing will develop the gluten too much, resulting in tough biscuits instead of tender ones.
The Art of Lamination: Why Folding Biscuit Dough is Essential for Flakiness
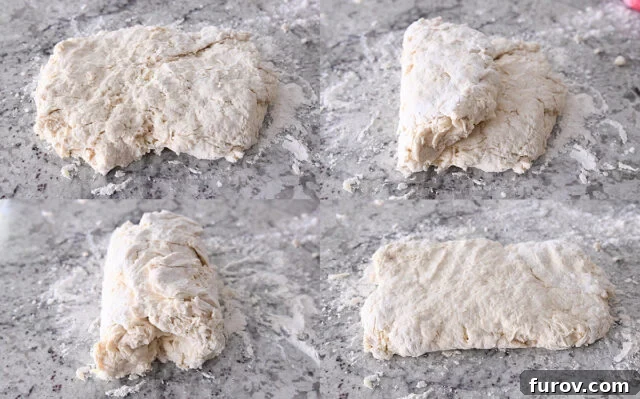
Once your dough has come together, the next critical step for achieving truly magnificent, flaky sourdough biscuits is the folding technique. This process, often referred to as lamination in pastry making, creates multiple thin layers within the dough, which then puff up during baking to form distinct, airy strata.
Here’s how to execute the perfect fold:
Turn the shaggy biscuit dough out onto a lightly floured counter. Gently pat the dough into a thick rectangle, aiming for about an inch in thickness. Now, carefully fold the dough into thirds, much like folding a letter. Once folded, gently pat it out into a rectangle shape again. Repeat this folding and patting process one more time. These quick, gentle folds, coupled with the super cold butter, are the secret behind those irresistible, sky-high flaky layers that define a perfect biscuit.
The repeated folding creates internal layers where the cold butter is encased. As the biscuits bake, the butter melts and releases steam, forcing the layers of dough to separate and rise, resulting in an exceptionally light and flaky texture. This technique ensures that your sourdough biscuits are not just tasty, but also visually stunning with their beautiful internal structure.
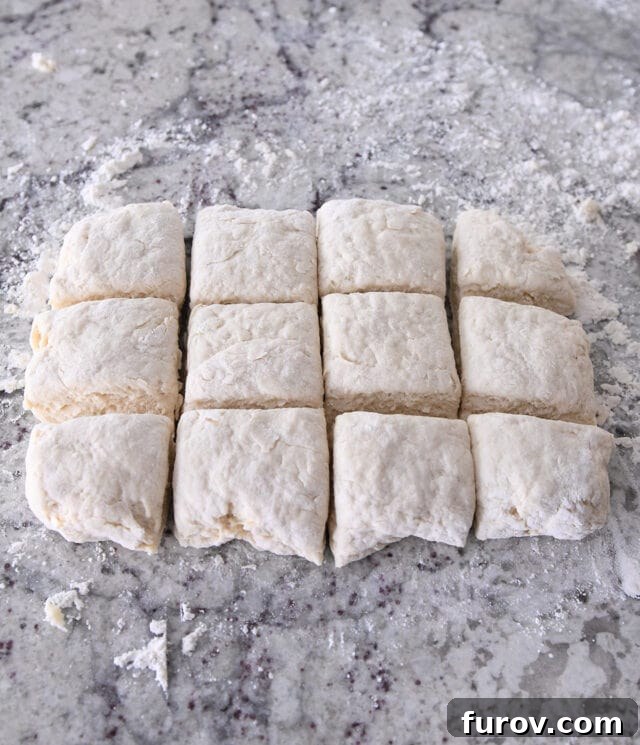
After the folding process, gently press or roll the dough into a final rectangle about 1-inch thick. Cut the dough into squares using a sharp knife or a bench scraper. While you can certainly use a round biscuit cutter, square cuts minimize scraps and thus the need for re-rolling. Keep in mind that re-rolled scraps may lead to biscuits that are slightly less flaky and tender than the first batch, as the butter may warm up and gluten may develop further with additional handling.
Achieving Perfectly Tall and Flaky Sourdough Biscuits
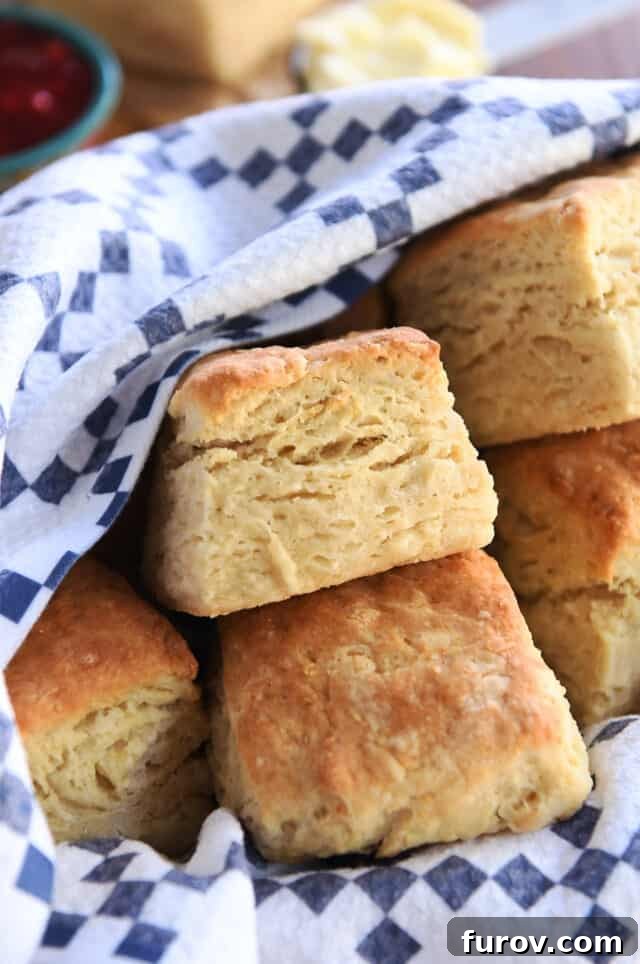
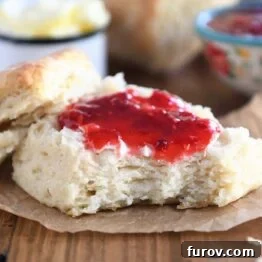
When these sourdough biscuits emerge from the oven, you’ll immediately notice their impressive height and beautiful golden crust. The active sourdough starter provides an extra lift, creating a distinctively tall and robust biscuit that stands proudly on your plate. While they retain the tender qualities of a classic buttermilk biscuit, the sourdough addition gives them a slightly firmer structure and that signature tangy note which is absolutely spot on.
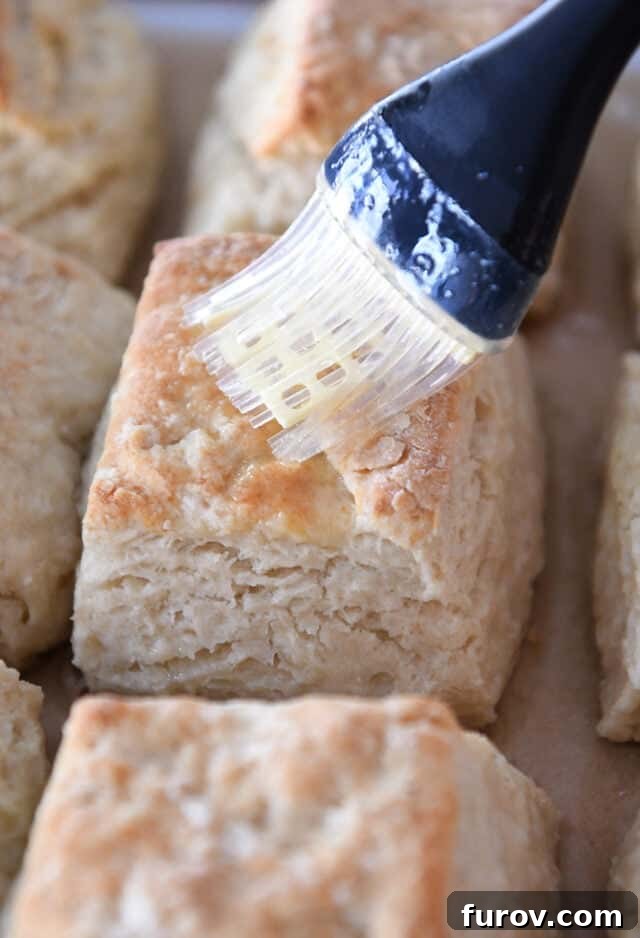
To ensure maximum enjoyment, as soon as the biscuits are out of the oven, generously brush their tops with melted butter. This simple step adds an incredible richness, a beautiful sheen, and helps to soften the crust slightly. The aroma of warm, buttery sourdough biscuits filling your kitchen is truly one of life’s simple pleasures. For the best experience, serve these delightful biscuits warm, allowing their soft interior and flaky layers to be fully appreciated.
The combination of cold butter, strategic folding, and the leavening power of sourdough ensures each biscuit is a masterpiece of texture and flavor. They are heartier than typical biscuits, making them ideal for soaking up gravy or standing up to more substantial fillings. Prepare to be amazed by the results of this recipe!
Demystifying Sourdough Starter for Biscuits: Fed vs. Discard
My approach to sourdough baking often leans towards what I affectionately call the “lazy girl way,” which frequently involves utilizing sourdough discard in my recipes. The sheer convenience of not having to perfectly time a feeding before baking is a game-changer, and the flavor it imparts is simply fantastic.
The true brilliance of this particular biscuit recipe lies in its remarkable versatility: it performs beautifully with either a freshly fed, active sourdough starter or a mature, unfed discard. Each option brings its own subtle nuances to the final product.
- Fed Sourdough Starter: An active, bubbly starter will contribute more leavening power, potentially resulting in an even taller rise and a slightly lighter texture. Its flavor will be milder, allowing the other ingredients to shine.
- Sourdough Discard: Using discard, especially one that has been unfed for a few days, will often impart a more pronounced sour tang to the biscuits, adding a deeper, more complex flavor profile. While it contributes less to the rise, the baking powder and baking soda in the recipe ensure your biscuits still achieve an excellent lift.
My personal sourdough starter is typically fed at a 1:1:1 ratio (starter:water:flour), resulting in a consistency that is thick but pourable. If your sourdough starter has a different hydration level or consistency – perhaps it’s much thicker or thinner – you might need to make slight adjustments to the recipe. If your dough feels too dry, add a touch more buttermilk, a tablespoon at a time, until it comes together. Conversely, if it’s too wet and sticky, a small amount of extra flour can help achieve the right texture. The goal is a dough that is manageable and just slightly tacky.
The most crucial factors for success in making these sourdough biscuits are working swiftly to keep the butter as cold as possible and being careful not to overwork the dough. Quick handling prevents the butter from melting prematurely, which is key for flakiness, and gentle mixing ensures a tender crumb by avoiding excessive gluten development.
Serving Suggestions: Elevating Your Sourdough Biscuit Experience
These sourdough biscuits are truly versatile, offering a canvas for both sweet and savory accompaniments. They are, without exaggeration, absolutely divine in their simplest forms, but also incredibly adaptable for more elaborate meals.
- Classic Sweet Pairings:
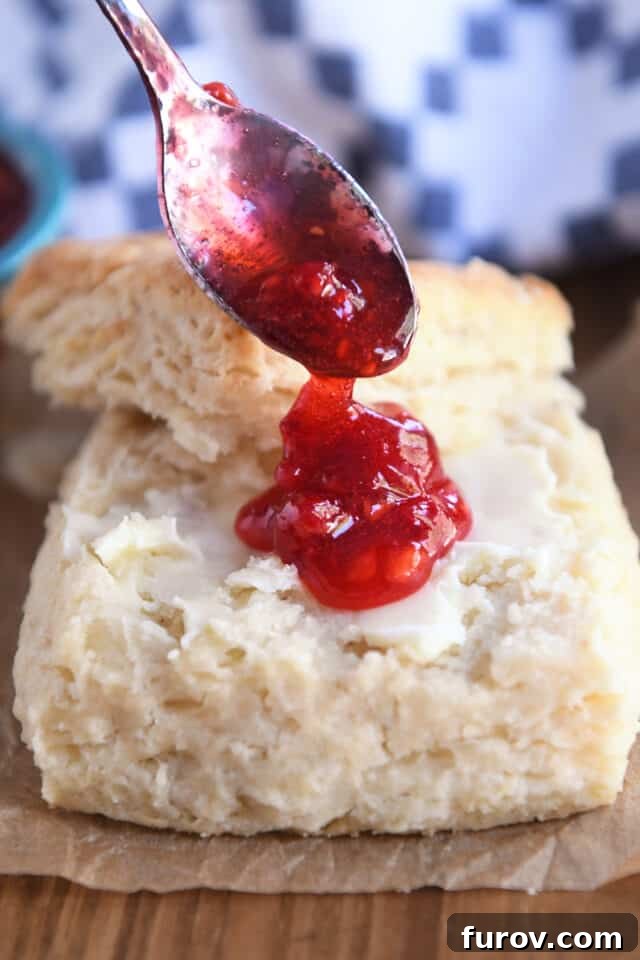
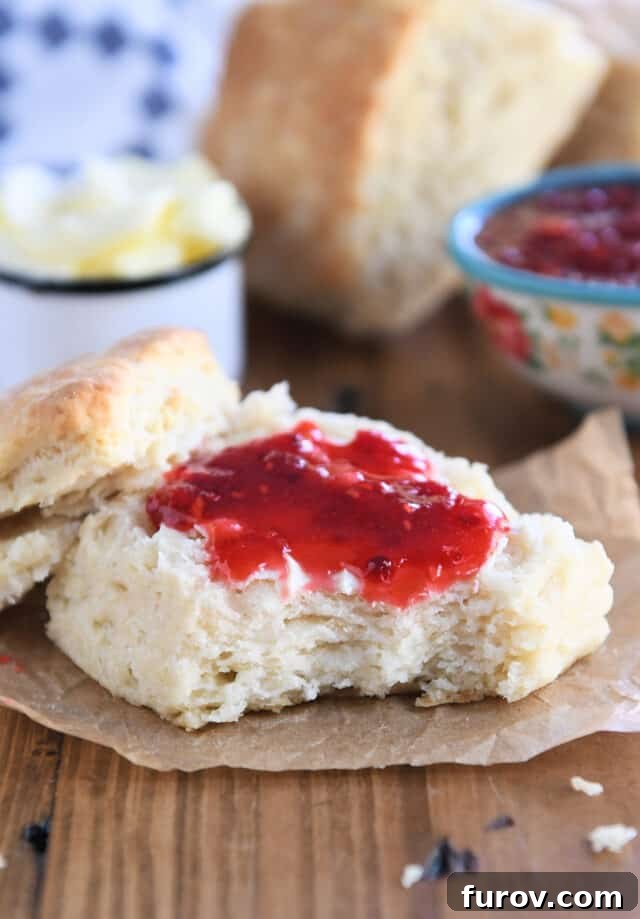
- With a generous spread of butter and your favorite fruit jam or preserves, these biscuits transform into an unforgettable breakfast or brunch item. The tang of the sourdough perfectly complements the sweetness of the fruit.
- Slather them with butter and a drizzle of golden honey for a comforting treat that’s hard to beat.
- Even with just plain butter, their rich flavor and flaky texture shine through beautifully.
- Sensational Savory Combinations:
- For a surprisingly delicious and hearty option, I can personally attest that these biscuits are unbelievably good when split and filled with a smear of mustard, slices of savory ham, and a wedge of sharp cheddar cheese. It’s a gourmet sandwich experience in biscuit form!
- They make an excellent accompaniment to a hearty bowl of chili or stew, perfect for soaking up every last drop.
- Pair them with a rich sausage gravy for a classic Southern-inspired breakfast or a delightful side for fried chicken.
This is a perfect recipe for sourdough experts and beginners alike. Its simplicity, straightforward instructions, and consistently delicious results make it a standout. You don’t need years of sourdough experience to create these bakery-worthy biscuits. Just follow the steps, pay attention to the temperature of your butter, and enjoy the process. These biscuits are guaranteed to impress, whether served at a casual family meal or a special gathering.
One Year Ago: Easy Butter Swim Biscuits
Two Years Ago: Easy Instant Pot Pasta Alfredo
Three Years Ago: Easy Pumpkin Snickerdoodle Bars
Four Years Ago: Soft and Chewy Peanut Butter Popcorn
Five Years Ago: Soft Banana Bread Cookies
Six Years Ago: Quick and Easy Cheesy Black Bean Quinoa Bake
Seven Years Ago: Greek Meatball Stuffed Pitas with Easy Tzatziki Sauce
Eight Years Ago: Sesame Chicken Pasta with Thai-Style Peanut Sauce
Nine Years Ago: Caramel Pear Crisp
Ten Years Ago: Slow Cooker White Bean Chicken Chili
The Best Sourdough Biscuits
Pin
Rate
Ingredients
- 3 cups (426 g) all-purpose flour
- 1 ½ tablespoons baking powder
- 1 tablespoon granulated sugar
- ¾ teaspoon table salt
- ½ teaspoon baking soda
- ¾ cup (12 tablespoons, 170 g) very cold or frozen salted butter
- 1 ½ cups (413 g) sourdough starter, fed or discard
- ¾ cup (182 g) buttermilk
- Melted butter, for brushing
Instructions
-
Preheat oven to 425 degrees F (220 C). Line a half sheet pan with parchment paper. Set aside.
-
In a large bowl, whisk together the flour, baking powder, sugar, salt, and baking soda.
-
Using the large holes of a box grater, grate in the very cold or frozen butter. (Alternatively, you can cut the butter into the dry ingredients using a pastry blender or pulse it in a food processor.)
-
Toss the butter with the dry ingredients until evenly mixed, ensuring each butter piece is coated.
-
Add the sourdough starter and buttermilk. Fold/gently mix the biscuit dough until it starts to come together in a rough mass and only a few dry streaks remain. Avoid overmixing.
-
Turn the biscuit dough out onto a lightly floured counter. Gently pat the dough into a rectangle about 1-inch thick. Gently fold the dough in thirds, like a letter, then lightly press into a thick rectangle again. Repeat the folding process one more time. Finally, press or roll the dough into a rectangle about 1-inch thick.
-
Cut the dough into 12 to 14 squares (or use a round biscuit cutter if preferred – remember that re-rolled scraps may not yield biscuits as flaky as the initial cuts).
-
Place the biscuits 1/2-inch apart on the prepared baking sheet. Bake for 20-22 minutes until golden brown and baked through.
-
Immediately out of the oven, brush the tops with melted butter for extra richness and shine. Serve warm.
Notes
Butter: If you opt to use unsalted butter instead of salted, consider increasing the table salt in the recipe by about 1/4 teaspoon to maintain the flavor balance.
Recommended Products
Recipe Source: from Mel’s Kitchen Cafe (adapted from this favorite recipe)