
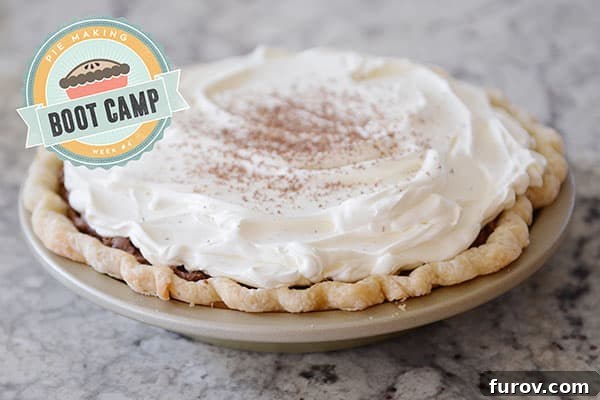
Mastering the Art of Blind Baking: Your Guide to Perfect Pie Crusts and a Decadent Chocolate Ganache Cream Pie
Uncover the secrets to flawlessly blind-baked pie crusts, understand why this crucial step is essential for many delicious desserts, and get a bonus recipe for an absolutely amazing Chocolate Ganache Cream Pie!
Hello there, fellow pie enthusiasts!
Welcome to Week #3 of our comprehensive Pie Making Boot Camp! If you’re passionate about baking and eager to elevate your pie-making skills, you’ve come to the right place. This series is designed to equip you with all the knowledge and techniques needed to create stunning, delicious pies every time.
For those just joining us, be sure to catch up on our previous sessions:
- Week #1: Essential Pie Making Supplies You Can’t Live Without
- Week #2: Crafting the Perfect Homemade Pie Crust – Tips, Video Tutorial, and a No-Fail Recipe
Understanding Blind Baking: The Foundation of Flawless Pies
Continuing our journey through essential pie-making tips, today’s focus is entirely on blind baking. If this term sounds intimidating or unfamiliar, rest assured – I’m here to demystify the process and demonstrate just how simple and impactful it can be. Blind baking is a fundamental technique for achieving a crisp, golden, and structurally sound pie crust, especially for pies with no-bake fillings or those that require a pre-baked shell.
What Exactly Is Blind Baking and Why Is It Necessary?
At its core, blind baking simply means partially or fully baking a pie crust in its pie tin before adding the filling. This crucial step is most often required when your pie will be filled with a no-bake mixture, ensuring the crust remains delightfully crisp and doesn’t turn soggy from the moisture of the filling. Think of creamy, luscious desserts like banana cream pie, classic coconut cream pie, or our brand-new, exquisitely rich chocolate ganache cream pie (recipe shared further down!).
Beyond preventing sogginess, blind baking provides a crucial structural foundation for your pie. It sets the crust, creating a sturdy base that can hold even the heaviest of fillings without collapsing. This technique guarantees a professional-looking pie with a satisfying texture in every single bite.
The Common Culprit: Pie Crust Shrinkage
One of the most frequently asked questions in pie making is, “Why does my pie crust always shrink so much during baking?” If the sight of a shrunken, misshapen crust fills you with despair, know that you are not alone. It’s a common frustration, but entirely avoidable with the right techniques.
Several factors contribute to pie crust shrinkage, some of which we explored in our previous post on pie crusts. Overmixing the dough, which can lead to excessive gluten development, is a common culprit. Similarly, stretching or pulling the dough too much while rolling it out or carefully placing it into the pie plate can cause it to snap back and shrink in the oven. However, a significant reason for shrinkage during blind baking specifically is often an improperly weighted-down crust. Without adequate weight, the butter melts, the dough relaxes, and the crust walls slide down, leaving you with a shallow, sad pie shell.
Step-by-Step Guide to Perfectly Blind Baking a Pie Crust
Let’s walk through the process of blind baking a pie crust to ensure it turns out beautifully golden, flaky, and maintains its shape every single time!
1. Prepare Your Pie Dough and Chill
Begin by making your chosen pie dough. The details for this crucial first step, including chilling, rolling it out evenly, and carefully placing it into the pie tin (remember to crimp those edges for a beautiful finish!), can be found in our comprehensive guide here. A well-chilled dough is paramount for blind baking success, as cold butter helps create those desirable flaky layers and prevents the dough from becoming too pliable and prone to shrinking.
2. Prick the Bottom of the Crust
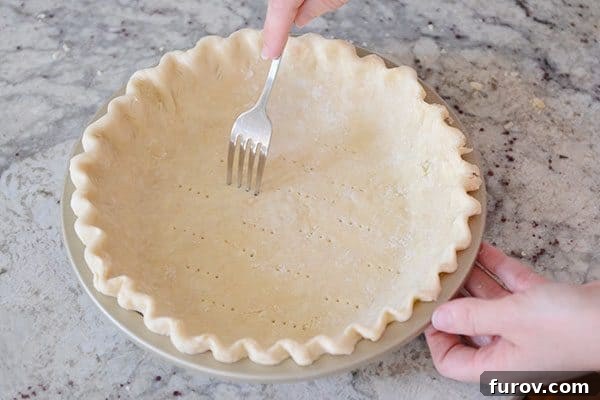
Once your dough is nestled in the pie tin, take a fork and generously prick the bottom of the crust. These small holes act as vents, allowing steam to escape during baking. This prevents the bottom of the crust from puffing up into a dome, which could lead to an uneven surface for your filling.
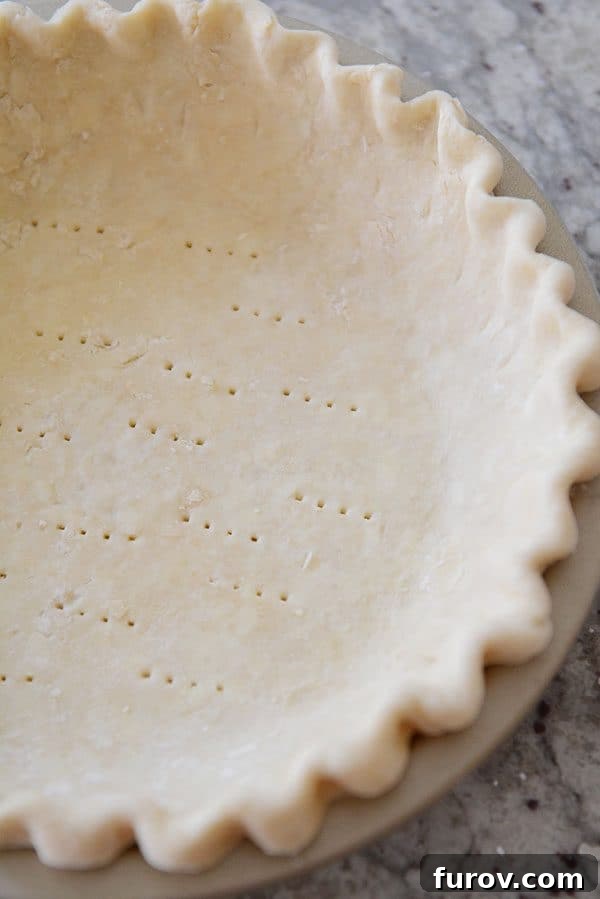
3. Second Chill: A Critical Step
After pricking, cover the pie crust and plate with plastic wrap and refrigerate it until it is thoroughly chilled. This step is incredibly important! A warm or even room-temperature pie crust will not bake as effectively as a well-chilled one. The cold butter in the dough ensures maximum flakiness and significantly reduces the tendency for the crust to slide down the sides or shrink. Furthermore, a cold crust is much firmer, making it less likely to be mashed or distorted when you press in the foil and weights. Avoiding mashed, misshapen messes is always the goal!
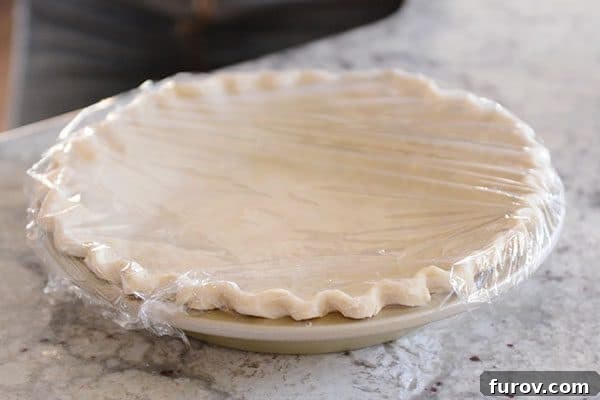
4. Line with Aluminum Foil
Once your pie crust is perfectly chilled, remove the plastic wrap. Gently press a sheet of regular (not heavy-duty) aluminum foil into the unbaked pie shell. Make sure the foil conforms well to the shape of the crust, pressing it firmly into the bottom and up the sides, ensuring it completely covers the crimped edges. This protects the delicate edges from over-browning too quickly.
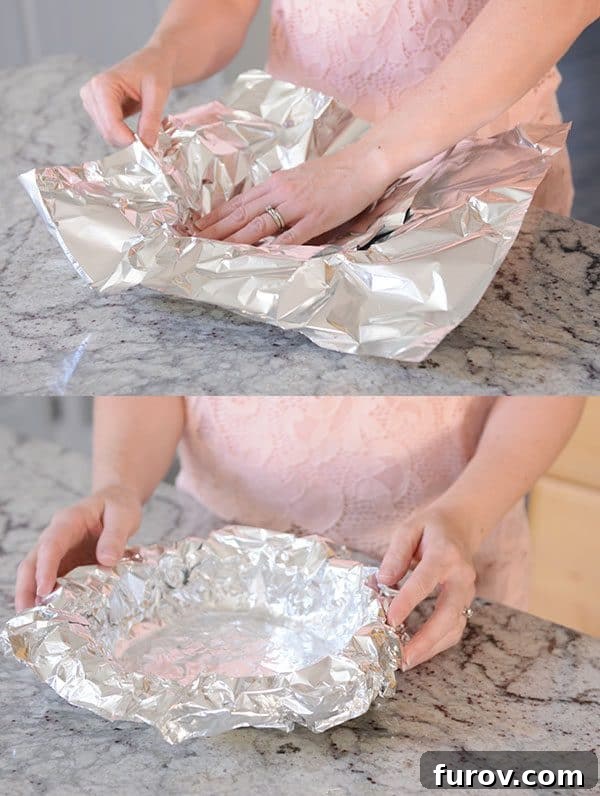
5. Fill with Pie Weights
While many types of pie weights exist (ceramic beads, even dried rice), I’ve consistently found dry beans to be the most effective and economical choice. They are inexpensive, perform admirably, and can be reused repeatedly for countless pies. Fill the foil-lined pie crust all the way to the brim with your dry beans. This substantial weight is crucial for preventing the crust from shrinking and bubbling up during baking, ensuring it holds its intended shape and size.
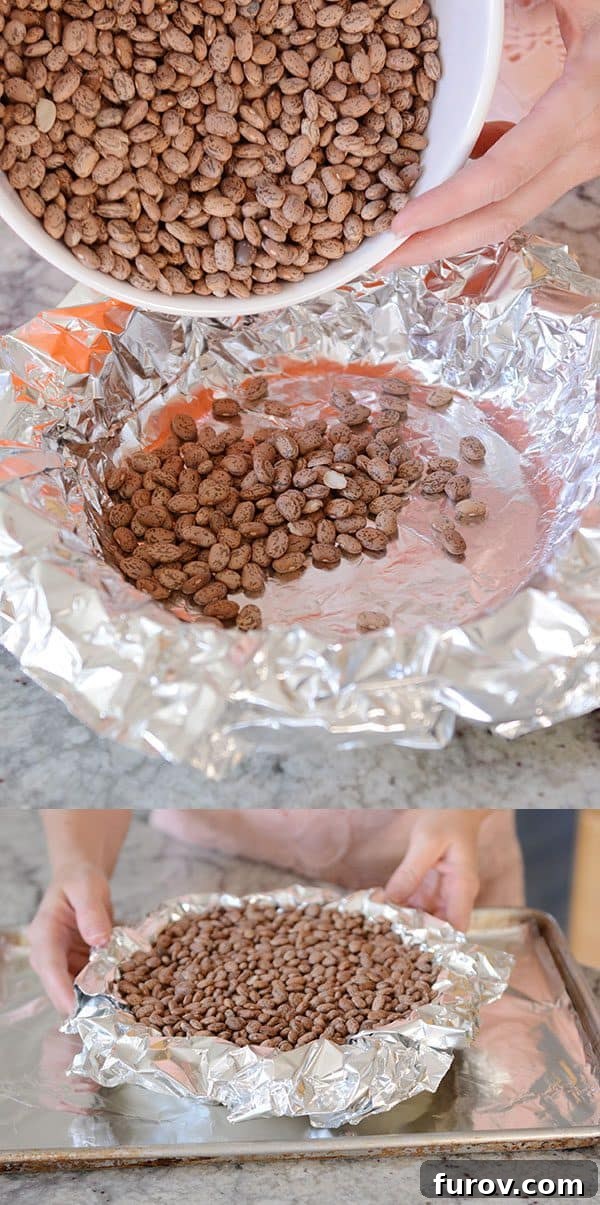
6. Bake to Golden Perfection
Carefully place the bean-filled pie crust onto a foil-lined baking sheet. The baking sheet serves a dual purpose: it catches any butter splatters, keeping your oven cleaner, and more importantly, it helps insulate a cold glass pie plate from the shock of a hot oven, reducing the risk of cracking. Bake in a preheated 350°F (175°C) oven for 45-50 minutes. About halfway through baking, rotate the pan to ensure even browning, especially if your oven has known hot spots. Continue baking until the bottom of the pie crust achieves a beautiful golden color and the edges are visibly set, not raw or doughy. Using a glass pie plate, as recommended in our equipment guide, is particularly advantageous here, allowing you to easily monitor the crust’s color from underneath.
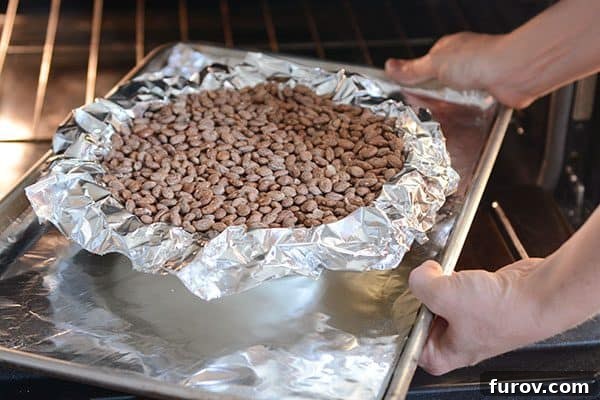
7. Cool and Remove Weights
Once baked, remove the pie crust from the oven and let it cool for 3-4 minutes on a wire rack. Then, carefully peel back the aluminum foil. Use the overhanging edges of the foil to gently lift the packet of (very hot, so handle with care!) beans out of the pie shell. Place the foil and beans onto a paper towel and allow them to cool completely. The paper towel will absorb any residual grease from the bottom of the foil, ensuring your beans remain clean and ready for their next blind baking assignment.
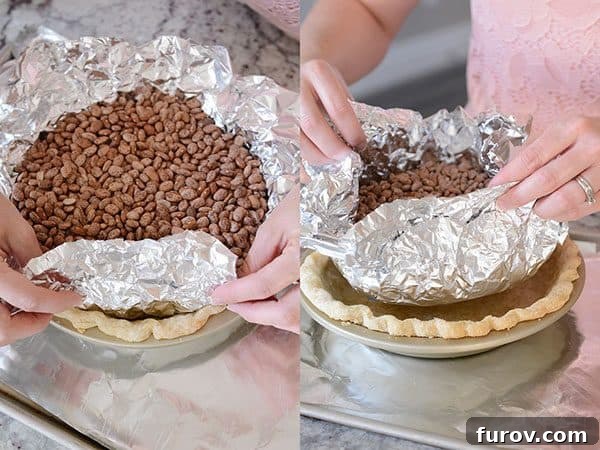
Admire Your Blind Baked Masterpiece
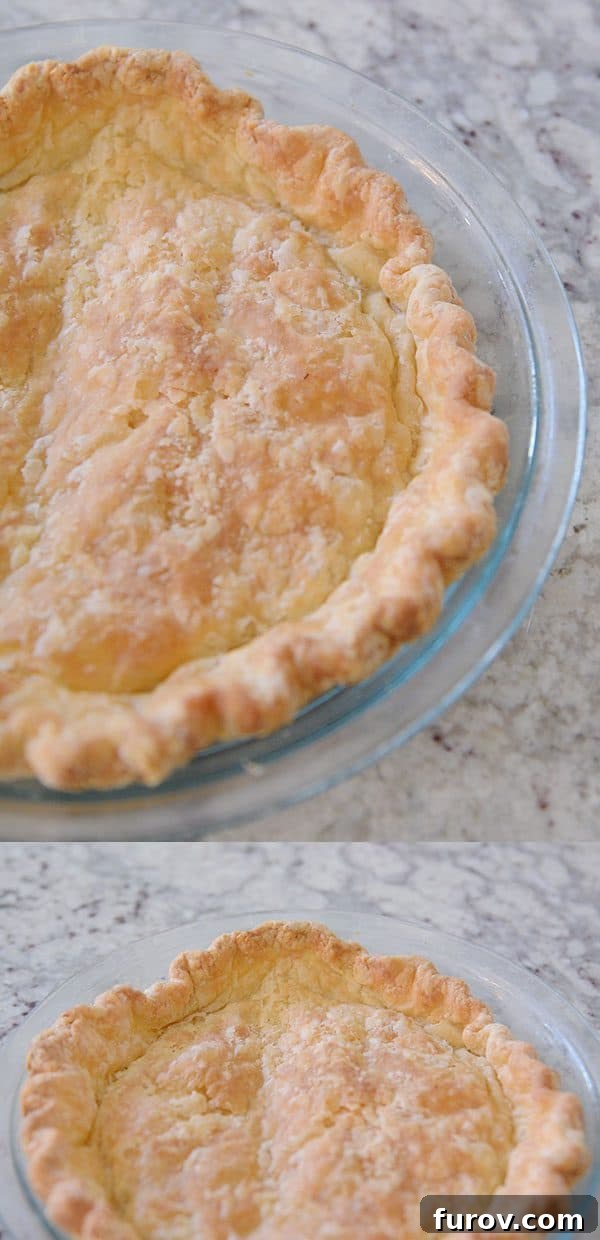
Behold! Your perfectly blind-baked pie crust. You might notice a slightly darker edge on one side, as I did on the upper left in my example. This is often due to an oven with slight temperature inconsistencies. I confess, I sometimes forget to rotate my crust halfway through (even though I preach it!), and this happens. But honestly, minor imperfections are part of homemade baking. Don’t let perfectionism detract from the joy of creating something delicious. Focus on the overall success – a beautifully baked, sturdy crust ready for its filling!
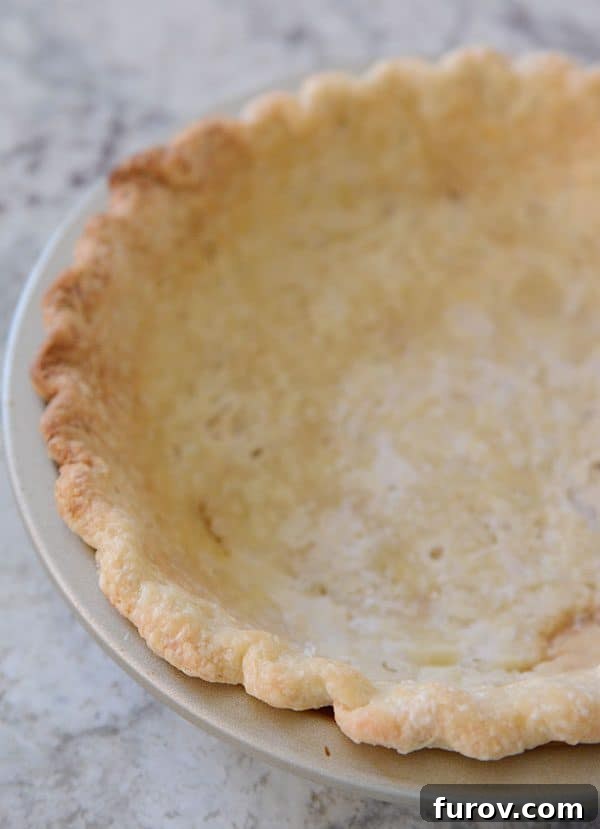
Storing Your Reusable Pie Weights
Once the beans have cooled completely, transfer them to a resealable plastic bag or airtight container and store them in your pantry. They are now ready to be reused again and again for your next pie-making adventures! Just remember, these beans have served their purpose as pie weights and aren’t ideal for consumption – save them strictly for your baking projects, not your next batch of chili!
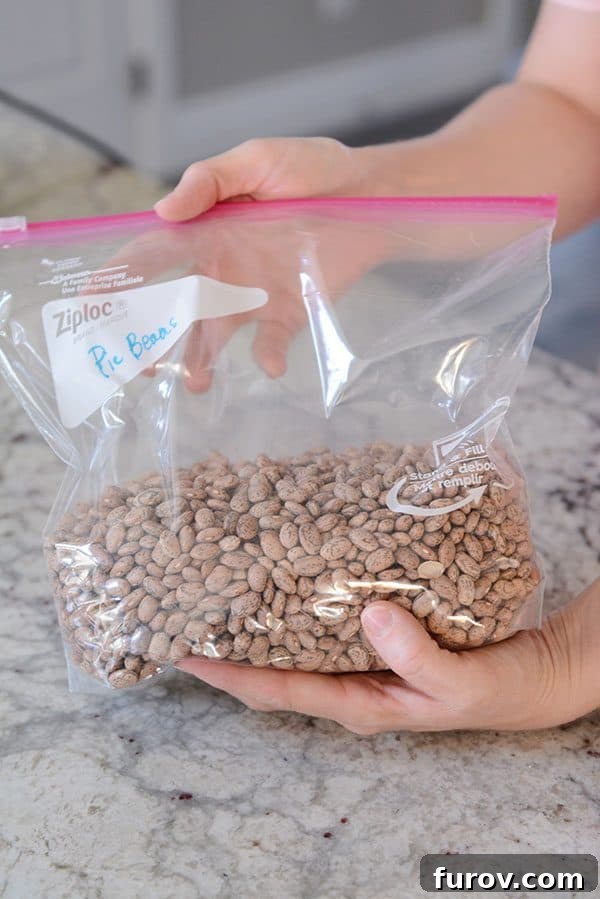
Elevate Your Pie Game with Blind Baking Techniques
Learning how to blind bake a pie crust effectively will undoubtedly elevate your entire pie-making repertoire. Over the years, I’ve experimented with numerous blind baking methods. Many recipes suggest baking the crust at a higher temperature (around 400°F/200°C) and then removing the foil and weights halfway through so the crust can finish baking directly. While this method works for some, I’ve often found myself peeling up the delicate crust bottom, burning my fingers, and uttering less-than-polite words!
For consistent, stress-free results, I’ve developed a preference for blind baking the pie at a slightly lower temperature (350°F/175°C) for a longer duration, keeping the foil and beans in the crust for the entire baking time. This gentle, consistent heat allows the crust to bake through evenly without the risk of tearing or undue stress. The result is a perfectly golden, sturdy, and flaky pie crust every single time.
As mentioned, blind baking is especially perfect for pies destined to be loaded with a creamy, delectable filling. And what better way to celebrate mastering this skill than with a truly exceptional recipe?
Bonus Recipe: Decadent Chocolate Ganache Cream Pie
As a special treat during our pie boot camp, I’m thrilled to share a cherished family recipe: my favorite Chocolate Ganache Cream Pie. This pie isn’t just a dessert; it’s a celebration of rich, deep chocolate flavor nestled in a perfectly crisp crust.
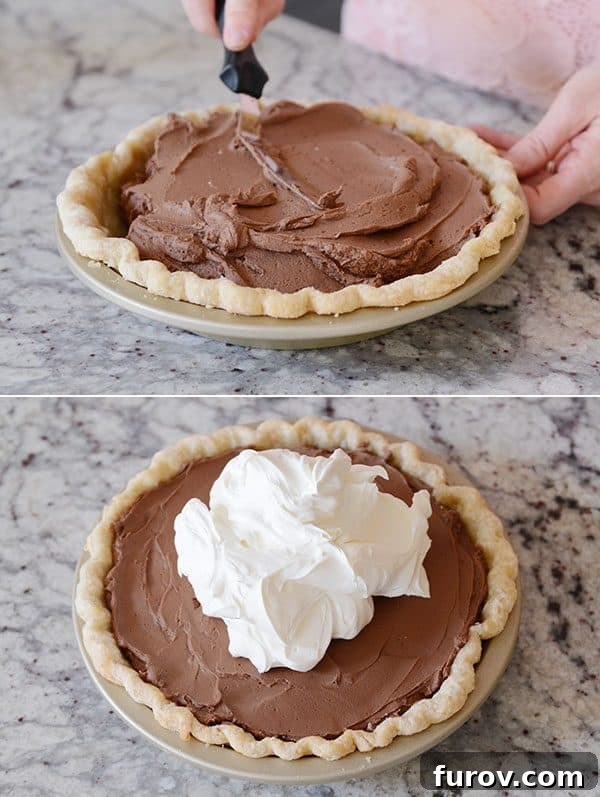
I first started making a variation of this pie many years ago, even before marriage and kids, when my mom requested a chocolate cream pie for Thanksgiving. My pie-making skills have certainly evolved since those early days (homemade crusts were definitely not on the menu back then!), but this recipe has remained a constant favorite. It’s incredibly easy to make, yet yields a dessert that is ridiculously decadent and satisfyingly delicious.
The Secret to the Silky Filling: Whipped Chocolate Ganache
The star of this pie is its filling: a luxurious whipped chocolate ganache. While “ganache” sounds fancy, it’s essentially just chocolate and cream heated together, chilled until firm, and then whipped to a light, airy consistency. Yes, you’ll notice the inclusion of cream cheese in the filling. I know this isn’t a traditional ingredient for a classic chocolate cream pie, but trust me on this one. The cream cheese adds an incredible subtle creaminess and depth of flavor without transforming the pie into a cheesecake. The resulting filling is thick, luscious, rich, and intensely chocolatey – a true treat for any chocolate lover.
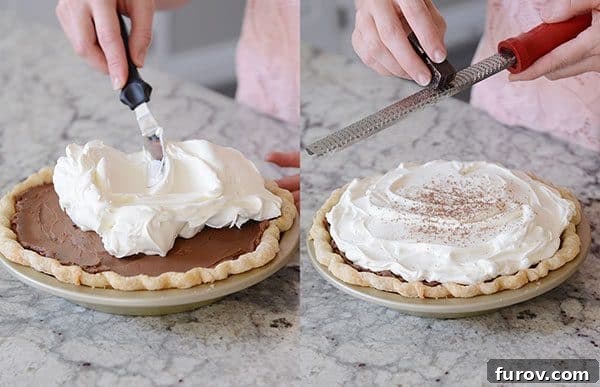
And while a perfectly blind-baked pie crust is undeniably ideal for this recipe, I won’t judge if you opt for a graham cracker crust instead. (Confession: I’ve made it that way many times myself, and it’s still absolutely delicious!) But for those looking to conquer all aspects of pie making, learning to blind bake will give you that extra edge and a truly elevated dessert.
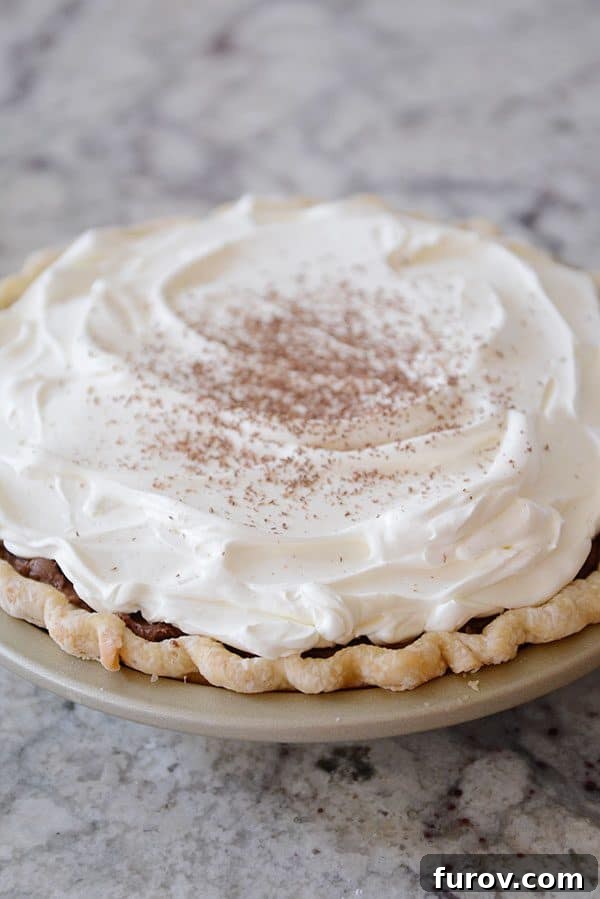
So, if your goal is to master pie making in all its glorious forms, understanding how to blind bake a pie crust is an absolutely essential skill. And as you’ve seen, it’s pretty straightforward, isn’t it?
Chocolate Ganache Cream Pie
8
Slices (9-inch pie)
2 hours
35 minutes
3 hours
Pin
Rate
Save
Ingredients
-
9-
inch
pie crust, baked and cooled (see note)
Ganache Filling:
-
2
cups
(340 g)
semisweet or bittersweet chocolate, chopped (see note) -
3
cups
heavy cream, divided (meaning you’ll use 2 1/2 cups first and then 1/2 cup later) -
2
teaspoons
vanilla extract -
4
ounces
(113 g)
cream cheese, softened to room temperature
Whipped Cream Topping:
-
¾
cup
heavy whipping cream -
⅓
cup
(38 g)
powdered sugar -
½
teaspoon
vanilla extract
Instructions
-
For the ganache filling, add the chocolate to a heatproof bowl. Bring 2 1/2 cups cream to a simmer in a medium saucepan. Pour the cream over the chocolate and let the mixture sit for 1-2 minutes. Add the vanilla and whisk to combine until the mixture is glossy and smooth. Cover with plastic wrap and refrigerate until completely chilled, 2-3 hours.
-
When thoroughly chilled, scrape the mixture into an electric stand mixer fitted with the paddle or whisk attachment (or use a handheld electric mixer) and whip until the ganache is fluffy and lighter in color, about 1-2 minutes, scraping down the sides of the bowl as needed.
-
In a small bowl or in a blender, combine the softened cream cheese and remaining 1/2 cup cream and whip or process until smooth and thick.
-
Add the cream cheese mixture to the ganache filling and whip on low speed until combined and no white streaks remain.
-
Spread the chocolate filling in the baked and cooled pie crust.
-
For the whipped cream topping, combine the whipping cream, powdered sugar and vanilla in a blender (or in a bowl using a handheld electric mixer or an electric stand mixer) and mix until thick and fluffy.
-
Spread the whipped cream topping over the pie.
-
If desired, grate chocolate over the top of the pie using a rasp grater or the small/poky holes of a box grater (or garnish with chocolate curls). Serve immediately or refrigerate for 2-3 hours before serving.
Notes
For Chocolate: The quality of your chocolate makes a significant difference in this recipe. Most standard chocolate chips may not yield the desired texture or intense flavor. I highly recommend using high-quality semisweet or bittersweet chocolate, either in bar form (like Baker’s brand found in the baking aisle) or premium chocolate chips such as Ghirardelli or Guittard. Trader Joe’s pounds plus bars are also a fantastic option.
Whipping Cream: For the best whipped cream, I prefer Darigold heavy whipping cream (often available at Costco). Its 40% butterfat content allows it to whip up thicker and hold its fluffy texture better than many other brands I’ve tried, creating a perfect topping for your pie.
Mel
Dessert
American
Bake, Stovetop
Serving:
1
Slice
,
Calories:
896
kcal
,
Carbohydrates:
50
g
,
Protein:
8
g
,
Fat:
74
g
,
Saturated Fat:
43
g
,
Cholesterol:
172
mg
,
Sodium:
181
mg
,
Fiber:
5
g
,
Sugar:
27
g
Recommended Products
Recipe Source: Adapted from Mel’s Kitchen Cafe