
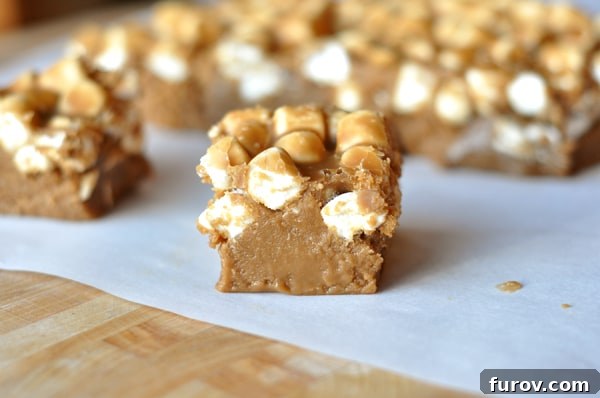
Indulge in Whimsical Delight: The Ultimate Root Beer Float Fudge Recipe
Experience a nostalgic journey with every bite of this unique and utterly whimsical Root Beer Float Fudge—a truly one-of-a-million treat perfect for any occasion!
Prepare to have your taste buds transported straight to a classic soda fountain with a twist! Root Beer Float Fudge isn’t just a dessert; it’s an experience, transforming a beloved fizzy beverage into a rich, creamy confection. You might wonder, “Root Beer Float Fudge? Seriously, why not?” And once you taste it, you’ll wholeheartedly agree that this delightful creation deserves a permanent spot in your recipe collection.
While this particular fudge variant is undeniably sweet—a truly tooth-achingly delightful indulgence—its unique flavor profile and playful character make it an extraordinary treat. It stands out from conventional fudges, offering a refreshing departure for those seeking something novel and memorable. Whether you’re a long-time fudge aficionado or simply looking for an exciting new dessert to impress, this recipe delivers on all fronts.
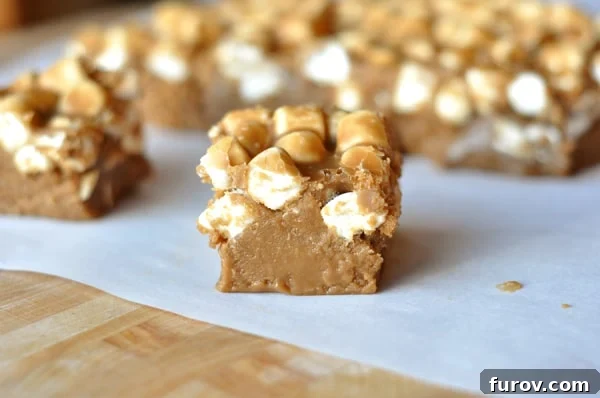
A Taste of Nostalgia in Every Bite
From the very first taste, I was genuinely astounded by how perfectly this confection captured the essence of a real root beer float. It’s an uncanny resemblance that will leave you wondering how such a transformation is possible. I’ll admit, traditional fudge doesn’t always top my personal favorites list (I know, the shame!), but this terrific variation completely won me over. The distinctive sassafras notes of root beer blend seamlessly with creamy, sweet undertones, mimicking the vanilla ice cream, creating a harmonious and truly addictive flavor.
And my family’s reaction? Let’s just say this Root Beer Float Fudge has never seen such devoted fans. My husband and kids were instant converts, devouring piece after piece with enthusiastic delight. It’s the kind of treat that sparks joy and conversation, making it a fantastic addition to any gathering. Its whimsical nature makes it particularly appealing to children and adults alike, often becoming the star of the dessert table.
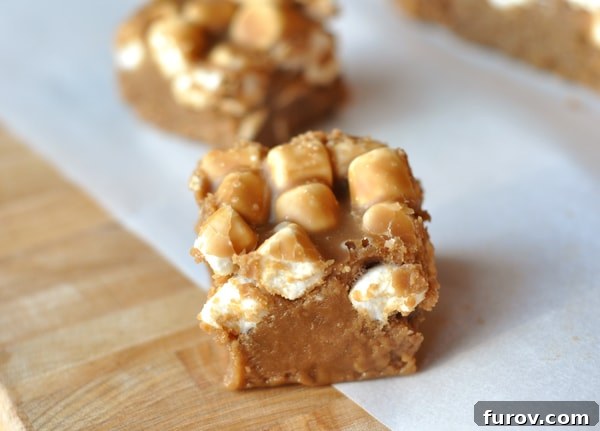
Why This Root Beer Float Fudge is a Must-Try
Beyond its surprising flavor, there are many reasons to fall in love with this Root Beer Float Fudge. It’s an ideal recipe for anyone looking to step outside the box of conventional desserts and explore exciting new taste experiences. Here’s what makes it so special:
- Unforgettable Flavor: The audacious blend of creamy sweetness with the unique, slightly spiced notes of root beer creates a flavor that’s both familiar and exhilaratingly new. It’s a delightful paradox that will leave you craving more.
- Whimsical Appeal: This fudge isn’t just delicious; it’s fun! Its playful concept makes it a fantastic conversation starter and a memorable dessert for parties, potlucks, or family gatherings. Imagine the smiles when guests discover the unexpected flavor!
- Surprisingly Easy to Make: Don’t let the unique flavor fool you; this recipe is straightforward and accessible for home bakers of all skill levels. With clear instructions and a bit of patience, you’ll achieve perfect, professional-looking fudge every time.
- Perfect for Gifting: Homemade fudge always makes for a thoughtful gift. This Root Beer Float Fudge, with its distinctive charm, is an excellent choice for holiday baskets, hostess gifts, or a special treat for friends and neighbors.
- Versatile for Occasions: While perfect for summer barbecues and Fourth of July celebrations (hello, root beer floats!), its rich sweetness also makes it suitable for fall festivities, winter holidays, or any time you need a special dessert.
Root Beer Float Fudge
16 small squares (from a 9-inch square slab)
1 hour 5 minutes
25 minutes
1 hour 30 minutes
Pin Recipe
Ingredients
- 4 cups (848 g) granulated sugar
- ½ cup light corn syrup
- ½ cup heavy cream
- 1 cup milk (whole milk recommended for creaminess)
- 1 teaspoon salt
- 1 tablespoon pure vanilla extract
- 2 teaspoons root beer extract/flavoring
- 2 ½ cups (143 g) mini marshmallows (for that float-like texture)
Instructions
-
In a sturdy 4-quart saucepan, combine the granulated sugar, light corn syrup, heavy cream, milk, and salt. Attach a reliable candy thermometer to the side of the pot, ensuring it doesn’t touch the bottom. Cook the mixture over medium heat, stirring constantly with a heatproof rubber spatula to prevent scorching, until the thermometer registers precisely 236 degrees F (113 degrees C). This precise temperature is crucial for the fudge’s texture. Immediately remove the pot from the heat and thoroughly stir in the pure vanilla extract and the root beer extract.
-
Carefully pour the hot fudge mixture into a clean 9×13-inch baking pan. This larger pan allows for quicker cooling. Leave the pan completely undisturbed to cool down at room temperature for approximately one hour. It is vital not to stir the fudge during this cooling phase, as agitation can cause premature sugar crystallization, resulting in grainy fudge. Patience is key here!
-
Once the mixture has cooled sufficiently (it should be firm enough to handle but not completely solid), scrape it into a large mixing bowl. Beat the fudge on medium speed with an electric mixer, or by hand using a sturdy wooden spoon. If using a mixer, this will take about 3 minutes. If mixing by hand, it may take around 6 minutes of continuous stirring. You’ll know it’s ready when the fudge begins to lighten in color, loses some of its glossy shine, and slightly thickens. At this point, gently fold in the mini marshmallows until just combined, then stop mixing immediately.
-
Prepare a 9-inch square baking pan by buttering it thoroughly (or lining with parchment paper). Pour the marshmallow-studded fudge mixture into the prepared pan and spread it evenly using an offset spatula or the back of a spoon. Allow the fudge to set and crystallize at room temperature for at least 1 hour, or until completely firm. As it cools, you’ll notice it will continue to lighten in color, developing that classic fudge appearance. Once set, cut into your desired small squares or pieces and serve. For optimal freshness, store the fudge tightly covered at room temperature. For longer storage, it can be refrigerated in an airtight container.
Mel
Dessert
American
Stovetop
Serving: 1 Small Square,
Calories: 284kcal,
Carbohydrates: 66g,
Protein: 1g,
Fat: 3g,
Saturated Fat: 2g,
Cholesterol: 11mg,
Sodium: 168mg,
Fiber: 1g,
Sugar: 64g
Recommended Products
Recipe Source: Adapted slightly from “Chocolates and Confections” by The Culinary Institute of America, a trusted source for professional techniques.
Step-by-Step Visual Guide to Perfect Root Beer Float Fudge
Making fudge might seem daunting, but with these step-by-step photos and detailed descriptions, you’ll be a fudge-making pro in no time. Precision and patience are your best allies in achieving that wonderfully smooth, creamy texture.
First, gather all your ingredients. In a large, heavy-bottomed saucepan, combine the sugar, corn syrup, cream, milk, and salt. Stir these ingredients thoroughly until the sugar begins to dissolve. Remember, patience is key here, as two pounds of sugar takes a little time to integrate fully. Don’t stress if it looks granular at first.
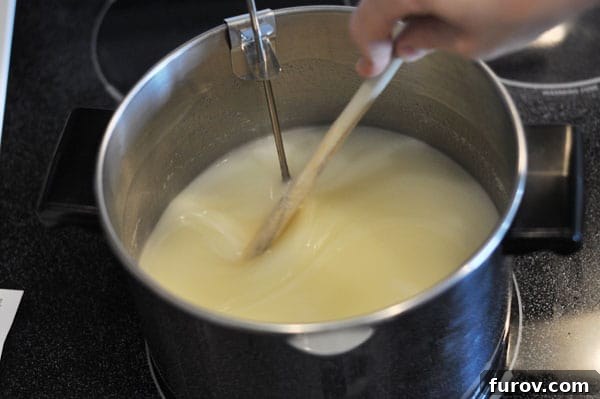
As you continue to stir over medium heat, the mixture will gradually transform, becoming smoother and more homogenous. This is a sign that the sugar is properly dissolving, which is essential for a creamy fudge texture.
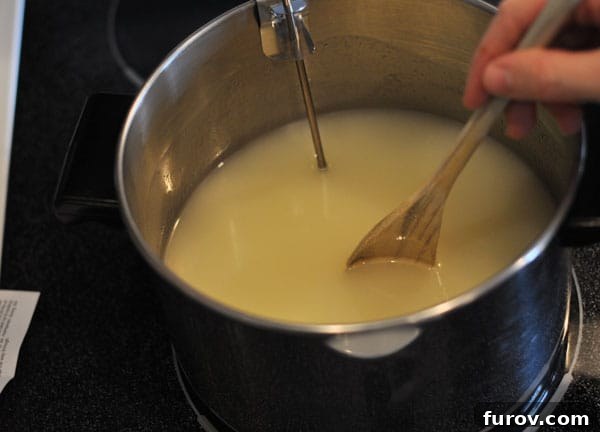
Now, it’s time to bring the fudge mixture to a boil. Continue stirring constantly to prevent the bottom from sticking and burning, and to ensure even cooking. Keep a close eye on your candy thermometer.
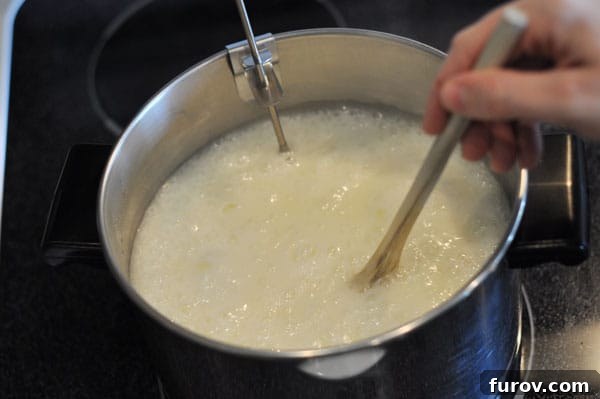
As the mixture heats up, it will begin to bubble and foam vigorously. Make sure you are using a sufficiently large pot to accommodate this “bubblage” without overflowing. Stirring is still crucial to prevent sugar crystals from forming on the sides of the pan.
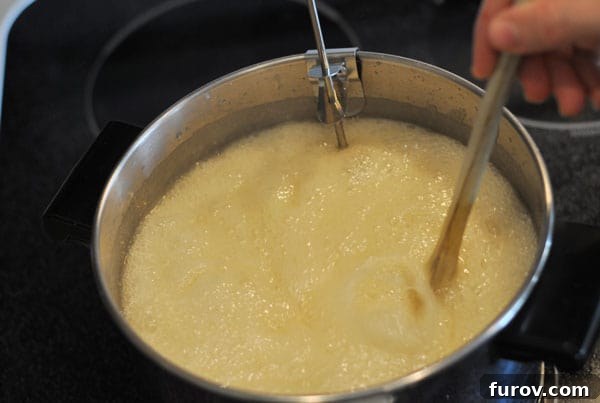
The moment of truth! Remove the pot from the heat as soon as your candy thermometer precisely registers 236 degrees F (113 degrees C). This temperature is critical for achieving the perfect soft-ball stage required for fudge.
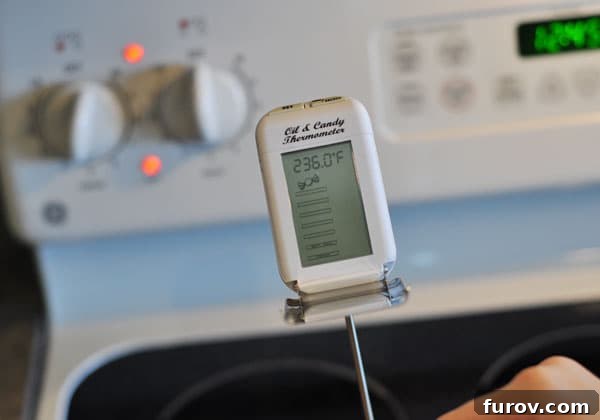
Once removed from the heat, quickly pour in the vanilla and root beer extracts. These flavorings are added at the end to preserve their delicate aromas and ensure they don’t evaporate during the cooking process.
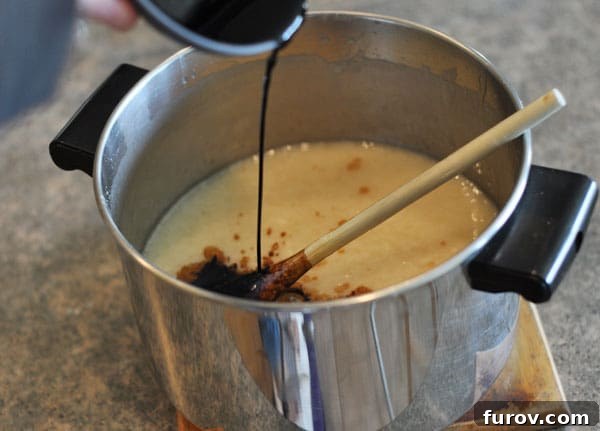
Gently stir the extracts into the hot fudge mixture until they are well combined. Be careful not to over-stir at this stage, as the goal is simply to incorporate the flavors.
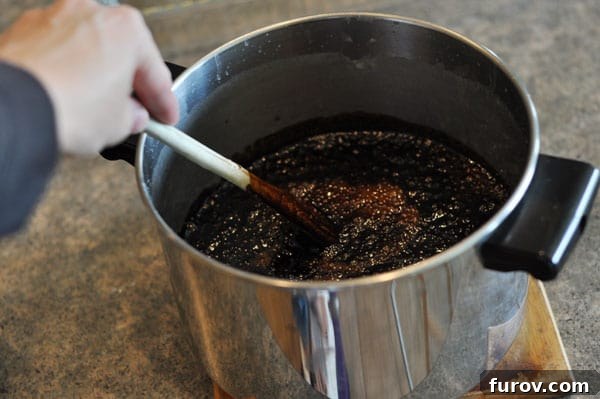
Pour the hot fudge mixture into a 9×13-inch baking pan. Now comes the hard part: leave it completely undisturbed to cool at room temperature for about an hour. Resist the urge to poke, prod, or stir it, as this is crucial for the crystallization process that gives fudge its smooth texture.
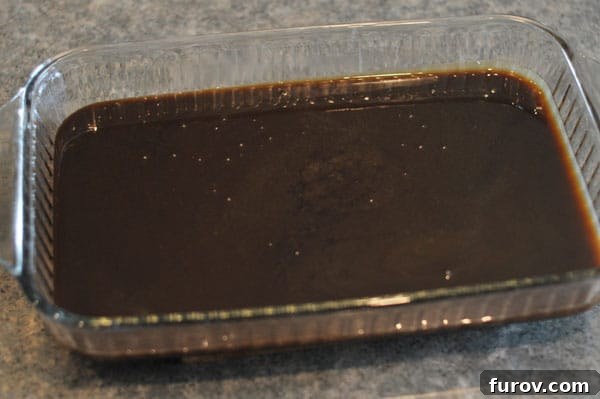
Once cooled to a manageable temperature, scrape the mixture into a large mixing bowl. Now you’ll either use a sturdy wooden spoon for hand mixing or an electric mixer on medium speed. The goal is to beat air into the fudge.
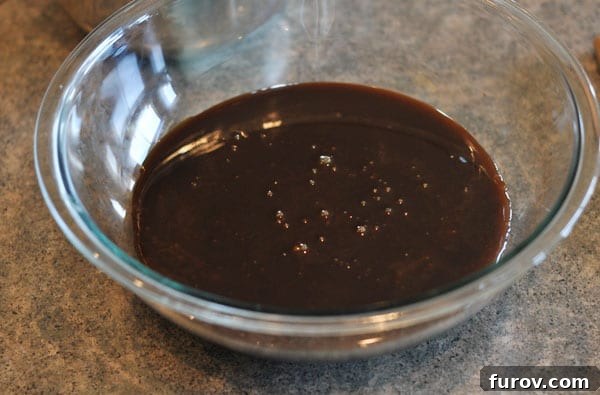
Continue beating until the fudge lightens significantly in color, loses its glossy sheen, and thickens slightly. This process can take around 3-6 minutes, depending on your method. This beating phase is what develops the fudge’s signature creamy texture.
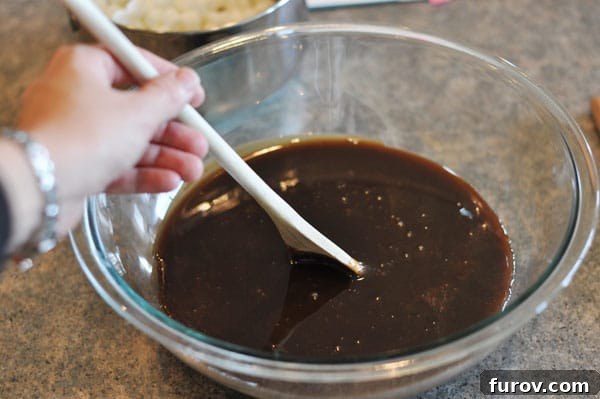
The fudge is now ready for its final touch: the mini marshmallows! They add a delightful chewiness and a nod to the “float” aspect of this unique confection.
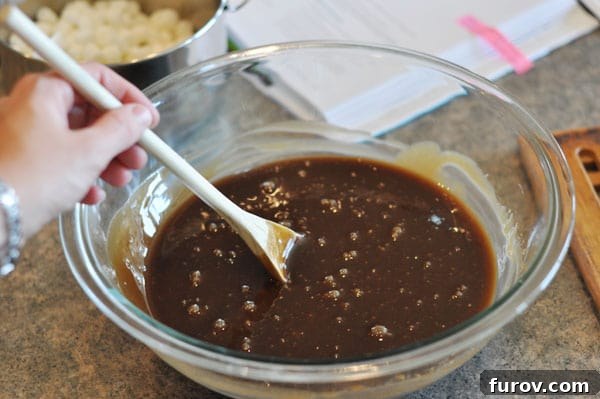
Pour the mini marshmallows directly into the bowl with the fudge. Ensure they are evenly distributed, as they contribute significantly to the texture and visual appeal.
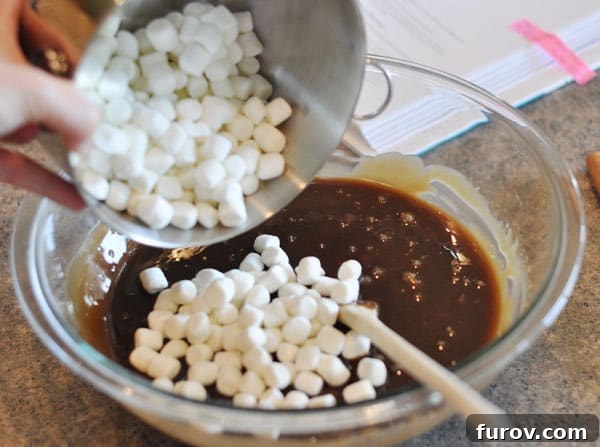
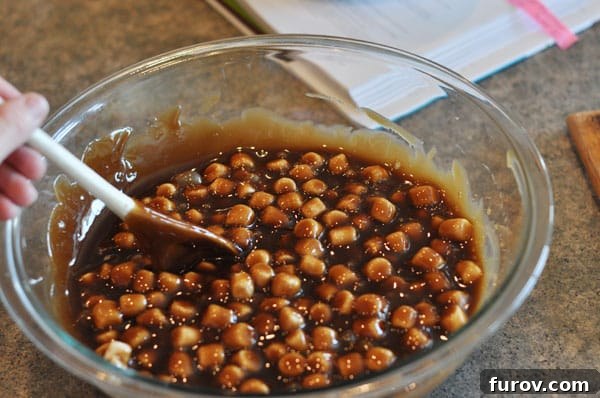
Gently fold the marshmallows into the fudge until they are just combined. Avoid overmixing, as this can break down the marshmallows and alter the fudge’s texture. The goal is a uniform distribution of those soft, chewy pockets.
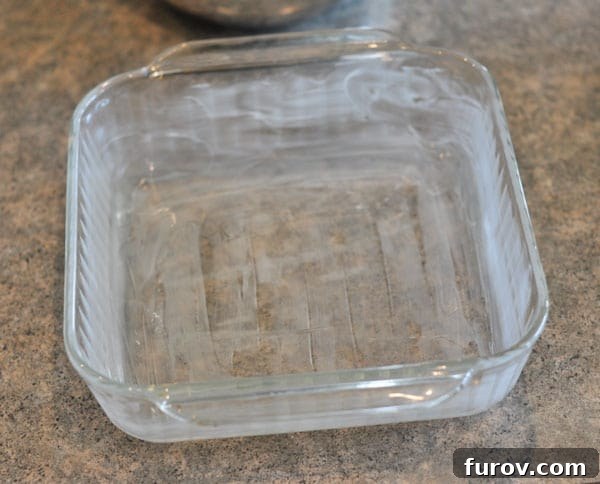
Before the fudge sets completely, make sure your 9-inch square baking pan is thoroughly buttered. This crucial step prevents sticking and ensures easy removal once the fudge is firm.
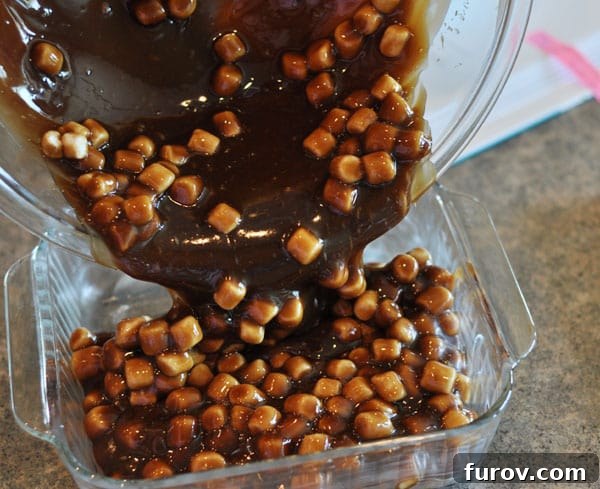
Carefully pour the marshmallow-studded fudge mixture into the prepared pan. Use an offset spatula or the back of a spoon to spread it evenly into the corners, creating a smooth and uniform surface.
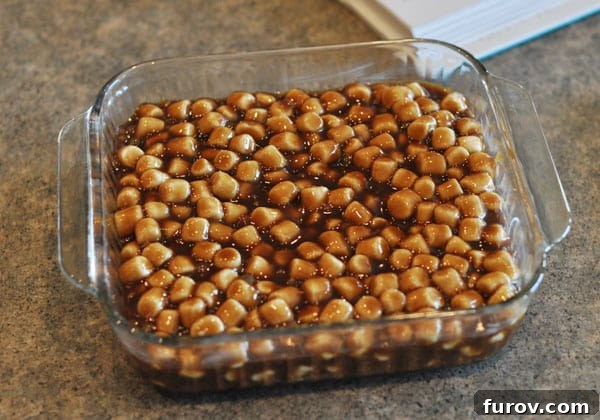
Allow the fudge to cool completely at room temperature. As it chills and sets, it will naturally lighten in color and firm up beautifully. Once fully set, simply slice it into your desired pieces and serve! This fudge is best enjoyed at room temperature, allowing its full array of flavors to shine. Store any leftovers in an airtight container to maintain its freshness and delightful texture.
Explore More Irresistible Fudge Recipes!
If you loved this unique Root Beer Float Fudge, you’re in for a treat! We have a fantastic collection of other fudge recipes that are just as delightful and easy to make. Whether you’re a fan of classic flavors or eager to explore more creative combinations, there’s a fudge recipe here for everyone. Expand your dessert repertoire and discover your next favorite sweet indulgence!