
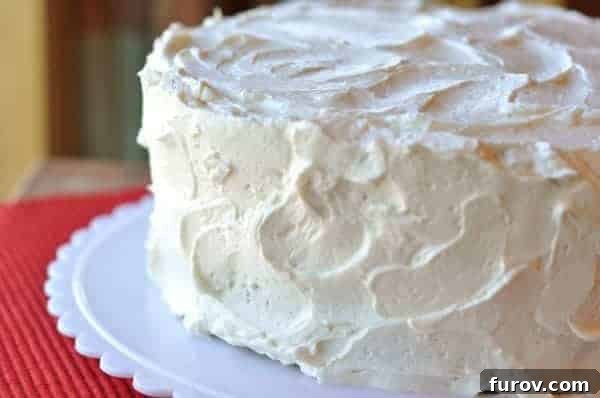
The Secret to the Best Frosting Ever: A Truly Magical Recipe
This magical frosting isn’t just a dessert topping; it’s an experience. While it demands a little more attention than your everyday buttercream, the unparalleled creamy, fluffy results are absolutely worth every moment of preparation. Get ready to transform your cakes and cupcakes!
I confess, it takes a lot to leave me speechless. As those closest to me would attest, I have a fondness for delving into details, whether it’s the perfect shade of toenail polish or the nuanced flavors of a gourmet meal. Yet, there are rare culinary moments that transcend mere discussion, moments that halt conversation and invite pure, unadulterated appreciation.
The first taste of this extraordinary frosting was one such moment. It wasn’t just good; it was a revelation. Every word escaped me, replaced by a profound sense of tastebud bliss that silenced even my usually opinionated inner monologue.
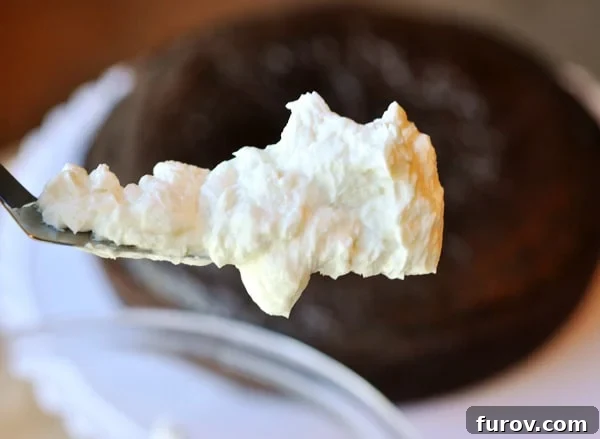
The Best Frosting You’ll Ever Make
Without exaggeration, this is the finest frosting I have ever encountered. You might have seen similar flour-based frosting recipes circulating online, often lauded as a “miracle.” My own journey with this style of frosting wasn’t without its challenges. I attempted a popular version highlighted by a well-known blogger twice, and both times, the results were nothing short of a disaster. Frustrated, I had nearly abandoned the idea of a successful flour-based frosting altogether.
Then, I discovered this particular recipe. From the very first batch, it redefined my expectations. Its exquisite texture and balanced sweetness left me utterly captivated, proving that a truly superior frosting was indeed possible.
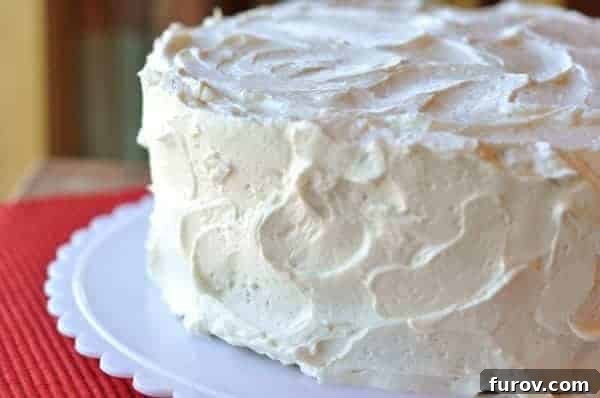
Discovering the Magic: Why This Frosting Stands Apart
And if a perfect white frosting wasn’t enough, imagine a chocolate version. Pure culinary heaven! I recently used this frosting to adorn the most decadent chocolate cake I’ve ever baked, and the combination was simply divine. The frosting enveloped the cake in a magical web of light, creamy, and subtly sweet perfection. It’s a texture and flavor profile that truly elevates any dessert it graces.
For years, I’ve considered myself a frosting skeptic, if not an outright hater. This strong aversion makes my endorsement of this recipe all the more impactful. Traditional American buttercream, with its often greasy mouthfeel, cloying sweetness, and sometimes unpleasant film, has always disappointed me. Even the more adventurous options like seven-minute or marshmallow frostings, while offering a different experience, consistently left me searching for something more. They simply didn’t deliver the delicate balance I craved.
This frosting, however, is a game-changer. It defies all my previous disappointments, earning its rightful place in “The Best Recipes” hall of fame. It’s light, airy, and incredibly smooth, with a sweetness that complements rather than overpowers. Each bite is a delicate dance of creamy bliss, completely devoid of the heavy, sugary grit found in so many other frostings.
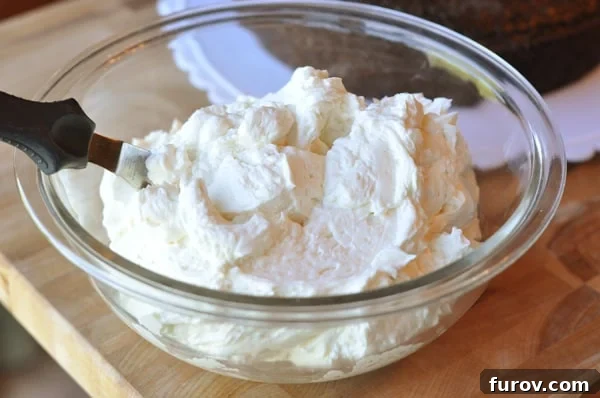
The Pursuit of Perfection: My Frosting Search Ends Here
My extensive search for the ultimate frosting has officially concluded. This recipe is the one. I’ll be honest, achieving this level of perfection does require a bit more effort and foresight than simply combining butter and powdered sugar in a mixer. You’ll need to factor in some cooling time, which means a bit of advance planning. But I promise you, with every fiber of my dessert-loving being, the end results are profoundly worth every minute of your time and effort.
The biggest challenge now is ensuring that enough of this incredible frosting actually makes it onto the cake before I (or anyone else in my house) manage to devour it straight from the bowl! Its irresistible nature makes it a hazard for any baker with a sweet tooth.
Understanding the “Magical” Technique: Cooked Flour Frosting Explained
What makes this frosting so uniquely wonderful? It all comes down to a classic technique often referred to as Ermine frosting, or cooked flour frosting. Unlike traditional buttercream, which relies on a massive amount of powdered sugar for structure, this recipe builds its foundation on a creamy, thickened milk and flour mixture. This roux-like base, once properly cooled, is then whipped with butter and vanilla to create a remarkably light, velvety, and stable frosting. The flour acts as a thickener without adding the grittiness or excessive sweetness associated with powdered sugar.
The result is a frosting that truly melts in your mouth, leaving behind a clean, pure flavor. It holds its shape beautifully for piping and spreading, yet remains wonderfully soft and tender. This delicate balance of structure and silkiness is what sets it apart from all other frosting contenders.
Mastering the Art: Tips for Frosting Success
To ensure your magical frosting turns out perfectly every time, here are some crucial tips:
- **Patience with Cooling:** The most critical step is allowing the cooked flour and milk mixture to cool completely to room temperature. Even a slight warmth will prevent the butter from emulsifying correctly, leading to a runny or separated frosting. If time allows, chilling it overnight in the refrigerator and then bringing it back to room temperature is an excellent approach.
- **Room Temperature Butter:** Just like the cooked base, your butter must be perfectly softened to room temperature. This allows it to cream smoothly and incorporate seamlessly into the flour mixture, creating that signature fluffy texture.
- **Whip It Good:** Don’t be afraid to let your mixer work! After adding the butter, increasing the speed to medium-high and beating for the full five minutes is essential. This incorporates air, transforming the mixture from dense to light and ethereal.
- **Quality Ingredients:** Using good quality butter and pure vanilla extract will significantly impact the final flavor. Since this frosting is so light, the taste of each ingredient shines through.
With these considerations in mind, you’re well on your way to creating a frosting that will impress even the most discerning palates.
One Year Ago: Basil Chicken in Coconut Curry Sauce
Two Years Ago: Chocolate Chip Cookie Dough Cheesecake Bars
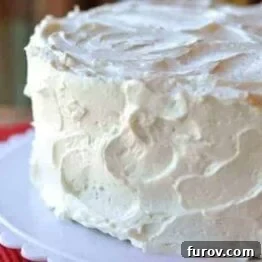
The Best Frosting {a.k.a. Magical Frosting}
Yield: 4 cups frosting
Prep Time: 1 hour 20 minutes
Cook Time: 10 minutes
Total Time: 1 hour 30 minutes
Rating: 4.53 stars (1042 ratings)
Pin Recipe
Ingredients
- 1 ½ cups (318 g) granulated sugar
- ¼ cup (36 g) all-purpose flour
- 3 tablespoons cornstarch
- ¼ teaspoon salt
- 1 ½ cups milk (I use 1% or 2%)
- 2 teaspoons pure vanilla extract
- 1 ½ cups (340 g) butter, cut into 24 pieces and softened at room temperature (I use salted butter)
Instructions
- In a medium bowl, combine the sugar, flour, cornstarch, and salt. Slowly whisk in the milk until the mixture is smooth. Place a fine-mesh strainer over a medium saucepan and pour the milk mixture through the strainer into the saucepan. Cook the mixture over medium heat, whisking constantly, until it boils and thickens significantly, becoming difficult to whisk easily. This process can take between 5-10 minutes, depending on your stove and heat settings. The mixture should bubble quite a bit at the end (be cautious of splatters) and achieve a noticeably thick consistency.
- Transfer the thickened mixture to a clean bowl and allow it to cool completely to room temperature. This step is critically important! If the mixture is even slightly warm, the frosting will not emulsify properly during the beating process. For best results, I often refrigerate my initial mixture overnight. If you choose this method, ensure you remove it from the refrigerator well in advance to allow it to warm back up to room temperature. Attempting to proceed with a mixture that is too cold will prevent the butter from being absorbed as it should.
- Once the cooked mixture is entirely cooled to room temperature (it should have absolutely no warmth), beat it together with the vanilla extract on low speed for about 30 seconds until well combined. A stand mixer is highly recommended for this recipe. Gradually add the softened butter, one piece at a time, continuing to beat until all the butter is fully incorporated, which usually takes about 2 minutes. Increase the mixer speed to medium-high and allow it to work its magic. Beat the frosting for a full five minutes until it becomes wonderfully light and fluffy. For a slightly stiffer frosting, ideal for piping, let it sit at room temperature for about 1 hour. Chilling it briefly might also yield a pipeable consistency.
Notes
Plan Ahead: This frosting requires some advanced planning due to the essential cooling time for the cooked flour mixture. Make sure to start well before you intend to frost your cake!
Frosting Storage: While some similar recipes suggest refrigerating and re-whipping, in my personal experience, this particular frosting does not hold up well after refrigeration. Every time I’ve attempted to re-whip it after chilling, it has separated and failed to regain its satiny, delicious texture. Therefore, in good faith, I must advise that this frosting is best made and used fresh for optimal results. You might have different experiences, but I recommend fresh preparation.
Piping the Frosting: I often pipe cakes for various occasions (like Spiderman-themed birthday cakes). Although I haven’t extensively tested it for piping, I strongly suspect that allowing the finished frosting to chill for about an hour or so will give it enough stiffness to be piped beautifully. I plan to test this thoroughly and will update the recipe with my specific piping notes when I do.
Chocolate Version: To make a delectable chocolate variation, add ¼ cup of unsweetened cocoa powder to the sugar, flour, cornstarch, and salt mixture during the first step. Once the frosting has been beaten for five minutes and is light and fluffy, gently mix in 3 ounces of semi-sweet chocolate that has been melted and completely cooled to room temperature. This will produce a lighter-colored chocolate frosting, but with a wonderfully deep and rich chocolate flavor. I’ve personally experimented by increasing the melted chocolate to 4 ounces and found it even more intense, and I might even try 5 ounces next time for an extra decadent flavor boost.
Author: Mel
Course: Dessert
Cuisine: American
Method: Stovetop
Recommended Products
Recipe Source: Adapted slightly from Cook’s Country Oct/Nov 2010