
Welcome to your ultimate guide to mastering the art of homemade pie! This comprehensive Pie Making Boot Camp is designed to show you just how easy and incredibly rewarding baking from scratch can be. In this inaugural week, we’re diving deep into the essential equipment you’ll need – spoiler alert: it’s probably less than you think, and much of it you might already own!
The promise I made weeks ago to kick off a dedicated pie-making boot camp starts today!
This is Week #1, and I couldn’t be more thrilled to begin this journey with you.
Throughout October, every Friday will bring a new segment of our pie-making series, packed with insights and techniques. My excitement is truly boundless!
The Goal: Empowering Your Inner Pie Maker
Our primary objective is to equip you with the knowledge and confidence to feel comfortable, excited, and truly capable of creating delicious homemade pies. We’re here to make the entire process easy, accessible, and incredibly enjoyable!
There’s a unique sense of accomplishment and pure joy that comes from sliding a beautifully golden, perfectly baked pie out of the oven, filling your home with an irresistible aroma.
While I certainly don’t claim to be a pie-making expert, my years of baking countless pies and pie crusts have taught me invaluable lessons. I’ve refined techniques and discovered practical tips that I’m eager to share with you.
Over the coming weeks, our boot camp will cover a wide array of topics crucial for pie perfection. We’ll explore common troubleshooting questions, such as why your pie crust might shrink during baking, and unveil a new, no-fail pie crust recipe that’s destined to become your go-to. Of course, we’ll continue our discussion on essential equipment basics, and I’ll even be sharing some brand new, irresistible pie recipes that are sure to impress.
A quick note on today’s content: as we discuss various supplies, you’ll find affiliate links below for items I’ve personally purchased and recommend on Amazon. Rest assured, none of these recommendations are sponsored, and I encourage you to always shop around for the best deals!
Today, our focus is squarely on the indispensable tools that will streamline your pie-making adventures.
Demystifying Pie Making: A Down-to-Earth Approach
The world of pie making is vast, filled with countless methods, differing opinions, and various culinary philosophies. I acknowledge and respect this diversity. Over the next few weeks, I’ll be sharing the techniques and equipment that have consistently worked best for me, year after year.
My approach strikes a balance between essential tools and effective techniques, without veering into overly fussy or expensive recommendations. You won’t need to invest a fortune in specialized gadgets to bake magnificent pies. This is fundamentally a practical, “down-to-earth” guide to pie making, designed for home bakers.
I genuinely believe that with the right guidance and a few key tools, anyone can bake pies like a true rock star!
Essential Equipment for a Flawless Pie Crust
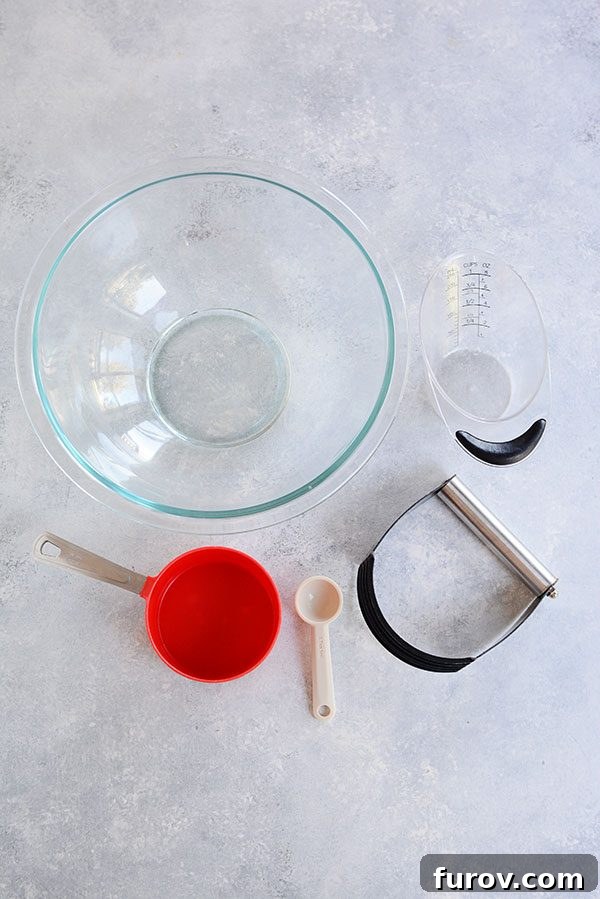
Let’s take a quick look at the fundamental tools I rely on for creating perfectly flaky pie crusts every time:
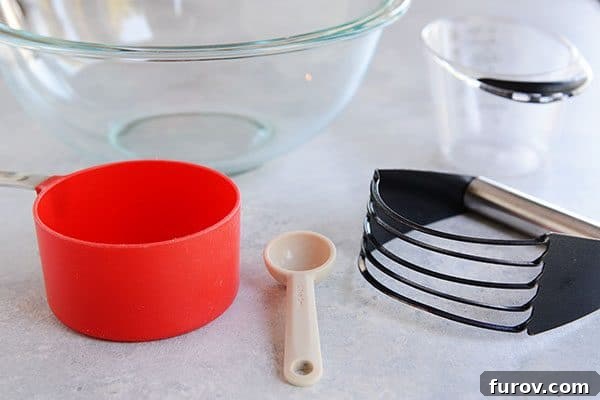
- Glass Mixing Bowl: My go-to is an inexpensive Pyrex bowl. These are incredibly versatile, not just for pie making but for a million other kitchen tasks. While a food processor can certainly make quick work of pie crusts, it’s absolutely not a necessity. You can achieve fantastic results without one, using just a bowl and your hands or a pastry blender.
- Measuring Cups and Spoons: Don’t overthink this one! Any set you have on hand will work perfectly. Precision in measuring ingredients, especially flour and fat, is key to a consistent crust, so ensure your measurements are level and accurate.
- Pastry Blender: I consider a pastry blender a highly essential tool for successful pie making. It’s designed to cut cold butter or shortening into flour, creating pea-sized pieces of fat crucial for a flaky crust. This tool prevents overworking the dough, which can lead to a tough crust. The only exception might be if you’re making an all-butter crust and grating frozen butter on a box grater (you can see a video demonstration of this technique at the bottom of this pie making tutorial). Even then, an inexpensive pastry blender is always a valuable addition to your kitchen drawer. If you’re in a pinch, two butter knives or a couple of forks can be used to cut in the fat, though it requires a bit more effort.
- Liquid Measuring Cup: This is perfect and absolutely essential for accurately measuring the liquid component of your pie crust, which is most commonly ice water. Accurate liquid measurement is vital to achieving the right dough consistency. While I adore my easy-view liquid measuring cups from Pampered Chef, this is a similar, widely available option.
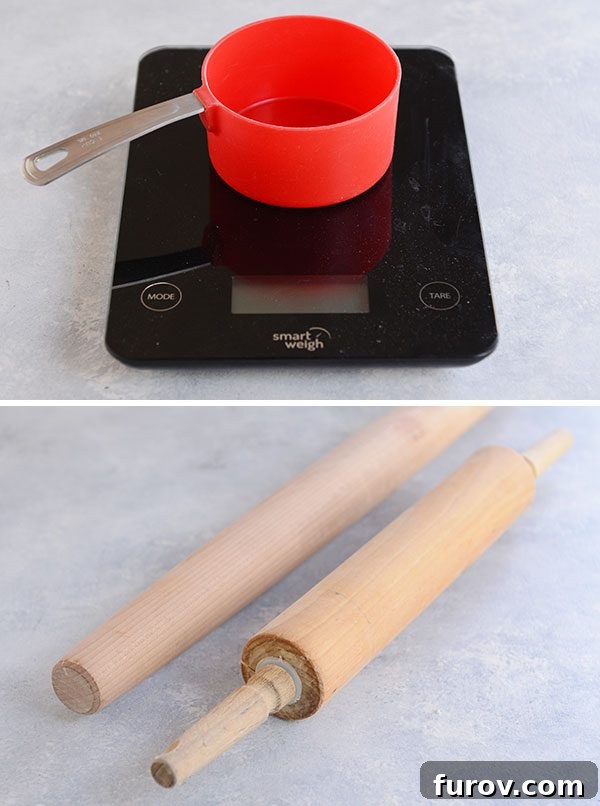
The Case for a Kitchen Scale: Precision Baking
I wouldn’t be true to my baking philosophy if I didn’t give a strong endorsement to my kitchen scale. If a pie crust recipe provides ingredient weights, I implore you – please, use a scale! This simple tool revolutionized my baking years ago, and now I consider it indispensable for consistent results.
When dry ingredients are measured by weight rather than volume, the accuracy is unparalleled. This precision leads to recipes consistently turning out magnificently. You may have noticed that many of my baking recipes over the past couple of years now include weight measurements, a direct reflection of this belief.
Is a kitchen scale absolutely essential for pie making? Perhaps not for every single recipe, especially if it only lists volume measurements. For instance, my current favorite pie crust recipe doesn’t yet include weights. However, it will be a HUGE asset if the recipe you’re using (like the new one I’ll be sharing next week!) does provide weight measures, guaranteeing a perfectly balanced dough every time.
Rolling Pins: Classic vs. French
I own both a French rolling pin and a classic, old-school rolling pin. My personal preference, by a long shot, is the classic rolling pin. I find its handles and uniform barrel provide more control and leverage, making the rolling process smoother and more efficient. The French pin, while elegant, just doesn’t offer the same ergonomic advantage for me when tackling stubborn pie dough. So, for perfect pie crusts, I wholeheartedly recommend a classic rolling pin.
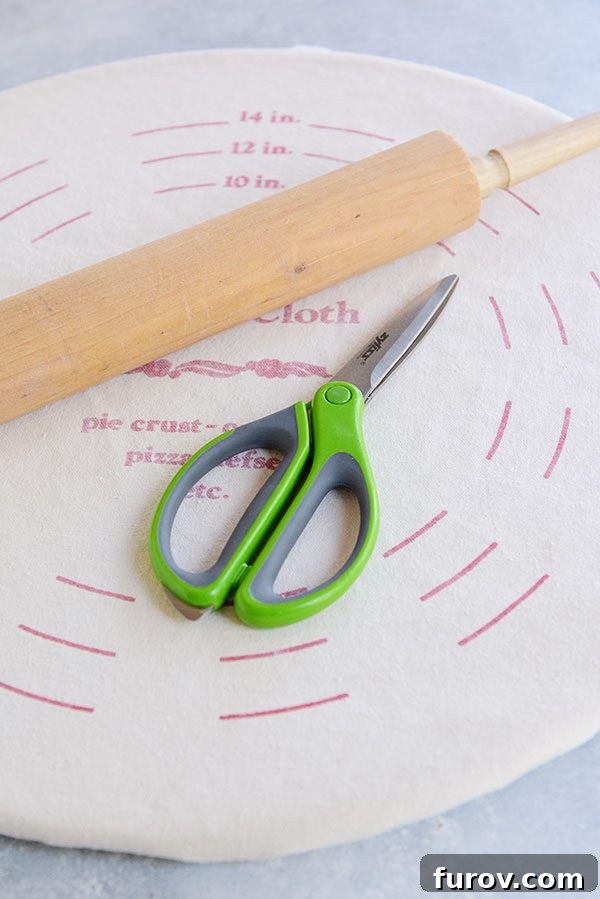
Optional but Highly Recommended: Shears and a Pastry Board
While the next two items aren’t strictly “essential,” they have become indispensable in my pie-making routine, earning them a well-deserved spot on this list due to their sheer utility.
- Kitchen Shears: Those beautiful kitchen shears you see pictured are my secret weapon for trimming pie crust edges with unparalleled precision. While the specific Zyliss shears shown are no longer available, I also swear by KitchenAid ones, which are equally fantastic. Having a dedicated pair of kitchen shears ensures clean cuts and keeps them sharp for culinary tasks. I keep mine safely stored away, far from any craft projects or bug dissections!
- Canvas-Covered Pastry Board (Lefse Board): This canvas-covered board is my ultimate “ninja secret” for rolling out pie crusts effortlessly. It practically makes me want to cry with joy at how simple it makes the process. I originally acquired this Bethany board years ago while living in Minnesota, a state where lefse making is a cherished holiday tradition. Though I still haven’t made lefse myself, this $20 investment has been one of the best kitchen purchases I’ve ever made. It’s an absolute dream and a lifesaver, significantly reducing sticking and minimizing the need for excess flour. Despite initial worries about cleaning, it’s surprisingly easy: simply shake off any excess flour outdoors, let it air dry from any dough moisture, and it’s ready for its next use!
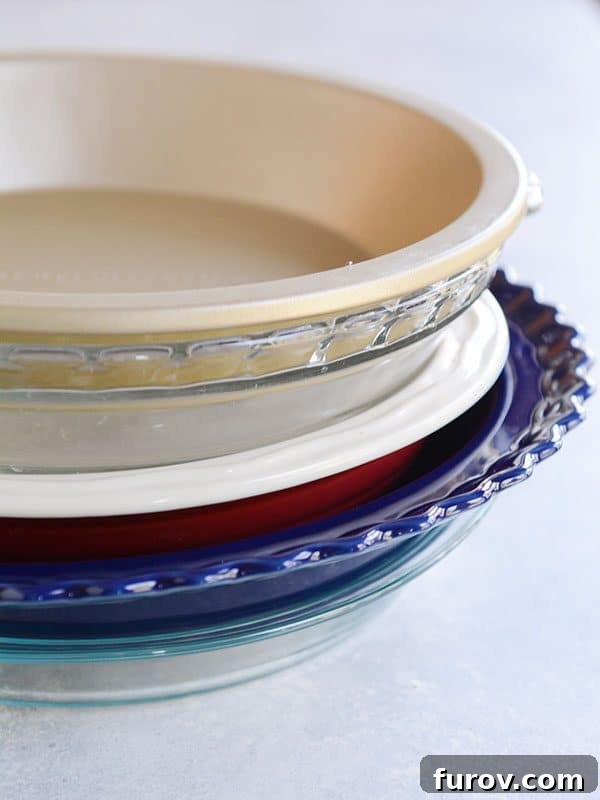
Choosing the Perfect Pie Plate: Glass, Metal, or Ceramic?
One of the most frequently asked questions in pie making revolves around the best type of pie pan to use. Oh, do I have opinions on this! (If you’re a regular reader, this comes as no surprise – I have opinions on everything baking-related.)
For non-disposable options, you generally have three main types of pie plates to choose from: glass, ceramic, and metal. Each has its unique characteristics that can affect your final pie.
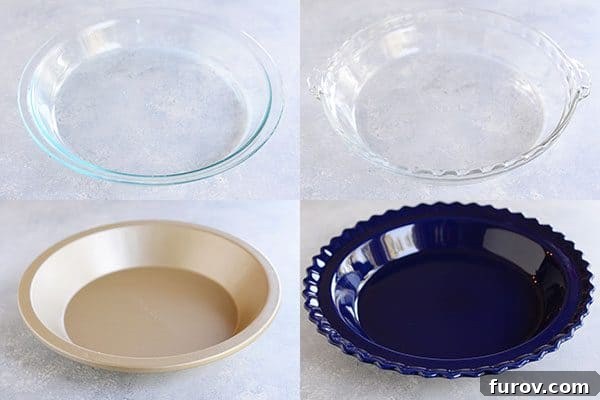
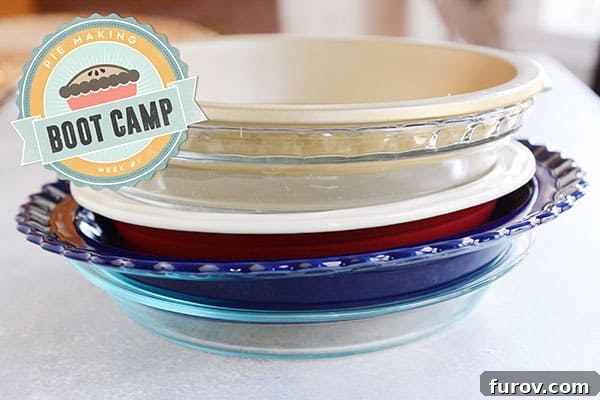
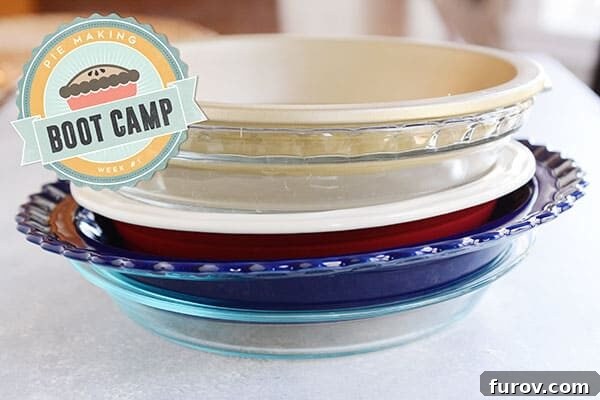
Pictured in the top row above are two of my go-to glass pans: a standard Pyrex 9-inch pie plate and a Pyrex deep 9.5-inch pie plate. Both are excellent, but it’s crucial not to interchange them unless the recipe specifically allows. Using a dish of a different size than recommended can significantly impact baking times and the final texture of your pie. I reserve the 9.5-inch deep-dish plate exclusively for recipes that call for it, such as my popular Chocolate Mousse Cheesecake Pie.
Glass Pie Plates
Advantages: Glass pie plates are renowned for their superior ability to conduct heat evenly, which, in my experience, results in the best-browned bottom crusts compared to other materials. They are also typically inexpensive and widely available, making them a fantastic all-purpose option. If you’re going to own just one pie plate, a glass one is undoubtedly the most versatile choice.
Disadvantages: Their primary drawback is their fragility; they can break or crack if dropped. Depending on the brand, some glass plates may not have as wide a ledge, which can be a minor inconvenience if you enjoy fluting a decorative crust. Aesthetically, they are purely functional rather than decorative, if presentation is your primary concern.
Metal Pie Plates
Advantages: Metal pie plates, particularly those made from aluminum or steel, are excellent heat conductors, performing similarly to glass in ensuring a well-baked crust. Their robust nature means they won’t shatter if dropped, making them a durable choice for busy kitchens.
Disadvantages: Many metal pie plates, including my preferred Williams-Sonoma Gold Touch pie plate, are prone to scratching when pies are cut and served directly in the pan. Like glass, they aren’t typically chosen for their decorative appeal.
Ceramic Pie Plates
Advantages: Ceramic pie plates truly shine in terms of aesthetics. They come in an incredible array of beautiful designs, colors, and often feature wider, more decorative lips that can aid in creating elaborate fluted crusts. They can elevate the presentation of any homemade pie.
Disadvantages: From a functional baking perspective, ceramic pie plates tend to conduct heat less efficiently than metal or glass. This can lead to an undesirable outcome: a pie crust that’s underbaked and raw on the bottom, while the top becomes overcooked. They are also susceptible to breaking or chipping if dropped. Furthermore, reported sizes can vary significantly between brands, with many 9-inch plates not truly measuring up, potentially impacting your recipe’s success. Due to these heat conduction issues, I generally reserve my ceramic pie plates for no-bake pies or those with graham cracker crusts, such as this delightful Magnolia Lemon Pie. For traditional pies with a pastry crust, I almost always opt for metal or glass.
Handy Aids for Pie Crust Preparation and Baking
As we prepare for next week’s deep dive into pie crust creation (complete with a comprehensive tutorial!), allow me to highlight a few additional supplies that consistently prove useful:
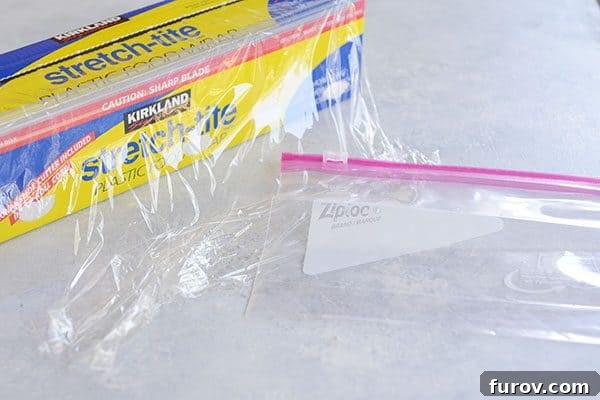
- Plastic Wrap or Ziploc Bags: After mixing, pie dough needs time to rest and chill in the refrigerator. This allows the gluten to relax, making the dough easier to roll and preventing shrinkage during baking. I typically wrap my pie crusts tightly in plastic wrap, but a quart-size Ziploc bag works equally well for storage.
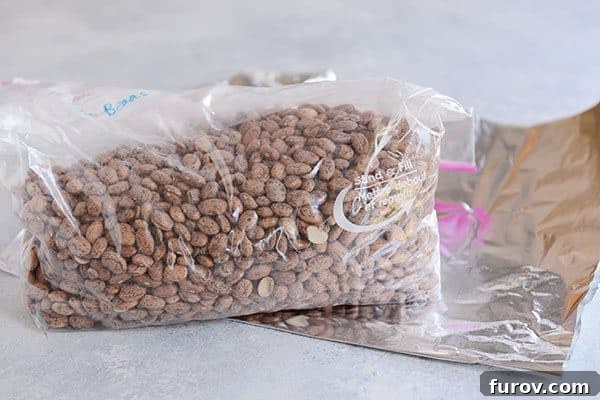
- Aluminum Foil and Pie Weights (Dried Beans): When blind baking a pie crust (a technique we’ll cover in detail in upcoming weeks!), it’s essential to line the crust with aluminum foil (standard, not heavy-duty) and fill it with pie weights or, as I prefer, dried beans. These weights prevent the crust from bubbling up and shrinking, ensuring a perfectly flat bottom for your filling. After the beans have cooled, I store them in a gallon-size Ziploc bag for indefinite reuse.
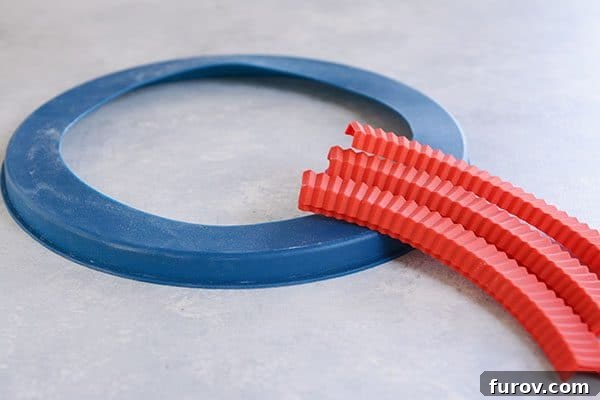
- Pie Shields: While I keep several pie shields in my kitchen drawers (like this blue silicone one and some red ones from Orson Gygi), I wouldn’t classify them as absolutely necessary, especially for a beginner. Their purpose is to prevent the delicate outer edge of your pie crust from over-browning before the rest of the pie is cooked through. You can achieve a similar effect by gently tenting the pie with aluminum foil or carefully wrapping just the outer crust. However, there’s no denying that a dedicated pie shield offers a bit more convenience and peace of mind during baking.
Your Pie Making Journey Begins Now!
And there you have it – a thorough exploration of virtually all the equipment I use to create delicious homemade pies! This foundational knowledge is key to building your confidence in the kitchen.
I eagerly welcome all your comments and questions, so please feel free to leave them in the comment section below!
Next week, we embark on the truly exciting and rewarding path of making pie crust from scratch! This in-depth tutorial will be perfect for both novices and seasoned bakers. We’ll meticulously address common pitfalls in pie crust making, and I promise, it will demystify the process, making homemade pie crust seem more achievable and enjoyable than ever before.
I’m genuinely thrilled for the upcoming weeks of our Pie Making Boot Camp. Get ready to hone your skills just in time to bake some show-stopping, rock-star-status pies for the holiday season!
If you have any specific questions about today’s equipment rundown, please don’t hesitate to ask in the comments!