
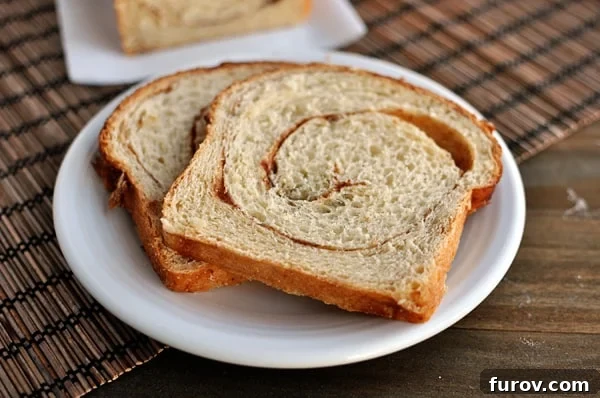
Irresistible Homemade Cinnamon Swirl Bread: Your Guide to Baking Perfection
There’s an undeniable magic that fills the air when homemade bread bakes, and few aromas rival the warm, inviting scent of cinnamon swirl bread fresh from the oven. This guide will walk you through creating a truly unforgettable loaf – one that’s not only a delight to bake but also a pleasure to savor. Whether enjoyed fresh, toasted, or as the star of a decadent French toast, this cinnamon swirl bread promises a heartwarming experience. Forget complicated techniques; we’re here to demystify yeast baking and help you achieve bread-making success in your own kitchen.
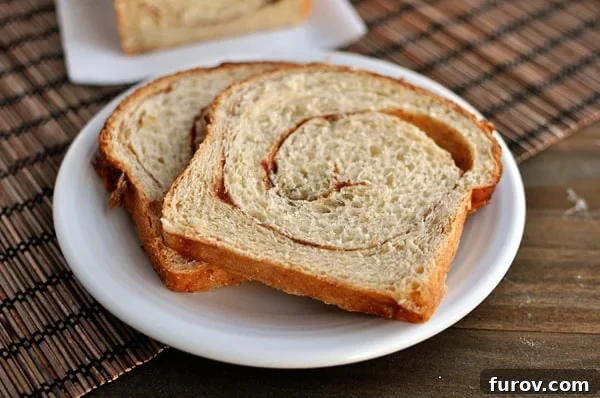
The Journey to Homemade Bread Mastery
For many years, my culinary passion has been twofold: nurturing a loving family and empowering home bakers to confidently conquer the art of yeast bread. While the first goal, especially the ‘sweet-smelling’ aspect of raising five children, remains a beautiful work in progress, the second is a mission I embrace wholeheartedly. There’s a profound satisfaction in kneading dough, watching it rise, and ultimately pulling a perfectly baked loaf from the oven. It’s a skill I believe everyone can master, and I’m dedicated to providing the tools and knowledge to make that happen.
A while back, I embarked on a series of detailed, step-by-step baking tutorials. We journeyed through the intricate process of crafting homemade bagels, mastered the rustic charm of ciabatta bread, and explored the fundamental basics of whole wheat bread. Life, as it often does, took a delightful detour with the arrival of baby number five, leading to a temporary pause in our baking adventures. But now, I’m thrilled to reignite that passion and bring you another classic that’s sure to become a family favorite: homemade cinnamon swirl bread.
My unwavering conviction is that baking bread from scratch should never be intimidating! It’s a rewarding experience that anyone, regardless of their baking background, can achieve. This comprehensive guide will walk you through every stage, focusing particularly on the crucial shaping and rolling techniques that give this bread its signature, beautiful swirl. For a deeper dive into understanding yeast and achieving the ideal dough texture, I highly recommend revisiting my previous tutorial on working with yeast.
More Than Just Bread: A Gift from the Heart
Beyond being an incredible treat for your own household, this cinnamon swirl bread holds a special place in my heart as the perfect homemade gift. It’s a thoughtful gesture that speaks volumes, whether you’re welcoming a new neighbor, celebrating a friend’s birthday, contributing to a take-in meal, or putting together a comforting new mom tray. It also serves as a beautiful thank you token or simply a way to brighten someone’s day.
What truly elevates this bread is its versatility. While utterly divine sliced fresh, its true potential shines through when lightly toasted, transforming into an aromatic, slightly crispy slice of heaven. It’s also the foundation for an unforgettable French toast – a weekend breakfast staple that creates instant rock star status with minimal effort! Knowing I have a few loaves stashed in the freezer ensures that a lazy Saturday morning can transform into a gourmet experience at a moment’s notice.
Crafting the Perfect Cinnamon Swirl: The Dough Difference
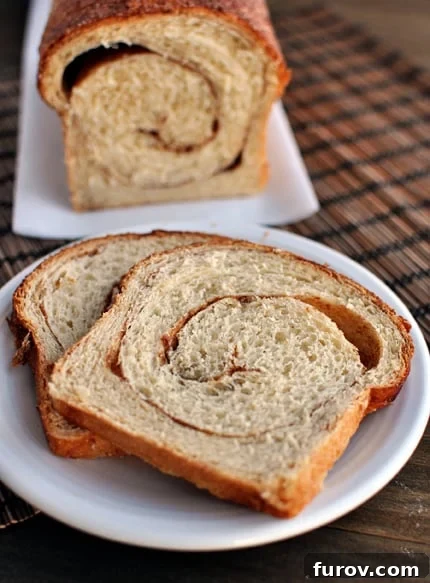
The secret to this show-stopping cinnamon swirl bread lies in its unique dough. Unlike my go-to whole wheat bread recipes, this particular dough is richer, more tender, and boasts a wonderfully soft crumb, reminiscent of a classic challah bread. This distinct texture provides the perfect canvas for the sweet cinnamon filling, allowing it to truly shine.
However, if you have a cherished whole wheat or regular bread dough recipe that you adore, don’t hesitate to adapt! The precise shaping and rolling method detailed in this recipe is key to achieving those beautiful, well-defined cinnamon swirls, and it can be easily applied to your favorite dough. The goal is a tight, even roll that prevents gaps and ensures every slice delivers that signature cinnamon goodness.
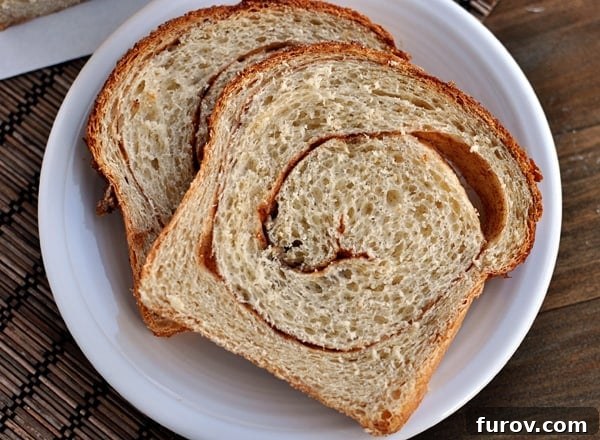
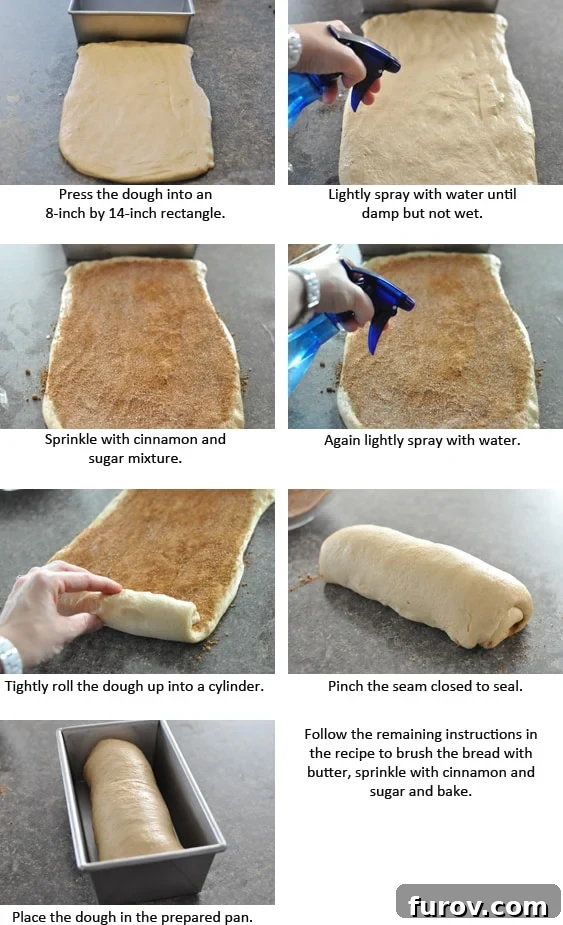
Achieving the perfect swirl isn’t just about the flavor; it’s about the visual appeal too. The gentle mist of water applied to the dough before sprinkling the cinnamon sugar is a small but mighty step that helps the filling adhere perfectly, preventing it from migrating during the rise and bake. This ensures a stunning, uniform spiral throughout your loaf, making it as beautiful to look at as it is delicious to eat.
Essential Tips for Yeast Bread Success
Baking with yeast can seem daunting, but a few foundational principles will set you up for success. Always ensure your milk is warm, not hot – around 110°F (43°C) is ideal – to activate the yeast without killing it. When kneading, pay close attention to the dough’s texture: it should be smooth, elastic, and slightly sticky. The amount of flour can vary depending on environmental factors like humidity, so trust your judgment and the feel of the dough more than exact measurements, especially if you’re not weighing your ingredients.
Allowing the dough to rise adequately is another critical step. A warm, draft-free environment will encourage a proper rise, leading to a light and airy loaf. Don’t rush this process; patience is a baker’s best friend! Once baked, resist the urge to slice into your cinnamon swirl bread immediately. Allowing it to cool completely on a wire rack is crucial for the internal structure to set, preventing a gummy texture and ensuring those beautiful swirls hold their shape.
Looking Ahead: Exploring Wheat and Milling
As my baking journey continues, I’m excited to delve deeper into the origins of our most fundamental ingredient: wheat. I’m currently developing a comprehensive tutorial and in-depth exploration of wheat and home wheat grinding. This topic, while perhaps sounding a bit niche, promises to be incredibly engaging and insightful for anyone passionate about baking from scratch.
If you have specific questions about different types of wheat, the benefits of grinding your own flour, or the equipment involved, please let me know! Your curiosity will help shape the content, ensuring I cover the most relevant and interesting aspects. Trust me, what might initially seem like a ‘boring’ subject will undoubtedly turn into a fascinating and fun learning experience.
One Year Ago: Rosemary Chicken and Wild Rice
Two Years Ago: Magical Layered Brownies
Three Years Ago: Delmonico Potato Bake
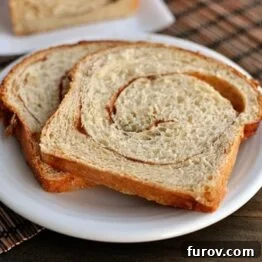
Cinnamon Swirl Bread
3
loaves
2 hours
1 hour
3 hours
Pin
Rate
Ingredients
-
1 cup
(212 g) granulated sugar -
½ cup
(106 g) packed light brown sugar -
2 ½ tablespoons
cinnamon -
2 ½ cups
warm milk, about 110 degrees or warm to the touch, but not hot -
6 tablespoons
(85 g) melted butter -
3 large
eggs -
8 cups
(1136 g) all-purpose flour (see note) -
1 ½ tablespoons
instant yeast -
2 teaspoons
salt - Spray bottle filled with water
-
2 tablespoons
(28 g) melted butter for brushing the top of the bread
Instructions
-
In a small bowl, mix together the granulated and brown sugar. Mix in the cinnamon. Measure out 4 tablespoons and set it aside for sprinkling on the bread.
-
In a large liquid measuring cup or bowl, whisk together the milk, melted butter and eggs. In the bowl of a stand mixer fitted with the dough hook (or in a large bowl if making by hand), combine 6 cups of the flour, yeast, salt and 1/2 cup of the cinnamon/sugar mixture. With the mixer on low speed, add the milk mixture and mix until the dough comes together. Increase the speed to medium, adding more flour as necessary so the dough clears the sides of the bowl but remains slightly sticky. Knead the dough (in the mixer or by hand) until the dough is smooth and elastic, about 6-8 minutes (you’ll need to knead upwards of 15 minutes by hand to achieve the same consistency).
-
Place the dough in a large, lightly greased bowl and cover with greased plastic wrap. Let it rise until doubled in size, about 1 to 1 1/2 hours.
-
Grease three 8 1/2-inch by 4 1/2-inch bread pans. Turn the dough onto a lightly greased work surface and separate the dough into three equal pieces. Working with one piece at a time, press the dough into an 8-inch by 14-inch rectangle. Very lightly spray the surface of the dough – only 1-2 light sprays. You don’t want the water to puddle on the dough; you want a very fine mist of water across the dough. Sprinkle the dough with 1/3 of the remaining cinnamon/sugar mixture, leaving a 1/2-inch border along one of the short edges. Gently press the cinnamon/sugar mixture into the dough. Again, lightly spray the top of the dough (now sprinkled with cinnamon and sugar) with water. Don’t let the water puddle, just spray a very fine, light mist across the top, 1-3 sprays.
-
Roll the dough into a tight cylinder starting with the short edge without the border. The key is to roll the dough as tightly as possible to avoid any gaps in the swirl (I don’t get this perfect every time so don’t worry if there are a few gaps after baking). Pinch the seam closed once it is rolled up all the way. Place the loaf, seam side down, in one of the prepared pans and repeat with the remaining pieces of dough. Cover the pans with lightly greased plastic wrap and let rise until nearly doubled in size, about an hour.
-
Preheat the oven to 350 degrees. Brush the loaf very gently with melted butter and sprinkle the reserved cinnamon/sugar mixture over the tops of the loaves (dividing evenly). Bake for 40-60 minutes until baked through. If the bread seems like it is overbrowning on top too quickly, place a piece of tin foil tented lightly over each loaf to finish baking. Cool the loaf in the pan for 10 minutes (too long and it will stick to the pan!) and then turn out onto a wire rack to cool completely.
Notes
Flour Amount: as with all yeast doughs, I never use the flour amount called for in the recipe as a hard fast rule (unless a weight measure is given and then I pull out my kitchen scale). Because humidity, temperature, altitude and a multitude of other factors can impact how much flour you need in your yeast doughs, I always judge when to quit adding flour by the texture and look and feel of the dough rather than how much flour I’ve added compared to the recipe so use the flour amount in this recipe as a guideline.
Yeast: this tutorial on yeastmay help identify how a perfectly floured dough should be. Also, I’ve used half whole wheat flour in this recipe with good results.
Mel
Bread
American
Bake
Recommended Products
Recipe Source: adapted from The Cook’s Country Cookbook