
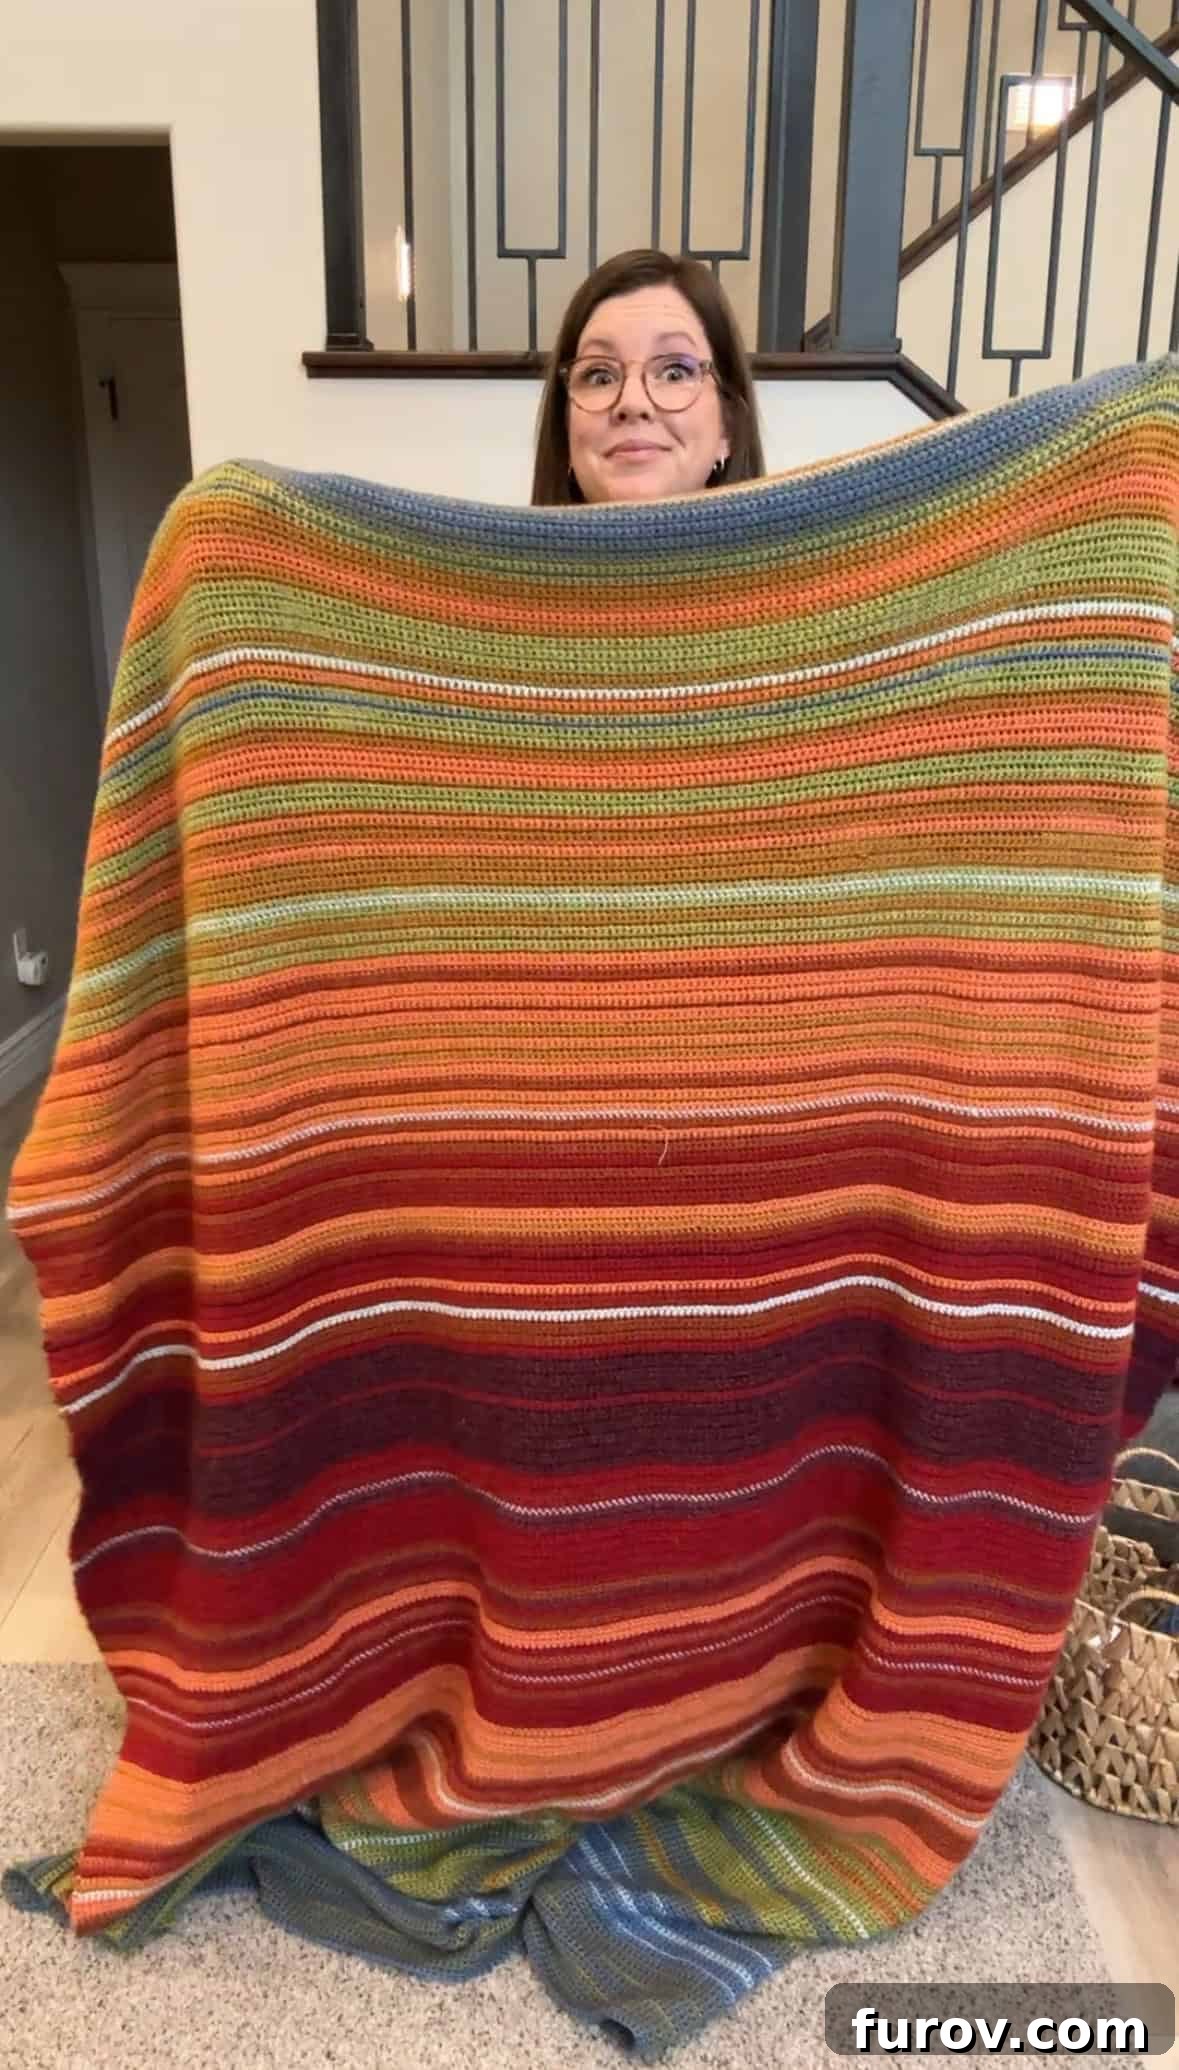
Embark on a captivating year-long crafting adventure! This ultimate guide provides all the essential details on how to create a stunning daily crochet temperature blanket, including expert advice on stitch counts, yarn selection, and invaluable tips to ensure your project is a resounding success.
Creating a personalized crochet temperature blanket is an incredibly rewarding and surprisingly straightforward project. Utilizing just one simple crochet stitch, you’ll weave together a vibrant tapestry that reflects an entire year’s worth of daily high temperatures, resulting in a truly unique and meaningful heirloom.
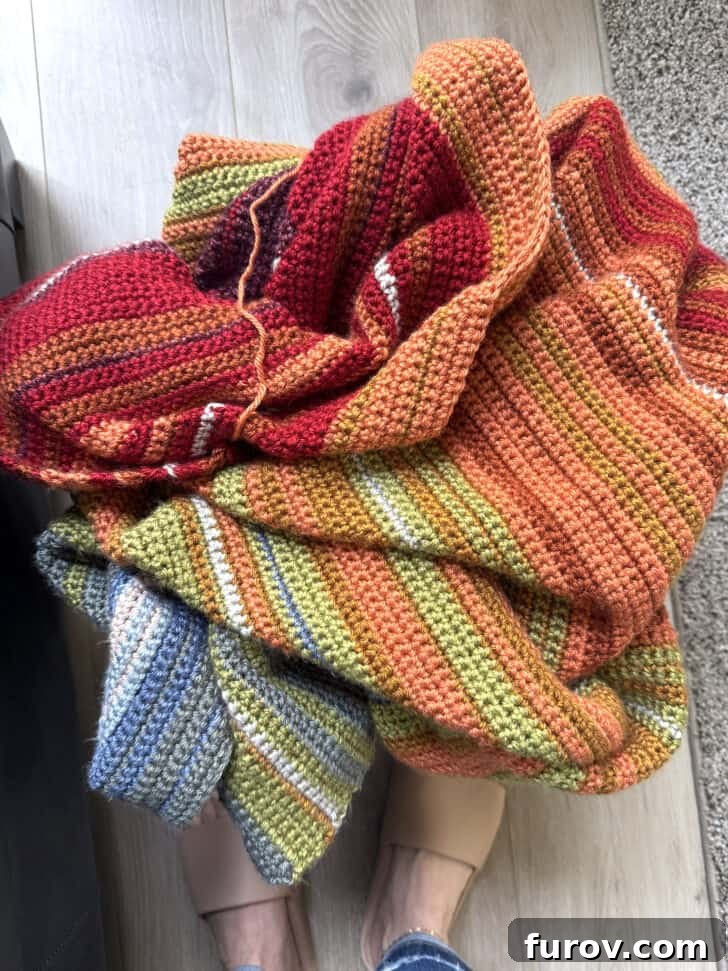
The allure of temperature blankets swept across social media in 2024, captivating countless crafters, including myself. I vividly recall seeing various accounts, including an old high school friend, Liz, sharing their progress and the stunning outcomes of their projects. Each blanket told a unique story of a year through color, and I was instantly hooked.
Even though I discovered this delightful trend in mid-January, which meant I was already a few weeks behind, the idea of creating a tangible representation of the year’s weather was too enchanting to resist. I decided to dive headfirst into this fun and challenging endeavor, eager to see my own climate unfold in yarn.
While this project might be a slight detour from my usual culinary content, the overwhelming interest and joy this blanket brought into my life compelled me to share every detail. If you’ve been pondering starting your own temperature blanket, or even if the idea has just sparked your curiosity, you’ve come to the right place. This comprehensive guide will equip you with all the knowledge you need to embark on your own colorful, year-long crocheting journey.
Temperature Blanket: Understanding the Core Concept
At its heart, a crocheted temperature blanket is a daily chronicle rendered in yarn. The fundamental principles are beautifully simple, making it accessible even for beginner crocheters:
- Daily Rows: You crochet one row for each day of the year, meticulously tracking 365 or 366 days of weather.
- Color-Coded Temperatures: The specific color of yarn used for each row is determined by the high temperature recorded for that particular day. This creates a vibrant, ever-changing pattern that visually represents the climate.
- Simple Stitch: The entire blanket is typically crocheted using a single, straightforward stitch, most commonly the single crochet stitch. This consistency allows the focus to remain on the captivating color transitions.
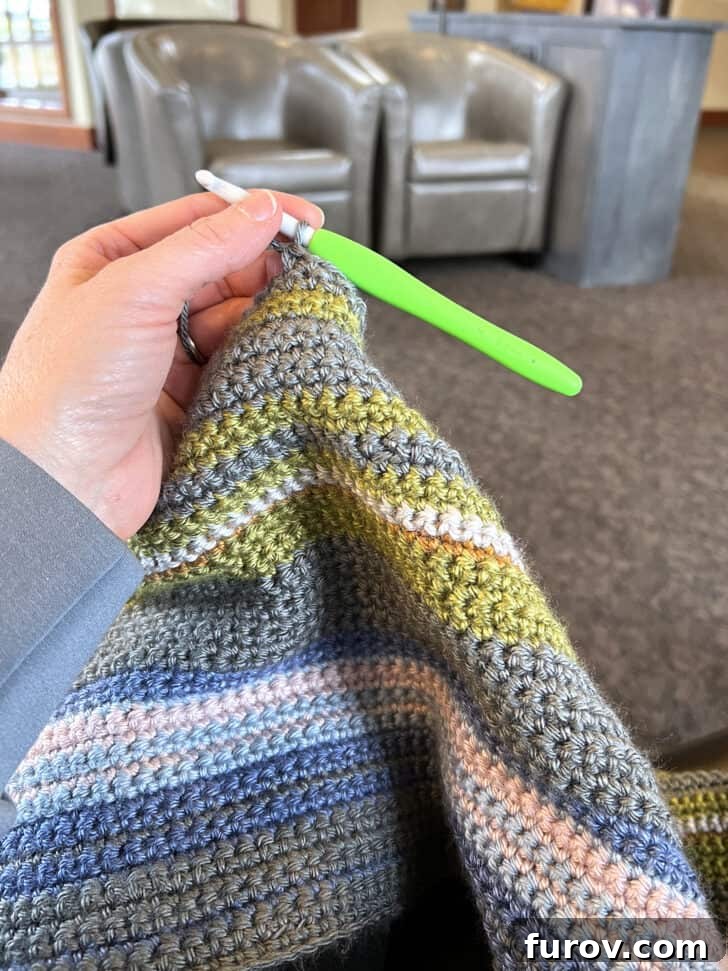
While the core concept is consistent, there’s ample room for personalization, allowing you to tailor your temperature blanket to your desired aesthetic and size. Here are key details you can customize:
- Number of Stitches per Row: This crucial decision directly impacts the width of your finished blanket. The number of stitches is entirely up to you and your desired blanket dimensions. For my own blanket, I chose to make it generously sized, using 230 single crochets in each row. To determine your ideal stitch count, consider the weight of your chosen yarn, your personal tension, and what width feels right for a lapghan, throw, or bedspread. A good tip is to crochet a small swatch with your chosen yarn and hook, measure it, and then calculate how many stitches you’ll need for your desired width.
- Crochet Hook Size: The size of your crochet hook influences the density and drape of your fabric. I personally found a size K/6.5mm hook worked best for me, creating a comfortable tension (I tend to crochet medium-tight) and a lovely drape with the chosen yarn. This is my favorite style of crochet hook for comfort and ease of use. Experimenting with different hook sizes can help you achieve the perfect look and feel for your blanket. A larger hook will result in a looser, more drapey fabric, while a smaller hook will yield a denser, stiffer blanket.
- Monthly Dividers: To add structure and make tracking progress easier, you can incorporate a contrasting color at the end of each month. This means crocheting a single row (or two, if you prefer) in a designated “divider” color that stands apart from your temperature palette. This not only creates visual interest but also helps to clearly delineate each month’s worth of temperatures. I highly recommend this practice, as it provides clear milestones throughout your year-long project.
- Adding a Border: Once all 365 (or 366) rows are complete, you have the option to add a decorative border around the entire blanket. A border can give your finished project a polished, professional look and help square off the edges. While I initially didn’t add a border to the blanket shown below, I always planned to, and it’s a wonderful finishing touch that truly completes the piece. You can opt for a simple single crochet border, or explore more elaborate patterns to complement your blanket’s design.
Temperature Blanket: Selecting Your Yarn and Colors
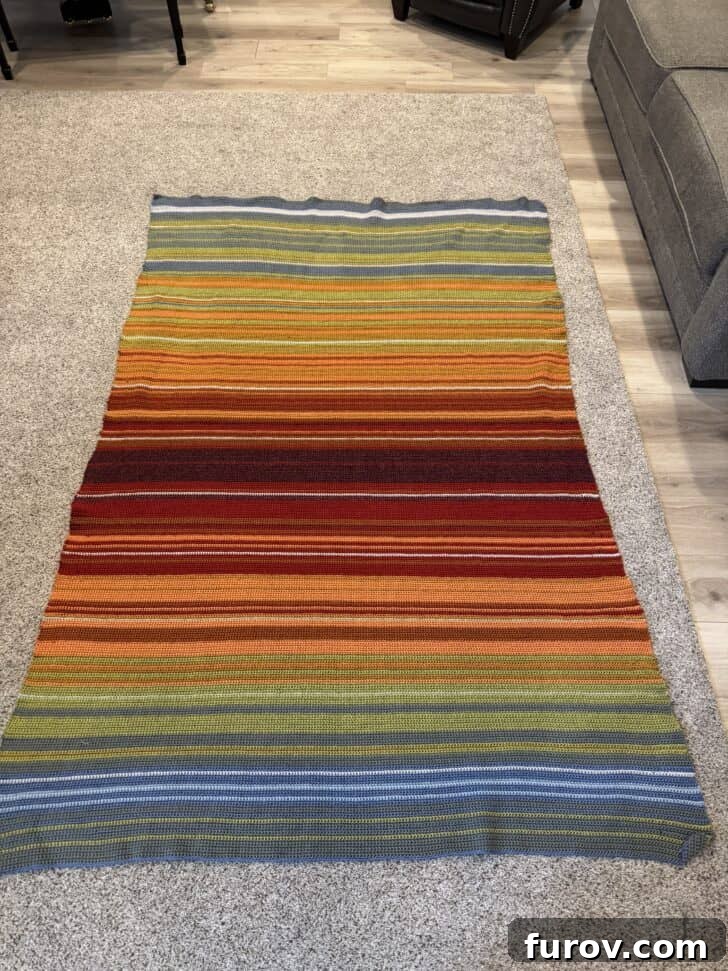
The soul of your temperature blanket lies in its yarn and the vibrant colors you choose to represent the daily temperatures. The first crucial step is to define your temperature ranges, which should be thoughtfully determined based on your geographical location and its typical climate. Since I reside in a region that experiences four distinct seasons, with significant temperature fluctuations, I established the following ranges to ensure a diverse and accurate color representation:
- <19° F (Extremely Cold)
- 20-29° F (Very Cold)
- 30-39° F (Cold)
- 40-49° F (Chilly)
- 50-59° F (Cool)
- 60-69° F (Mild)
- 70-79° F (Warm)
- 80-89° F (Hot)
- 90-99° F (Very Hot)
- 100° F and higher (Scorching)
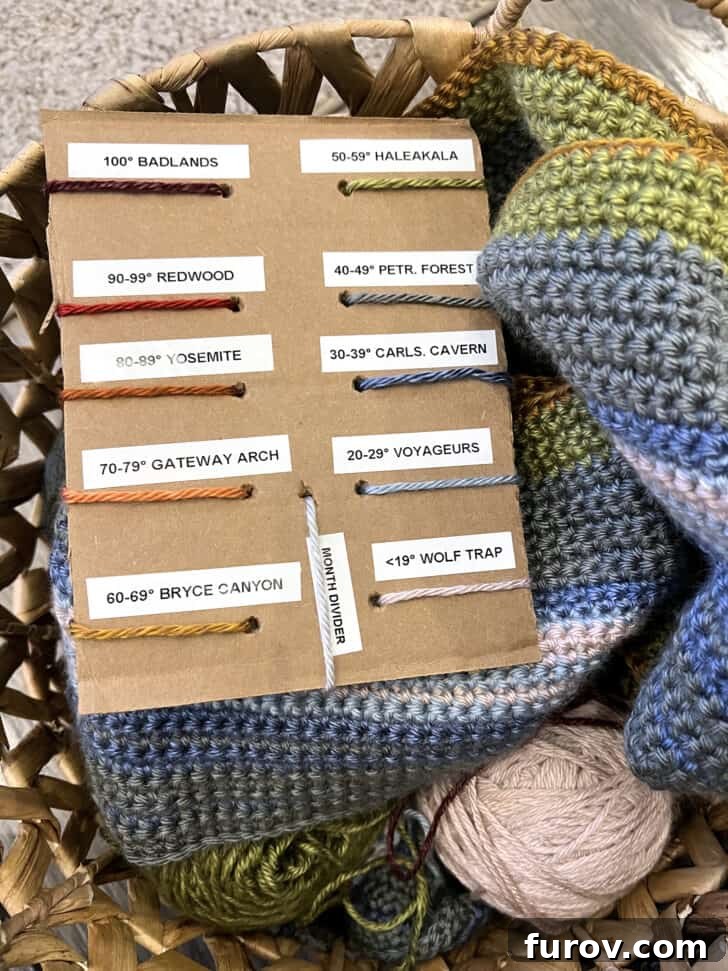
Once your temperature ranges are mapped out, the exciting part begins: assigning a specific yarn color to each range. While many different brands and varieties of yarn can be used, selecting a consistent brand and weight is key to ensuring a uniform look and feel throughout your year-long project. Consider factors such as fiber content (acrylic is popular for its durability, affordability, and vast color selection), washability, and overall drape.
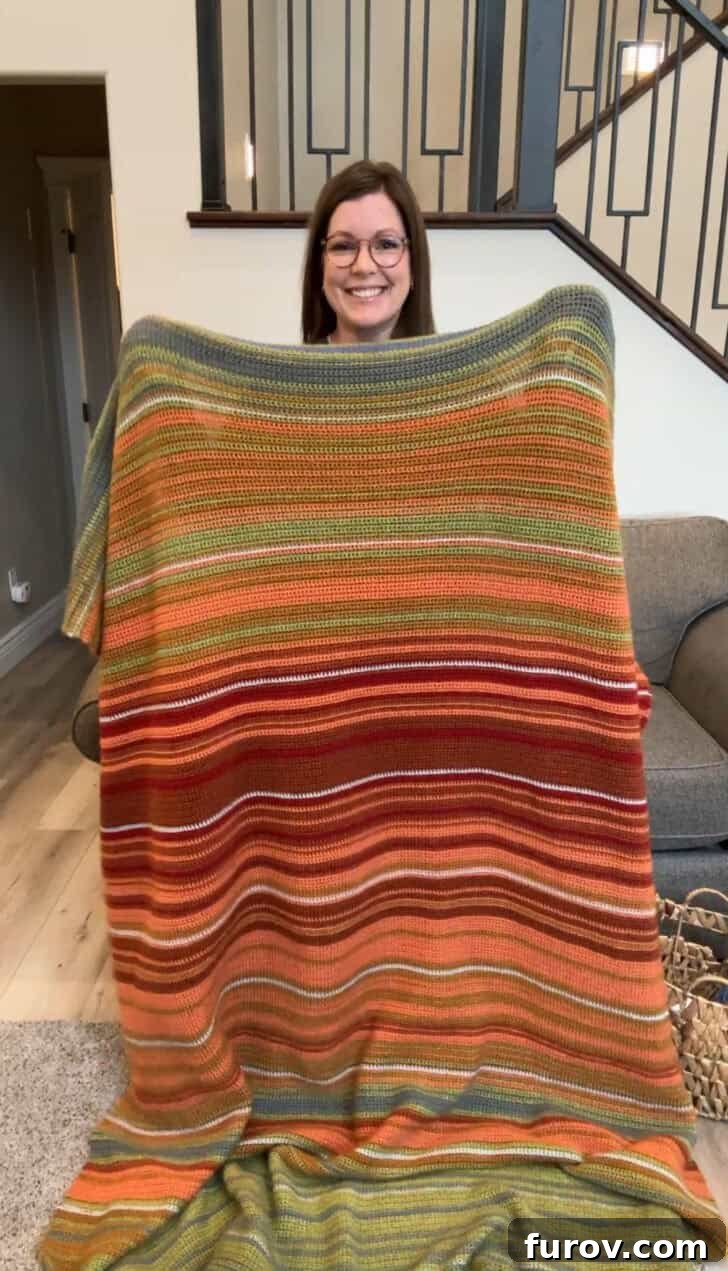
Inspired by countless stunning creations I encountered on Instagram, I chose to use Lion Brand Heartland yarn for my blanket. This worsted-weight acrylic yarn is renowned for its beautiful colorways, softness, and consistent quality, making it an excellent choice for a project of this scale. I frequently purchased my skeins from JoAnn Fabrics, taking advantage of their regular discount codes and the convenience of a nearby store for easy pick-up. This helped manage the cost of what can be a significant investment in yarn.
For a single temperature blanket of the size I created (230 stitches wide), I used approximately 25 to 27 skeins of the Lion Brand Heartland yarn. This gives you an idea of the total quantity you might need, so plan your yarn budget accordingly. It’s often wise to purchase a few extra skeins of your most anticipated colors to avoid running out mid-project or dealing with dye lot issues later.
My color assignments followed a natural progression, moving from cooler hues for lower temperatures to warmer, richer tones as the temperatures climbed. This creates a visually harmonious and intuitive representation of the year’s climate:
- <19° F: Wolf Trap (Deep Blue/Purple – coldest)
- 20-29° F: Voyageurs (Dark Blue)
- 30-39° F: Carlsbad Cavern (Medium Blue)
- 40-49° F: Petrified Forest (Teal/Blue-Green)
- 50-59° F: Haleakala (Light Green)
- 60-69° F: Bryce Canyon (Warm Green/Olive)
- 70-79° F: Gateway Arch (Light Yellow/Gold)
- 80-89° F: Yosemite (Orange/Rust)
- 90-99° F: Redwood (Dark Red/Burgundy)
- 100° F and higher: Badlands (Fiery Red – hottest)
- Monthly divider: White Sands (Clean White – for clear month separation)
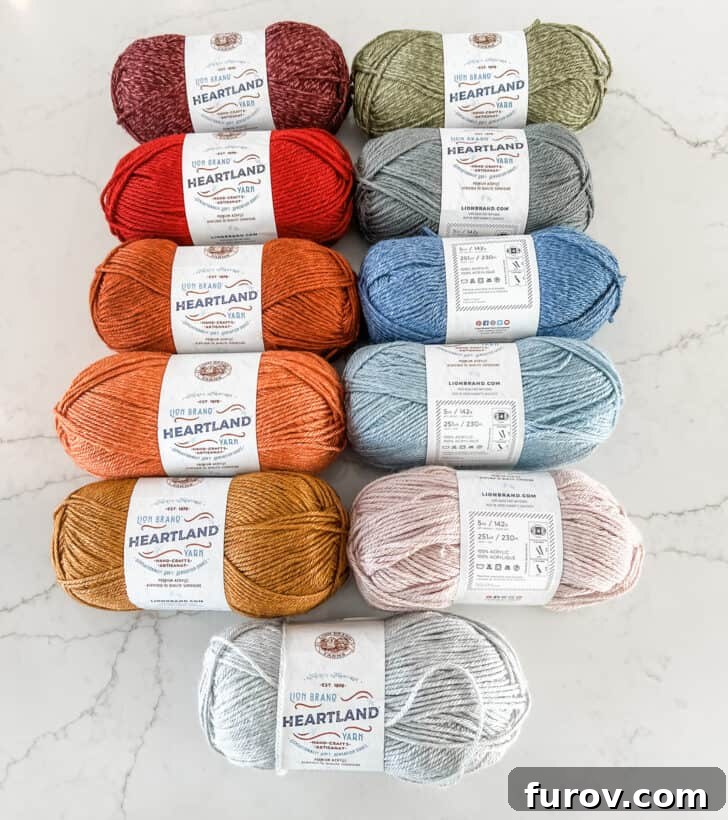
A practical tip for managing your yarn, especially with a project this size, is to use a yarn ball winder. I highly recommend this very handy yarn ball winder, which was an absolute lifesaver. Winding each skein into a compact yarn “cake” not only prevents tangles and knots, making the yarn unwind seamlessly as you crochet, but it’s also surprisingly enjoyable to use! This small investment will save you countless headaches and keep your crafting smooth and efficient.
Temperature Blanket: Your Step-by-Step Guide to Getting Started
Ready to cast on and begin your temperature blanket journey? This section outlines the initial steps to get your project underway. Even if you’re a beginner, these instructions are clear and easy to follow. Remember, the beauty of this blanket lies in its simplicity!
- Create Your Foundation Chain: Begin by crocheting a foundation chain of 230 stitches, or whatever number you’ve decided upon for the width of your blanket. This initial chain should be made with the yarn color assigned to January 1st’s high temperature. It’s crucial to make your starting chain with even tension – not too tight, which can make subsequent stitches difficult, and not too loose, which can lead to a wavy edge. Count carefully to ensure you have the correct number of stitches.
- Work Your First Row (Day 1): Once your foundation chain is complete, turn your work. Now, single crochet down the entire length of the chain. This means inserting your hook into the second chain from the hook, yarning over, pulling up a loop, yarning over again, and pulling through both loops on your hook. Repeat this single crochet stitch in each subsequent chain across the row. This forms your very first day’s temperature row.
- Continue to the Second Row (Day 2) and Beyond: When you reach the end of your first row, if the temperature for January 2nd requires the same color yarn, you’ll simply prepare for the next row. To do this, crochet an additional single crochet (this acts as your turning chain, often referred to as ‘chain 1 and turn’ for single crochet), then flip your blanket over. Now, single crochet down the entire row for Day #2, making sure to work through both loops of each stitch from the previous row. This creates a neat, consistent fabric.
- Repeat and Maintain Consistency: Continue this process for each subsequent day. You’ll only need to change your routine when the temperature for the day dictates a different yarn color. The key to a beautiful, uniform blanket is consistency in your stitch tension and ensuring you always add an additional single crochet (chain 1) on the last stitch before flipping your work and starting a new row. This ensures your edges remain straight and even throughout the project.
- Mastering Color Changes: Changing colors smoothly is an essential skill for this project. To seamlessly tie in a new color, I found this YouTube tutorial incredibly helpful. The general technique involves completing the last stitch of the old color up to the final yarn-over, and then using the new color to complete that final yarn-over and pull-through. This method creates a clean transition between colors without noticeable bumps or gaps.
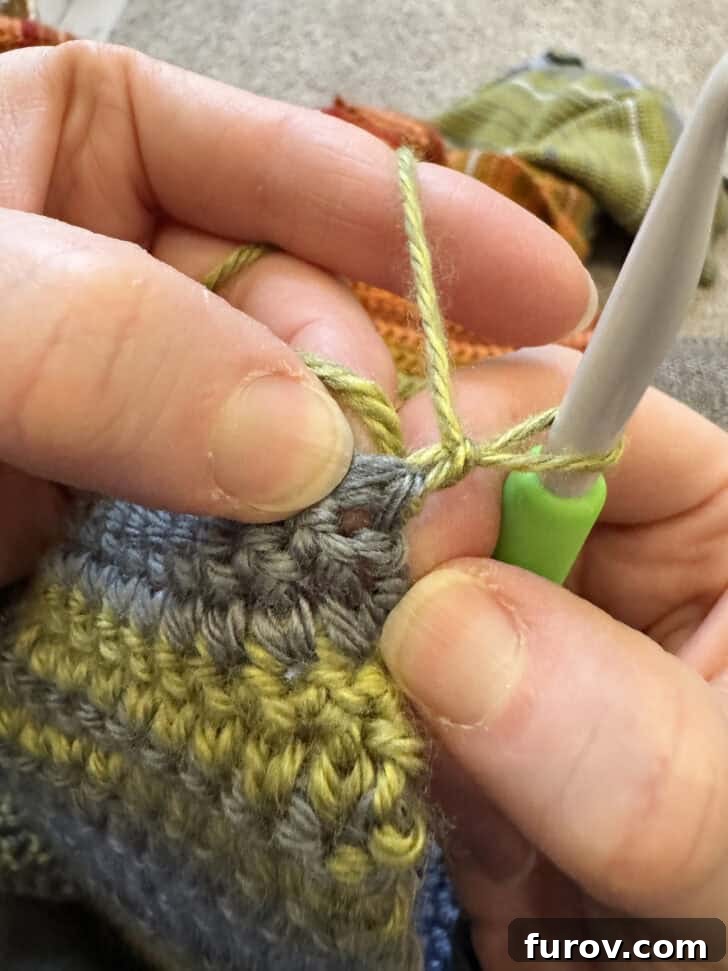
The image below provides a clear visual demonstration of where to insert your hook for the first stitch of each new row after you’ve flipped your blanket. Pay close attention to this detail for clean and even edges.
Temperature Blanket: Navigating the Journey and Making Memories
While the idea of a daily crochet project sounds perfectly organized, real life often intervenes! Despite my best intentions and efforts, I inevitably found myself falling a bit behind throughout the year. This was especially true because, in late February, I made the ambitious decision to embark on a second temperature blanket, doubling my workload and requiring considerable catching up!
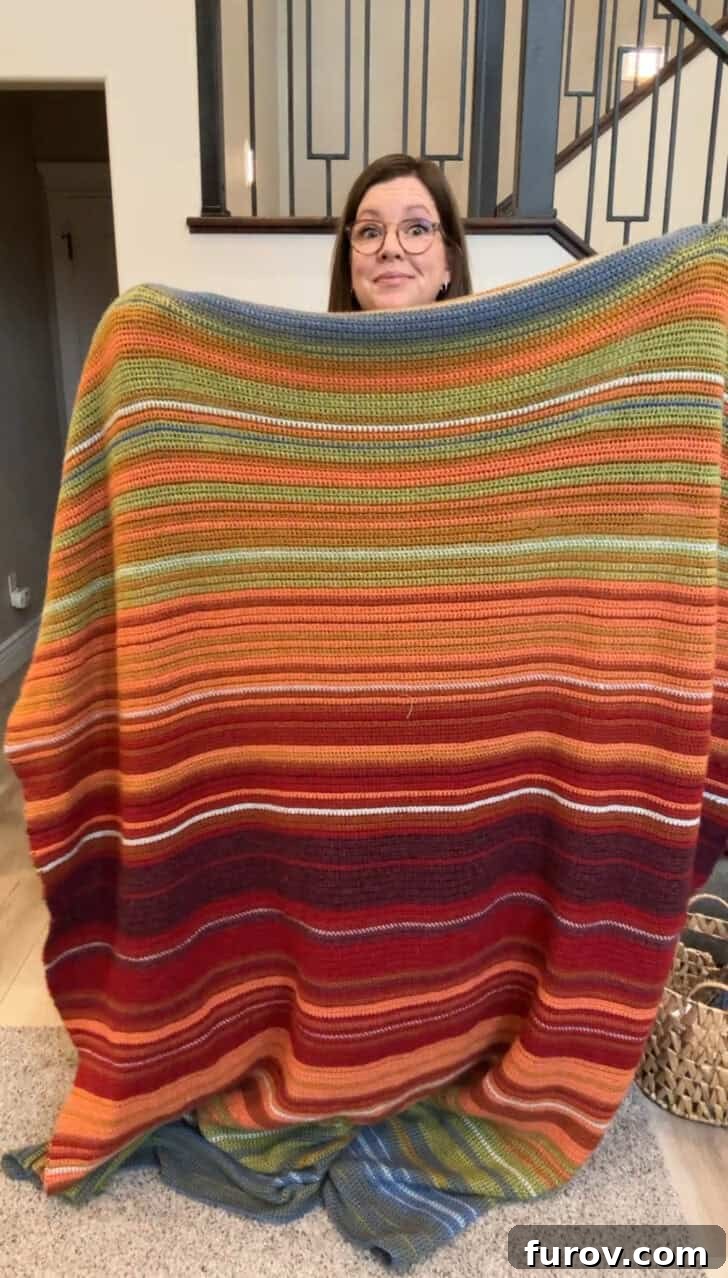
In 2024, I successfully completed not one, but two distinct temperature blankets. One meticulously records the daily high temperatures from my home in southwest Idaho, capturing the unique climate of my immediate surroundings. The second blanket tells the weather story of a charming small town in Switzerland, the ancestral home where my grandmother grew up. This second blanket created a beautiful, tangible connection to my heritage, making the project even more personal and meaningful.
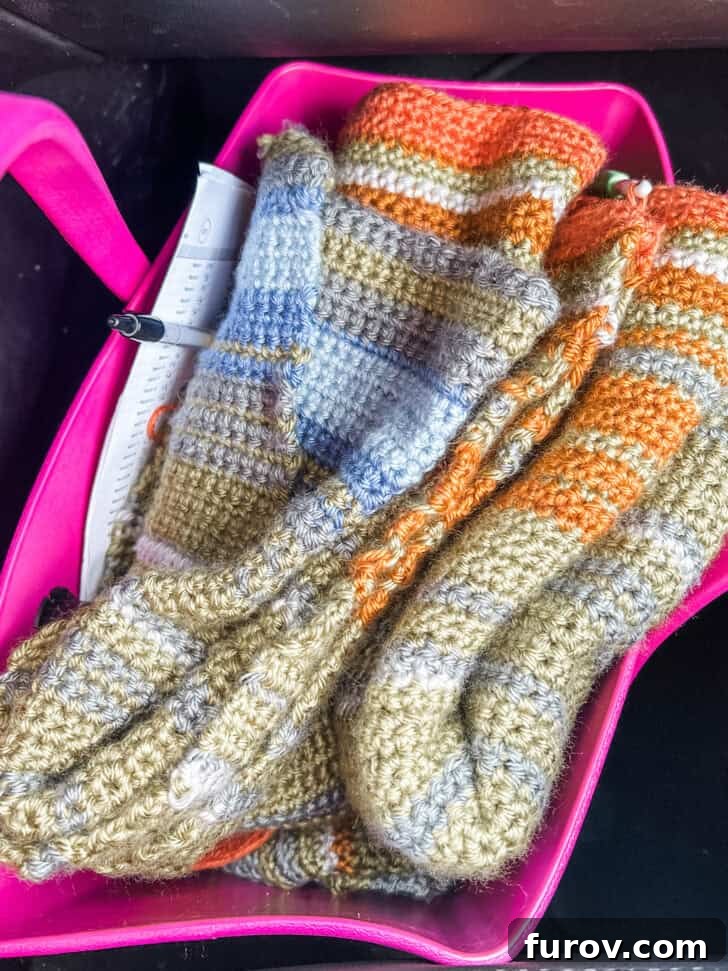
To effectively keep track of the daily temperatures, I devised a simple but highly effective system: a straightforward spreadsheet. I listed each day of every month and diligently recorded the high temperature for that day. This method proved invaluable, especially on those occasions when I fell behind. When I needed to catch up on several days or even weeks, I relied on this fantastic website to look up historical daily temperatures, ensuring accuracy for my projects. I kept my spreadsheet and a pen tucked conveniently into my crochet basket, allowing me to easily mark off each day as its corresponding row was completed.
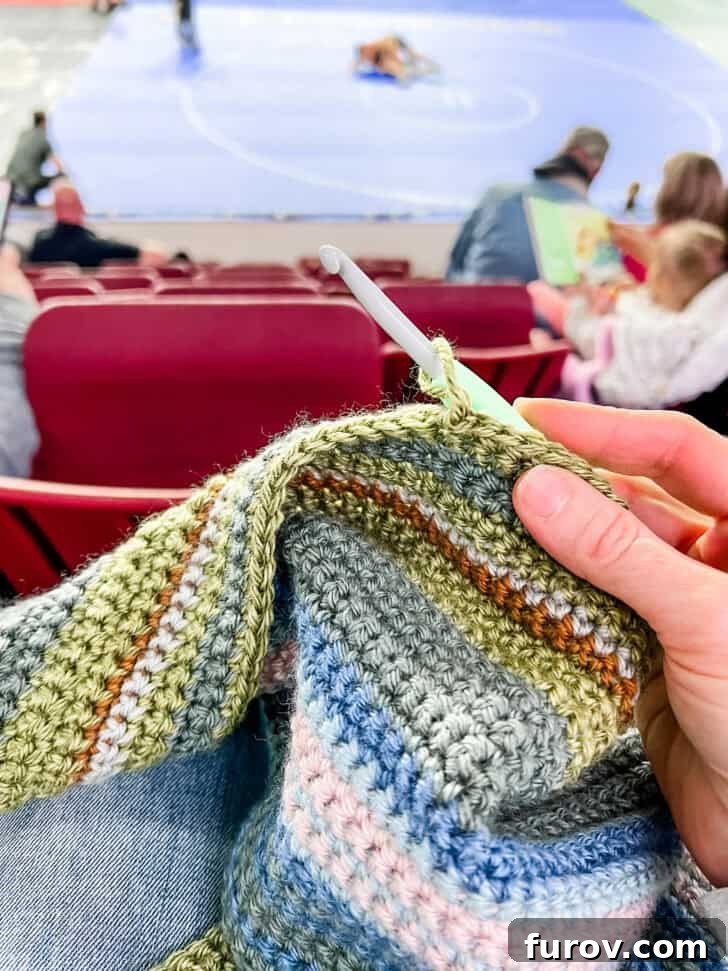
My dedication to these blankets earned me the affectionate title of “the crochet lady” among my family and friends. My projects became my constant companions, accompanying me everywhere from bustling wrestling tournaments to quiet doctor’s office waiting rooms and long road trips. They were perfect for keeping my hands busy and my mind engaged during downtime. Of course, as the year progressed and the blankets grew substantially in size, their portability became a bit more challenging!
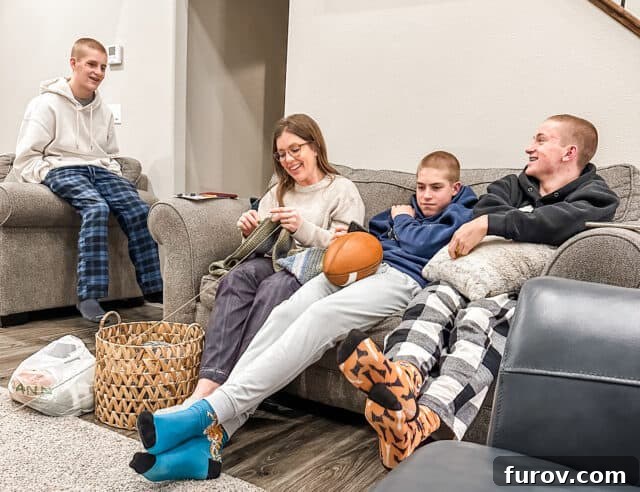
Looking back, I will always cherish the memories created during the year I embarked on these two temperature blankets. The project became a catalyst for more intentional downtime in the evenings. As I sat crocheting, my children often gathered around me, and we shared countless wonderful conversations and laughter. Beyond the precious family time, it also provided the perfect opportunity to delve into a multitude of captivating audiobooks!
It’s incredibly gratifying to know that so many of you have also embraced the temperature blanket trend! I’ve been delighted to receive countless pictures of your amazing creations on Instagram, showcasing such a diverse array of stunning color variations and unique interpretations. Each one is a testament to your creativity, and I truly love seeing them all!
If you have any further questions about making your very own temperature blanket, please don’t hesitate to leave them in the comments section below. I’m always happy to share more insights and help you along your crafting journey!