
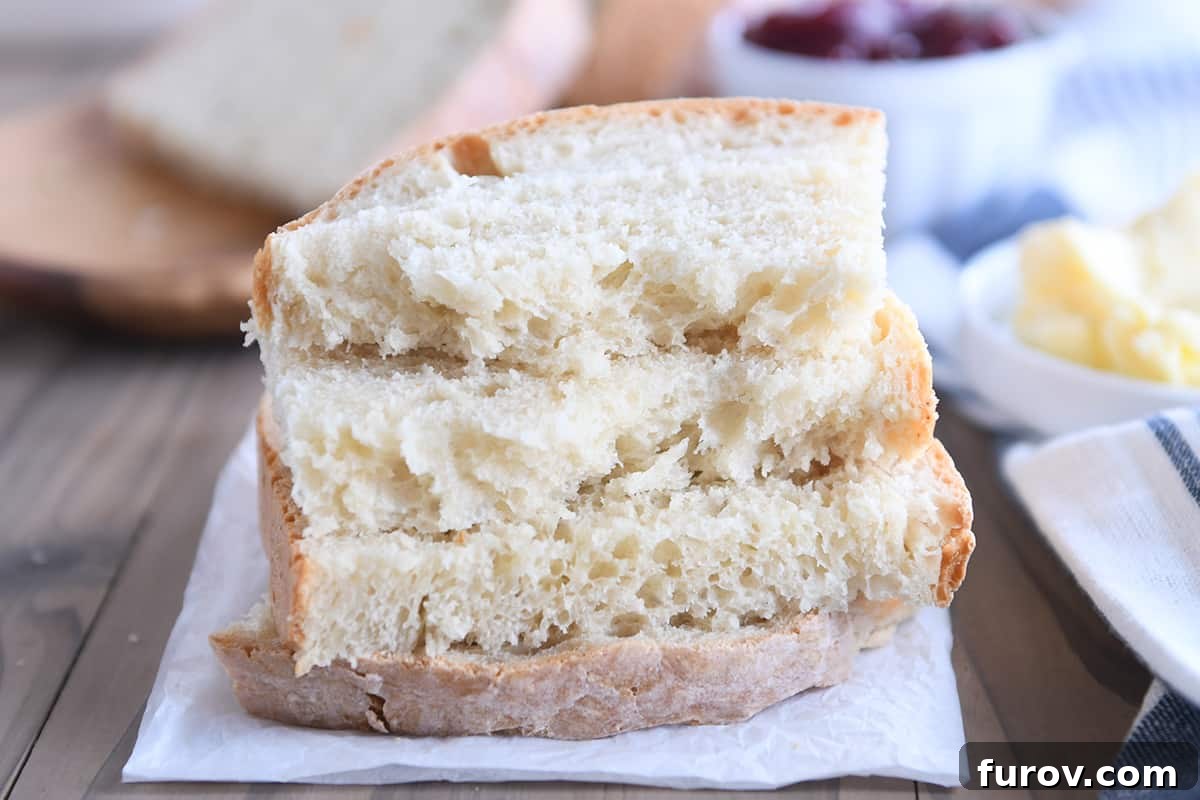
Easy No-Knead Sourdough Peasant Bread: Your Guide to Effortless Homemade Loaves
Homemade bread often sounds like a daunting task, especially when sourdough is involved. Visions of intricate kneading, long fermentation schedules, and demanding starters can deter even enthusiastic home bakers. But what if we told you there’s a way to enjoy incredibly soft, wonderfully fluffy, and beautifully flavorful sourdough bread without any complicated steps or endless waiting? Welcome to the world of easy no-knead sourdough peasant bread – a recipe so straightforward, it might just redefine your perception of sourdough baking. Whether your sourdough starter is bubbly and active, or simply discard from a recent feeding, this recipe welcomes all, promising a warm, fresh loaf from your oven in just a couple of hours.
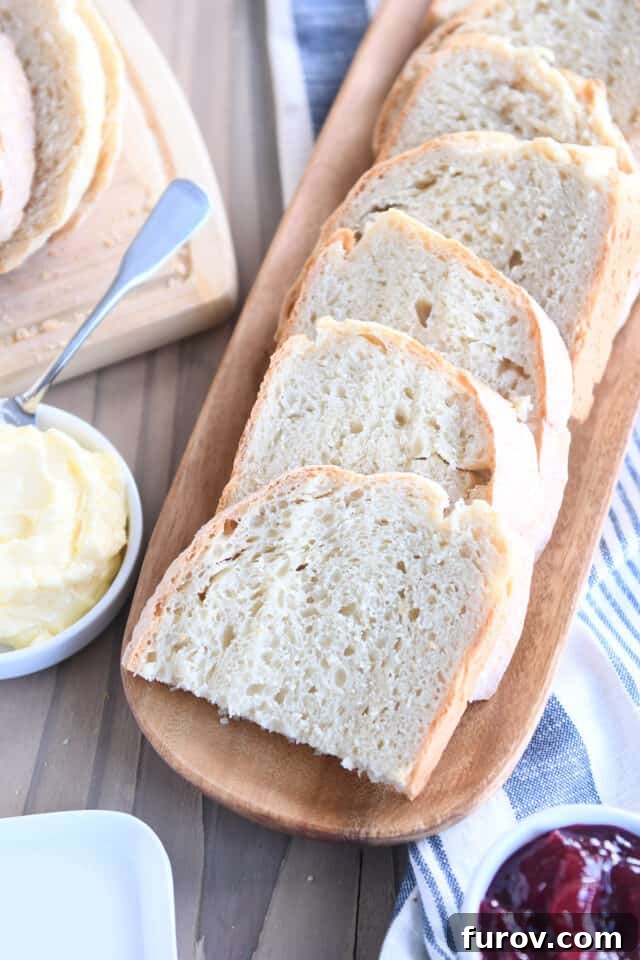
The Magic of No-Knead Sourdough Peasant Bread
Imagine a bread that offers the tangy depth of sourdough but requires minimal effort. This easy no-knead sourdough peasant bread is precisely that – a culinary revelation for busy lives. It harnesses the power of your sourdough starter, whether fed and vigorous or unfed discard, to create a deeply satisfying loaf without the need for extensive kneading or an overnight proofing period. Inspired by our incredibly popular easy peasant bread recipe, this sourdough version takes that simplicity and infuses it with an unparalleled depth of flavor. It’s the perfect introduction for anyone curious about sourdough, offering a rewarding baking experience without the typical fuss.
Demystifying Sourdough: The “Lazy Baker’s” Approach
Sourdough has a reputation for being high-maintenance, often conjuring images of professional bakers meticulously tending to their starters and creating elaborately scored loaves. We get it; the trend can feel overwhelming. However, nurturing a sourdough starter doesn’t have to consume your life, nor do you need to aspire to bake artisanal masterpieces daily. Our philosophy leans towards the “Lazy Baker’s Guide to Sourdough” – a practical, low-stress approach that has brought immense joy (and delicious carbohydrates!) into our kitchen. By keeping your starter happily dormant in the refrigerator, you can easily revive it for baking without daily fuss. Recipes like this no-knead peasant bread, or even our delightful sourdough pumpkin muffins, are living proof that maintaining a starter is 100% worth the minimal effort. We’re also thrilled to share more easy sourdough discard recipes with you soon, because they are truly amazing.

Beyond Toast: The Ultimate Grilled Cheese & More
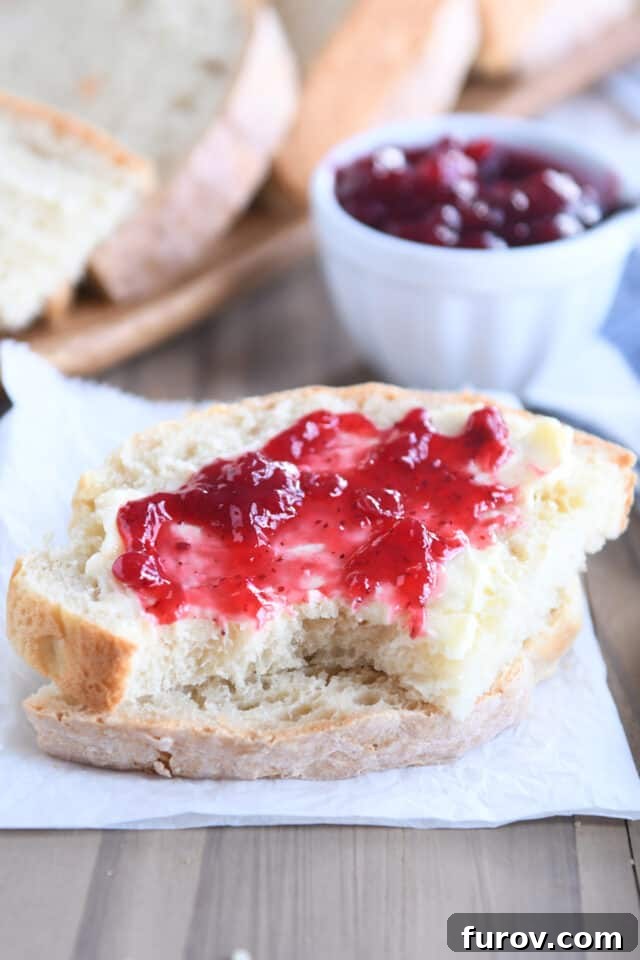
While this sourdough peasant bread is exceptional on its own, served warm with a slather of butter, its true versatility shines through in other applications. Can we take a moment to appreciate that this easy sourdough peasant bread might just craft the most incredible grilled cheese sandwich in existence? The slightly tangy crust, soft interior, and robust flavor elevate a simple grilled cheese to gourmet status. This reason alone should inspire you to get baking! Beyond grilled cheese, its sturdy yet tender crumb makes it an ideal companion for hearty soups, stews, or as the base for open-faced sandwiches. It’s truly a fantastic canvas for countless culinary creations.
Understanding Your Sourdough Starter
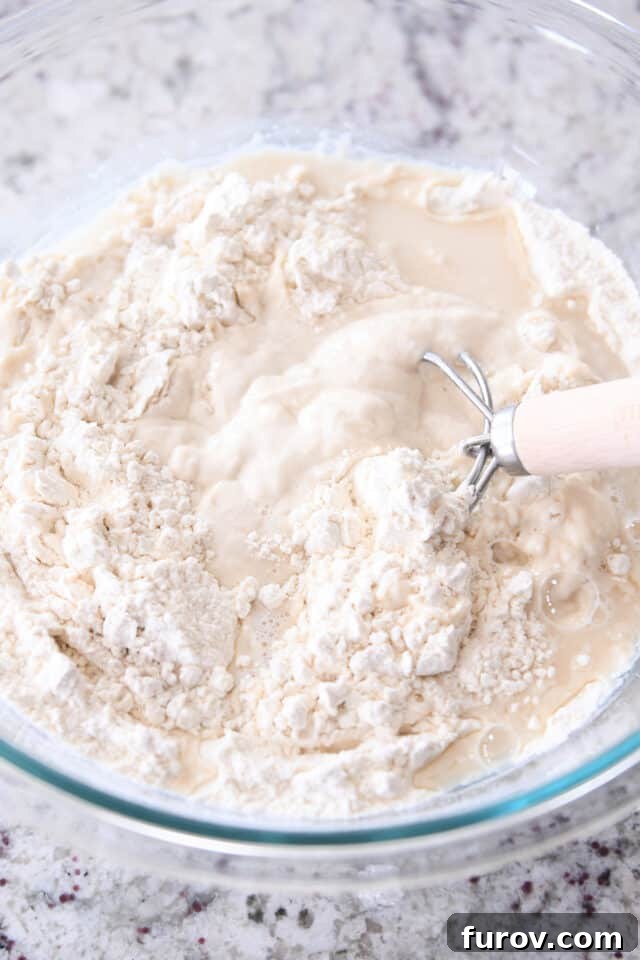
The beauty of this recipe lies in its adaptability: it works seamlessly with either active, fed sourdough starter or unfed sourdough discard, which you can use directly from the refrigerator. However, it’s crucial to understand that not all sourdough starters are created equal. Feeding ratios vary widely, meaning your starter’s consistency – its thickness or thinness – might differ from ours. Our tests for this recipe were conducted using a sourdough starter fed with a 1:1:1 ratio (by weight) of starter, water, and flour, resulting in a specific viscosity. If your sourdough starter appears thicker than the one demonstrated in the accompanying images, you may need to incorporate an additional splash of water into the dough mixture. Conversely, if your starter is noticeably thinner, begin by reducing the recipe’s water content by about 1/2 cup, and only add more gradually if the dough seems too dry. This careful adjustment ensures you achieve the optimal dough consistency for a perfect loaf.
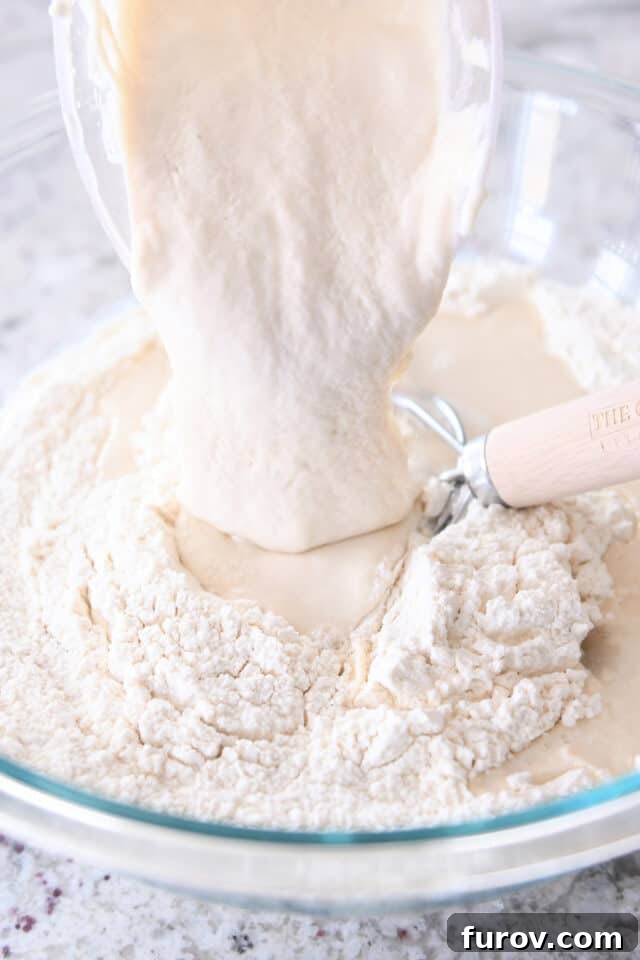
Crafting the Perfect Sourdough Peasant Dough
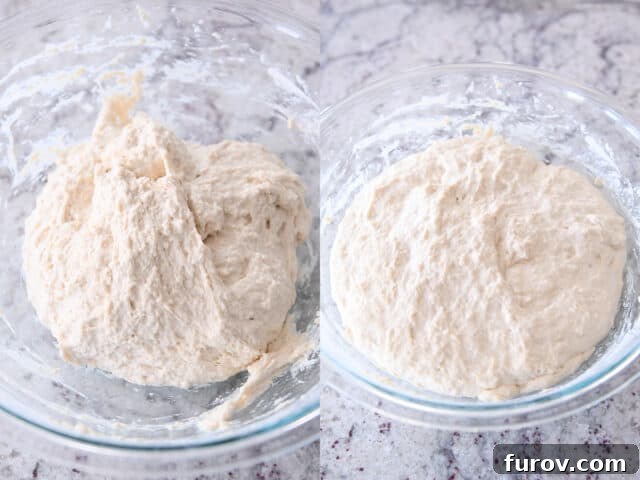
One of the most appealing aspects of this sourdough peasant bread is how quickly and effortlessly the dough comes together. Unlike traditional bread recipes that demand extensive kneading to develop gluten, this dough is designed to be much wetter, making it incredibly simple to mix by hand. There’s no need for a stand mixer or specialized equipment – a sturdy rubber spatula or a wooden spoon will suffice. Simply combine all the dry ingredients, then add the warm water and sourdough starter. Mix until all the flour is fully incorporated, and the mixture forms a very rough, shaggy ball at the bottom of your bowl. Don’t strive for a perfectly smooth or uniform texture at this stage; its rustic, sticky nature is exactly what we’re looking for.
The Quick Rise: Patience is a Virtue (But Not Too Much!)
Once your shaggy dough is mixed, cover the bowl and set it aside to rise. This isn’t one of those sourdough recipes that requires an overnight proof; this is a relatively quick rise! Depending on the ambient temperature and warmth of your kitchen, this crucial step will typically take between 1 to 1 1/2 hours. You’ll know the dough is ready when it has noticeably puffed up and has almost doubled in size. The warmth of your environment plays a significant role here, so a slightly warmer spot can help expedite the process. Keep an eye on it, and prepare to be amazed at how quickly this simple dough transforms.
Shaping Your Rustic Loaf
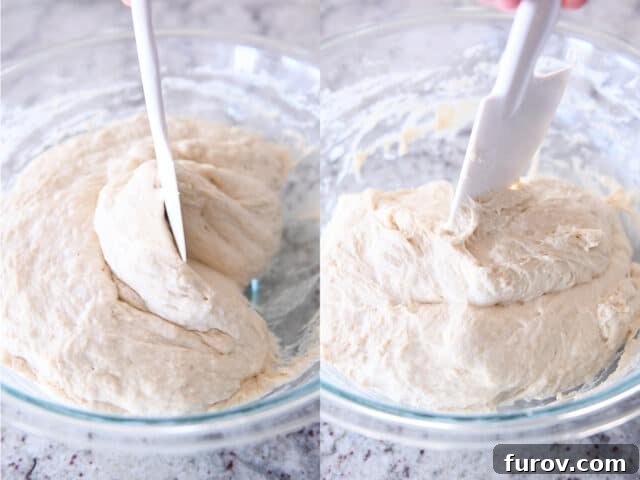
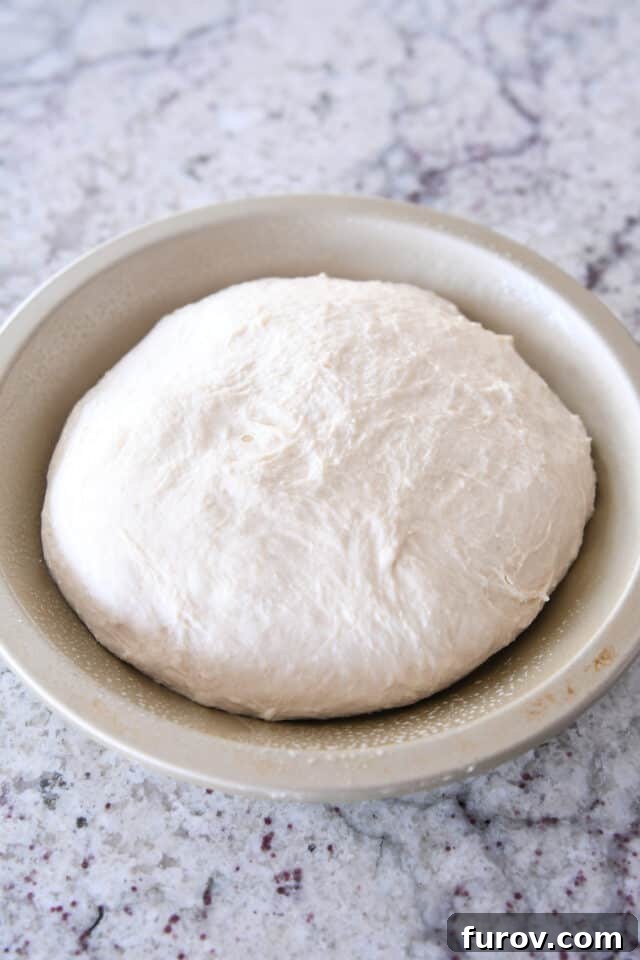
Due to its high hydration, this sourdough peasant dough is wonderfully soft and sticky, which means achieving a perfectly smooth, taut loaf by hand is neither necessary nor easily achievable. And that’s perfectly okay – embrace the rustic charm! Instead of traditional shaping, you have a couple of simple options. First, you can use a rubber spatula to gently scrape the dough away from the sides of the bowl, guiding it towards the center to form a loose, rough ball, then simply plop it directly into your prepared baking pan. Alternatively, for a slightly more defined shape, you can lightly grease your hands with cooking spray or oil, then quickly grab the dough and attempt to form a rough round, gently tucking the edges underneath. Whichever method you choose, abandon the expectation of a “perfect” loaf. This bread celebrates natural beauty and incredible flavor over pristine aesthetics.
Choosing the Right Baking Pan
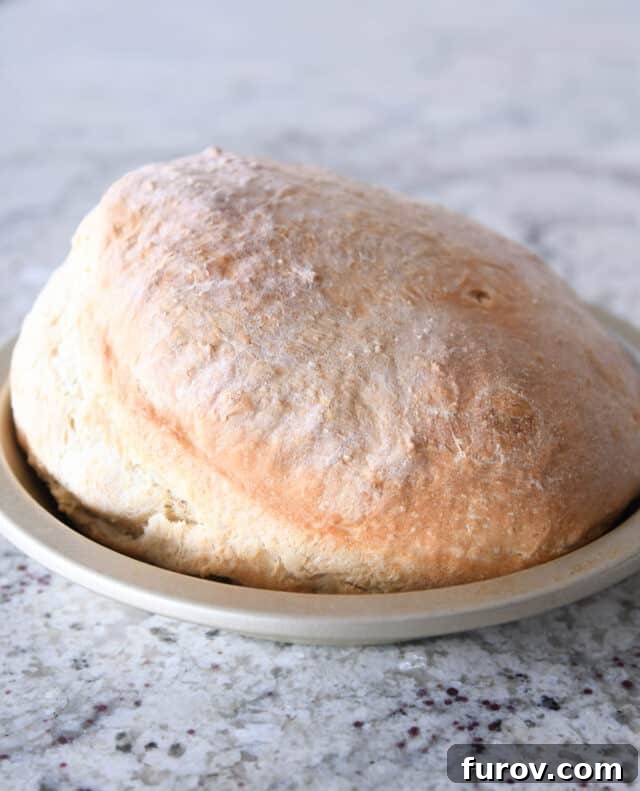
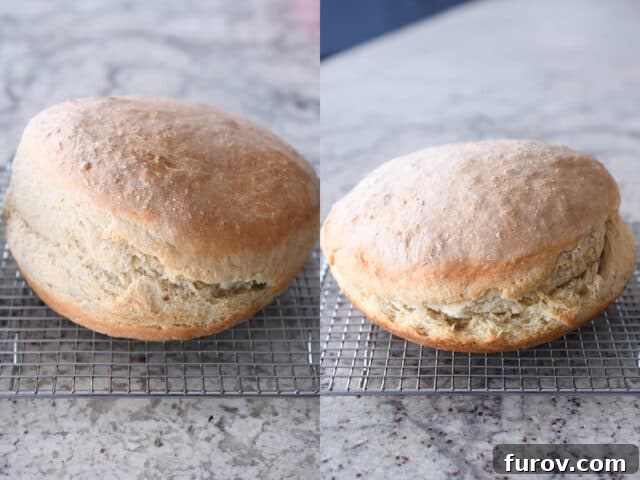
The choice of baking pan significantly influences the final shape and texture of your sourdough peasant bread. We highly recommend a 9-inch pie plate for this recipe, as it yields a beautifully rounded loaf that is neither too tall nor too flat, striking the perfect balance. Both metal and ceramic pie plates tend to produce a slightly taller bake compared to a glass pie plate, but all options work wonderfully. Regardless of your chosen material, the most critical step is to generously grease your pie plate. Use a liberal amount of nonstick cooking spray or a healthy coating of butter to prevent sticking, ensuring your delicious loaf releases easily. It’s also entirely normal for this bread to develop a natural split or crack on one side during baking. This characteristic ‘burst’ is often attributed to the dough’s high moisture content and the energetic lift from the sourdough activity, adding to its authentic peasant bread appeal.
Fed Sourdough vs. Sourdough Discard: A Visual Guide
One of the fascinating aspects of this recipe is its versatility with sourdough starter types. You might wonder if there’s a noticeable difference between using a freshly fed, active starter versus unfed discard. As seen in the comparison below, there is indeed a subtle distinction in the final baked bread’s appearance and texture. The loaf prepared with an active, fed sourdough starter (typically on the left in our images) often presents a slightly airier internal crumb. In contrast, the bread made with sourdough discard (on the right) might have a marginally denser, though still incredibly soft and fluffy, texture. Rest assured, both loaves are equally soft, delicious, and slice beautifully, making either option a fantastic choice for your baking endeavors.
Baking to Perfection: Tips for a Gummy-Free Loaf
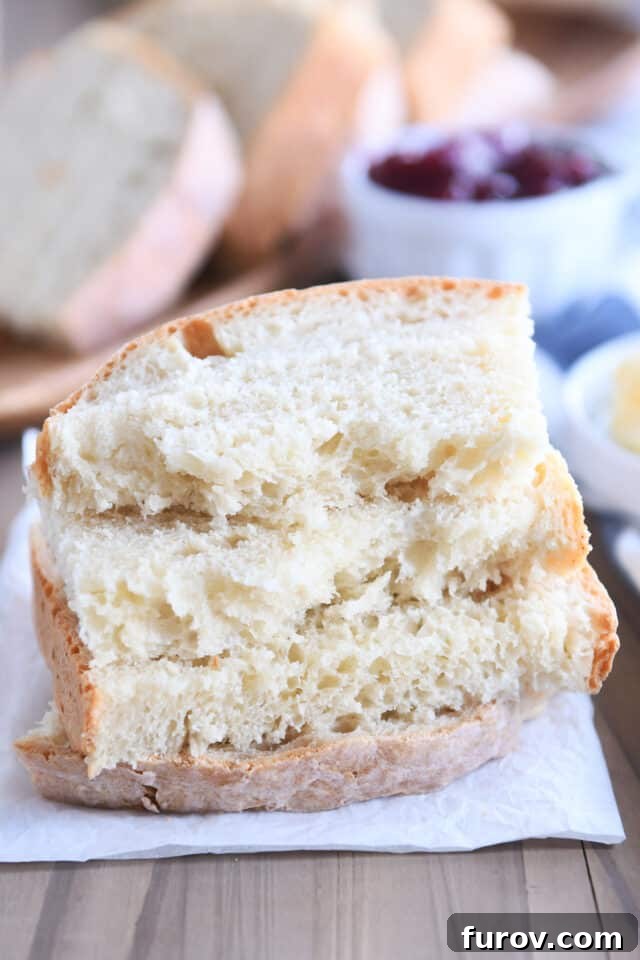
Achieving the perfect texture with this wet sourdough dough means ensuring it’s baked thoroughly. This is a crucial step: underbaking, even slightly, can result in a somewhat gummy interior due to the dough’s high moisture content. You’ll notice that this sourdough version typically requires a slightly longer baking time compared to our original regular peasant bread recipe to ensure it’s cooked through to perfection. To prevent the top from browning too rapidly while the interior finishes baking, a simple pro tip is to loosely tent the bread with aluminum foil. If you find the bottom crust is browning too quickly, elevate the baking pan to a higher oven rack, preferably the middle position or slightly above, to allow for more even heat distribution. A beautifully golden-brown crust and a thoroughly cooked, fluffy interior are your signs of success.
Why This Sourdough Peasant Bread Will Change Your Baking Game
This easy no-knead sourdough peasant bread is nothing short of dangerously good. Its flavor profile strikes a perfect balance: the characteristic tang of sourdough is present and noticeable, yet never overpowering, making it an excellent accompaniment to almost any meal, especially hearty soups. More than just a delicious loaf, this recipe represents the epitome of approachable and user-friendly sourdough baking. It strips away the complexities often associated with sourdough, offering a fulfilling experience for even novice bakers. We truly believe this recipe has the power to transform many of you into confident sourdough bread makers, and that thought fills us with immense joy.
One Year Ago: Easy Chicken Enchilada Casserole
Two Years Ago: Snickerdoodle Brookie Bars
Three Years Ago: Honey Balsamic BBQ Pulled Pork Sandwiches {Instant Pot or Slow Cooker}
Four Years Ago: Caramel Oat Chocolate Chunk Shortbread Bars
Five Years Ago: Delicious Whole Grain Hulk Muffins {Naturally Green!}
Six Years Ago: Thin and Chewy Funfetti Blondies {From-Scratch}
Seven Years Ago: Lemon Sticky Buns with Lemony Cream Cheese Glaze
Eight Years Ago: Skillet Baked Spaghetti {One Pot, 30-Minute Meal}
Nine Years Ago: Sweet Baked Ham
Ten Years Ago: No-Bake Nutella Cheesecakes
Easy No-Knead Sourdough Peasant Bread
Yield: 10 slices (1 loaf)
Prep Time: 2 hrs
Cook Time: 45 mins
Total Time: 2 hrs 45 mins
Ingredients
- 3 ½ cups (497 g) all-purpose or bread flour
- 2 teaspoons granulated sugar
- 2 teaspoons instant yeast (see note)
- 1 ½ teaspoons salt
- 1 ½ cups (338 g) warm water
- 1 cup (275 g) sourdough starter (fed or discard)
Instructions
- In a large bowl, add the flour, sugar, yeast and salt. Whisk to combine. Add the water and sourdough starter and mix with a rubber spatula or wooden spoon until the ingredients form a shaggy, sticky ball and no dry streaks remain.
- Cover the bowl and let the dough rise until doubled, about 1 to 1 1/2 hours.
- Place an oven rack in the center position. Preheat the oven to 425 degrees F.
- Generously grease a 9-inch pie plate or 8 1/2-by-4 1/2-inch loaf pan with cooking spray or butter. (See note for other pan sizes/options.)
- Scrape the dough away from the sides of the bowl with a rubber spatula, forming a rough ball in the center of the bowl. Lightly grease your hands with cooking spray or oil and place (or just kind of plop!) the dough in the prepared pan. The loaf will not be completely smooth and may look a bit rough in shape, that’s ok! You can try to form the dough into a rough ball shape, tucking the edges under, but if it’s too sticky, just get it in the pan. 🙂
- Let the dough rest, uncovered, for 15-20 minutes until slightly puffy.
- Bake for 15 minutes. Reduce the heat to 375 degrees F and continue to bake for 25-30 minutes until golden. Let the bread cool completely before slicing (see note).
Notes
Salt: I use table salt for this recipe. If using coarse, kosher salt, increase the salt to 2 to 2 1/2 teaspoons.
Yeast: I have not tried this recipe with active dry yeast, but it should work – dissolve 1 tablespoon active dry yeast in 1/4 cup warm water until foamy and bubbling and decrease the water in the recipe by 1/4 cup – use the yeast mixture in the recipe when adding the rest of the water.
Baking Pans: I prefer baking the dough in one loaf. However, the dough can be split into two pieces and baked in smaller bowls or pans (about 1 quart in size). Many people bake this dough in greased pyrex bowls, but I prefer pie plates or loaf pans.
Sourdough Starter: I have not tried this recipe using 100% sourdough starter and omitting the yeast, because recipes like that need much longer rising times (often overnight), and I prefer this recipe to be quicker and easier. If using fed sourdough starter, you can probably get away with reducing the yeast to 1 teaspoon.
Warm Bread: warm, homemade bread is hard to resist…and I’m not going to tell you NOT to slice into this loaf warm; however, the bread will be softer and fluffier if it cools completely.
Author: Mel Gunnell
Course: Bread
Cuisine: American
Method: Bake