
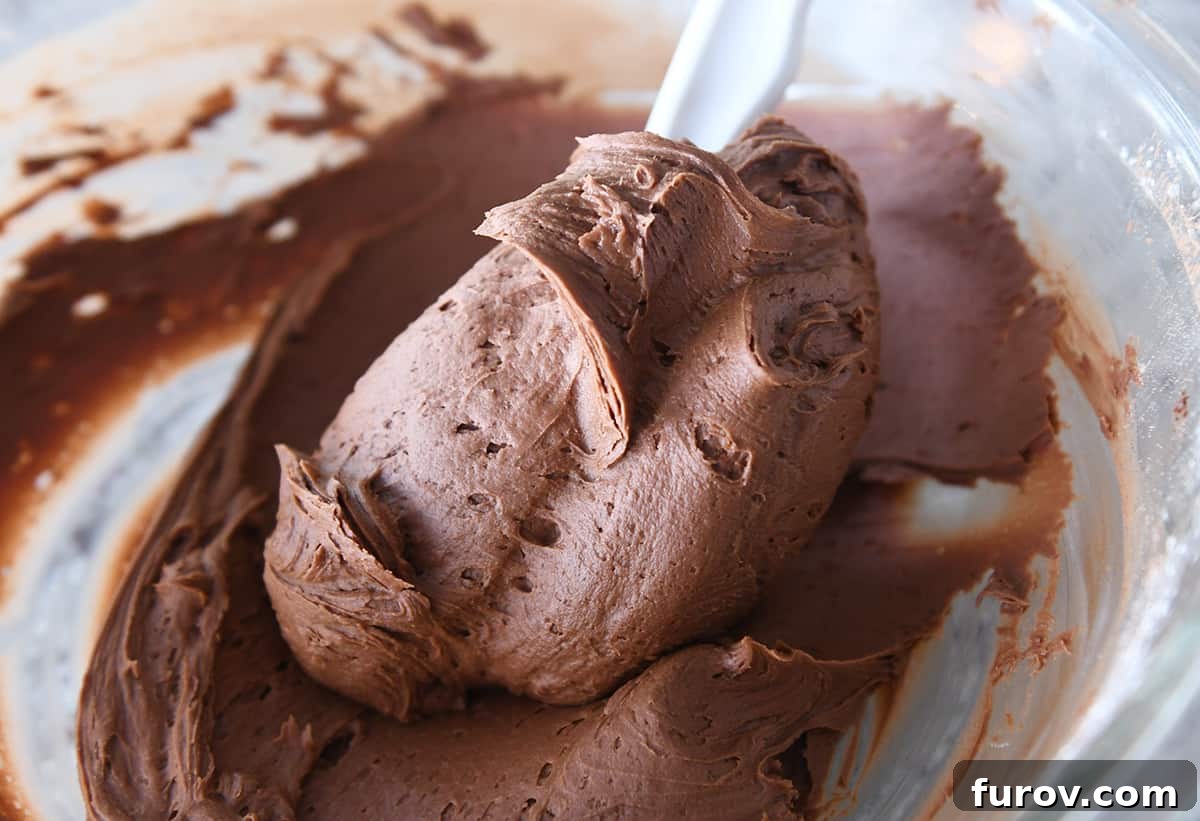
The quest for the ultimate chocolate buttercream frosting ends here! This exquisitely creamy and divinely decadent frosting is the perfect companion for a wide array of baked goods, from towering cakes to delicate cookies and charming cupcakes.
Having promised you an exceptional chocolate frosting to complement that incredible chocolate cake, I am thrilled to present this meticulously perfected recipe. Crafting an ideal frosting, while seemingly straightforward, demands precision, patience, and extensive testing. This particular chocolate buttercream has undergone numerous iterations to achieve its ideal state: irresistibly soft, luxuriously creamy, profoundly rich, and absolutely flawless.
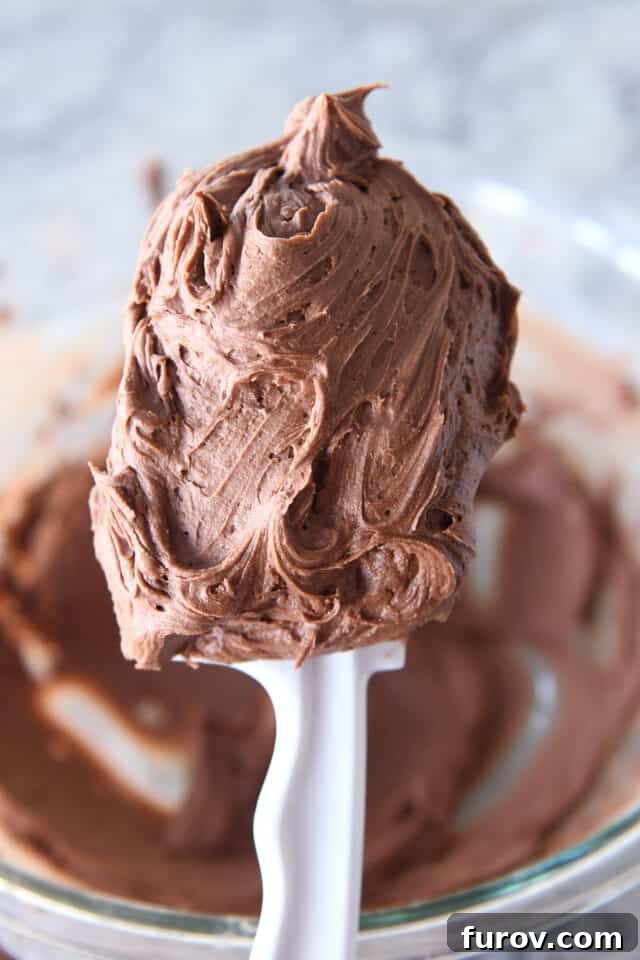
The Essential First Step: Sift Your Cocoa Powder
The initial and perhaps most crucial secret to achieving a truly smooth chocolate buttercream is to **sift your cocoa powder diligently.**
While this step might seem like a minor inconvenience, its importance cannot be overstated. Through extensive testing, I discovered that skipping the sifting process consistently resulted in tiny, stubborn lumps of bitter cocoa powder scattered throughout the frosting. These small imperfections can detract from the otherwise silky texture of your buttercream. Sifting ensures that the cocoa integrates seamlessly, creating a uniform color and flavor.
Therefore, for a truly impeccable frosting, please take the extra moment to sift your cocoa powder. It makes a noticeable difference.
While I personally do not sift the **powdered sugar** as I haven’t observed a significant impact on the final texture, you are certainly welcome to do so. In fact, if your powdered sugar tends to be particularly clumpy, sifting it can be a very good idea to guarantee an extra smooth finish.
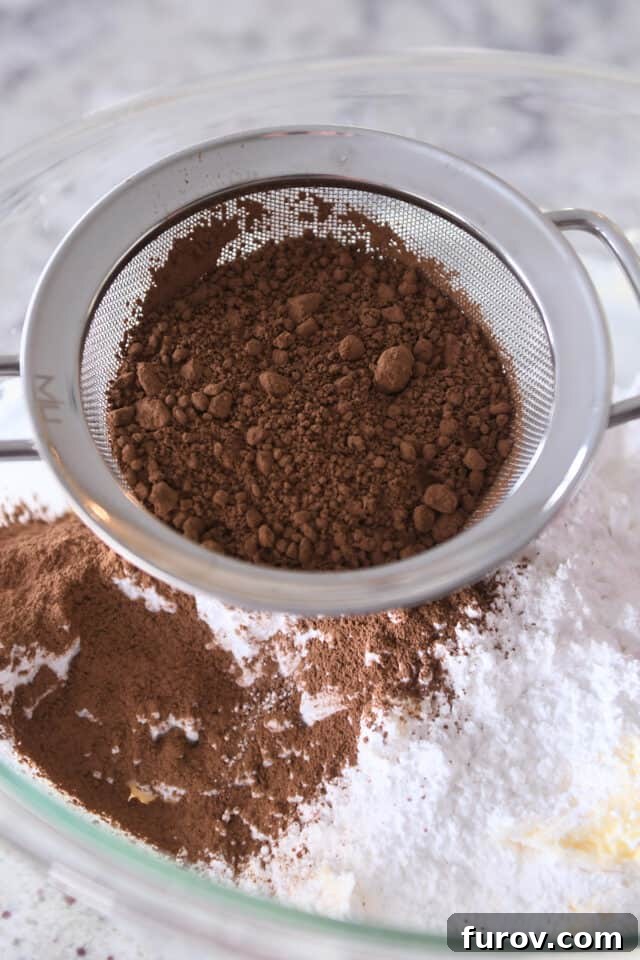
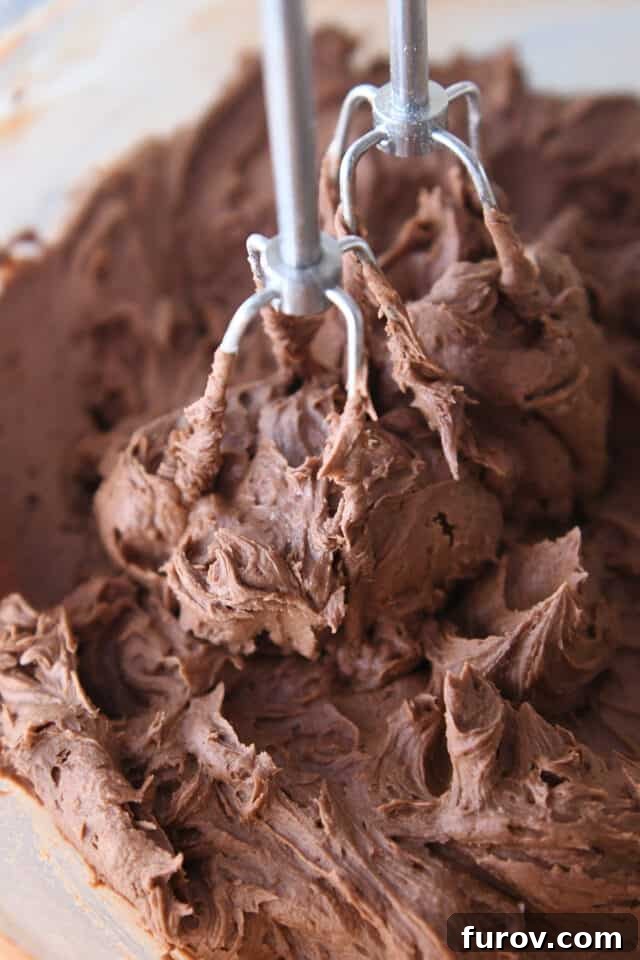
Initially, as you begin to combine the ingredients, the mixture might appear somewhat disparate and lumpy, especially if you’re using a handheld electric mixer. However, with a bit of persistent mixing and the gradual addition of milk, it will beautifully transform into a homogeneous, creamy, and undeniably perfect chocolate frosting.
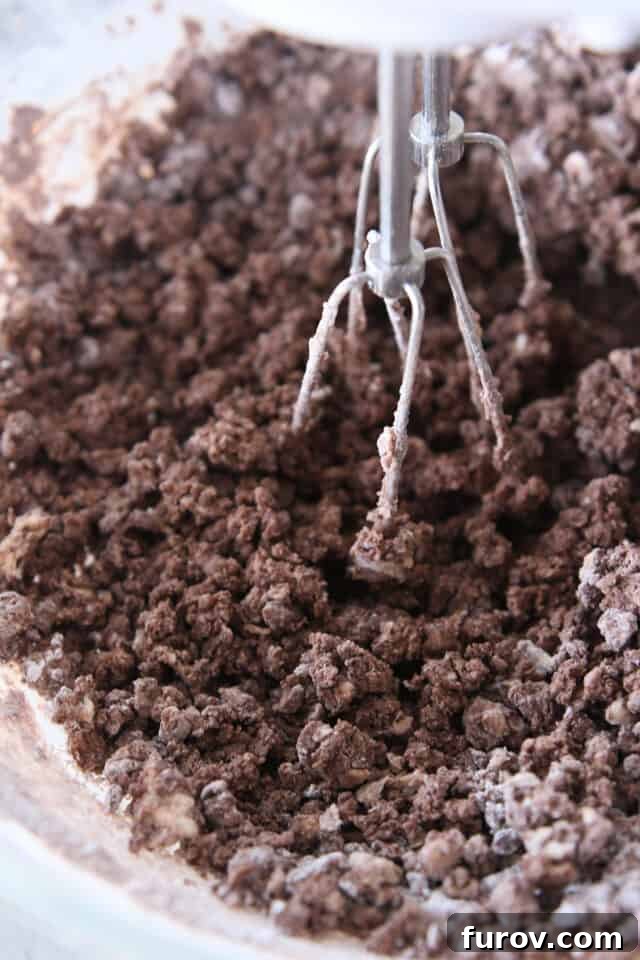
The Second Key to Perfection: Embrace Milk Over Heavy Cream
The second counter-intuitive yet highly effective secret for this flawless frosting is to **opt for regular milk instead of heavy cream.**
It’s a natural assumption to think that heavy cream would enhance the creaminess of frosting, leading to a richer result. However, my extensive trials revealed a surprising outcome: heavy cream consistently imparted a slightly curdled or grainy texture to the buttercream. This unwanted texture compromise diminished the smooth, velvety mouthfeel we’re striving for.
Utilizing milk, preferably full-fat or 2% milk, allows the frosting to be mixed for an extended period. This prolonged mixing is crucial for incorporating ample air, resulting in an exceptionally fluffy and light buttercream, all without the risk of it becoming strange, greasy, or curdled. The milk provides just the right amount of liquid to loosen the frosting and aid in its emulsification, ensuring a stable and delightful consistency.
The Third Pro-Tip: Eliminate Air Bubbles for a Silky Finish
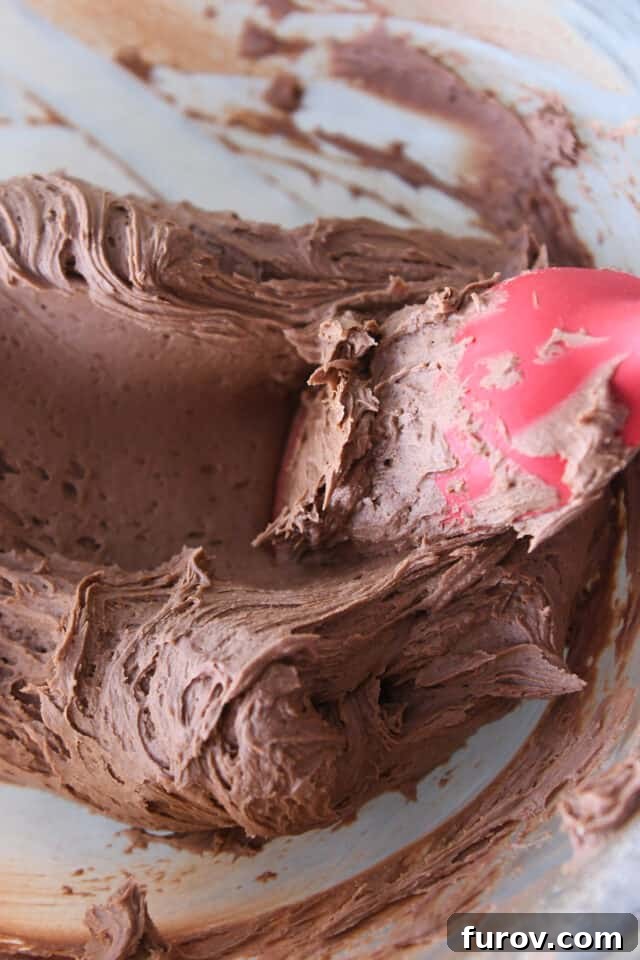
Our third secret ensures your frosting boasts a professional, impeccably smooth appearance: **press out any lingering air bubbles with a silicone spatula.**
It’s entirely normal for air bubbles to form as the frosting mixes and churns, especially during the several minutes required to achieve its light and fluffy consistency. Once your chocolate buttercream is fully mixed, you might notice tiny air pockets, which, while not affecting taste, can impact the visual appeal.
To achieve that perfectly smooth, pipe-ready or spreadable texture, simply take a large, sturdy silicone spatula. Begin to fold the frosting over itself in generous scoops, pressing down firmly as you go. Repeat this motion several times, working the frosting against the sides of the bowl. This action effectively bursts and eliminates most of the trapped air bubbles, leaving you with a gorgeously smooth and uniform buttercream that’s a joy to work with.
A Versatile and Decadent Chocolate Frosting for Every Occasion
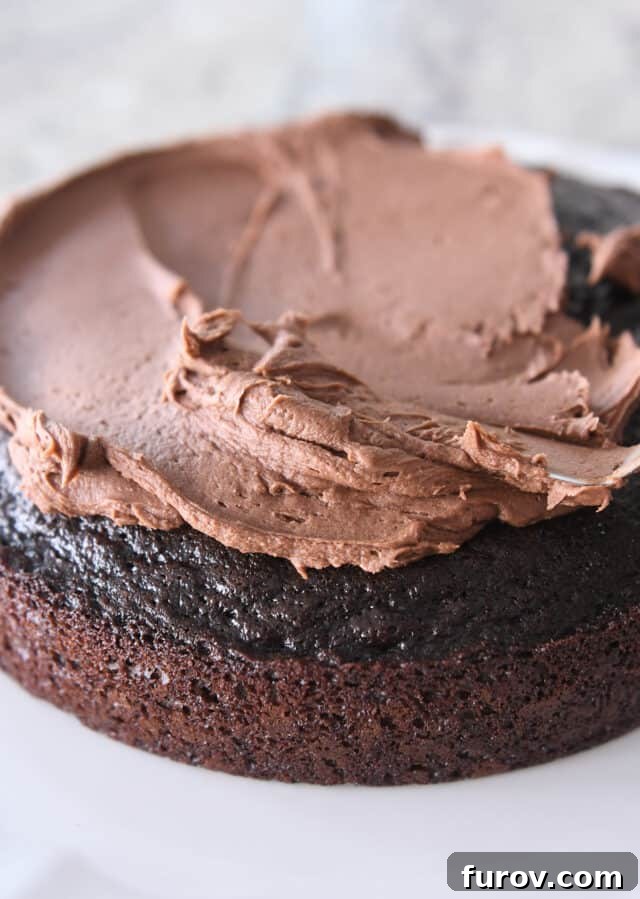
This remarkable chocolate buttercream frosting truly is a universal crowd-pleaser, ideal for adorning everything from elegant cakes and delightful cupcakes to festive cookies and beyond. Its unique combination of being super light, exquisitely creamy, and brimming with rich, bold chocolate flavor makes it unparalleled.
Regarding your chocolate flavor preference, this recipe is adaptable. You can confidently use either **natural, unsweetened cocoa powder** or **Dutch-process cocoa powder.** For those desiring a darker, more intensely rich flavor and a deeper, more sophisticated color, Dutch-process cocoa is an excellent choice. However, if you prefer a classic, bright chocolate taste and a lighter hue, natural unsweetened cocoa powder (such as the readily available Hershey’s brand) works beautifully, as depicted in the photos throughout this post.
And remember, there’s absolutely no judgment from us if you find yourself whipping up a batch of this next-level delicious frosting only to enjoy it straight from the spoon, or perhaps slathered generously onto humble graham crackers for a quick, indulgent treat. Sometimes, simplicity is the ultimate luxury.
Perfect Chocolate Buttercream Frosting
5
-6 cups frosting
20
mins
20
mins
Pin
Rate
Ingredients
- 1 cup (227 g) butter, softened to room temperature (I use salted butter)
- 3 ¾ cups (428 g) powdered sugar
- ½ cup (43 g) natural, unsweetened or Dutch-process cocoa powder (see note)
- Pinch salt
- 1 teaspoon vanilla extract
- 4 tablespoons milk (preferably not skim)
Instructions
-
With a handheld electric mixer or in the bowl of a stand mixer fitted with the paddle or whisk attachment, mix the softened butter until light and creamy, 1-2 minutes. Scrape down the sides of the bowl as needed.
-
Add the powdered sugar. Sift the cocoa powder into the bowl.
-
Add the salt, vanilla, and 2 tablespoons of the milk.
-
Mix on low speed, scraping down the sides of the bowl as needed, until the ingredients are mostly combined. The frosting may appear clumpy – it will smooth out with additional milk/cream and more mixing.
-
Add 1-2 tablespoons of the remaining milk, increase the speed to medium, and continue mixing for 1-2 minutes until the frosting is creamy and fluffy, scraping down the sides of the bowl as needed.
-
Add additional milk for softer frosting, or add more powdered sugar for thicker frosting.
-
Press through the frosting with a silicone spatula to get rid of air bubbles, if needed. Use the frosting immediately (this is preferred), or store in the refrigerator, covered, for several days. If using out of the refrigerator, add 1-2 teaspoons milk and beat with a mixer until creamy.
Notes
Frosting Consistency: This versatile frosting can be effortlessly spread with an offset spatula for smooth layers or piped elegantly using a large piping tip for decorating cupcakes and cakes. If your intention is to pipe the frosting, consider adding slightly less milk to ensure it maintains a firmer, more stable consistency.
Heavy Cream vs. Milk: During my recipe development, substituting heavy cream for milk consistently led to a slightly curdled texture in the frosting. For this particular recipe, I strongly recommend using milk. Milk allows the frosting to withstand longer mixing times, which is essential for achieving that light, fluffy, and creamy texture without any curdling or greasiness.
Mel Gunnell
Dessert
American
No-Bake