
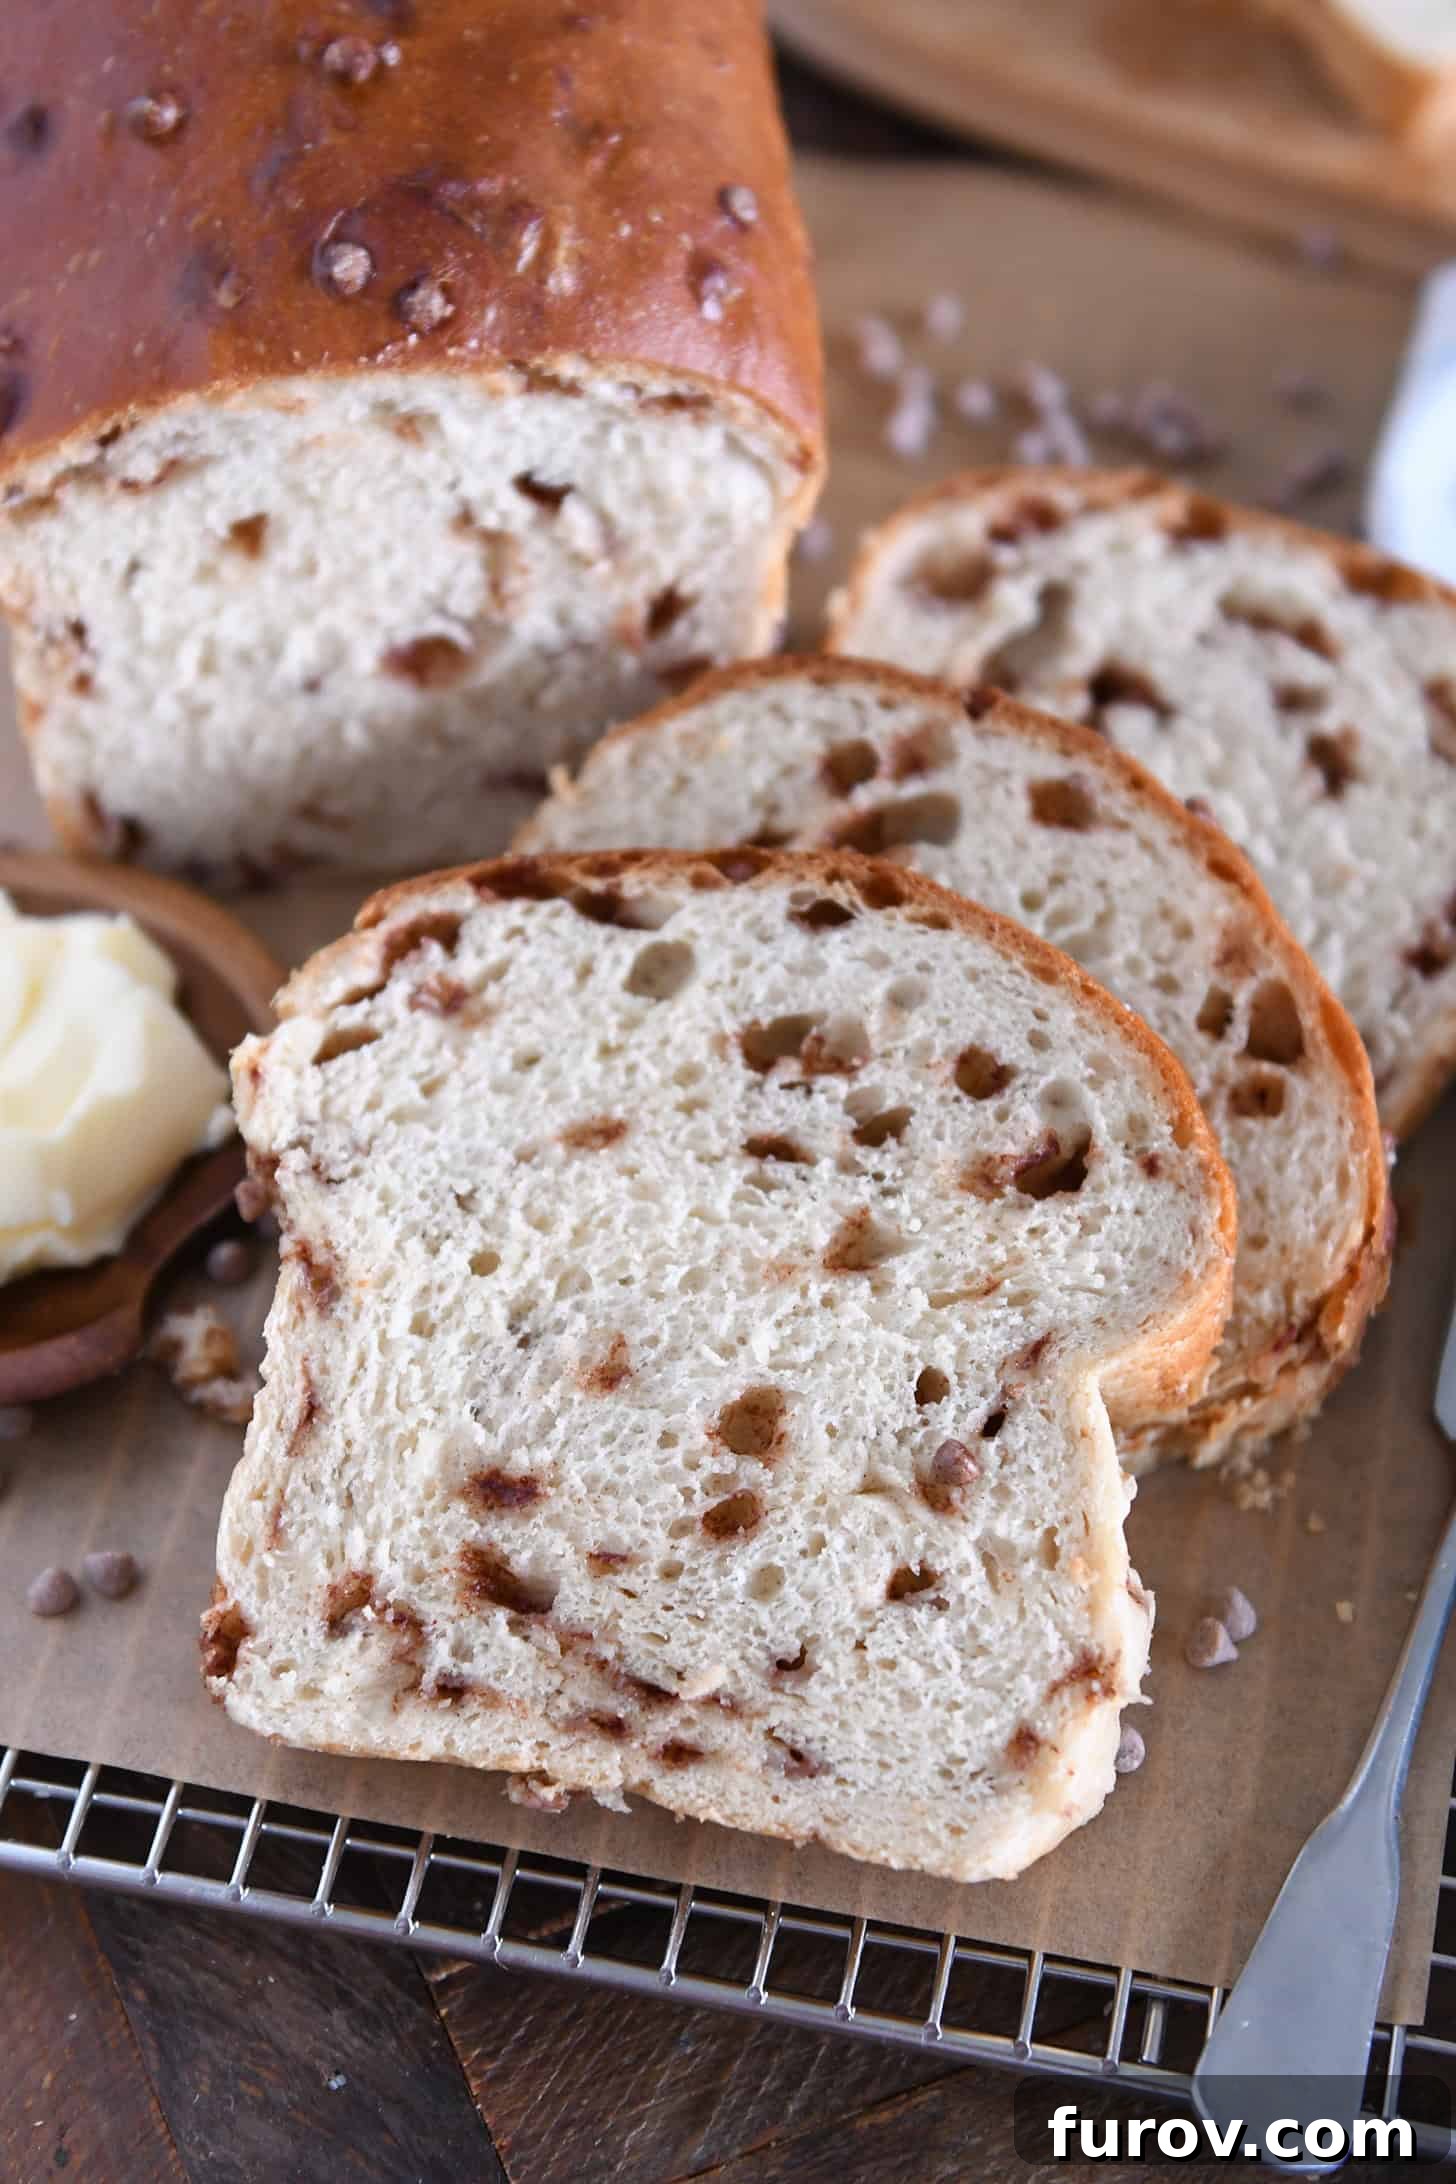
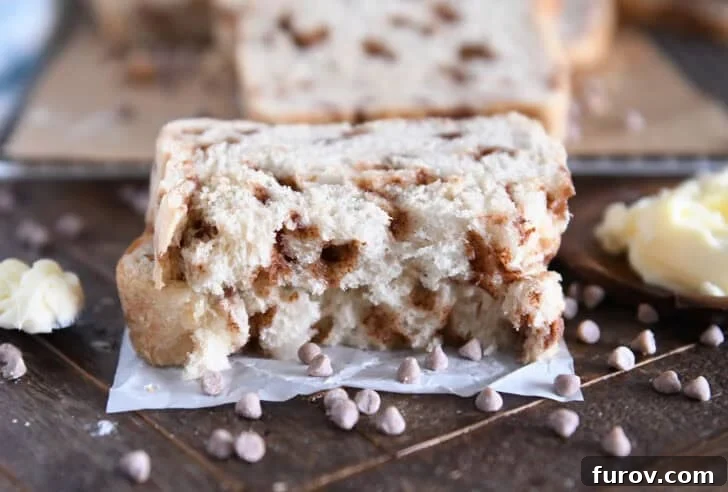
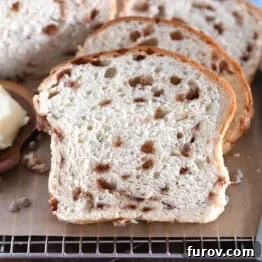
Welcome to the enchanting world of homemade baking, where the aroma of freshly baked goods transforms your kitchen into a haven of warmth and comfort. Today, we’re diving into a beloved classic: the soft and tender Cinnamon Burst Bread. This delightful yeast bread recipe is generously studded with mini cinnamon chips, creating pockets of sweet, spicy bliss in every bite. Lightly sweet and utterly delicious, it’s particularly divine when toasted, making it the perfect start to any day or a comforting treat any time.
If you’ve ever savored the famous Cinnamon Burst Bread from Great Harvest Bakeries, you’ll instantly understand the excitement of creating a homemade version that rivals, or even surpasses, the original. The best part? This recipe is surprisingly straightforward, making that dream a delicious reality right in your own kitchen.
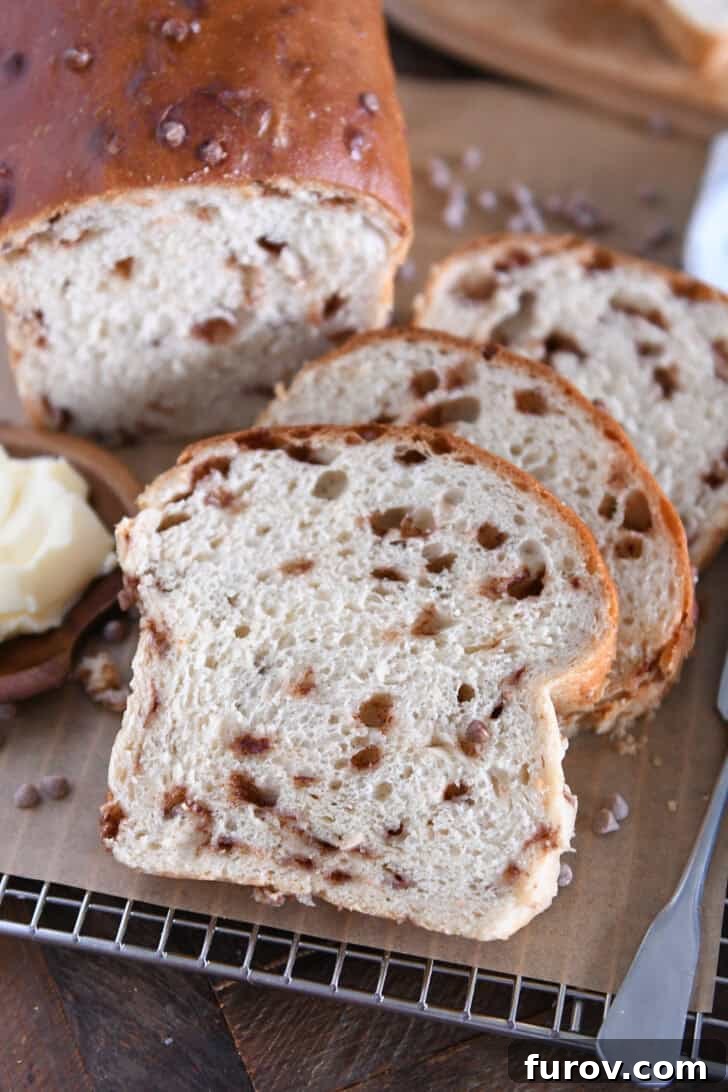
Why This Homemade Cinnamon Bread is an Absolute Must-Bake
Beyond the irresistible appeal of its name, this homemade cinnamon bread offers a multitude of reasons to become your next baking obsession. Prepare to fall in love with a bread that promises more than just a delightful flavor.
- An Unforgettable Aroma Fills Your Home: As this bread bakes, your entire house will be enveloped in the most incredible, warm, and inviting scent of cinnamon. This delightful aroma lingers for hours, creating an atmosphere that is truly comforting and welcoming. It’s an experience in itself, promising deliciousness long before the first slice is cut.
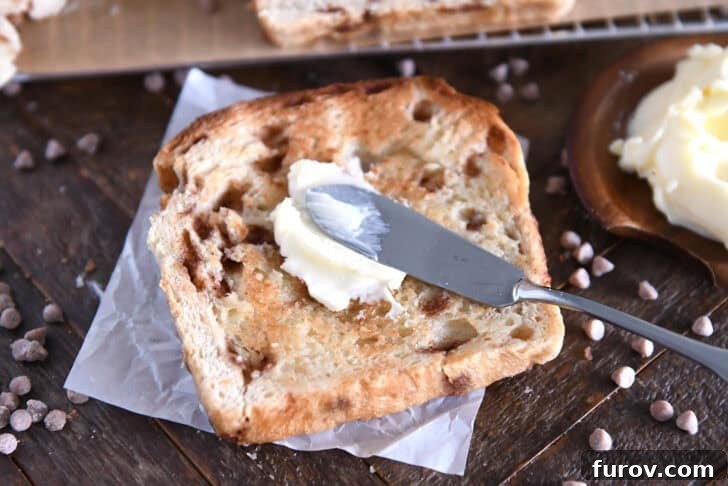
- Transforms Everyday Toast into a Culinary Delight: Prepare to have your breakfast routine elevated forever. Slices of this lightly sweet bread, when toasted to perfection and slathered with butter, become an incomparable treat. The slight crispness, the tender interior, and the melted cinnamon bursts create a symphony of textures and flavors that will ruin you for ordinary toast.
- The Foundation for the Best French Toast Imaginable: Don’t limit this bread to simple toast! Thick-cut slices of this Cinnamon Burst Bread are a revelation when transformed into French toast. Whisk together two large eggs with 1/2 to 3/4 cup of milk and a splash of vanilla extract. Dip the bread slices into this rich mixture, ensuring they’re fully coated, then cook them on a hot, buttered skillet or griddle until golden brown and cooked through. The results are nothing short of spectacular, with every bite offering a delightful blend of custardy goodness and warm cinnamon spice.
- A Rewarding Baking Project for All Skill Levels: Whether you’re a seasoned bread baker or just starting your journey with yeast doughs, this recipe is incredibly forgiving and straightforward. Its clear steps and reliable results make it perfect for beginners seeking a successful first loaf, while experienced bakers will appreciate its simplicity and consistent deliciousness. It’s an accessible recipe that guarantees a bakery-quality product every time.
Essential Ingredients for Your Cinnamon Burst Bread
Creating this irresistible bread relies on a few key ingredients, each playing an important role in achieving its signature soft texture and delightful flavor. While most items are pantry staples, here are some important notes and clarifications to ensure your baking success:
- Flour: You have flexibility here! Both all-purpose flour and bread flour work beautifully, or you can use a combination of the two. Bread flour, with its higher protein content, will yield a slightly chewier crumb and a fluffier, more structured texture, which can be particularly satisfying. All-purpose flour will result in a softer, more delicate loaf. Feel free to experiment to find your preferred texture.
- Yeast: This recipe is designed to work seamlessly with both instant yeast and active dry yeast. No special modifications or changes are needed, regardless of which type you use. If using active dry, ensure your water is warm enough to activate it, but the recipe accounts for this.
- Water: The temperature of your water is crucial for activating the yeast properly. Aim for warm water that registers between 105 to 110 degrees F (40-43 degrees C) on an instant-read thermometer. If you don’t have a thermometer, the water should feel comfortably warm to your fingers – similar to a warm bath – but not hot enough to cause discomfort or make you pull your hand away. Water that’s too cold won’t activate the yeast, and water that’s too hot can kill it.
- Oil: A neutral-flavored oil is best here to let the cinnamon shine through. Excellent choices include avocado oil, grapeseed oil, vegetable oil, or canola oil. The oil contributes to the bread’s tender crumb and helps keep it moist.
- Egg: The addition of a large egg enriches the dough, contributing to a softer, more tender crumb and a beautiful golden crust. If you need to make this recipe egg-free due to allergies, you can omit the egg. The bread will still be delicious, though it might be slightly airier and not quite as rich or soft.
- Mini Cinnamon Chips: These are the star of our Cinnamon Burst Bread! Mini cinnamon chips or cinnamon baking bits are highly recommended over larger cinnamon chips (like those from Hershey’s brand). Their smaller size ensures better distribution throughout the dough and minimizes issues with sinking or melting too much during baking. More information on sourcing these delightful morsels is provided below.
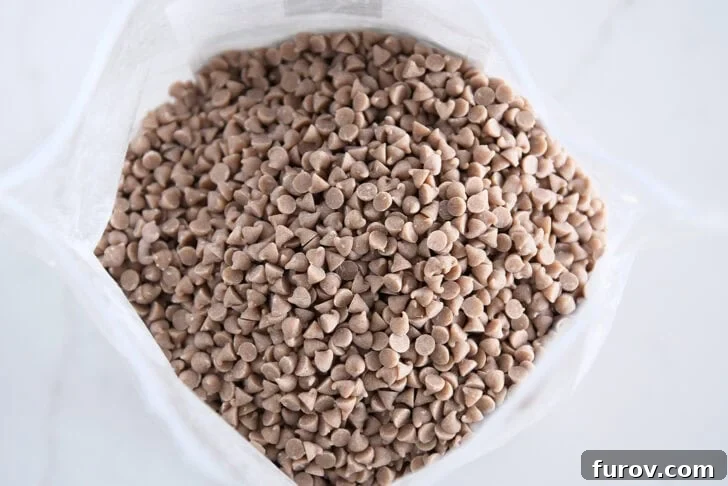
Sourcing the Perfect Mini Cinnamon Chips
Finding the right cinnamon chips can make all the difference in achieving that true “burst” effect. Here are my top recommendations for where to find the best cinnamon chips for this recipe:
- Cinnamon Chips from Orson Gygi: I consistently find that the flavor and performance of these chips are excellent. They hold their shape well and provide that distinct cinnamon punch without overpowering the bread.
- Cinnamon Chips from Prepared Pantry: I have used these with great success in the past. They also maintain their integrity during baking and deliver a wonderful cinnamon flavor throughout the loaf.
- Cinnamon Chips from Amazon: While I haven’t personally tried this specific brand, a loyal reader enthusiastically recommended them, noting that the store is locally owned and operated near her, and the cinnamon chips are fantastic. UPDATE: Please note that a few other readers have reported that these chips tend to melt into the bread rather than retaining their distinct chip shape. If you choose this brand, I highly recommend adding the cinnamon chips during the last 30 to 45 seconds of the kneading time. This minimizes their exposure to the warm dough, helping them maintain their form.
While the Hershey’s brand of cinnamon chips might be more readily available in local grocery stores, I advise using them with certain reservations. Many bakers have noted that these chips can “bleed” an orange color when baked, potentially altering the aesthetic of your bread. They also tend to clump together or sink to the bottom of the loaf, and some find their flavor to be more artificial compared to other brands. If Hershey’s is your only option, a rough chop before adding them to the dough can help distribute them more evenly and potentially mitigate some of these issues.
If you find yourself unable to source cinnamon chips online or in stores, don’t despair! This homemade recipe for cinnamon bits looks like a promising alternative that could yield excellent results for your homemade cinnamon bread.
Crafting and Shaping Your Delicious Cinnamon Burst Bread Loaves
The process of making and shaping this wonderful bread is an enjoyable journey. Follow these detailed steps to create perfectly baked loaves:
- Initial Mixing and Activation: In the large bowl of a stand mixer equipped with the dough hook, combine three cups of the all-purpose or bread flour with the granulated sugar and yeast. Give these dry ingredients a quick mix to combine them evenly. Next, pour in the warm water (105-110°F). Mix until a shaggy dough forms and all the dry ingredients are moistened. Cover the bowl loosely with a clean kitchen towel or plastic wrap and allow the mixture to rest for 10 to 15 minutes. This crucial step allows the yeast to activate and begin its magic, developing flavor and strength in the dough.
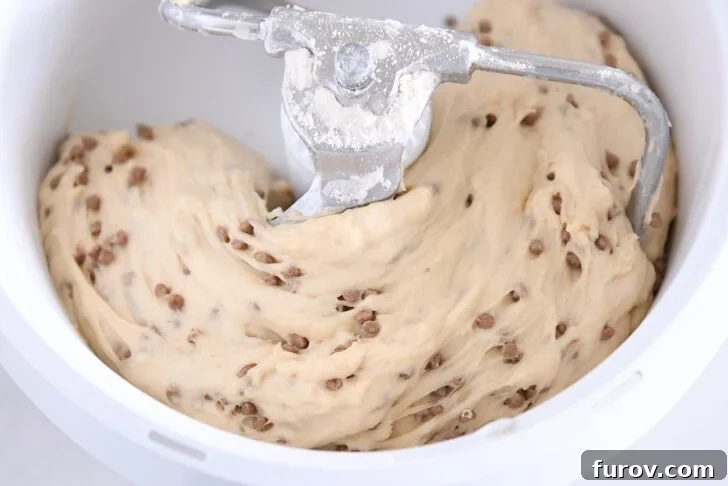
- Adding Remaining Ingredients and Kneading: After the initial rest, add the neutral-flavored oil, the large egg, and the table salt to the bowl. Incorporate one more cup of flour, along with the mini cinnamon chips. Begin mixing on medium-low speed. Gradually add the remaining flour, about 1 1/2 cups more, a little at a time, until the dough begins to clear the sides of the bowl. The exact amount of flour can vary based on humidity, altitude, and how accurately you measure, so trust the feel and appearance of your dough more than the exact quantity. It should be soft, slightly tacky, but not sticky.
- Develop the Dough: Once the dough has come together, increase the mixer speed to medium and knead for 4 to 5 minutes. The dough should become smooth, elastic, and pass the “windowpane test” (where you can stretch a small piece thin enough to see light through it without tearing).
- First Rise (Bulk Fermentation): Transfer the kneaded dough to a lightly greased bowl, turning it once to coat all sides with oil. Cover the bowl with plastic wrap or a clean kitchen towel. Place it in a warm, draft-free spot and let the dough rise until it has doubled in size, which typically takes about an hour, depending on your kitchen’s temperature. This primary rise develops most of the bread’s flavor and texture.
- Prepare Loaf Pans: While the dough is on its first rise, lightly grease two standard 8 1/2 x 4 1/2-inch loaf pans with cooking spray or butter. Set them aside, ready for the shaped dough.
- Divide and Shape the Dough: Once the dough has doubled, gently turn it out onto a lightly greased counter. Avoid adding too much extra flour, as this can make the bread tough. Using a bench scraper or sharp knife, divide the dough into two equal pieces.
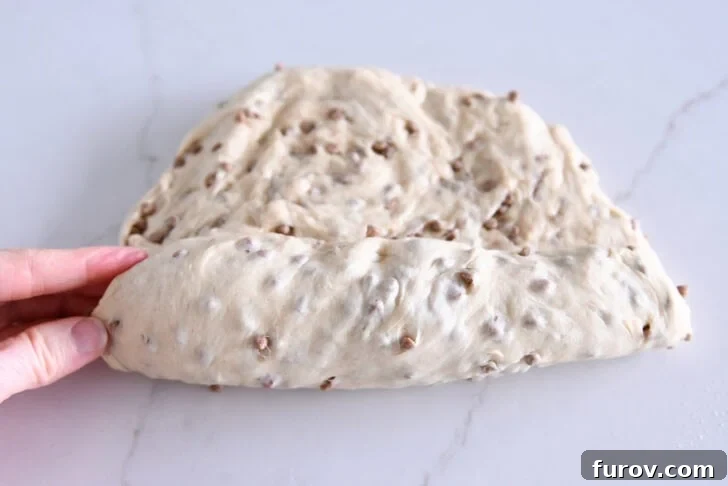
- Forming the Loaves: Take one piece of dough and gently pat it into a thick square, roughly 9 inches across. Be gentle to avoid deflating too much of the air. Starting from one end, tightly roll up the dough into a log shape, working to ensure there are no large air pockets. Do not stretch the dough as you roll. Once rolled, tuck the ends under and firmly pinch all the seams closed to seal the log tightly. Repeat with the second piece of dough.
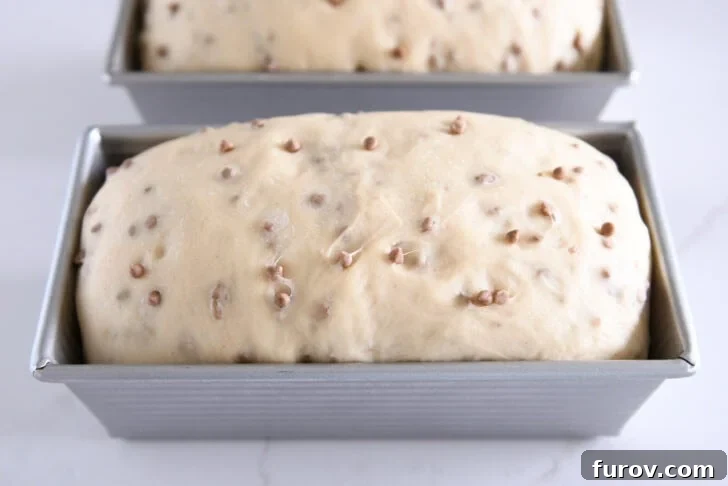
- Second Rise (Proofing): Carefully place each shaped dough log seam-side down into the prepared loaf pans. Cover the pans loosely with plastic wrap or a clean kitchen towel. Let the dough rise again in a warm spot until it rises just above the edge of the pan, about 1/2 inch. It’s crucial not to let the dough over-proof at this stage, as this dough has a significant “oven spring” and can become too tall or airy if over-risen before baking.
- Preheat Oven: During the second rise, preheat your oven to 350 degrees F (175 degrees C). Ensure your oven rack is positioned in the middle for even baking.
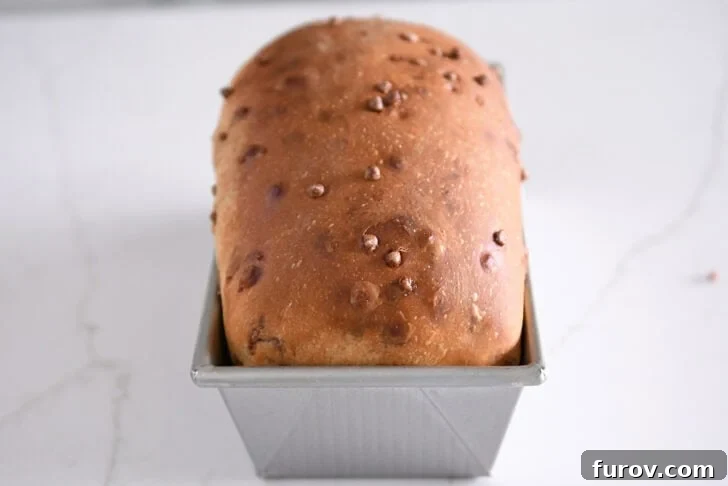
- Bake to Golden Perfection: Bake the loaves for 32 to 35 minutes, or until the tops are golden brown and the bread is baked through. To confirm doneness, an instant-read thermometer inserted into the center of the bread should register 195 degrees F (90.5 degrees C).
- Finishing Touch and Cooling: As soon as the loaves come out of the oven, carefully invert them onto a wire cooling rack. While still warm, brush the tops generously with melted butter. This adds a beautiful sheen, enhances flavor, and helps keep the crust soft. Allow the bread to cool completely on the rack before slicing and serving. Cooling completely is important for the crumb to set and for easier, cleaner slices.
This recipe for Cinnamon Burst Bread yields two generous loaves, perfect for sharing or enjoying throughout the week. The recipe is incredibly versatile and can be easily doubled to make four loaves for larger gatherings or halved for a single, smaller loaf. If you opt to halve the recipe and need half an egg, simply whisk one large egg in a small bowl and use approximately half of it (about 25 grams by weight).
Handy Tips for Perfect Cinnamon Burst Bread Every Time
To ensure your homemade cinnamon bread turns out perfectly, consider these additional notes and expert tips:
- Freezing for Future Enjoyment: This bread freezes exceptionally well, making it ideal for meal prep or saving a loaf for later. Once the bread has cooled completely to room temperature, wrap it tightly in plastic wrap, then an additional layer of aluminum foil. This double layer protects against freezer burn. It can be frozen for up to 2-3 months. To thaw, simply unwrap and let it sit at room temperature for several hours, or gently warm slices in a toaster or oven.
- The Magic of Melting Cinnamon Chips: During the baking process, the mini cinnamon chips nestled within the dough will melt slightly, creating delightful pockets of gooey, cinnamony-sweet yumminess throughout the bread’s interior. This is a key characteristic of “burst” bread. The chips on the very top crust, however, tend to retain their shape more due to direct heat exposure. This is why brushing the hot loaves with melted butter straight out of the oven is beneficial – it helps soften those top chips and adds another layer of buttery goodness to the crust.
- Preventing Over-Proofing: Pay close attention to the second rise in the loaf pans. It’s important not to let the dough rise too high before baking. This dough has quite a bit of “oven spring,” meaning it will expand significantly when it hits the hot oven. If it over-proofs before baking, the final texture can become too tall, airy, or even collapse in the center, leading to a less desirable crumb structure. Aim for the dough to rise about 1/2 inch above the pan’s edge for the best results.
While I’ve waxed poetic about the merits of this Cinnamon Burst Bread transformed into extraordinary toast and the best French toast you’ll ever make, rest assured that it is equally spectacular eaten straight from the loaf. The sheer joy of tearing off a piece, warm and fragrant, is an experience in itself.
The little bursts of buttery, sweet cinnamon distributed throughout the fluffy, soft bread are, without exaggeration, one of the best things to happen to my kitchen lately. I’ve always cherished the nostalgic flavor of the cinnamon burst bread from Great Harvest bakery, and now, with this accessible and reliable recipe, I can recreate that same incredible experience any time I desire. (Perhaps a little too dangerous, if I’m being honest! 😉)
I am genuinely so excited for you to bake and experience this Cinnamon Burst Bread for yourself. It is truly incredible, a testament to the simple joys of homemade baking, and a recipe you’ll want to revisit again and again.
Cinnamon Burst Bread Recipe
Pin Recipe
Ingredients
- 5 ¼ to 5 ½ cups (745 to 781 g) all-purpose or bread flour, divided
- 2 tablespoons (27 g) granulated sugar
- 1 tablespoon instant or active dry yeast
- 1 ¾ cups (405 g) warm water, 105 to 110 degrees F.
- ¼ cup (49 g) neutral-flavored oil, like grapeseed, avocado, vegetable or canola oil
- 1 large egg
- 2 teaspoons table salt
- 1 ½ cups (270 g) mini cinnamon chips (see note)
- Butter, for brushing tops of loaves
Instructions
-
In the bowl of a stand mixer fitted with the dough hook, add 3 cups of the flour, sugar, and yeast. Mix briefly to combine. Add the warm water and mix until combined into a shaggy dough. Cover the bowl and let the mixture sit for 10 to 15 minutes to activate the yeast.
-
Add the oil, egg, salt, 1 more cup of flour, and the mini cinnamon chips. Mix on medium speed, continuing to gradually add the remaining flour (up to another 1 1/2 cups, more or less) until the dough clears the sides of the bowl. Always judge the dough by its look and feel – it should be soft and slightly tacky, but not overly sticky. Humidity and flour measurement can affect the exact amount needed.
-
Knead the dough for 4 to 5 minutes until it is smooth and elastic.
-
Transfer the dough to a lightly greased bowl, turning it once to coat. Cover the bowl with plastic wrap or a clean towel and let the dough rise in a warm spot until doubled in size, which usually takes about an hour.
-
Lightly grease two 8 1/2-X-4 1/2-inch loaf pans with cooking spray or butter. Set aside.
-
Turn the risen dough out onto a lightly greased counter and divide it into two equal pieces.
-
Press each piece of dough into a thick 9-inch square. Roll each square up tightly into a log, taking care not to stretch the dough. Turn the edges under and firmly pinch all the seams to seal the log securely.
-
Preheat your oven to 350 degrees F (175 degrees C). Ensure the oven rack is in the middle position.
-
Place the shaped loaves in the prepared pans. Cover and let them rise until the dough is about 1/2 inch above the top edge of the bread pans. It’s important not to let the dough over-proof at this stage, as it will have considerable oven spring.
-
Bake the loaves for 32 to 35 minutes, or until they are golden brown on top and thoroughly baked. An instant-read thermometer inserted into the center of the bread should register 195 degrees F (90.5 degrees C).
-
Once out of the oven, carefully turn the hot loaves out onto a wire cooling rack. Immediately brush the tops generously with melted butter. Allow the bread to cool completely on the rack before slicing and serving for the best texture and clean cuts.
Notes
The Hershey’s brand of cinnamon chips is more widely available in well-stocked grocery stores. However, I recommend them with reservations: 1) they are generally larger in size, so they will benefit from a rough chop before being incorporated into this recipe for better distribution, and 2) from past experience, their flavor can be a bit more artificial compared to the other brands mentioned above, and they tend to bleed an orange color when baked, which can affect the bread’s appearance.
Recommended Products
Recipe Source: Adapted from Mel’s Kitchen Cafe