Amazing and Foolproof Cream Puffs
For 48 mini cream puffs, Amazing and Foolproof Cream Puffs keeps the list centered on water, eggs and milk. Set aside about 55 minutes.
- Yield 48 mini cream puffs
- Ready in 55 minutes
- Prep 30 minutes
- Cook 25 minutes
Ingredients
Cream Puff Shells
- 1 cup water
- ½ cup ( 113 g ) salted butter
- 1 cup ( 142 g ) all-purpose flour
- 4 large eggs
Vanilla Cream Filling
- 2 cups milk , I use 2%
- ¼ cup ( 29 g ) powdered sugar
- 2 large egg yolks
- 1 large egg
- ¼ cup cornstarch
- ⅓ cup ( 38 g ) powdered sugar
- 2 tablespoons salted butter
- 1 teaspoon vanilla extract
Sweetened Whipped Cream
- 2 cups heavy whipping cream
- 2 tablespoons powdered sugar
- ¼ teaspoon vanilla extract
- Powdered sugar for sprinkling
Instructions
- Place an oven rack in the lower-middle position. Preheat the oven to 400 degrees F (decrease by 25 or 50 degrees if using a dark coated pan). Lightly grease a 24-cup mini muffin tin or a 12-cup regular muffin tin (you'll bake in two batches).
- In a medium saucepan, bring the water and butter to a simmer over medium heat. Reduce the heat to medium-low and add the flour, stirring with a wooden spoon or spatula until the mixture forms a ball.
- Scrape the warm mixture into a mixing bowl (or into the bowl of an electric stand mixer) and beat with a handheld electric mixer until the dough has cooled slightly, 1-2 minutes. Add the eggs, one at a time, beating constantly, until the mixture is thick and smooth.
- Scoop a heaping 1/2 tablespoon into each mini muffin tin (about 1/2 full) or a couple tablespoons into a regular muffin tin (again, about 1/2 full). A cookie scoop works great for this.
- Once the mini muffin cups are filled, wet your fingers with cold water and dab them on the top of the mounded dough to smooth out any rough spots and even out the dough (this will help them bake into a pretty rounded top).
- Bake for about 15-20 minutes for mini cream puffs and 25 minutes for regular cream puffs until the tops of the shells are lightly golden and they are baked all the way through (if there is any doughy moisture inside the shells add a few minutes so they don't collapse).
- Remove the pan from the oven and working quickly, use a thin wooden skewer to pierce the side of each cream puff; doing this will allow any steam to escape. Remove them from the tin and let them cool completely on a wire rack.
- Repeat the filling and baking process with the remaining dough.
- For the vanilla cream filling, in a medium saucepan, bring the milk and 1/4 cup powdered sugar to a simmer. Meanwhile, in a medium bowl, whisk together the egg yolks, egg, cornstarch and 1/3 cup powdered sugar. Slowly ladle or drizzle in the hot milk mixture to the bowl while whisking constantly (this tempers the eggs so they don't curdle and cook into hard bits). Return the mixture to the saucepan and cook over medium heat, stirring and/or whisking constantly, until the mixture bubbles and thickens.
- Remove from the heat and stir in the butter and vanilla.
- Pour the mixture through a fine mesh strainer (this part is optional but can help remove any lumps) into a clean bowl. Press plastic wrap directly on the top and refrigerate until cold. The vanilla cream filling can be made up to a week in advance.
- For the sweetened whipped cream, whip the heavy cream with the powdered sugar and vanilla to stiff peaks (I like to use my Blendtec for whipping cream; super simple and takes just a minute or two).
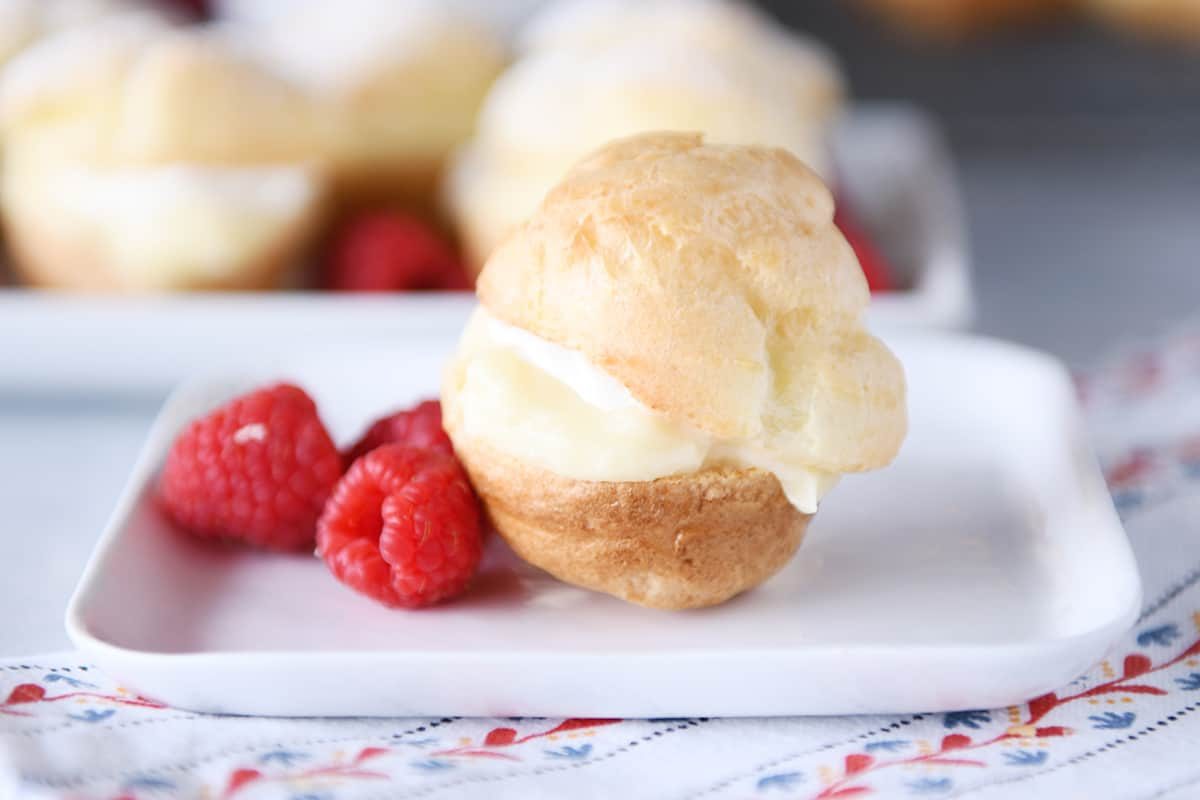
- Split each cooled cream puff shell in half right at the seam where the puffy top meets the smooth bottom. Spoon vanilla cream into the bottom of each shell and top with a dollop of sweetened whipped cream and place the top back on. Lightly dust all the cream puffs with powdered sugar.
- The cream puffs can be fully assembled up to a day in advance (they actually taste better if assembled ahead of time).
Let the pie cool until the filling holds a slice.