
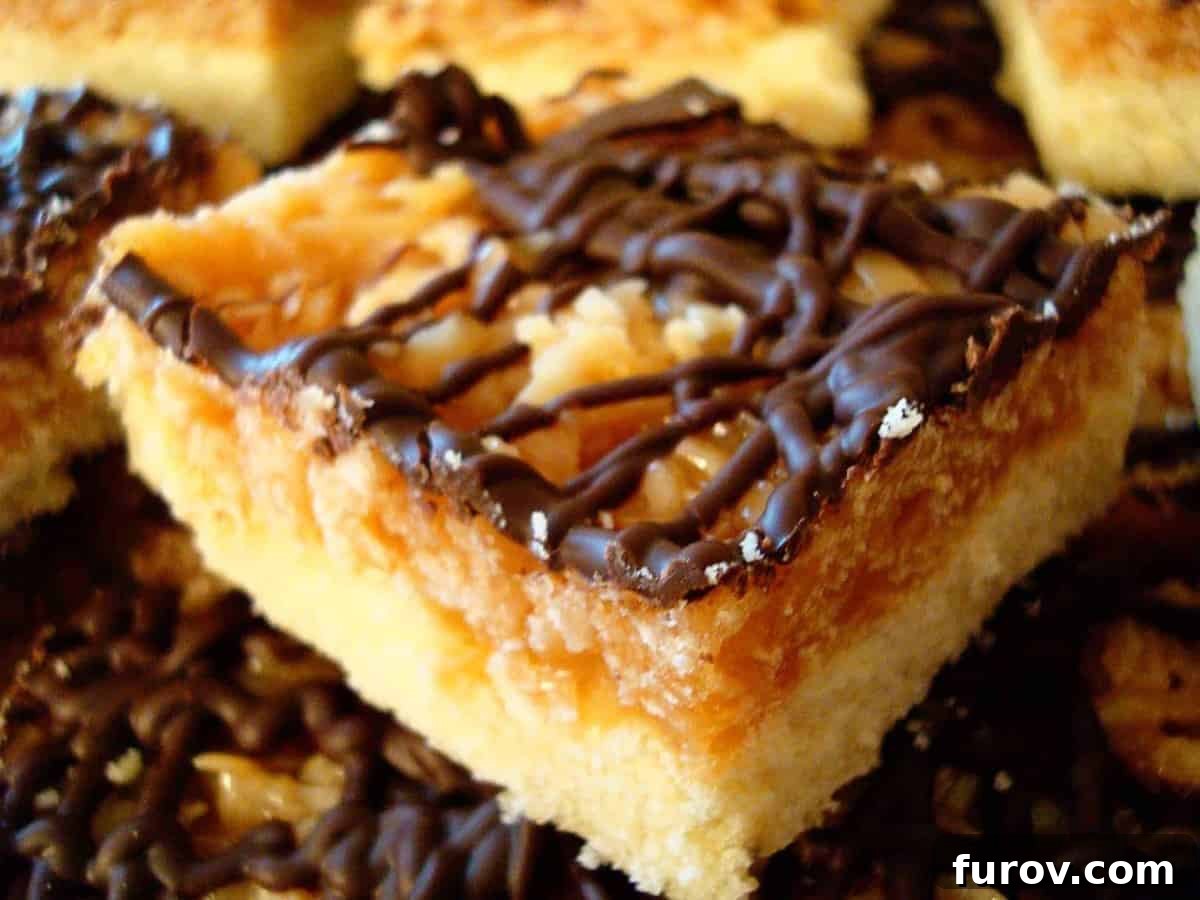
Irresistible Homemade Samoas Bars: Your Favorite Girl Scout Cookie, Reimagined!
Craving the iconic taste of Girl Scout Samoas? Look no further! These delectable Samoas bars offer all the beloved flavors of toasted coconut, gooey caramel, rich chocolate, and buttery shortbread in an easy-to-make, everyday brownie-style format. Get ready to fall in love with your new favorite dessert!
Few treats evoke as much nostalgia and joy as Girl Scout Samoas cookies. Their unique blend of crispy shortbread, sweet caramel, toasted coconut, and a drizzle of dark chocolate is truly a masterpiece. But why wait for cookie season when you can enjoy this sensational flavor profile year-round? Our homemade Samoas Bars capture the essence of this beloved classic, transforming it into a convenient and incredibly satisfying dessert bar that’s perfect for any occasion.
These bars are more than just a simple “knock-off”; they are a heartfelt tribute to the original, designed for maximum flavor with minimal fuss. While the traditional Samoas cookie features a ring shape with chocolate coating on the bottom and a drizzle on top, our bar format simplifies the process, allowing you to enjoy those distinct layers of flavor without the intricate shaping. Many prefer a simple chocolate drizzle over the entire top, which still delivers that essential chocolatey finish. The result is a fantastically tasty treat that disappears quickly whenever it’s served!
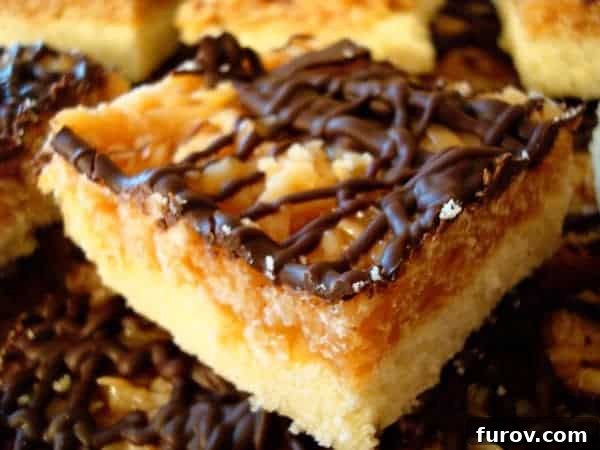
Why Make Your Own Samoas Bars?
There are several compelling reasons to whip up a batch of these homemade Samoas Bars:
- Year-Round Enjoyment: Girl Scout cookies are seasonal. With this recipe, you can satisfy your Samoas cravings any time of the year.
- Customization: You control the ingredients. Want more toasted coconut? A thicker caramel layer? Prefer milk chocolate over dark? The power is in your hands!
- Freshness and Quality: Homemade always tastes better. You’ll use fresh butter, real chocolate, and perfectly toasted coconut for an unparalleled flavor experience.
- Impressive Dessert: These bars have a “wow” factor. Their layered appearance and complex flavors make them look and taste like they came from a gourmet bakery, yet they’re surprisingly achievable for home bakers.
- Perfect for Sharing: Whether for a potluck, a party, or simply as a thoughtful gift, these bars are always a crowd-pleaser and ideal for sharing.
The Anatomy of a Perfect Samoas Bar
Each component of these Samoas Bars plays a crucial role in creating their signature flavor and texture. Understanding each layer helps appreciate the magic behind this dessert.
1. The Buttery Shortbread Base
The foundation of our Samoas Bars is a tender, buttery shortbread crust. This isn’t just any crust; it’s designed to be sturdy enough to hold the rich toppings yet crumbly and delicate in taste. Made with simple ingredients like sugar, softened butter, an egg, vanilla extract, all-purpose flour, and a pinch of salt, this base bakes up to a perfect golden hue. Its slightly crumbly texture provides a delightful contrast to the gooey caramel and chewy coconut above it, mimicking the beloved crunch of the original cookie.
2. The Golden Toasted Coconut Layer
Perhaps the most distinctive flavor of a Samoas cookie comes from its toasted coconut. This step is absolutely non-negotiable and transforms ordinary shredded coconut into something truly extraordinary. Toasting the coconut amplifies its natural sweetness, deepens its flavor, and gives it a lovely golden color and a satisfyingly chewy, slightly crisp texture. It brings an unparalleled aromatic quality that makes these bars unmistakably Samoas-like. Don’t skip this step – it’s worth every minute!
3. The Irresistible Caramel Blend
Binding the toasted coconut to the shortbread base is a luscious, chewy caramel layer. Our recipe cleverly uses good-quality, pre-packaged chewy caramels, which significantly cuts down on prep time without sacrificing flavor. Melted gently with a touch of milk and salt, this caramel becomes perfectly smooth and ready to envelop the toasted coconut. While you could make your own caramel from scratch, using store-bought caramels makes this recipe much more accessible for a weeknight treat or when time is of the essence. This gooey layer is the heart of the Samoas bar, delivering that rich, buttery sweetness that everyone loves.
4. The Decadent Chocolate Finish
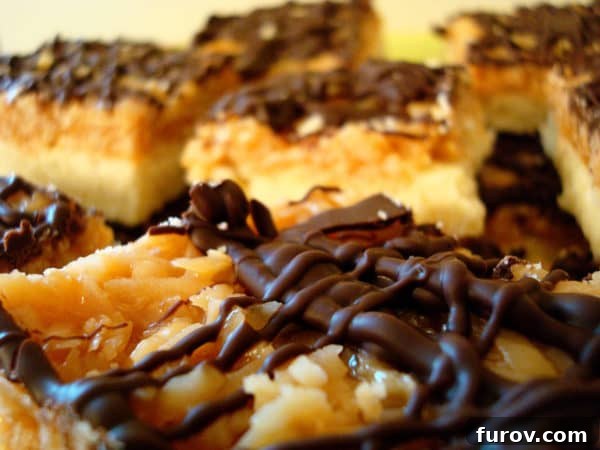
No Samoas experience is complete without chocolate. These bars are finished with a generous drizzle of melted dark or semisweet chocolate. The original Girl Scout cookie features chocolate dipped on the bottom and drizzled on top, which can be replicated if you’re feeling ambitious. However, for a simpler approach, a beautiful zigzag drizzle across the entire top of the bars provides ample chocolate flavor and a stunning presentation. The bittersweet notes of the dark chocolate perfectly balance the sweetness of the caramel and coconut, creating a harmonious symphony of flavors.
Crafting Your Samoas Bars: A Step-by-Step Culinary Journey
While the recipe involves a few distinct layers, each step is straightforward and manageable. The key to success lies in proper preparation and allowing each layer to cool and set appropriately.
Preparation and Baking the Shortbread Crust
Begin by preheating your oven to 350°F (175°C) and preparing a 9×13-inch baking pan. Lightly grease it or, even better, line it with parchment paper, leaving an overhang on the sides for easy removal later. This little trick makes lifting the entire batch of bars out of the pan a breeze. In a large bowl, cream together the sugar and softened butter until the mixture is light and fluffy. This aeration is important for a tender crust. Beat in the egg and vanilla extract until well combined. Gradually add the all-purpose flour and salt, mixing on low speed until the mixture resembles wet sand. It won’t form a cohesive dough at this stage, and that’s exactly what you want. Press this crumbly dough evenly into the prepared pan, ensuring it forms a compact layer. Bake for 20-25 minutes, or until the edges are lightly golden brown and the base is set. Once baked, transfer the pan to a wire rack and let the crust cool completely. Patience here is crucial; a fully cooled crust prevents the caramel layer from melting into it.
Toasting the Coconut – The Secret to Authentic Flavor
While the crust cools, prepare your toasted coconut. Preheat your oven to a lower temperature, around 300°F (150°C). Spread the shredded coconut evenly on a parchment-lined baking sheet (one with sides is ideal to prevent spillage). Toast for about 20-25 minutes, stirring every 5 minutes, until the coconut turns a beautiful golden brown. Keep a close eye on it, as coconut can go from perfectly toasted to burnt very quickly. Once golden, remove from the oven and continue stirring occasionally on the baking sheet as it cools to prevent residual heat from burning it. This step is vital for the signature Samoas flavor!
Assembling the Caramel-Coconut Topping
Next, unwrap your good-quality chewy caramels and place them in a large microwave-safe bowl. Add the milk and a pinch of salt. Microwave on 50% power for 1-2 minutes, stirring every 30-45 seconds. Stirring helps the caramels melt smoothly and prevents them from scorching. Once the caramel is completely smooth and liquid, gently fold in the cooled toasted coconut using a spatula. This creates a thick, sticky, and wonderfully aromatic topping. Now, spoon dollops of this glorious caramel-coconut mixture all over the cooled shortbread base. Using your spatula (or even your clean hands, which often works best for even distribution), spread the topping into a uniform layer across the entire crust.
Setting, Cutting, and Finishing with Chocolate
Allow the caramel-coconut topping to set completely. This can take a couple of hours at room temperature or can be sped up by placing the pan in the refrigerator for about 30-60 minutes. Once firm, use a large sharp knife or a pizza cutter to cut the dessert into 24-30 bars. A pizza cutter can be particularly helpful for slicing through the sticky caramel layer cleanly. Finally, it’s time for the chocolate! Melt the dark or semisweet chocolate in a small microwave-safe bowl. Heat in 30-45 second intervals, stirring thoroughly after each to prevent burning. If you desire the traditional look, dip the base of each bar into the melted chocolate and place it on parchment or wax paper to set. For a simpler yet equally delicious finish, transfer the remaining melted chocolate into a piping bag (or a Ziploc bag with a tiny corner snipped off) and drizzle it artistically over the tops of all the bars. If only drizzling, you might not need the full 10 ounces of chocolate. Let the chocolate set completely before storing the bars in an airtight container at room temperature or in the refrigerator.
Tips for Success & Creative Variations
Essential Baking Tips:
- Softened Butter is Key: For the shortbread base, ensure your butter is truly softened (room temperature, not melted) for the best texture.
- Don’t Rush the Cooling: Allowing the shortbread and the caramel layers to cool and set completely is crucial for clean cuts and distinct layers.
- Watch the Coconut Closely: Toasted coconut is amazing, but burnt coconut is not. Stay near the oven and stir frequently.
- Caramel Melting Technique: Melting caramels on 50% power in the microwave prevents them from seizing or burning, ensuring a smooth, pliable topping.
- Clean Cuts: For neat bars, use a sharp, warm knife (run it under hot water and wipe dry between cuts) or a pizza cutter.
Exciting Variations:
- Chocolate Choices: Experiment with milk chocolate for a sweeter profile, or white chocolate for a different aesthetic and flavor.
- Add a Nutty Crunch: Fold chopped pecans or almonds into the caramel-coconut mixture for added texture and flavor.
- Spice It Up: A tiny pinch of cinnamon or cardamom in the shortbread crust can add a warm, unexpected twist.
- Homemade Caramel: If you have extra time and want to elevate the flavor even further, try making your own dulce de leche or salted caramel from scratch for the topping.
- Flaked Sea Salt: A sprinkle of flaky sea salt over the finished chocolate drizzle can enhance the caramel and chocolate flavors beautifully.
Serving and Storage Suggestions
These Samoas Bars are incredibly versatile. They make an ideal dessert for family gatherings, holiday parties, or as a special treat to brighten an ordinary day. Serve them alongside a cup of coffee or a cold glass of milk. While they are delicious at room temperature, chilling them slightly can enhance their chewiness and make the chocolate snap when bitten. Store the bars in an airtight container at room temperature for up to 3-4 days, or in the refrigerator for up to a week. They also freeze beautifully for up to 2-3 months; simply thaw at room temperature before serving.
Samoas Bars Recipe
24 Bars (9X13-inch pan)
35 mins
40 mins
1 hr 15 mins
Pin
Ingredients
Cookie Base:
- ½ cup (106 g) sugar
- ¾ cup (170 g) softened butter
- 1 large egg
- ½ teaspoon vanilla extract
- 2 cups (284 g) all purpose flour
- ¼ teaspoon salt
Topping:
- 3 cups (255 g) shredded coconut, sweetened or unsweetened
- 12 ounces good-quality chewy caramels (see note)
- ¼ teaspoon salt
- 3 tablespoons milk
- 10 ounces (283 g) dark or semisweet chocolate (see note)
Instructions
-
For the crust: Preheat oven to 350°F (175°C). Lightly grease a 9×13-inch baking pan, or line with parchment paper, leaving an overhang on the sides. In a large bowl, cream together sugar and softened butter until fluffy. Beat in egg and vanilla extract. Working at a low speed, gradually beat in flour and salt until mixture is crumbly, like wet sand. The dough does not need to come together. Pour crumbly dough into prepared pan and press into an even layer.
-
Bake for 20-25 minutes, until the base is set and edges are lightly browned. Cool completely on a wire rack before topping.
-
For the topping: Preheat oven to 300°F (150°C). Spread coconut evenly on a parchment-lined baking sheet (preferably one with sides) and toast for 20-25 minutes, stirring every 5 minutes, until coconut is golden. Cool on baking sheet, stirring occasionally. Set aside.
-
Unwrap the caramels and place in a large microwave-safe bowl with milk and salt. Cook on 50% power for 1-2 minutes, stopping to stir a few times to help the caramel melt and become smooth. When smooth, fold in toasted coconut with a spatula. Put dollops of the topping all over the cooled shortbread base. Using the spatula (or your hands), spread the topping into an even layer.
-
Let the topping set until completely cooled and firm (this can be sped up in the refrigerator). When cooled, cut into 24-30 bars with a large sharp knife or a pizza cutter.
-
Once bars are cut, melt chocolate in a small bowl. Heat on high in the microwave in 30-45 second intervals, stirring thoroughly to prevent scorching. Dip the base of each bar into the chocolate and place on a clean piece of parchment or wax paper to set. Alternatively, you can omit the step to dip the base of the bar in chocolate and simply drizzle the melted chocolate generously on the top of the bars (you won’t need the full 10 oz. if you choose this step). Let chocolate set completely before storing in an airtight container.
Notes
Chocolate: Chocolate chips are perfectly fine to use. If you only plan to drizzle the chocolate on top (without dipping the base), you will likely only need about 1 cup (6 oz.) of semisweet or dark chocolate chips.
Recommended Products
Recipe Source: Adapted from Baking Bites