
Accurate flour measurement is the cornerstone of successful baking. Discover the simplest, most effective methods to measure flour correctly and transform your baked goods!
Let’s be honest, we need to have a candid conversation about how you’re measuring your flour. While it might seem like a trivial detail, the way you measure this fundamental ingredient can dramatically impact the texture, rise, and overall quality of your baked creations. From light and airy cakes to perfectly chewy cookies, precision is paramount, and it all starts with your flour.
Years ago, I shared a kitchen tip on this very subject, but it’s time for a comprehensive refresh. Recently, the delightful discussions around the Triple Chocolate Zucchini Cookies highlighted just how crucial this topic remains for home bakers everywhere, prompting me to elevate it to the top of our Let’s Talk priority list. It’s a foundational skill that can truly make or break your baking endeavors.
The Great Flour Measurement Mystery: Why Consistency Matters
Imagine asking ten different people to measure out a single cup of flour. It’s highly probable that each cup would contain a vastly different amount of flour. This isn’t due to error or carelessness, but rather the diverse methods people instinctively use. Flour, being a compressible dry ingredient, can easily be packed or fluffed, leading to significant variations in its actual weight per volume. This inherent variability is precisely why many culinary experts universally recommend weighing your ingredients for guaranteed baking success.
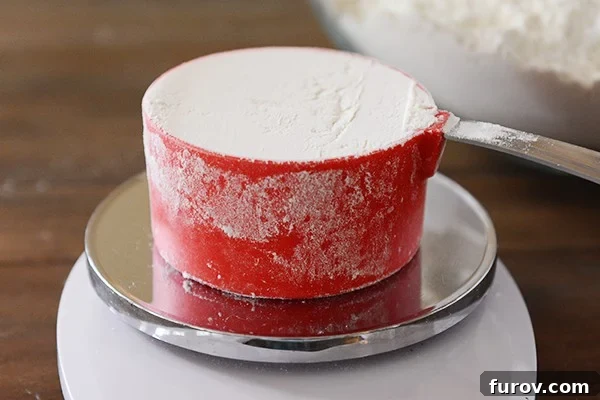
Using a digital kitchen scale is undoubtedly the gold standard for accuracy. However, I understand that this isn’t always feasible. Perhaps the recipe you’re using only provides volume measurements (cups, tablespoons), or maybe you haven’t yet invested in a digital scale. Don’t panic! While weighing is ideal, mastering a consistent volume measurement technique is the next best thing, and we’ll delve into that shortly.
My Journey to Embracing the Kitchen Scale
For many years, the idea of using a kitchen scale felt a bit… pretentious, even unnecessary. I honestly considered it fussy. But as my passion for baking deepened and I began to learn from highly respected sources like America’s Test Kitchen and King Arthur Baking Company, my perspective shifted. I realized that consistent results, especially in sensitive recipes like delicate cakes and perfectly chewy cookies, often hinged on precise ingredient measurement. It was then that I decided a mere $15 investment in a digital scale was absolutely worth it. I’ve owned this one and currently rely on this one, and I’ve never once regretted the switch.
I’ve been diligently working to add weight measurements to my archived baking recipes, and nearly all new posts over the past year already include them. This transition reflects my commitment to helping you achieve the most consistent and delicious results possible in your own kitchen.
Navigating the World of Flour Weight Standards
One aspect that can be a bit perplexing for new bakers (and even experienced ones!) is the variation in what constitutes a “cup” of flour when weighed. For example, King Arthur Baking Company typically states that one cup of all-purpose flour weighs 4 ounces (approximately 113 grams), and their recipes are developed with this standard in mind. However, when I measure out 4 ounces of flour using my usual method, it looks like this:
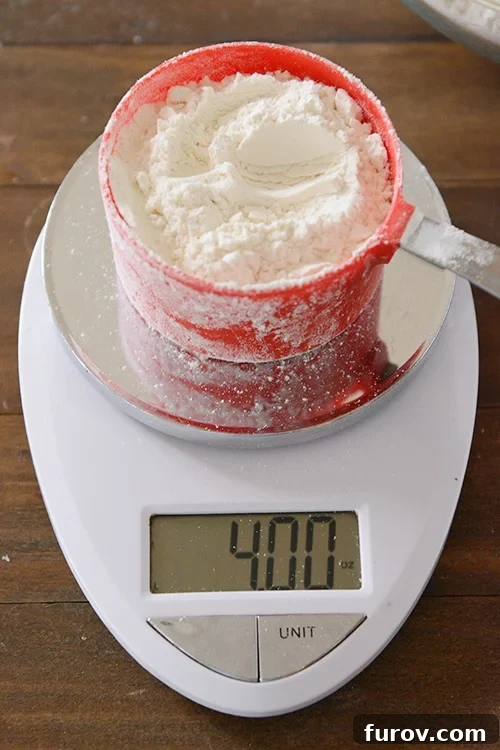
As you can see, 4 ounces barely fills the measuring cup. This discrepancy highlights a crucial point: if a recipe creator uses a 4-ounce standard and you’re measuring by volume without a scale, you are highly likely to significantly over-measure the flour, leading to dense, dry, or crumbly baked goods. In contrast, America’s Test Kitchen, for most of their recipes, uses 5 ounces (approximately 142 grams) per cup. Given that I can realistically achieve 5 ounces of flour in a cup using a specific volume measurement technique (which I’ll detail below), this is the standard I consistently follow and recommend.
It’s safe to assume that all recipes on my blog that include weight measurements have been developed using the 5 ounces per cup rule of thumb. If a recipe doesn’t yet include weights, you can still confidently assume I’ve used 5 ounces per cup of flour, as it’s how I consistently measure my flour even when I’m not weighing it directly. This consistency is key to replicating the results I achieve in my kitchen.
Practical Scale Usage: Beyond the Single Cup
Let me quickly clarify how I practically use a scale in my everyday baking. While this post features individual cups of flour being weighed for demonstration, I rarely measure ingredients one cup at a time. Instead, I place a mixing bowl directly onto my digital scale and use the “tare” feature to zero it out. Then, I add the dry ingredients until the correct weight is reached. This method works beautifully for flour, sugar, oats, cocoa powder, and many other dry ingredients. For recipes with multiple dry ingredients, I simply use the tare function repeatedly, zeroing out the scale after each ingredient is added to get precise weights for everything going into the same bowl. This not only ensures accuracy but also significantly reduces the number of dirty dishes!
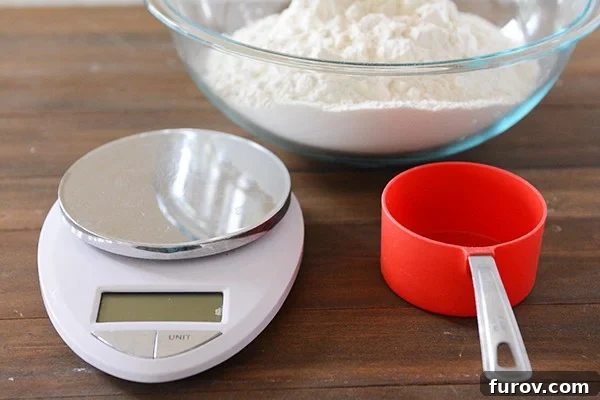
The Three Main Flour Measuring Methods (and Their Impact)
Based on years of blogging and troubleshooting countless baking issues with many of you in the comments section, I can confidently say that flour is far more often over-measured than under-measured. This common pitfall can lead to a host of baking disappointments. Let’s examine the three most common methods for measuring flour by volume and see how they stack up on a digital scale. While they might appear similar to the naked eye, their weight differences tell a very different story.
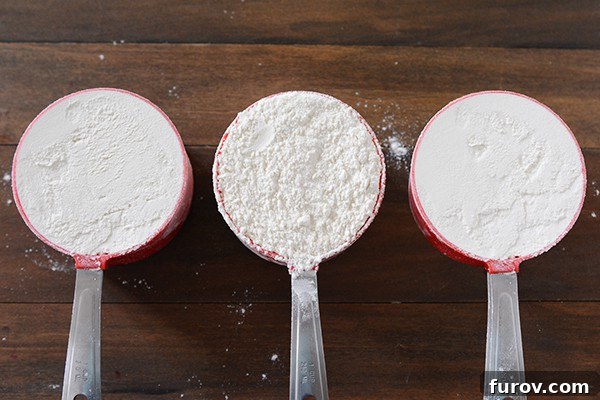
1. The Dip & Level Method (Scoop & Sweep)
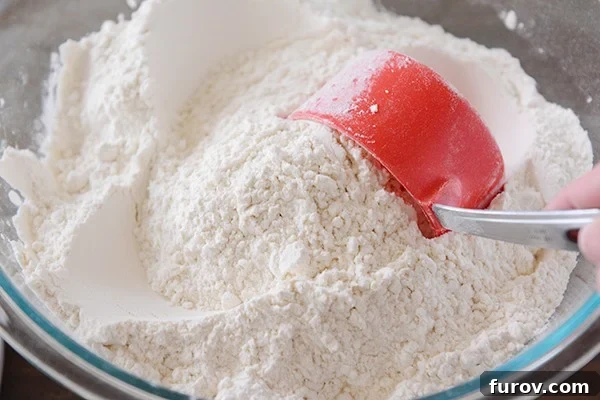
This is my go-to method, the one I use 100% of the time when measuring flour with cups. It consistently delivers the results needed for my recipes. The key to this method’s accuracy lies in ensuring the flour is light and airy, not compacted. I keep a large flour bin in my pantry, and before every measurement, I take a moment to fluff the flour thoroughly with a spoon or even the measuring cup itself. This breaks up any settled flour and introduces air, making it less dense.
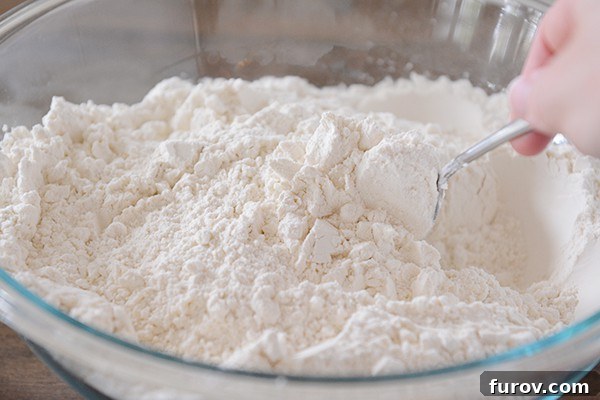
Once your flour is wonderfully fluffy and aerated:
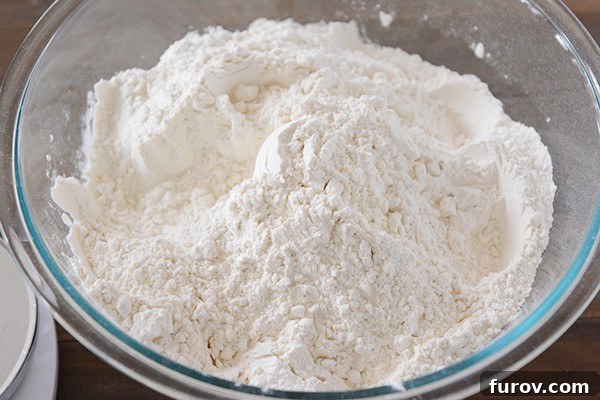
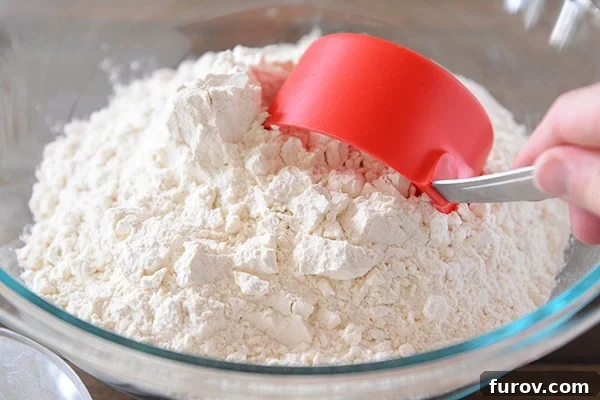
1. **Dip**: Gently dip your measuring cup into the flour, allowing it to fill naturally without packing it down. Simply let the flour overflow the rim.
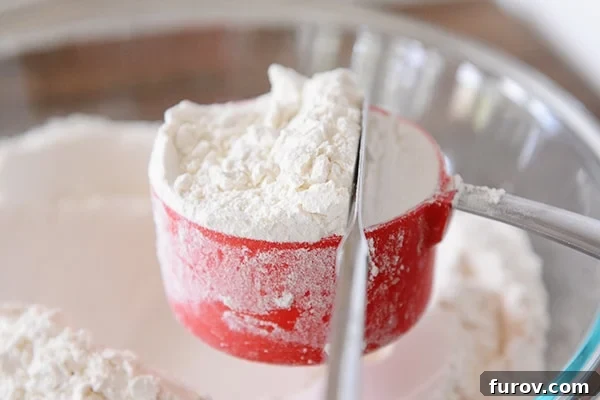
2. **Level**: Use the straight edge of a butter knife or a flat spatula to sweep across the top of the cup, leveling off any excess flour back into the bin or bowl.
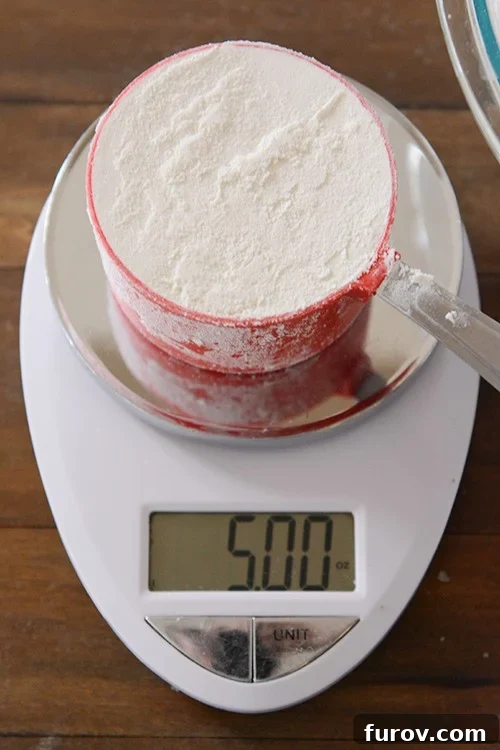
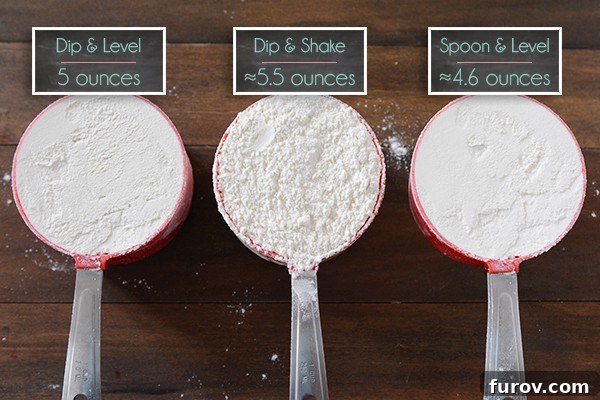
Voila! The result is a precisely measured cup of flour, consistently weighing around 5 ounces. This is the exact amount I aim for with every cup of flour I scoop, ensuring reliable outcomes for all my baking recipes.
2. The Dip & Shake Method (Scoop & Shake)
While “Dip & Shake” might sound like a fun, retro dance move, it is, in fact, the one flour measuring method you should absolutely avoid in baking. This technique is a notorious culprit for over-measurement, leading to dense, dry, and often crumbly baked goods.
Here’s how it typically goes:
After you dip your measuring cup into the flour, it will likely be piled high with a mound of flour.
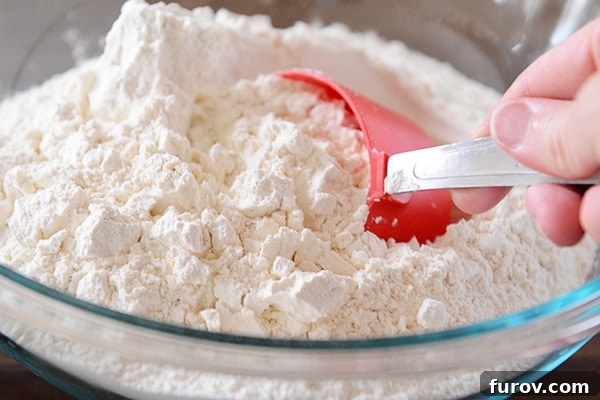
The flour will be generously mounded above the rim.
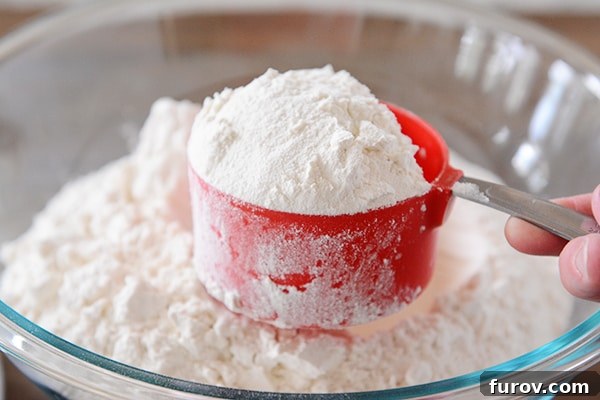
Then, tempted by convenience (and perhaps to avoid dirtying an extra knife), you might be inclined to tap or shake the cup to level the flour.
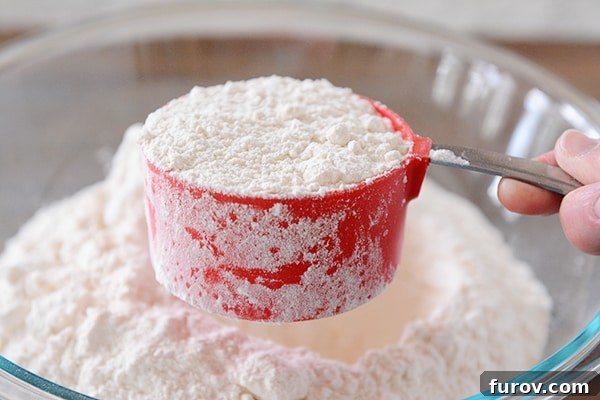
However, this seemingly innocuous action compresses the flour, forcing more of it into the cup than intended. In my test, this method resulted in over half an ounce more flour than the recommended Dip & Level method. That extra half-ounce can make an enormous, recipe-altering difference, especially in delicate baked goods or recipes calling for multiple cups of flour. Imagine the impact on a cake that’s meant to be light and fluffy, or cookies designed to spread perfectly. If this cup had been scooped into already dense, compacted flour (rather than the fluffed flour used in my test), the weight would be even higher. The mere thought of such over-measurement sends shivers down my spine, considering the potential for baking catastrophes!
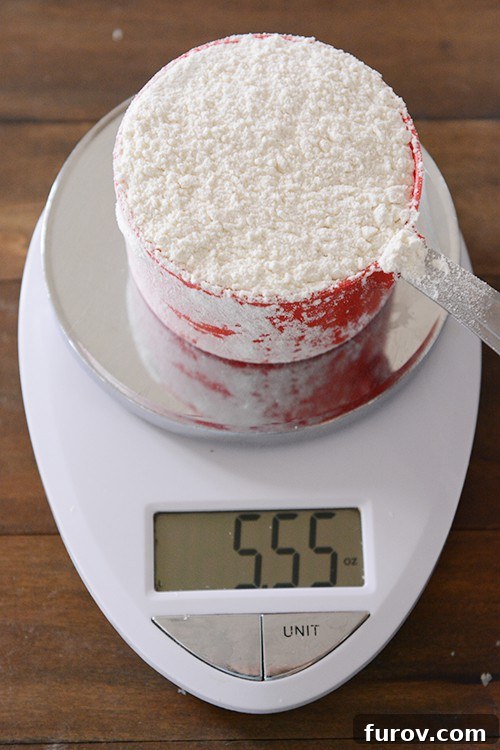
3. The Spoon & Level Method
The Spoon & Level method is another popular technique, one my grandmother often employed. This method involves using a spoon to gently transfer flour from its container into the measuring cup, rather than dipping the cup directly.
1. **Spoon In**: Spoon the flour into your measuring cup until it’s mounded above the rim.
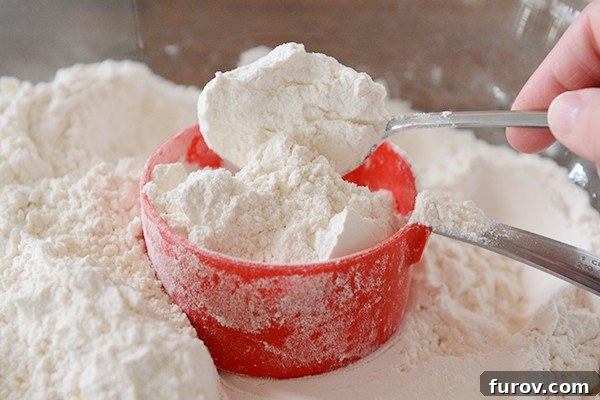
2. **Level Off**: Then, use a straight edge to level off the excess flour.
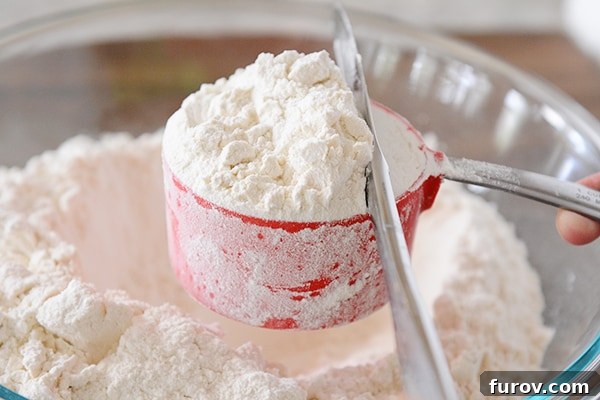
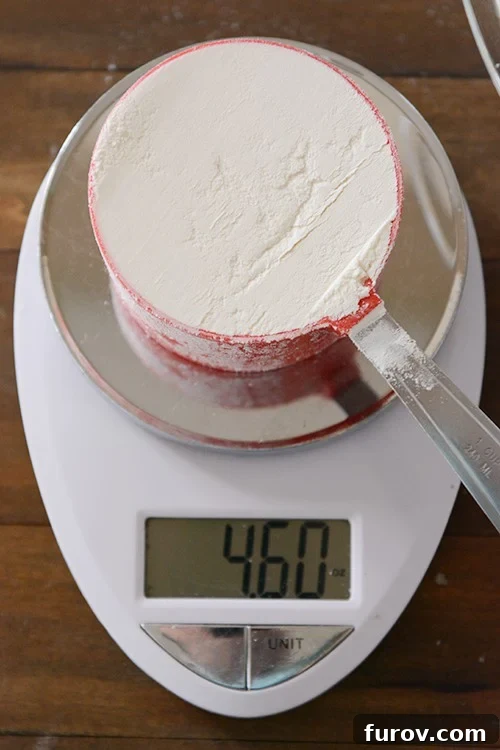
While this method effectively prevents over-packing and compaction, which is a definite advantage over the “Dip & Shake” method, it often results in a notoriously lighter cup of flour. In my test, this method yielded 4.6 ounces—almost half an ounce less than the 5-ounce standard achieved with the Dip & Level method. Under-measuring flour can lead to issues such as gummy or spongy cakes, bread that fails to hold its structure, or cookies that spread excessively thin. Finding that perfect balance is crucial!
Here’s a quick visual summary of the three methods and their corresponding weights:
Key Takeaways for Your Baking Success
So, what do these comparisons mean for you and your baking? For me and for my blog, if you desire the very best and most consistent results from the baking recipes I share (with a special note below about yeast breads), I strongly recommend adopting the Dip & Level method if you aren’t already. This is precisely how I measure flour, ensuring that my recipes are developed and tested under this consistent standard. This consistency is your secret weapon for replicating my recipes successfully in your home kitchen.
Even better, if a recipe provides weights, always pull out your kitchen scale (or consider adding one to your wish list—it’s a game-changer!). If you’re new to using a scale, try a little experiment: borrow one from a friend or neighbor and weigh a cup of flour measured by your usual method. This simple test can provide invaluable insight into your current measuring habits and help you adjust your technique for different recipes. Understanding your own measurement tendencies is a powerful step towards becoming a more confident and skilled baker.
When I use recipes from other sources that don’t include weight measures, I instinctively stick to my Dip & Level method. While this doesn’t guarantee 100% success every time (baking is an art, after all!), it gives me the best chance of consistent results. If you’re ever unsure about a particular blogger or recipe creator’s measuring technique, don’t hesitate to reach out and ask! Knowing their method can help you replicate their results more accurately.
Remember, the consequences of improper flour measurement are significant. Too much flour can lead to unpleasantly dense cakes and breads, cookies that stubbornly refuse to flatten, and an overall dry, crumbly texture. Conversely, not enough flour can result in gummy or spongy cakes, breads that collapse, and cookies that spread into thin, crispy pancakes. Striking the right balance is paramount for achieving the desired structure and texture in your baked goods.
A Special Note on Yeast Breads and Doughs
It’s crucial to remember that when it comes to yeast breads, rolls, and other doughs, my approach to flour measurement differs significantly. I almost never adhere to a specific volume or even a precise weight of flour. This is because bread making is highly dynamic, influenced by myriad factors like humidity, flour type, and even the ambient temperature. For yeast doughs, I rely primarily on the texture and feel of the dough itself. As I’ve lectured countless times over the years, learning to “read” your dough – feeling its elasticity, stickiness, and overall consistency – is the ultimate skill in bread baking. Therefore, the detailed flour measurement information in this post is most appropriate for technical baking applications such as cookies, cakes, brownies, quick breads, muffins, and similar recipes where precise ingredient ratios are critical for chemical reactions and structural integrity.
My ultimate goal is for you to become an absolute rock star in the kitchen, confidently tackling any recipe and achieving outstanding results, especially with the recipes I’ve shared here. To that end, I wanted to clearly articulate how I measure flour, and if I may be so bold, suggest how I think you should measure flour, too. Embracing these techniques will elevate your baking and ensure consistent, delicious outcomes every time.
And I believe that covers just about everything. Who knew one could wax so long and poetic about something as seemingly simple as measuring flour!
Now, I’m curious: How do YOU measure your flour? Share your methods in the comments!
As always, this post is unsponsored; I’ve included a few affiliate links in the post above to the kitchen scales I highly recommend and use on Amazon.