
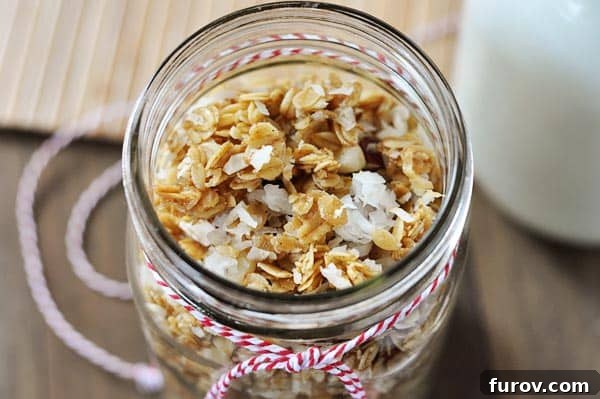
Indulge in the perfect balance of savory and sweet with this homemade salty sweet granola, an exquisite pairing with creamy coconut yogurt that promises a divine culinary experience.
The holiday season, with its endless array of decadent treats, often brings out a particular favoritism in me. Not towards family members, of course, but towards that one exceptional food gift that truly captures my heart and inspires me to share its delight with everyone I know. Amidst the thousands of dazzling festive recipes circulating online, a clear winner emerges year after year.
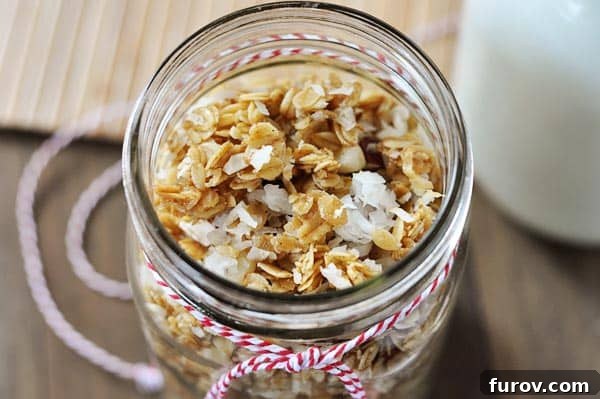
Unveiling This Year’s Ultimate Holiday Food Gift: Salty Sweet Granola
This year, without a doubt, the title goes to this incredible salty sweet granola, especially when coupled with a jar of rich, velvety homemade coconut yogurt. While granola might not typically ignite the same fervent holiday excitement as a plate piled high with cookies, cakes, and brownies, I’ve officially declared this duo my ultimate holiday gift for its distinctive charm and refreshing appeal. It’s a thoughtful alternative to the sugar-laden extravagances often seen this time of year, offering a healthier-ish indulgence that doesn’t compromise on flavor.
The magic of this granola lies in its impeccable balance – a harmonious blend of salty and sweet that creates an addictive taste sensation. It’s more than just a breakfast staple; it’s a versatile delight perfect for independent snacking or as a luxurious topping for creamy yogurt. For the past month, I’ve found myself reaching for this granola every single morning, a testament to its irresistible allure. The combination with homemade coconut yogurt transforms a simple breakfast into a truly divine experience, a moment of pure bliss to start any day.
A Gift From the Heart: Why Homemade Granola Excels
Gifting homemade items carries a special sentiment, conveying care and personal effort that store-bought presents often lack. This salty sweet granola, presented alongside luscious homemade coconut yogurt, makes for an extraordinary and memorable gift. It’s a versatile present suitable for a wide range of recipients: from cherished coworkers and friends to appreciative neighbors, dedicated teachers, and even your favorite delivery drivers (who become fast friends during peak shopping seasons!). The thought and craftsmanship behind such a gift are truly invaluable, making it a standout choice for anyone on your holiday list.
Of course, for those who prefer a simpler approach or are pressed for time, a high-quality, flavorful store-bought yogurt can perfectly complement the star of this show: the irresistible salty sweet granola. The focus remains on the exceptional taste and texture of this homemade crunchy delight.
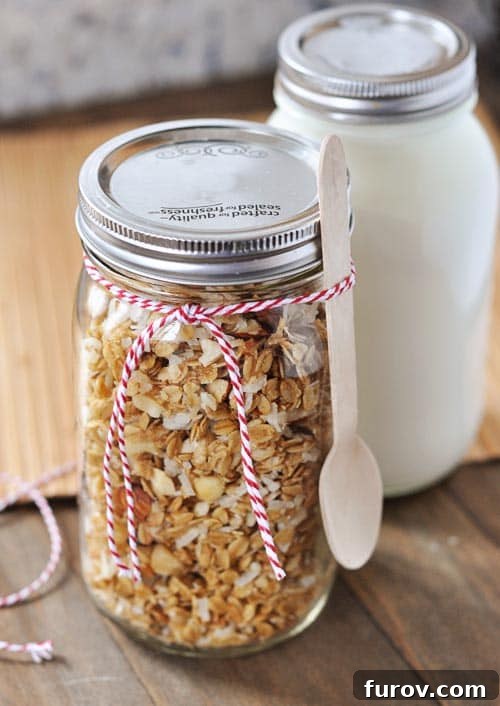
The Distinctive Allure of This Granola Recipe
While many of you may already adore another one of my popular granola recipes, this particular version offers an entirely fresh and exciting experience. It boasts a distinct flavor profile, largely attributed to the use of olive oil and a thoughtful combination of nuts. What truly sets this recipe apart is its innovative baking method: a higher heat for a shorter duration, with nuts and coconut strategically added towards the end of the baking cycle. This ingenious technique prevents burning, ensuring a perfectly golden crunch and preserving the delicate flavors of these ingredients. I usually try not to play favorites, but this recipe has undoubtedly become my current go-to granola.
Initially, when this granola emerged from the oven, I admit I had reservations about the prominent aroma of olive oil and the assertive salty kick. However, the true magic unfolds after it has had a day to rest. The flavors undergo a beautiful transformation, melding and softening into a wonderfully harmonious blend. This essential resting period allows the olive oil’s initial sharpness to mellow, revealing a rich, nutty depth that perfectly complements the sweetness of the maple syrup and the subtle spices. A slight adjustment to the salt content also contributes to this perfected balance, making the final product truly exceptional.
Despite the prevailing preference for more elaborate desserts during the holidays, this granola and yogurt combination is a truly worthy gift. It offers a sophisticated simplicity that is both nourishing and deeply satisfying. If someone were to present this delightful duo to me, I wouldn’t hesitate; in fact, I’d likely keep it all to myself. Enough talk – it’s time to experience this exquisite creation for yourself!
Thoughtful Packaging for Your Homemade Granola Gift
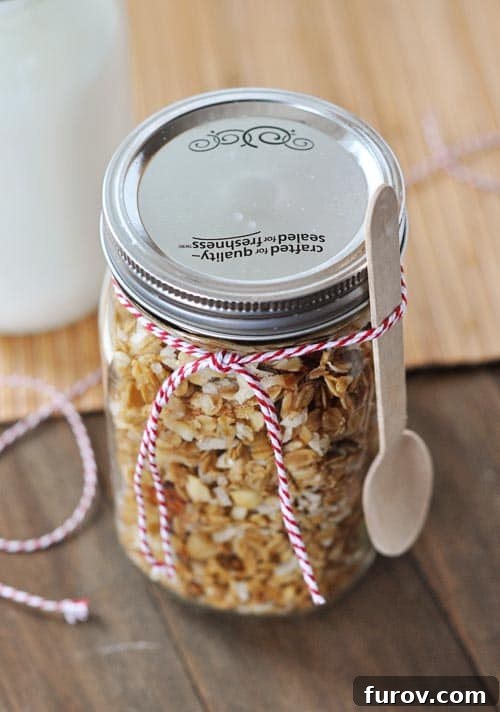
For elegant and practical packaging, I frequently turn to jars and twine. It might not be groundbreaking, but it’s a classic for a reason! My collection of jars is constantly growing, thanks to frequent thrift store finds, making them an eco-friendly and stylish choice. You can easily adapt this by using disposable tupperware-style containers for convenience, or charming decorative bags tied with ribbon for the granola, reserving jars for the homemade yogurt.
Mastering Homemade Coconut Yogurt: A Detailed Guide
While the primary recipe below focuses on the delicious granola, the true complementary experience comes from pairing it with homemade coconut yogurt. My method for making homemade yogurt has evolved over time, and I’m happy to share the updated details for achieving truly luxurious, thick coconut yogurt. This process, while requiring a bit of time, yields a product far superior in flavor and texture to anything you’ll find in stores, making your granola gift even more special.
Yogurt Preparation Steps:
- Heat the Milk: Begin by heating your choice of milk (whole milk is recommended for a richer, creamier texture) in a large pot on the stove over high heat. Stir continuously to prevent scorching, until the milk reaches precisely 180 degrees F (82 degrees C). This step is crucial for denaturing the milk proteins, which contributes to a thicker yogurt.
- Flavoring: Remove the milk from the heat. Now is the time to infuse it with flavor. Add approximately 1/2 cup of granulated sugar, 1 teaspoon of pure vanilla extract, and 1 teaspoon of coconut extract for every gallon of milk. Stir thoroughly until the sugar is completely dissolved. This ratio provides a very subtly sweet yogurt; feel free to adjust the sugar to your personal taste preference if you desire a sweeter profile.
- Cooling: Allow the flavored milk to cool down to a temperature between 110 and 120 degrees F (43-49 degrees C). This temperature range is ideal for introducing the yogurt culture. If the milk is too hot, it will kill the beneficial bacteria; if it’s too cool, the bacteria won’t activate effectively.
- Inoculation: In a separate small bowl, whisk together about 1/2 cup of plain, live-culture yogurt (this acts as your starter) with one to two cups of the warm milk from the pot. This step tempers the starter, ensuring it integrates smoothly without clumping.
- Combine & Jar: Pour the tempered starter mixture back into the main pot with the rest of the warm milk and stir gently to combine evenly. Then, carefully fill quart-sized canning jars with the milk and yogurt mixture.
- Culturing (Method 1 – Cooler): For a simple culturing method, place the filled and covered canning jars into a cooler. Add an equal number of additional covered jars filled with extremely hot water (this creates a warm, stable environment). Close the cooler tightly and let the yogurt culture undisturbed for 8-10 hours. The ambient warmth will allow the beneficial bacteria to multiply and thicken the yogurt.
- Culturing (Method 2 – Oven): An alternative culturing method involves placing the jars in an oven that has been preheated to 175 degrees F (79 degrees C) and then immediately turned off. Cover the jars with a large towel to retain heat, and turn on the oven light (its subtle warmth can help maintain temperature). Allow the yogurt to culture for 8-10 hours.
- Refrigeration & Optional Straining: Once cultured, transfer the jars to the refrigerator. If you’ve used whole milk, straining is often unnecessary as the yogurt will be naturally thick. However, if using 1% milk or if you desire an even thicker, Greek-style yogurt, you can strain it through cheesecloth set in a strainer for about an hour. After straining, whisk the yogurt to recombine any separated whey and achieve a smooth consistency before refrigerating.
This method truly yields the best homemade yogurt you’ll ever taste – creamy, flavorful, and incredibly fresh, the perfect partner for your salty sweet granola.
One Year Ago: White Chipper Chocolate Cookies
Two Years Ago: Sweet Berry Bruschetta
Three Years Ago: Chocolate Haystack Cream Cheese Squares
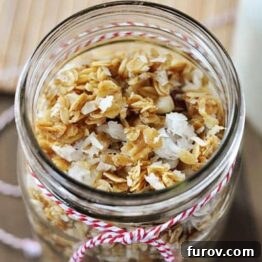
Salty Sweet Granola
Pin
Rate
SaveSaved!
Ingredients
- 6 cups (600 g) rolled oats
- 2 teaspoons coarse kosher salt
- 1 teaspoon cardamom
- ½ teaspoon ground cinnamon
- 1 cup olive oil
- 1 cup pure maple syrup
- 1 ½ teaspoon pure vanilla extract
- 1 ⅓ cups unsweetened or sweetened flaked coconut, lightly chopped
- 1 ⅓ cups macadamia nuts, coarsely chopped
- 1 ⅓ cups raw almonds, coarsely chopped
Instructions
-
Preheat the oven to 350 degrees F (175 C). Line two large baking sheets with parchment paper for easy cleanup and to prevent sticking.
-
In an expansive mixing bowl, combine the rolled oats, coarse kosher salt, ground cardamom, and ground cinnamon. Stir well to ensure all dry ingredients are evenly distributed.
-
In a liquid measuring cup or a smaller bowl, whisk together the olive oil, pure maple syrup, and pure vanilla extract until the mixture is fully emulsified. Carefully spoon out 1-2 tablespoons of this wet mixture and set it aside; this small portion will be used later for tossing with the nuts and coconut.
-
Pour the larger portion of the wet ingredients into the bowl with the oat mixture. Toss thoroughly, using a spatula or your hands, until all the oats are evenly coated with the liquid. This ensures a consistent golden brown and crispy granola.
-
Divide the coated granola mixture evenly between the two prepared baking sheets, spreading it out in a thin, single layer. Bake for 20 minutes, making sure to stir and flip the granola halfway through the baking time to promote even toasting.
-
While the granola bakes, combine the coarsely chopped macadamia nuts and raw almonds, along with the lightly chopped flaked coconut, in a bowl. Toss them with the previously reserved 1-2 tablespoons of olive oil mixture. This pre-coating helps the nuts and coconut toast beautifully and adhere to the granola.
-
After the initial 20 minutes of baking for the oats, remove the baking sheets from the oven. Evenly distribute the nut and coconut mixture over the partially baked granola. Return the baking sheets to the oven and continue baking for an additional 7 minutes, or until the nuts are lightly golden and the coconut is fragrant. Keep a close eye on it during this stage as nuts and coconut can burn quickly.
-
Once baked to perfection, remove the granola from the oven and allow it to cool completely on the baking sheets. As it cools, it will crisp up further. Store the cooled granola in an airtight container at room temperature for up to two weeks. For optimal flavor, it’s highly recommended to let this granola sit for at least 12-24 hours before enjoying, allowing the complex flavors to meld and deepen.
Notes
Adaptable: This recipe is wonderfully versatile! Feel free to customize the different nuts to your preference; walnuts, pecans, or even a mix would be delightful. For an added layer of flavor and texture, you can also stir in dried fruits like cranberries, cherries, or raisins after the granola has fully baked and cooled. This ensures the dried fruit remains soft and chewy.
Recommended Products
Recipe Source: Adapted slightly from Melissa at Faux Martha by way of The Kitchn. Minor modifications include a slight reduction in salt and the use of a different variety of nuts and sweetened coconut, adjusted for local availability.