


For years, whenever milk kefir was mentioned, my inbox would overflow with questions and requests for more information. It’s clear that the transformative power of this probiotic beverage resonates with many! Today, I’m finally sharing a comprehensive guide to one of my absolute favorite subjects: milk kefir. As a passionate advocate, I truly believe in its ability to enhance overall well-being, and I’m excited for you to discover why.
If you’re new to the world of milk kefir and wondering what all the fuss is about, you’re in the right place. Prepare to unlock the secrets of this ancient fermented food and learn how it can revolutionize your health.
I can genuinely say that integrating homemade milk kefir into our daily routine has profoundly and positively impacted my family’s life. We consume it every single morning, often in delicious smoothies, and I frequently use it as a buttermilk substitute in various breakfast and baked goods. It’s not an exaggeration to state that since we began making and consuming kefir regularly, our family has experienced a remarkable reduction in illness. Furthermore, some of my children, who previously struggled with daily digestive discomforts, have seen their tummy troubles dramatically improve, feeling a million times better. While I hesitate to make bold claims, I honestly can’t recall the last time someone in our household suffered from the stomach flu – a testament I offer with a hopeful heart, knowing that such pronouncements sometimes tempt fate!
Perhaps it’s just my hopeful perception, but I strongly believe that our collective health has significantly improved since we embraced kefir. While I may sound like an enthusiastic infomercial, my passion for this incredible product stems directly from the tangible benefits my family and I have experienced firsthand. It’s more than just a food; it’s a foundation for a healthier lifestyle.
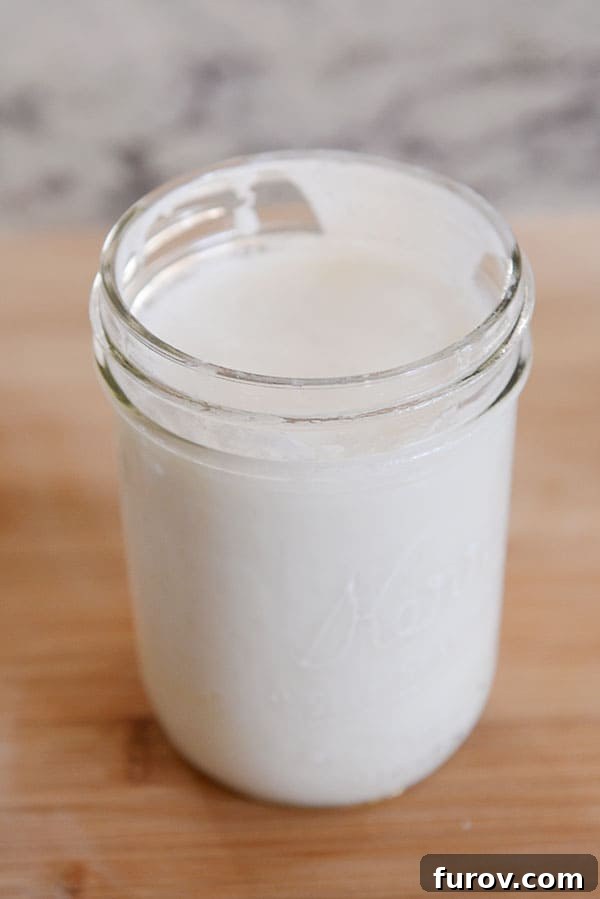
My own journey with milk kefir began just a few years ago, surprisingly, thanks to many of you, my wonderful readers, who first introduced me to the concept. Intrigued by the idea of a drinkable yogurt-like product packed with an even broader spectrum of probiotics and beneficial yeast strains – and knowing it was often well-tolerated by those with lactose intolerance – I was eager to learn more. My research quickly revealed the profound potential of milk kefir, inspiring me to embark on the rewarding adventure of making it myself.
While there are numerous expert resources online that delve into the intricate history, extensive benefits, and scientific nuances of milk kefir, my aim today is to provide you with a practical, accessible guide. We’ll cover the fundamental aspects: what milk kefir is, the simple process I use to culture it daily, and the many delicious ways I incorporate it into our family’s diet. For those who wish to explore deeper, I’ve compiled a list of excellent external resources at the end of this post.
What is Milk Kefir? Unveiling the Probiotic Powerhouse
At its core, milk kefir is milk that has undergone a natural fermentation process, transforming it into a highly beneficial, enzyme-rich, and probiotic-packed beverage. This transformation occurs when live kefir grains are introduced to milk, allowing a diverse colony of beneficial bacteria and yeasts to grow and flourish. The result is a slightly effervescent, tangy, and refreshing drink that is not only incredibly healthy but also significantly easier to digest than unfermented milk.
While often compared to yogurt or buttermilk, milk kefir stands apart due to its unique culturing method and probiotic profile. Unlike yogurt, which typically uses a limited number of bacterial strains and requires specific temperature control, milk kefir relies on reusable kefir grains and cultures effectively at room temperature. These grains contain a much wider array of beneficial bacteria and yeasts, contributing to its superior probiotic diversity and its remarkable health benefits, particularly for gut health.
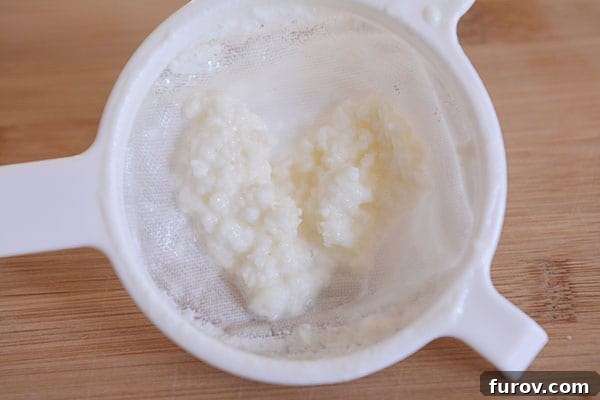
The Marvel of Milk Kefir Grains: Your Living Culture
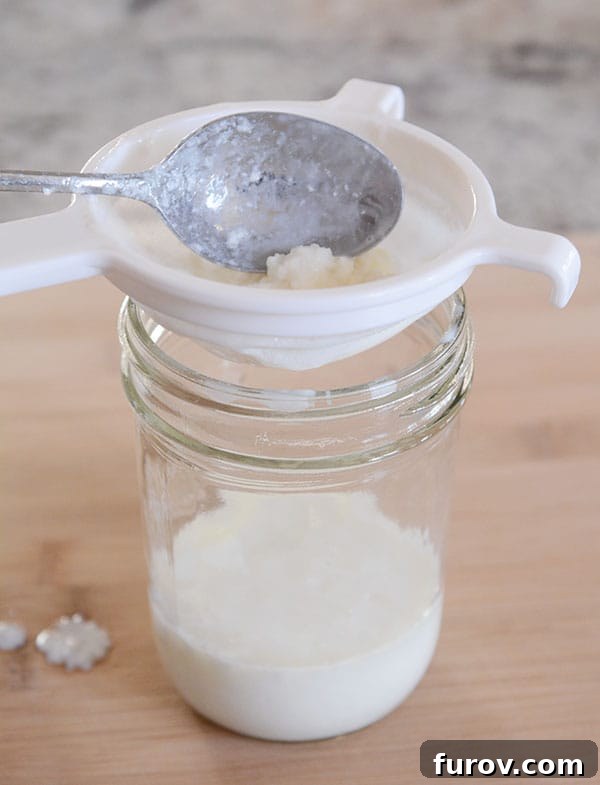
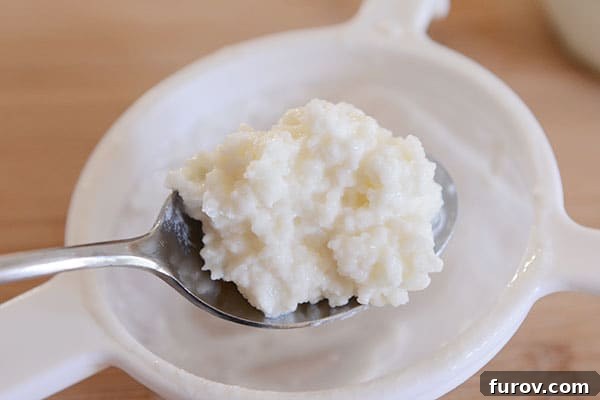
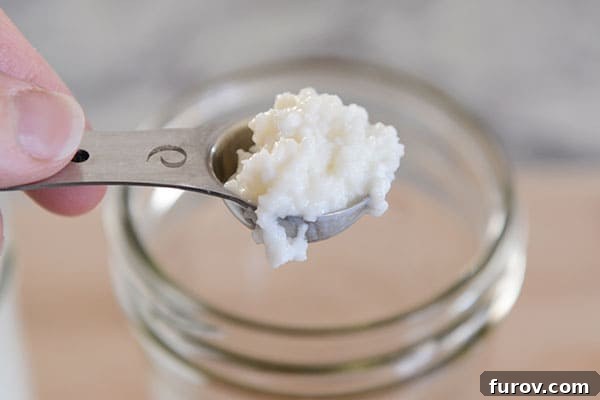
It’s important to clarify that “kefir grains” are not actual cereal grains like wheat or rice. Instead, they are small, irregularly shaped, gel-like clusters that resemble tiny cooked tapioca pearls or cauliflower florets. These “grains” are living organisms, a symbiotic colony of bacteria and yeasts (SCOBY) held together by a polysaccharide matrix called kefiran. They are responsible for initiating and sustaining the fermentation process by feeding on the lactose (sugar) in the milk, converting it into lactic acid, carbon dioxide, and various beneficial compounds.
Initially, their squishy texture and unusual appearance might seem a little strange, but I assure you, these grains are incredibly friendly and resilient. With proper care, these miraculous little organisms will not only thrive but also reproduce, providing you with an endless supply of fresh, homemade milk kefir. Their self-replicating nature makes milk kefir an incredibly sustainable and economical fermented food to produce at home.
Why Embrace Milk Kefir? Unpacking Its Health Benefits
The growing popularity of milk kefir is largely attributed to its impressive array of health benefits, primarily stemming from its rich and diverse probiotic content. Incorporating this fermented beverage into your daily diet can contribute to overall well-being in numerous ways:
- Superior Gut Health: Milk kefir is teeming with a wide variety of beneficial bacteria and yeasts, far exceeding that of most yogurts. This extensive microbial diversity helps to balance the gut microbiome, inhibiting the growth of harmful bacteria, aiding in digestion, and improving nutrient absorption. A healthy gut is fundamental to overall health.
- Enhanced Digestion and Lactose Tolerance: The fermentation process breaks down much of the lactose in milk, making kefir a more digestible option for many individuals who are lactose intolerant. The enzymes produced by the kefir grains further assist in the digestive process, reducing common digestive discomforts.
- Boosted Immune System: A significant portion of our immune system resides in the gut. By promoting a healthy gut environment, milk kefir can strengthen the immune system, helping your body to fend off infections and illnesses more effectively. Anecdotal evidence, like my family’s reduced frequency of sickness, often aligns with scientific understanding of the gut-immune connection.
- Rich in Essential Nutrients: Beyond probiotics, milk kefir is a good source of calcium, protein, B vitamins (B12, biotin, folate), and vitamin K2. The fermentation process can also enhance the bioavailability of these nutrients, making them easier for your body to absorb and utilize.
- Anti-inflammatory and Antioxidant Properties: Research suggests that kefir contains compounds with anti-inflammatory and antioxidant effects, which can help protect the body’s cells from damage and reduce chronic inflammation, a factor in many diseases.
- Potential Support for Bone Health: With its high calcium content and the presence of vitamin K2 (which plays a crucial role in calcium metabolism), milk kefir can contribute to maintaining strong and healthy bones, potentially reducing the risk of osteoporosis.
- Improved Mood and Mental Well-being: The intricate connection between the gut and the brain (the gut-brain axis) means that a healthy gut microbiome can positively influence mood, reduce stress, and potentially alleviate symptoms of anxiety and depression.
While my personal experience is overwhelmingly positive, it’s always wise to approach health claims with an understanding that individual results can vary. However, the scientific evidence supporting the benefits of probiotics and fermented foods like milk kefir is continually growing, making it a valuable addition to a health-conscious lifestyle.
Your Step-by-Step Guide to Culturing Milk Kefir at Home
Culturing your own milk kefir is surprisingly simple and quickly becomes a rewarding daily ritual. I typically culture either a pint or a quart of fresh kefir every day to meet our family’s needs. Here’s a detailed breakdown of my process:
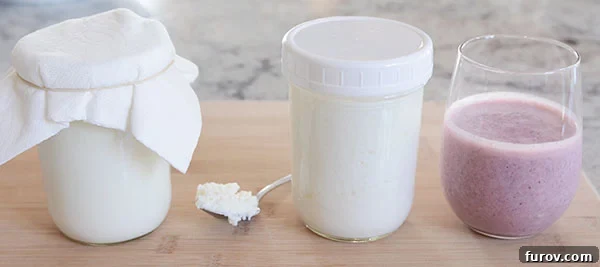
What You’ll Need:
- Active milk kefir grains (live culture)
- Glass jar (pint or quart size)
- Milk (see notes below)
- Breathable cover (paper towel, coffee filter, or cloth)
- Rubber band
- Plastic fine-mesh strainer (non-reactive)
- Clean jar for strained kefir
The Culturing Process:
- Prepare Your Grains: Begin by placing a teaspoon of active milk kefir grains into a clean glass jar. The quantity of grains needed will vary slightly with the amount of milk you intend to culture. For a pint of milk, a scant teaspoon is usually sufficient, while a heaping teaspoon works well for a quart. Using too many grains can result in overly fast fermentation and a more intensely tangy flavor, which might not be to everyone’s liking.
- Add Your Milk: Pour your chosen milk over the kefir grains in the jar.
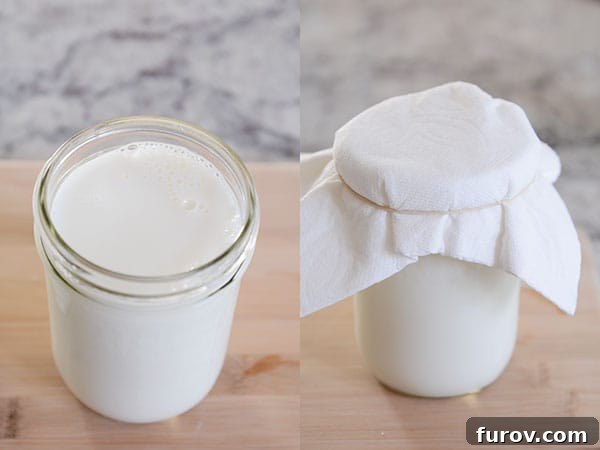
- Cover and Ferment: Cover the top of the jar with a breathable material, such as a folded paper towel or a coffee filter, securing it with a rubber band. This allows air circulation while preventing contaminants. Place the jar at room temperature (ideally between 68-75°F or 20-24°C) for approximately 18-24 hours. The ambient temperature of your kitchen will influence the fermentation speed; a warmer environment will result in faster culturing.
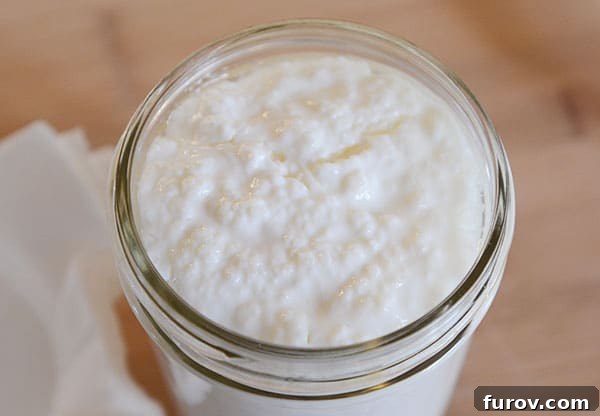
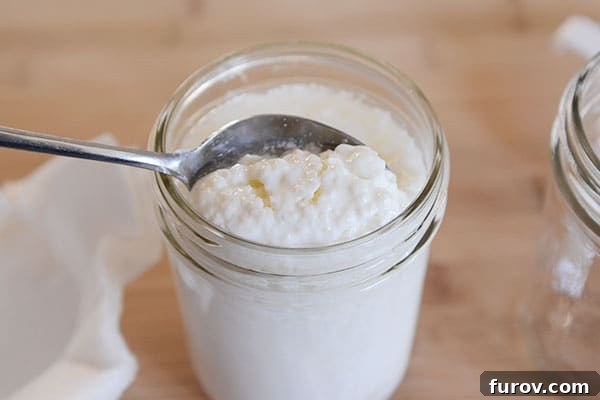
- Monitor for Readiness: Your kefir is ready when it has thickened slightly and you start to observe small pockets of air bubbles forming within the milk. These bubbles are an indication of the yeasts producing carbon dioxide. The longer it cultures, the more tart and tangy the kefir will become. I aim to catch it just as these air bubbles begin to appear for a balanced flavor.
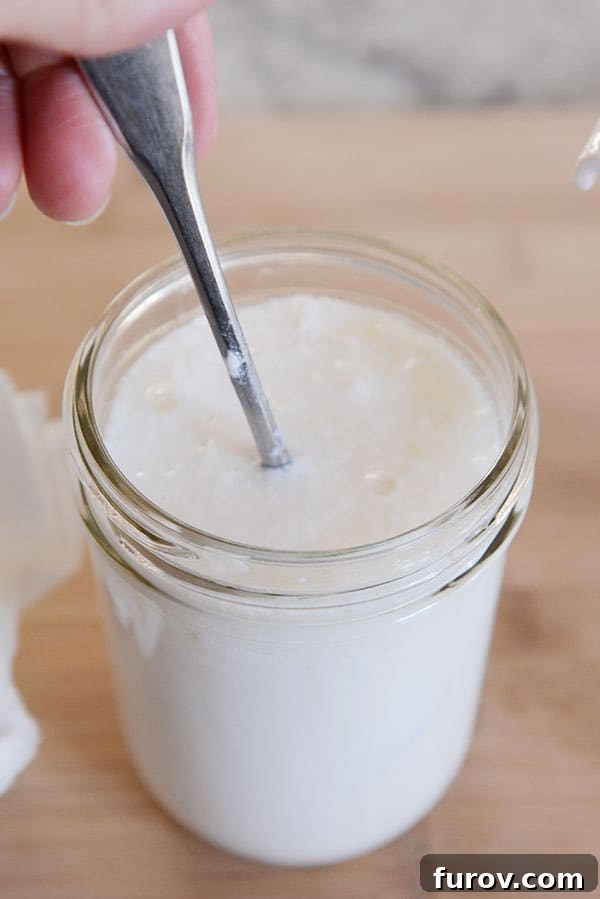
- Harvesting Your Kefir: Once cultured, gently stir the contents of the jar to recombine any separated whey and to loosen the kefir grains from the thickened kefir. Some people attempt to scoop out the grains, but I find straining to be a far more efficient and thorough method for separating the grains.
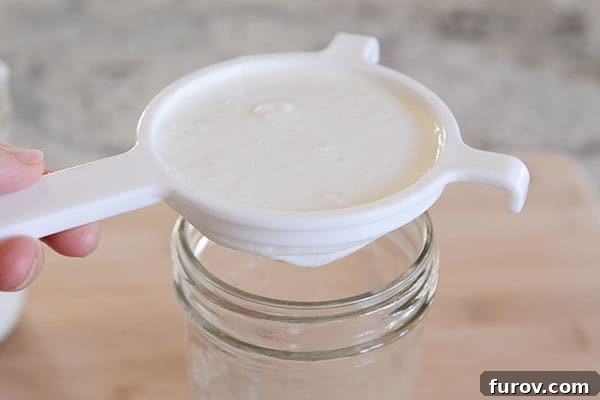
- Strain the Kefir: Place a plastic fine-mesh strainer over a clean receiving jar or bowl. Gradually pour the cultured kefir, including the grains, into the strainer. Gently stir and press the grains with a spoon or spatula to help the thick kefir pass through into the jar below, leaving the kefir grains behind in the strainer. Many experts recommend avoiding reactive metals for kefir grains, hence my preference for an inexpensive plastic strainer, though some people report no issues with stainless steel.
- Managing Excess Grains: As kefir grains feed on the lactose, they grow and reproduce daily. You’ll notice a gradual increase in the amount of grains left in your strainer. Since you only need a consistent amount (e.g., a teaspoon) to continue your daily culturing, you’ll accumulate excess grains. These can be used in several ways:
- Share them with friends or family who are interested in starting their own kefir journey.
- Incorporate them into smoothies (they’re edible and add extra probiotics!).
- Feed them to pets (chickens, dogs, and other animals can benefit from the probiotics – just check with a vet for appropriate amounts).
- Compost them.
- Restart the Cycle: Plop the strained kefir grains into a new, clean jar, add fresh milk, and the process begins again! This daily ritual ensures a continuous supply of fresh kefir.
- Taking a Break (Cold Storage): If you need a break from daily culturing, perhaps for a vacation, simply place the strained kefir grains into a jar with fresh milk, cover it, and store it in the refrigerator. The cold temperature significantly slows down fermentation, allowing the grains to remain viable for up to a week or even longer. When you’re ready to resume, just take them out, strain, and begin the room-temperature culturing cycle again. It might take a batch or two for them to become fully active after refrigeration.
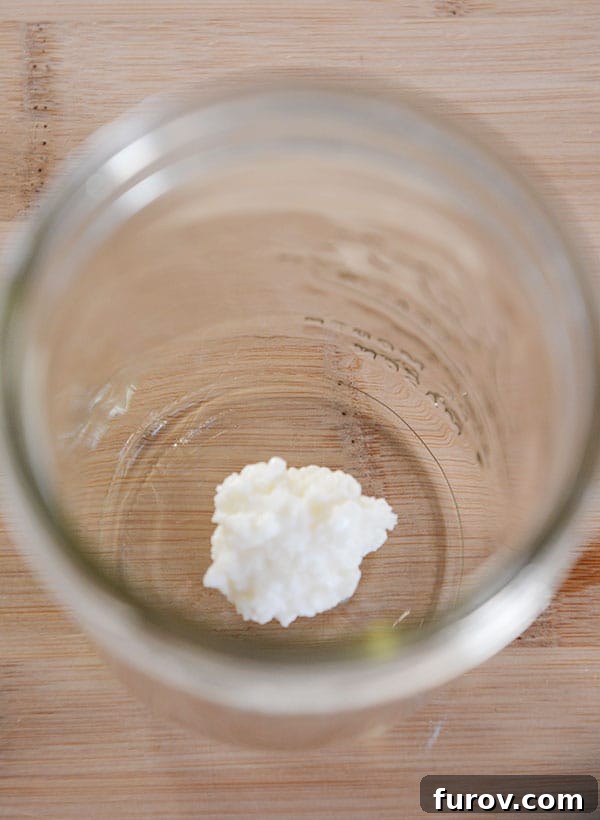
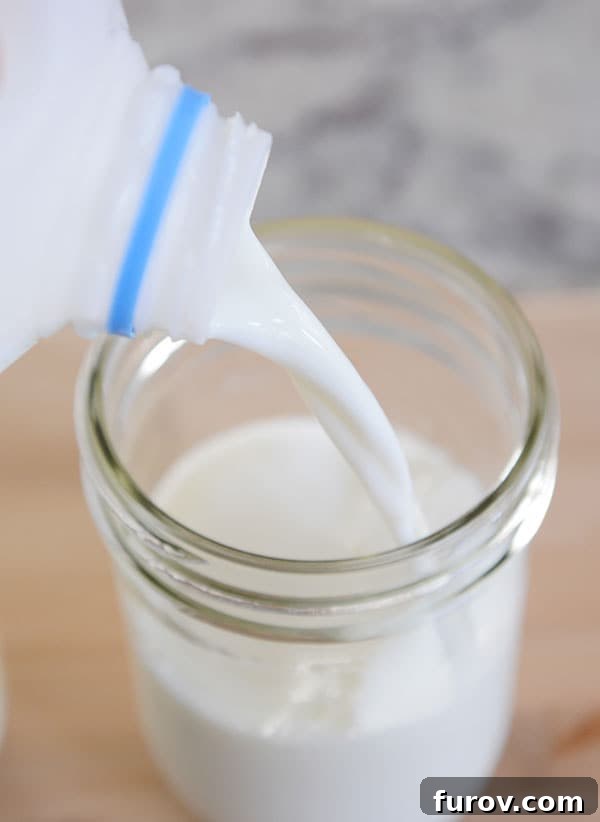
A note about milk: Milk kefir grains thrive on lactose, making most dairy milks (cow, goat, sheep) excellent choices. Raw milk also works beautifully. It’s generally best to avoid ultra-pasteurized (UHT) milks, as their altered protein structure can sometimes hinder grain activity. For non-dairy options, while coconut milk can sustain grains for a limited time, nut and soy milks often lack the necessary nutrients for the grains to consistently thrive and reproduce; they may culture the milk, but the grains themselves might weaken over time. Higher fat content in milk (e.g., whole milk) tends to produce richer, creamier kefir, but 2% milk (which I use) works perfectly fine, yielding consistent results.
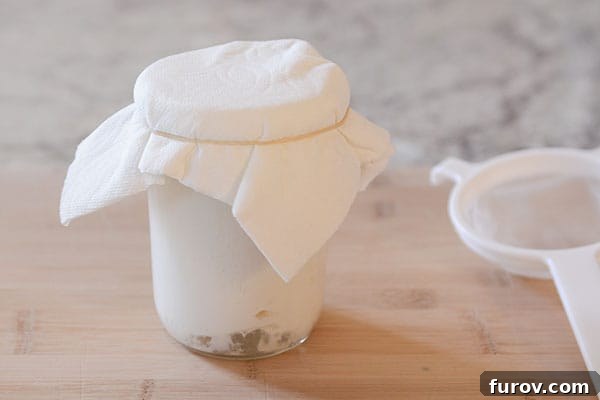
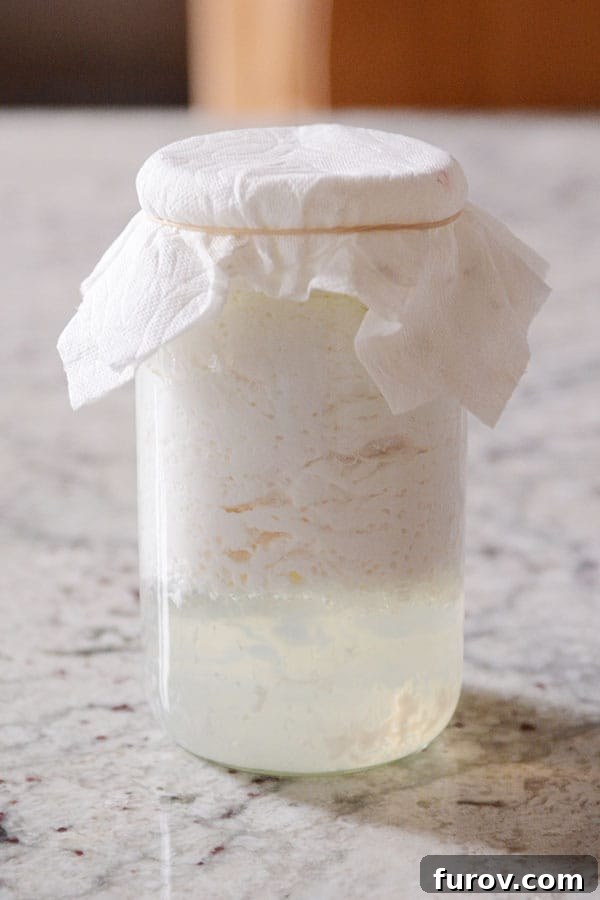
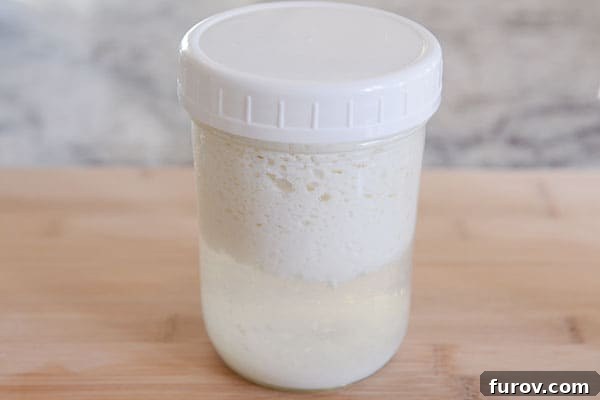
If you forget your kefir for too long, it will continue to ferment, becoming very thick and separating into curds (kefir) and whey (a yellowish liquid). While still usable, it will be much more tart. The image below shows what happens if your kefir grains have been left too long without fresh milk – they’re starving and need to be strained and re-fed promptly!
Elevating Your Kefir: The Art of Second Fermentation
The freshly strained kefir is immediately ready to enjoy, but for those looking to enhance its flavor, increase its probiotic potency, and even add a delightful fizz, a “second fermentation” (or F2) is a wonderful option. This process involves culturing the strained kefir (without the grains) for an additional period.
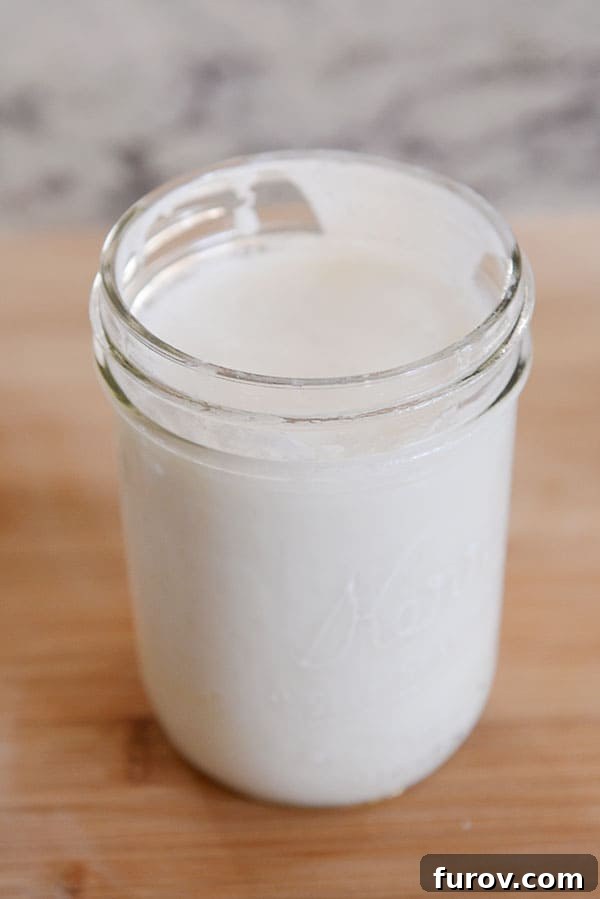
- The Process: After straining the grains, simply cap the jar of plain kefir tightly and let it sit at room temperature for another 6 to 12 hours. During this period, the remaining yeasts and bacteria in the kefir continue to work on any residual lactose, producing more carbon dioxide and further diversifying the probiotic profile. This also helps to mellow out the inherently tangy, strong flavor of the first ferment, making it more palatable for those new to kefir.
- Adding Flavor: While I prefer to do a plain second ferment, this is the perfect stage to introduce flavorings. Many people add fresh or frozen fruit (berries, sliced citrus, apple chunks), fruit juice, vanilla extract, cinnamon sticks, or a touch of honey or maple syrup. The sugars in the added ingredients will fuel further fermentation, potentially leading to more carbonation.
- Signs of Completion: During the second ferment, you’ll likely notice the kefir developing more air bubbles, similar to the initial fermentation. If left long enough, it may start to separate into a thicker kefir layer at the top and a clear whey layer at the bottom. I personally prefer to stop the second ferment and refrigerate it before it separates too much, shaking it thoroughly to recombine.
- Storage: Once the second ferment is complete (or at your desired level of fizziness/tartness), transfer the jar to the refrigerator. This halts the fermentation process, preserving the flavor and carbonation, and it can be stored for several days.
Creative Ways to Enjoy Your Homemade Milk Kefir
The versatility of milk kefir extends far beyond simply drinking it plain. While about 95% of the kefir in our home finds its way into our daily morning smoothies, the remaining 5% is a secret ingredient in many culinary delights. Here are some fantastic ways to incorporate this probiotic powerhouse into your diet:
- Revitalizing Morning Smoothies: This is our absolute favorite method! Kefir adds a creamy texture and tangy zing that elevates any smoothie. My basic family recipe usually includes:
- 2 cups of freshly cultured milk kefir
- 1 very ripe banana for natural sweetness and creaminess
- A splash of orange juice for brightness and vitamin C
- Whatever frozen fruit we have on hand (mixed berries, mango, pineapple are favorites). Don’t hesitate to add a handful of spinach or other greens for an extra nutrient boost – you won’t even taste it!
If the kefir is particularly tart, a touch of agave nectar or honey can balance the flavors beautifully. The possibilities for flavor combinations are endless! Every guest in my home can attest to the ubiquity and deliciousness of our morning kefir smoothies.
- A Healthier Buttermilk Substitute: Milk kefir is an excellent stand-in for buttermilk in baking recipes. Its acidity reacts with baking soda to create tender, fluffy results. I regularly use it in place of buttermilk for pancakes, waffles, muffins, and quick breads. While the heat of baking reduces the probiotic content, the baked goods still benefit from kefir’s unique flavor and texture-enhancing properties. My whole wheat kefir pancake recipe is a weekly staple for a reason!
- Creamy Dressings and Dips: Replace yogurt or sour cream with kefir in salad dressings, creamy dips, or spreads. Its tangy profile adds depth and a dose of probiotics to your appetizers and sides.
- Marinades for Tender Meats: The mild acidity of kefir can act as a tenderizer for meats like chicken or pork, imparting a subtle tang and keeping them moist during cooking.
- Kefir Cheese (Labneh-style): For a thicker, creamier spread, strain your kefir through a cheesecloth for several hours (or overnight) in the refrigerator. The resulting “kefir cheese” is similar to labneh and can be seasoned with herbs, salt, or sweet components for a versatile spread.
- Cold Soups: In warmer months, kefir can be the base for refreshing cold soups, similar to gazpacho or a creamy cucumber soup.
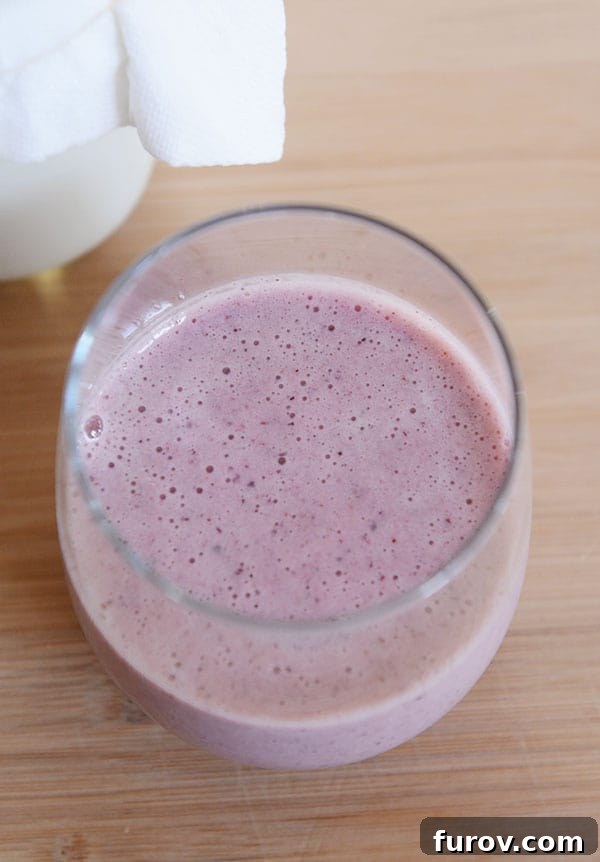
Culturing kefir and whipping up these delicious morning smoothies has become such an ingrained part of our family’s routine that it’s hard to imagine life without it. It’s a simple habit that yields profound health benefits.
Important Considerations and Tips for Kefir Success
As you embark on your milk kefir journey, keeping a few key points in mind can ensure a smooth and rewarding experience:
- The Adjustment Period: Because milk kefir is a potent source of probiotics, especially if your gut microbiome is not accustomed to such a diverse influx of beneficial bacteria, you might experience an initial “adjustment period.” This can manifest as temporary changes in digestion (e.g., increased gas, bloating, or altered bowel movements) as your gut flora rebalances. While I personally didn’t notice significant side effects when my family started, it’s a commonly reported phenomenon. Begin with a smaller serving size (e.g., 1/4 to 1/2 cup daily) and gradually increase as your body adapts. If you have underlying health conditions, consult with a healthcare professional before making significant dietary changes.
- Hygiene is Key: Always use clean jars and utensils. While kefir is a robust culture, minimizing the introduction of unwanted bacteria is crucial for maintaining healthy grains and preventing spoilage.
- Observe Your Grains: Healthy kefir grains are typically plump, white or cream-colored, and will reproduce steadily. If your grains appear sluggish, slimy, or discolored, they might need a “reset” or new milk. Occasionally rinsing them gently with filtered water can help, but generally, minimal interference is best.
- Experiment with Milk Types: Don’t be afraid to try different types of dairy milk (whole, 2%, skim, goat’s milk) to see what yields your preferred texture and flavor. Each will produce slightly different results.
- Temperature Matters: Consistency in room temperature helps ensure consistent fermentation times. If your kitchen temperature fluctuates wildly, your kefir might ferment faster or slower on different days.
- Taste as You Go: The best way to determine if your kefir is ready and to your liking is to taste it. A pleasant tang with a slight fizziness is often ideal.
There you have it – the comprehensive guide to milk kefir! We adore it, and I’m always happy to answer any further questions you might have in the comments below.
Resources and Sourcing Your Milk Kefir Grains
For those eager to dive deeper or find reliable sources for kefir grains, here are some excellent recommendations:
Further Learning:
- Yemoos: An incredibly comprehensive resource covering almost every aspect of kefir, from culturing techniques to troubleshooting.
- Cultured Food for Life: This website was instrumental in my initial learning about kefir, offering valuable insights and guidance for beginners.
Where to Get/Buy Kefir Grains:
The best way to acquire kefir grains is to find someone local who cultures kefir, as their grains multiply regularly, and they’ll often be happy to share their excess. Don’t hesitate to ask around!
If local sourcing isn’t an option, here are some reputable online resources for live, active milk kefir grains:
- Cultured Food for Life: This is where I personally purchased my grains several years ago, and they have remained robust and productive ever since.
- Yemoos Market: Another highly recommended source for quality live kefir grains.
Important Note: Based on extensive research and personal experience, it is strongly recommended to acquire live milk kefir grains rather than powdered or dried “starter cultures.” Live grains are reusable, reproduce indefinitely with proper care, and generally produce a more diverse and healthier kefir. Powdered starters often contain a limited number of strains and are typically a one-time use product.