
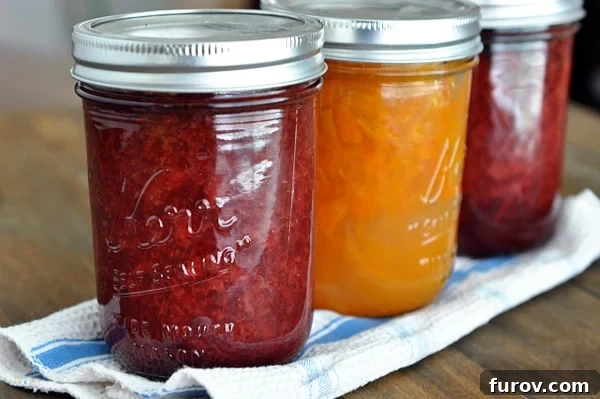
In a world increasingly focused on self-sufficiency and mindful eating, the age-old practice of home canning is experiencing a vibrant resurgence. Far from being a relic of the past, canning is a rewarding skill that empowers you to enjoy garden-fresh flavors year-round, reduce food waste, and know exactly what goes into your meals. While it might seem daunting at first glance, I’m here to assure you that water bath canning is incredibly easy and accessible, even if you’re just starting out.
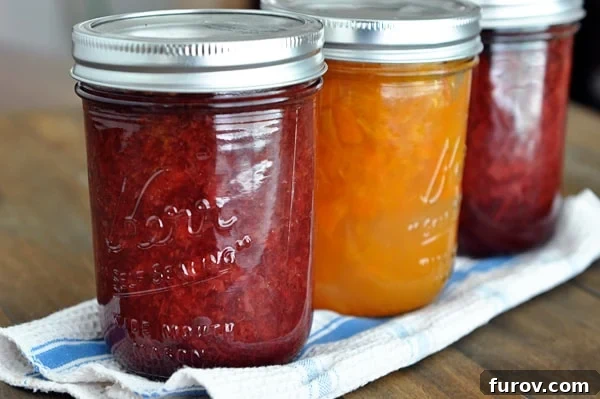
Many aspiring canners envision an entire day spent processing hundreds of jars to justify pulling out the equipment. While ambitious canning sessions are certainly an option, the beauty of water bath canning lies in its flexibility. I frequently use my water bath canner to process a modest batch of just 3-4 jars of strawberry jam or peaches. It doesn’t always have to be an epic, day-long culinary adventure. This fundamental method of food preservation is simple, efficient, and genuinely fulfilling. Let’s embark on this delightful journey together!
Understanding the Foundations: Types of Home Canning
Before diving into the specifics of water bath canning, it’s crucial to understand that there are two primary methods for safe home canning: water bath canning and pressure canning. Each method is designed for different types of food based on their acidity levels, which is a critical factor in preventing spoilage and ensuring food safety.
Water Bath Canning: Your Gateway to Home Preservation
Water bath canning is the most beginner-friendly and cost-effective method for preserving foods. It involves submerging sealed jars of food in boiling water for a specific period. This process creates a vacuum seal, eliminating air and preventing spoilage. This method is exclusively suitable for high-acid foods, where the acidity naturally inhibits the growth of harmful bacteria. Ideal candidates for water bath canning include:
- Fruits: Jams, jellies, preserves, fruit butters, applesauce, peaches, berries.
- Pickles and Relishes: Cucumber pickles, dilly beans, relish, sauerkraut.
- Tomatoes: Crushed tomatoes, salsa, sauces (especially with added acid like lemon juice or vinegar).
- Vinegar-based chutneys and condiments.
The boiling water reaches 212°F (100°C) at sea level, a temperature sufficient to destroy molds, yeasts, and most bacteria in high-acid environments.
Pressure Canning: For Low-Acid Foods
In contrast, pressure canning is required for foods that are low in acidity. These foods, such as most vegetables, meats, poultry, and fish, require much higher temperatures (typically 240°F / 116°C or higher) to be safely preserved. The only way to achieve these temperatures at home is by using a specialized pressure canner, which builds steam pressure to elevate the boiling point of water. This higher temperature is necessary to kill spores of Clostridium botulinum, a bacterium that thrives in low-acid, oxygen-free environments and can produce a deadly toxin if not properly eliminated. While we’ll delve deeper into pressure canning next month, it’s important to recognize that it’s a separate process with its own set of equipment and safety protocols.
For today, our focus remains on the wonderfully straightforward world of water bath canning. Let’s explore the essential equipment you’ll need to get started.
Your Essential Toolkit: Equipment for Water Bath Canning
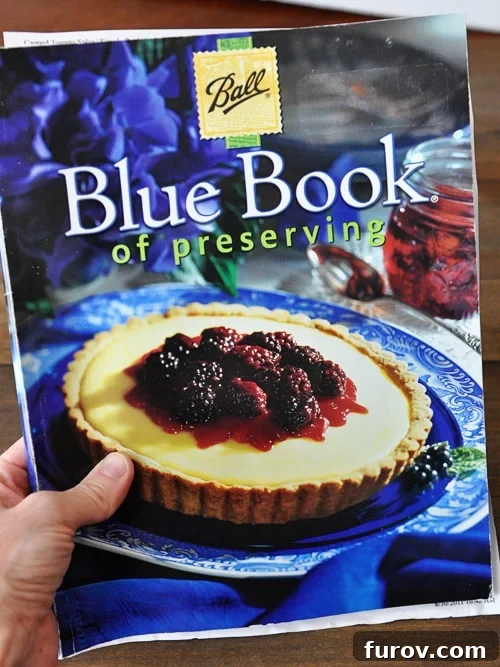
One of the beauties of water bath canning is that it doesn’t require an overwhelming amount of specialized equipment. Many items you might already have in your kitchen, and the few specialized tools are affordable and designed to last. Before you gather your gear, I highly recommend investing in a reliable canning guide. My personal go-to, which I affectionately call “The Almighty Awesome Ball Blue Book of Canning” (though its official title is the Ball Blue Book Guide to Preserving), is an invaluable resource. This comprehensive guide contains tested recipes, processing times, and crucial safety information that forms the foundation of successful canning. Always consult a trusted, up-to-date canning resource before beginning any project.
1. Canning Jars: Your Preservation Vessels
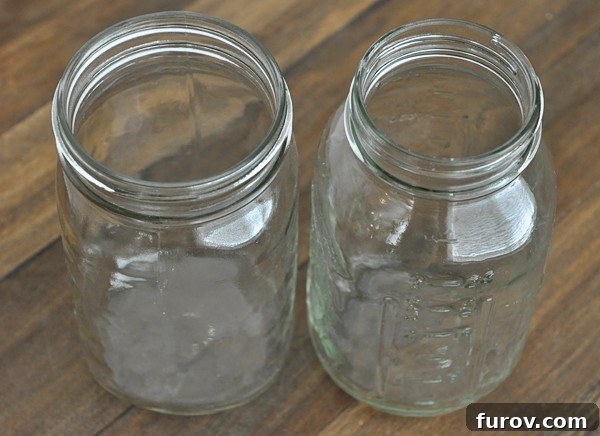
Canning jars, often called Mason jars, are specifically designed for the high temperatures and sealing requirements of home food preservation. They are made of tempered glass, making them much more robust than standard food jars. You’ll need to select the appropriate size and style based on what you’re canning:
- Sizes: Common sizes include half-pint (8 oz) for jams and jellies, pint (16 oz) for preserves, pickles, and sauces, and quart (32 oz) for larger batches of fruits or tomatoes.
- Mouth Sizes: Jars come in two standard mouth sizes: regular and wide-mouth. While both are functional, many canners, myself included, prefer wide-mouth jars for their ease of filling and cleaning, especially when working with larger pieces of fruit or vegetables.
Canning jars are incredibly durable and can be reused many times, provided they are in perfect condition. Always inspect jars for any chips, cracks, or imperfections, particularly around the rim, as these can prevent a proper seal. Cracked jars should be discarded to avoid breakage during processing.
2. Lids and Rings: The Sealing Duo
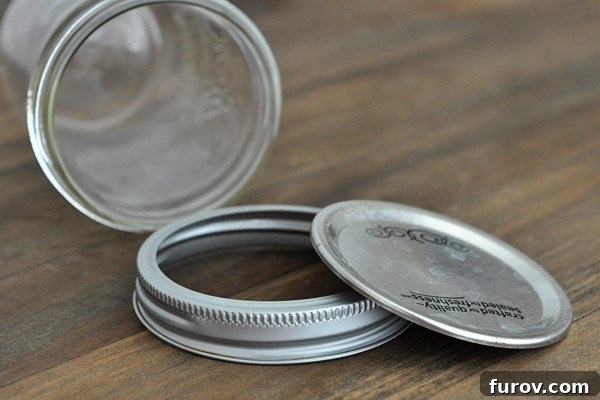
The two-piece lid system is fundamental to safe canning. It consists of:
- Lids: These are flat, metal discs with a sealing compound on the underside. They are designed for single-use only to ensure a reliable, airtight seal every time. The satisfaction of hearing the “POP!” as a jar seals is truly a sweet sound to a canner’s ears – it signifies success! Always purchase new lids for each canning project, ensuring they match your jar’s mouth size (wide-mouth lids for wide-mouth jars, regular for regular).
- Rings (Bands): These are screw bands that hold the lid securely in place during processing. Unlike lids, rings are reusable. Once your jars have cooled and sealed (typically 12-24 hours), I highly recommend removing the rings before storing the jars. This practice prevents rings from rusting onto the jar, makes it easier to spot potential seal failures, and allows for proper ventilation around the lid. A properly sealed jar will remain sealed even without the ring.
3. Basic Canning Utensils: Making the Process Smooth
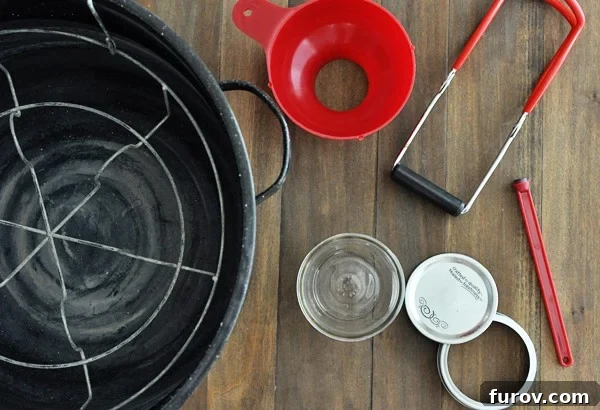
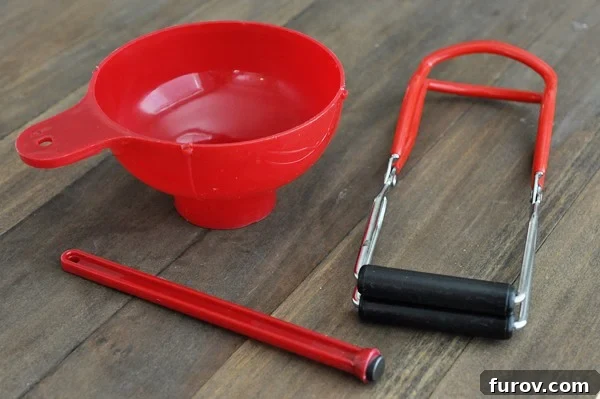
While not strictly mandatory, a simple set of canning tools makes the process significantly easier and safer. These are often sold together in affordable kits:
- Jar Lifter: This indispensable tool, with its rubber-coated handles, allows you to safely lift hot jars in and out of boiling water without risking burns or dropping them. It’s a non-negotiable item for water bath canning.
- Wide-Mouth Funnel: A funnel designed specifically for canning jars minimizes spills and drips when filling jars with hot food, helping to keep jar rims clean for a proper seal.
- Headspace Tool / Bubble Remover: This simple plastic tool serves two purposes: one end helps measure the correct headspace (the empty space between the food and the lid), and the other end can be used to release trapped air bubbles from around the food in the jar, ensuring a good seal.
- Magnetic Lid Lifter: A small stick with a magnet on the end, this tool is surprisingly handy for retrieving hot lids from the simmering water where they’re often kept warm and sterilized before being placed on jars.
These basic little canning sets are truly worth their weight in gold for streamlining your canning experience.
4. The Water Bath Canner Pot: Your Boiling Powerhouse
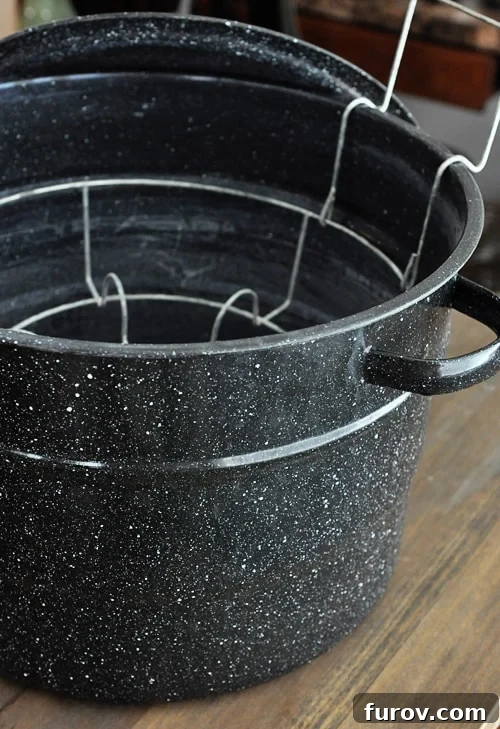
The heart of water bath canning is, of course, the pot itself. A dedicated water bath canner pot is typically a very large, tall pot made of enamelware or stainless steel. It comes with a lid and, crucially, a rack that fits inside. This rack serves several important functions:
- It keeps the jars elevated off the bottom of the pot, preventing them from directly touching the heat source.
- It allows boiling water to circulate freely around the jars.
- It prevents jars from clanking against each other during the vigorous boil.
These canners are designed to accommodate about 7 quart-sized jars or slightly more pint-sized jars, making them efficient for standard batches. While you can technically use any very large stockpot for water bath canning, ensure it’s tall enough to cover your jars with at least 1-2 inches of water, has a tight-fitting lid, and you can rig a rack to keep jars off the bottom.
5. Optional, But Highly Recommended: An Outdoor Burner
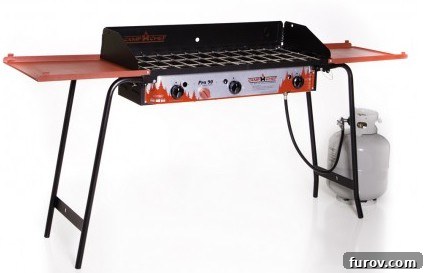
While you can certainly water bath can indoors on a compatible stovetop (be sure to check if your glass or ceramic stovetop is canning-approved to avoid damage), I am a huge advocate for using an outdoor burner or camp stove. I’ve used my trusty Camp Chef stove for years, and it has revolutionized my canning process. The benefits are numerous:
- Keeps the Kitchen Cool: Boiling large pots of water for extended periods can heat up your kitchen considerably, especially in warmer months.
- Flexibility: Many outdoor burners are powerful enough to run two water bath canners simultaneously, doubling your efficiency and making canning a “party” with friends even more fun.
- Prevents Stovetop Wear: Prolonged heavy loads and high heat can be taxing on indoor stovetops.
If you have the space and opportunity, processing your preserves outdoors is a game-changer.
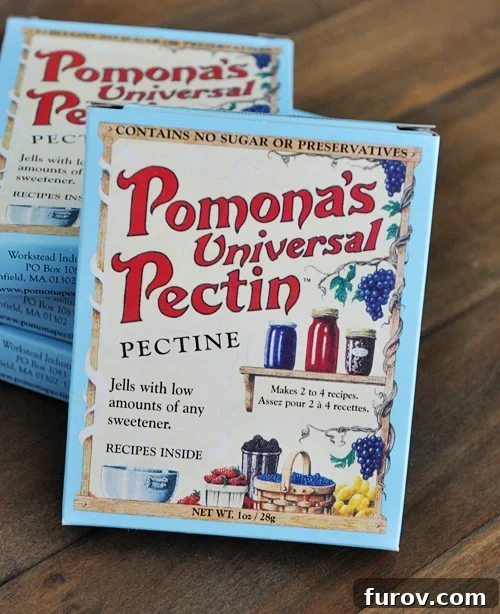
6. The Game-Changer for Jams & Jellies: Pomona’s Pectin
While not strictly “equipment,” I cannot talk about canning without giving a massive shout-out to Pomona’s Universal Pectin. For those who, like me, prefer low-sugar jams and jellies that truly taste of fruit rather than just sweetness, Pomona’s is an absolute revelation. Traditional pectin requires a significant amount of sugar to gel, often masking the natural fruit flavor. Pomona’s, on the other hand, is a sugar- and preservative-free citrus pectin that activates with calcium (included in the box), meaning:
- You can use little, no, or alternative sweeteners.
- Jams and jellies set beautifully without being overly sweet.
- The fruit’s natural flavor shines through prominently.
- It often requires less cooking time, preserving more of the fruit’s nutrients and fresh taste.
It’s incredibly versatile and has transformed my jam-making. While it might require a bit of searching to find the best deals online (I’ve had luck at health food stores and sites like Vitacost), one box goes a long way and is well worth the investment for healthier, fruit-forward preserves.
Safety First: Adhering to Tested Practices
As you embark on your water bath canning journey, always remember that food safety is paramount. The science of canning has been meticulously studied to ensure safe preservation. Therefore, it is critical to:
- Follow Tested Recipes: Use recipes from reliable sources like the Ball Blue Book or university extension offices. Do not alter ingredients, jar sizes, or processing times.
- Maintain Proper Headspace: The correct amount of empty space in the jar is crucial for creating a vacuum seal.
- Ensure Correct Processing Times: Boiling water must penetrate the entire jar for the specified duration to destroy spoilage organisms and create a strong seal. Adjust processing times for altitude if you live above 1,000 feet.
By adhering to these simple guidelines, you can confidently and safely enjoy your homemade canned goods.
Your Canning Adventure Awaits!
So there you have it – a comprehensive overview of what you need to begin your exciting journey into water bath canning. This method of food preservation is not just practical; it’s a creative outlet, a connection to traditional skills, and a delicious way to enjoy the bounty of the seasons. Armed with the right knowledge and a few essential tools, you’ll soon be filling your pantry with jars of wholesome, homemade goodness.
Very soon, I’ll be sharing detailed, step-by-step guides on how to water bath can specific items, including delicious homemade applesauce, succulent peaches, and vibrant fruit jams. And next month, we’ll expand our horizons to tackle the intricacies of pressure canning, opening up even more possibilities for preserving your favorite foods.
Please Share Your Canning Questions in the Comments Below!