
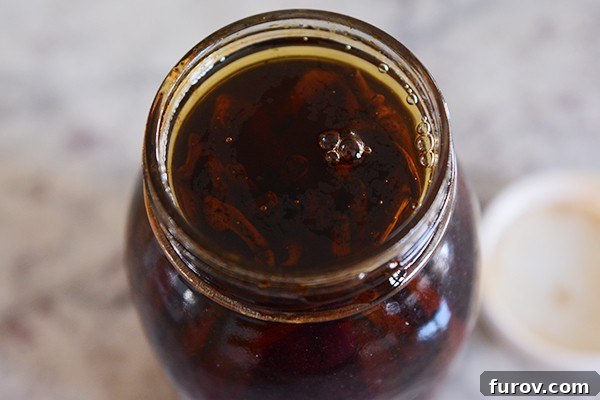
Discover the simple joy of making your own vanilla extract at home, complete with expert tips on selecting the perfect vanilla beans, alcohol, and jars. Plus, grab a free printable label to make your homemade vanilla a delightful gift!
The Ultimate Guide to Crafting Homemade Vanilla Extract
You might be surprised to find a tutorial for homemade vanilla extract popping up, perhaps outside of the traditional holiday season. However, there’s no better time than now to embark on the rewarding journey of creating your own exquisite vanilla extract. The magic of homemade vanilla lies in its simplicity and the anticipation of its rich, complex flavor development, making it an ideal project to start well in advance for future baking needs or thoughtful gifts.
Making vanilla extract from scratch is remarkably easy – arguably simpler than preparing a grilled cheese sandwich! The most challenging part is undoubtedly the wait. This essential ingredient requires a minimum of several weeks, ideally two to three months, for the vanilla beans to fully infuse their aromatic essence into the alcohol. The longer you allow it to sit, the deeper and more nuanced the flavor becomes. This extended infusion period means that starting today will have you perfectly poised for holiday baking, special occasion gifts, or simply elevating your everyday culinary creations.
Why Make Your Own Vanilla Extract?
Beyond the simple satisfaction of a DIY project, there are compelling reasons to make your own vanilla extract:
- Superior Flavor: Homemade vanilla extract often boasts a richer, more authentic flavor profile compared to many store-bought varieties, which can sometimes contain artificial ingredients or sweeteners. You control the quality of your beans and alcohol, leading to a truly exceptional product.
- Cost-Effectiveness Over Time: While the initial investment in vanilla beans might seem significant, making your own extract is considerably more economical in the long run, especially if you bake frequently. A good batch can last for years, and you can “top off” your jars with fresh alcohol, extending the life of your beans.
- No Artificial Additives: Many commercial extracts contain sugar, corn syrup, caramel coloring, or other additives. Homemade vanilla extract is pure: just vanilla beans and alcohol.
- Thoughtful, Personalized Gifts: A beautifully bottled, homemade vanilla extract makes an incredibly personal and cherished gift for fellow bakers, food enthusiasts, or anyone who appreciates quality ingredients.
Essential Knowledge Before You Begin
Understanding Alcohol Content
Pure vanilla extract, whether homemade or store-bought, typically contains around 35% alcohol (70 proof). This alcohol content is crucial for extracting the vanilla flavor compounds and preserving the extract. It’s simply a solvent for flavor, not meant for consumption straight. Many home cooks, myself included, purchase alcohol specifically for this purpose, even if they don’t consume it otherwise. Don’t be shy about visiting the liquor store; it’s a common errand for vanilla enthusiasts!
Color Variations in Homemade Vanilla
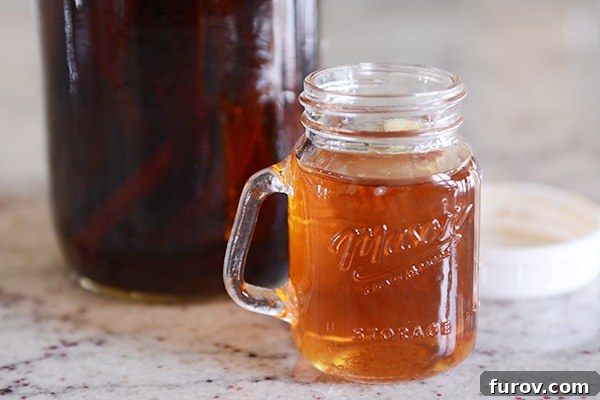
Don’t be alarmed if your homemade vanilla extract appears lighter in color than what you typically see on supermarket shelves. Store-bought extracts often achieve their dark hue through added caramel coloring, or through industrial processes that mash and press vanilla beans, yielding a darker liquid. The color of your homemade extract is not an indicator of its potency or quality. As long as it has infused for the recommended time, your lighter-hued vanilla will deliver incredible flavor.
Choosing Your Ingredients: Vanilla Beans and Alcohol
The quality of your vanilla extract hinges on the quality of your ingredients. Let’s explore the best choices for both beans and alcohol.
Selecting the Perfect Vanilla Beans
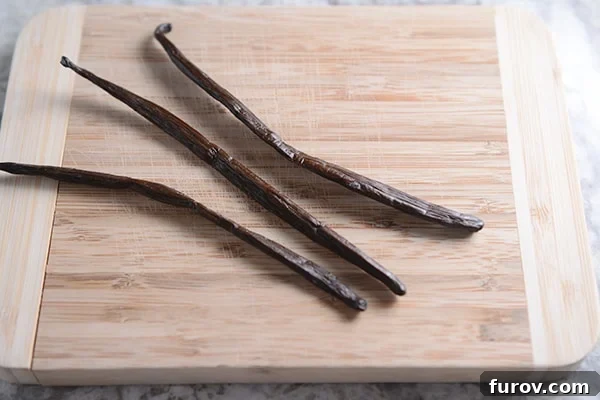
While a vast array of vanilla beans is available, you don’t necessarily need the most expensive, prime-grade beans for extract. In fact, many extract enthusiasts prefer specific grades and varieties for optimal results:
- Grade A vs. Grade B: Grade A beans (often called “gourmet” or “prime”) are plump, moist, and pliable, perfect for recipes where you scrape out the seeds directly. Grade B beans (often labeled “extract grade”) are drier, less visually appealing, and may be smaller or split. However, their lower moisture content means a higher concentration of vanilla oils, making them excellent for extract as the alcohol will rehydrate and plump them during infusion. Avoid using Grade B beans for recipes requiring scraped seeds, as they are too dry to work with easily.
- Vanilla Bean Varieties:
- Madagascar (Bourbon) Vanilla: The most common type, known for its classic, rich, creamy, sweet, and buttery flavor profile. It’s a versatile choice for any baking.
- Tahitian Vanilla: Offers floral, fruity, and cherry-like notes. Wonderful in fruit-based desserts or delicate pastries.
- Mexican Vanilla: Features smoky, spicy, and woody undertones, often with a hint of chocolate. Great for chocolate-based desserts or savory dishes.
- Indian or Ugandan Vanilla: These varieties often offer a bold, earthy, and sometimes slightly smoky or fig-like profile, similar to Madagascar but with distinct nuances.
For your first batch, Madagascar beans are an excellent and forgiving choice. Feel free to experiment with other varieties to discover your favorite flavor combinations.
- Where to Buy: Reputable online suppliers often offer competitive pricing and fresh beans in bulk. I frequently use these vanilla beans from Amazon for their plumpness and excellent extract quality. For Grade B beans, this option has also yielded great results for me. If you prioritize fair-trade or organic options, consider specialized vendors like Beanilla or Mountain Rose Herbs.
Selecting the Right Alcohol
The type of alcohol you choose will subtly influence the final flavor of your vanilla extract. However, you don’t need to splurge on expensive, top-shelf spirits.
- Proof Matters: Aim for alcohol that is 80 proof (40% alcohol by volume). This is the standard for extracting and preserving vanilla flavor. Higher proof alcohol isn’t necessary and can sometimes result in a harsher flavor.
- Vodka: The most popular choice for homemade vanilla extract due to its neutral flavor profile. It allows the pure vanilla essence to shine through without any competing notes, making it incredibly versatile for all types of baking. Use the cheapest 80-proof vodka you can find; the vanilla will do all the heavy lifting.
- White Rum: For a slightly sweeter extract with warm, caramelized undertones, white rum is an excellent choice. It imparts a subtle rum flavor, which can be delightful in certain desserts like tropical cakes, cookies, or custards. Bacardi is a common and reliable brand.
- Bourbon or Brandy: For a more adventurous twist, consider using bourbon or brandy. Bourbon will lend smoky, caramel, and oak notes, perfect for richer desserts, chocolate recipes, or barbecue sauces. Brandy will contribute fruity, slightly sweet, and woody notes, ideal for fruit tarts or sophisticated baked goods.
- Experimentation: Don’t hesitate to experiment! I’ve even made a batch with a 50/50 blend of vodka and white rum, and the resulting extract added a lovely depth to my chocolate chip cookies.
Choosing the Right Jars for Infusion and Gifting
The right container is essential for both the infusion process and for presenting your beautiful homemade vanilla extract.
For Personal Use and Large Batches
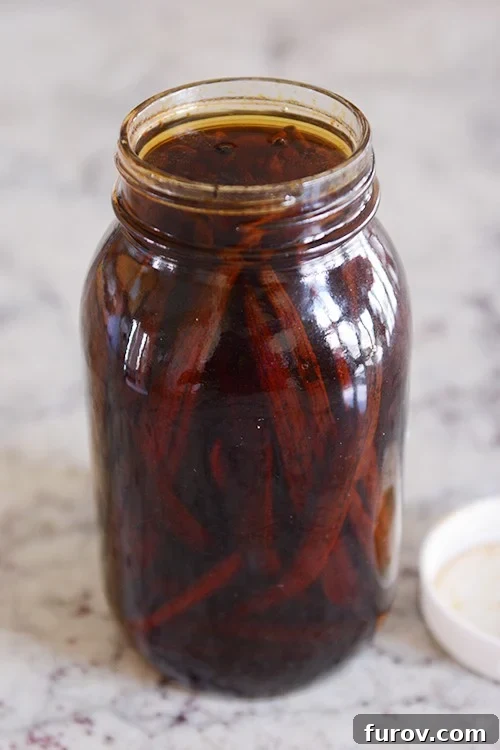
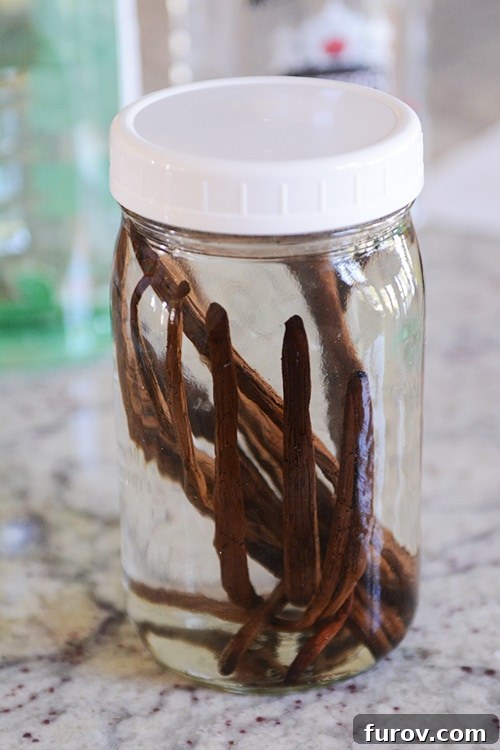
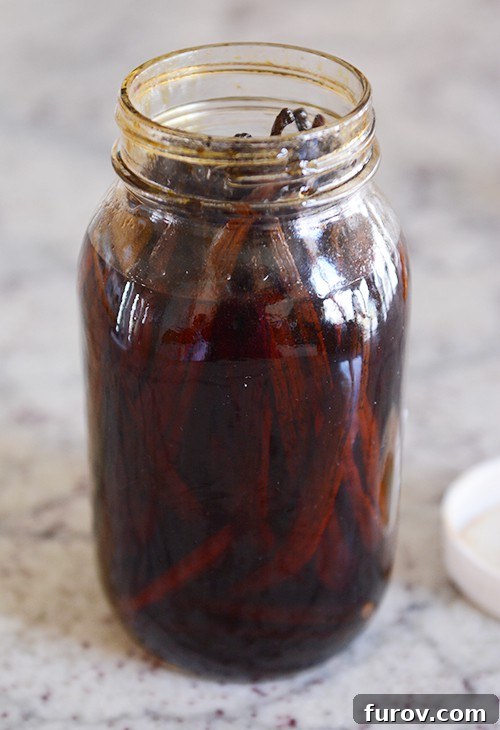
For making large quantities that you’ll use yourself, practical considerations trump aesthetics. I prefer wide-mouth, quart-sized canning jars. The wide mouth makes it incredibly easy to add beans and alcohol, and later, to dip a measuring spoon directly into the extract. While pouring from these jars can sometimes be messy, their practicality for ongoing use is unmatched. I recommend capping them with simple white plastic lids for convenience.
A smart system for continuous supply: Keep two quart jars of vanilla extract in your pantry. When one is empty, simply refill it with fresh alcohol and a few new vanilla beans (leaving the old beans inside) and move it to the back of the cupboard. As you use the second jar, the first one will be busy infusing, ensuring you always have a fresh supply ready.
For Thoughtful Gift-Giving
When preparing homemade vanilla as a gift, presentation matters! There are countless charming jar options available both online and in local craft or kitchen stores:
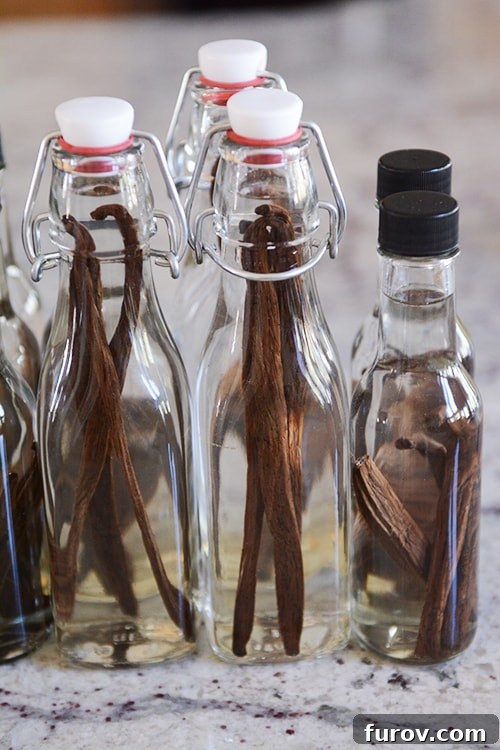
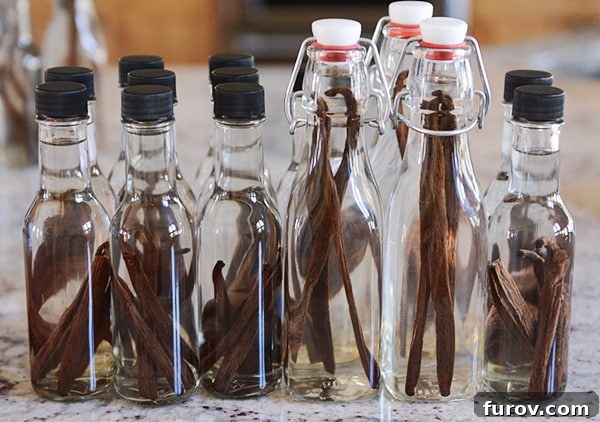
- Elegant Swing-Top Bottles: My personal favorites for gifting are these 8.5-ounce swing-top bottles. The classic swing-top closure adds a touch of rustic elegance and makes the gift feel extra special.
- Smaller Bottles with Shrink Caps: For smaller gifts or party favors, these 5-ounce jars are ideal. They often come with shrinking caps that seal beautifully when heated with a blow dryer – a process my kids love, transforming our kitchen into a “vanilla extract factory!”
- Airtight Seal: Regardless of the jar type, ensure it provides an airtight seal. This is crucial for proper infusion and preventing evaporation or contamination.
The Step-by-Step Process: Making Your Homemade Vanilla Extract
Prepare yourself – this process is incredibly straightforward!
1. Determine Your Vanilla Bean to Alcohol Ratio
The ratio of vanilla beans to alcohol can vary widely online, but for a rich, robust extract, I’ve found a consistent ratio that works wonderfully:
4 vanilla beans for every 8 ounces (1 cup) of alcohol
Feel free to adjust this ratio based on your personal preference. For a super-strong “double-fold” extract, you might use 6-8 beans per 8 ounces. For a lighter extract, 2-3 beans could suffice, but 4 beans per 8 ounces provides excellent value and flavor.
2. Prepare Your Vanilla Beans
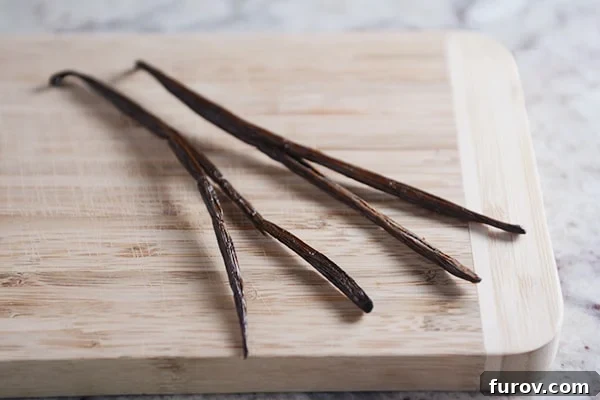
To maximize surface area for infusion, vanilla beans need to be opened. Using sharp kitchen shears or a paring knife, carefully cut each vanilla bean lengthwise, from about 1/2 inch from the top down to about 2/3 of the way along its length. You want to expose the tiny vanilla seeds inside without completely separating the bean. For smaller jars, or if you prefer quicker infusion, you can chop the beans into 1-inch pieces after splitting them.
3. Assemble Your Extract (Personal Use / Large Batch Method)
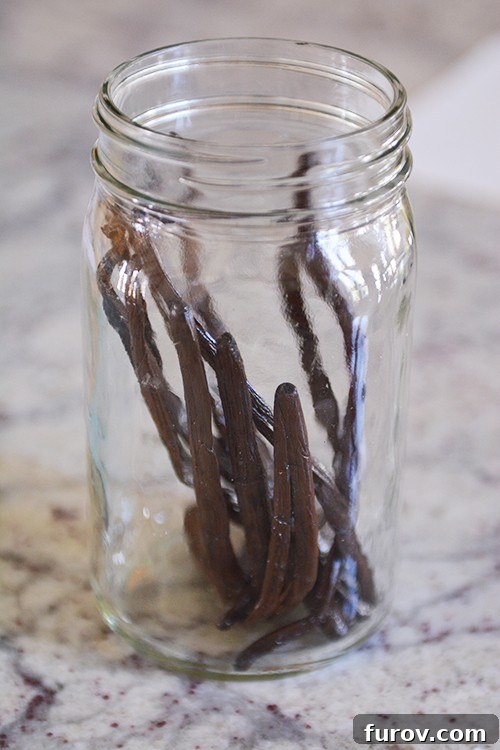
For a quart-sized jar (32 ounces), you’ll need 14-16 vanilla beans (following the 4 beans per 8 oz ratio).
- Place the split vanilla beans into your clean quart jar.
- Pour your chosen alcohol (vodka or rum) into the jar, ensuring the beans are completely submerged. This is crucial to prevent molding and ensure even extraction.
- Cap the jar tightly and place it in a cool, dark spot – a pantry cupboard or basement is perfect.
- Let it infuse for at least six weeks, but the longer, the better. I aim for three months for optimal flavor development.
- You’ll know it’s ready when the aroma transitions from a strong alcoholic scent to a distinct, sweet vanilla fragrance.
4. Assemble Your Extract (Gift-Giving Methods)
You have two main approaches for preparing gift-sized bottles:
Method 1: Batch Infusion, Then Bottle
- Follow the large batch process described above, making several quart jars of vanilla extract, depending on how many gifts you plan to give.
- Allow the vanilla to infuse for the full recommended time (several weeks to several months).
- Once the vanilla extract is ready, carefully pour it from the large jars into your smaller gift bottles. A small funnel is invaluable here to prevent spills and wasted extract.
- Optionally, add a single fresh or “spent” (used in the batch) vanilla bean to each gift bottle for an attractive presentation.
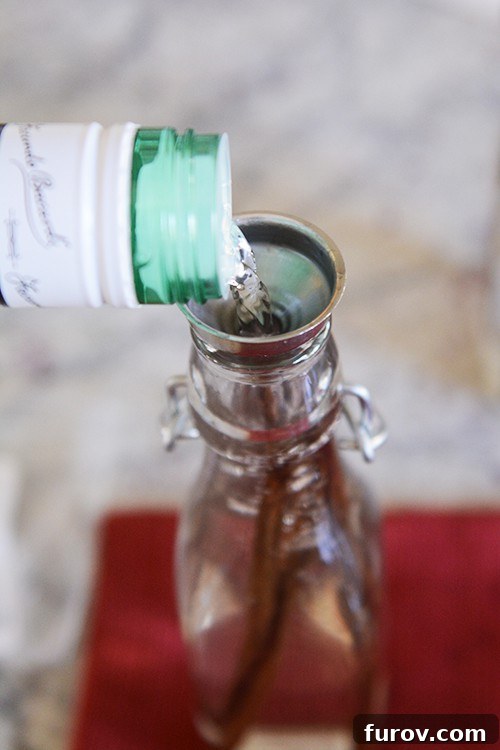
Method 2: Individual Bottle Infusion
- Prepare your vanilla beans as described (split lengthwise, and cut in half if necessary to fit your smaller bottles).
- Place the desired number of vanilla beans (4 beans per 8 ounces of alcohol) into each individual gift bottle.
- Using a funnel, carefully fill each bottle with alcohol, ensuring the vanilla beans are completely covered to prevent mold. If the beans are too tall, trim them to fit.
- Seal the bottles tightly and store them in a cool, dark place for six weeks to several months.
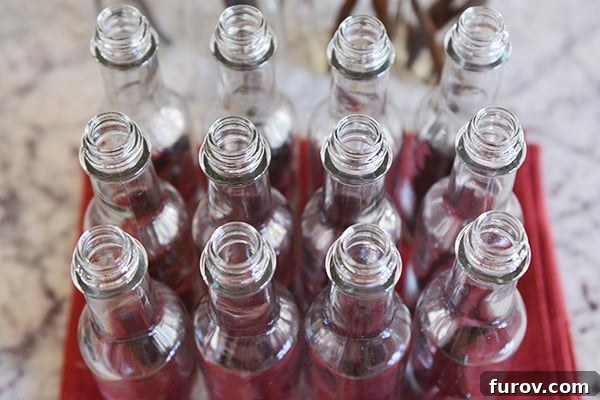
If you’re gifting vanilla that hasn’t fully matured, include a small note for the recipient, advising them to let it continue infusing for another month or two before use. This ensures they experience the full, rich flavor.
Tips for Perfect Homemade Vanilla Extract
- Shaking for Success: While not strictly necessary, giving your infusing vanilla a gentle shake once or twice a week can help agitate the beans and potentially speed up the extraction process. However, if you’re like me and tend to “set it and forget it,” rest assured your vanilla will still turn out beautifully.
- The Power of Time: The longer vanilla extract sits, the better it becomes. Unlike many perishable goods, vanilla extract improves with age, deepening in flavor and complexity. Consider making larger batches to allow for extended aging.
- Straining is Optional: If you prefer an extract without tiny flecks of vanilla seeds, you can strain it through a fine-mesh sieve or cheesecloth before bottling or using. Personally, I love the visual appeal of the seeds, which signal its authentic homemade quality.
- Don’t Overthink It: The world of homemade vanilla extract is full of opinions and “best practices.” Don’t get lost in the details. Start with a simple method, and as you gain experience, you can experiment with different beans, alcohols, and ratios to find your perfect recipe. The joy is in the journey and the delicious results.
- Yield Estimation: For reference, in one recent batch, approximately 50 vanilla beans yielded about 4 (8.5-ounce) jars, 10 (5-ounce) bottles, and 1 (quart-sized) mason jar of extract. This can help you gauge how many beans you’ll need for your desired output.
Your Homemade Vanilla Extract Awaits!
Congratulations! You’re now equipped with all the knowledge to create your own exquisite homemade vanilla extract. It’s a simple, rewarding project that yields a high-quality ingredient for your kitchen and heartfelt gifts for your loved ones.
Creative Gifting Ideas: Add a Personal Touch with Labels
To make your homemade vanilla extract gifts truly stand out, consider adding a custom label. I’ve created a cute, free printable label that you can easily use. Print these labels on white sticker paper, cut them out, peel off the backing, and apply them to your gift jars. For added durability and to prevent smudging from any accidental drips, you can cover the label with a clear sticker or a piece of packing tape.
Click on the picture below to download the printable label file.
Questions? We’re Here to Help!
If you have any questions about the process, ingredients, or anything else related to making homemade vanilla extract, please feel free to ask in the comments section below. I’ll do my best to provide timely and helpful answers!
Disclaimer: This post contains affiliate links.